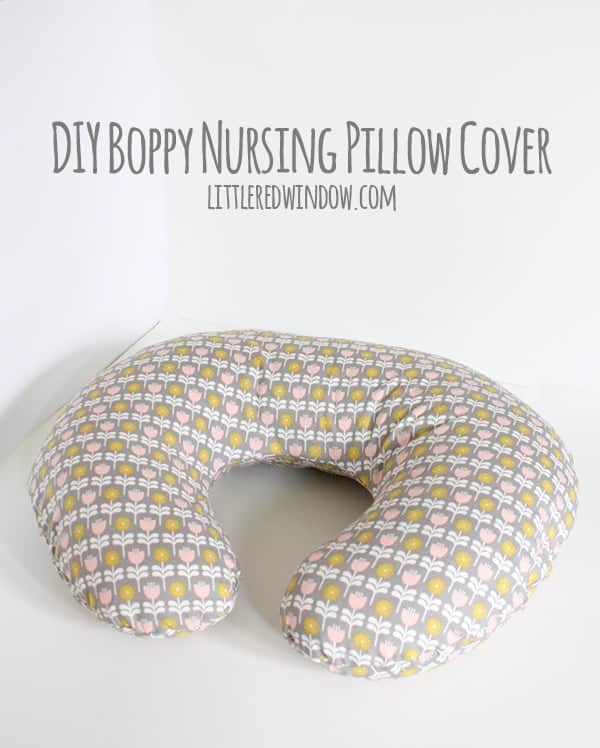
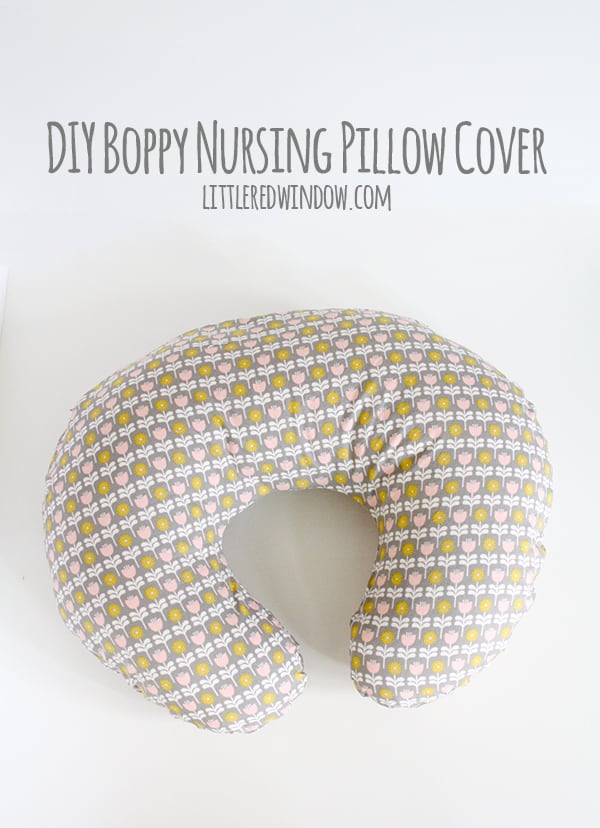
Make your own DIY Boppy cover pattern in just a few steps! You can make your own Boppy pillow cover with this easy tutorial!
This Boppy Cover Pattern came up because a couple of months before the baby was born, we made a trip to my parents and hauled all of O’s old baby stuff out of their basement (where they had kindly been storing it for us).
I pulled out the tub of nursing stuff and saw my old friend, the Boppy pillow. I know there are different kinds of nursing pillows and everyone has their favorite, but man, did I spend a lot of time with that thing. And I remembered it having a really cute Boppy pillow cover.
What I did not remember, however, was how faded and dirty that Boppy cover was after a year and a half of nursing a sweaty baby. It was clean, but definitely faded and sad.
So then of course I started searching for a new, less gross Boppy pillow cover to replace it (I tried washing it again first, I swear). I
looked in all my favorite usual online spots and even started looking on Etsy. But the problem is, the stores pretty much only sell official brand Boppy pillow covers and they are shockingly limited in color/pattern choices. Which is when I switched to Etsy. And there were a ton of adorable choices for Boppy covers!
But then I saw the prices. The cute custom ones were as much as the plain pillow by itself! Obviously they’re handmade and that’s why, but that’s more than I wanted to spend.
So I figured I’d make a Boppy Cover pattern myself and use it to sew up a cute new Boppy pillow cover and I vowed to use only materials I already have because I’m a craft hoarder and I should not be allowed to buy any new materials for at least 5 years. (*insert winky face)
It actually was easier than I thought it would be so here’s how I did it!
DIY Boppy Cover Pattern Supply List
- 1 1/2 yards cotton quilting fabric
- 18 ” zipper
- sewing machine & thread
- an old nursing pillow cover to trace
DIY Boppy Cover Pattern Instructions
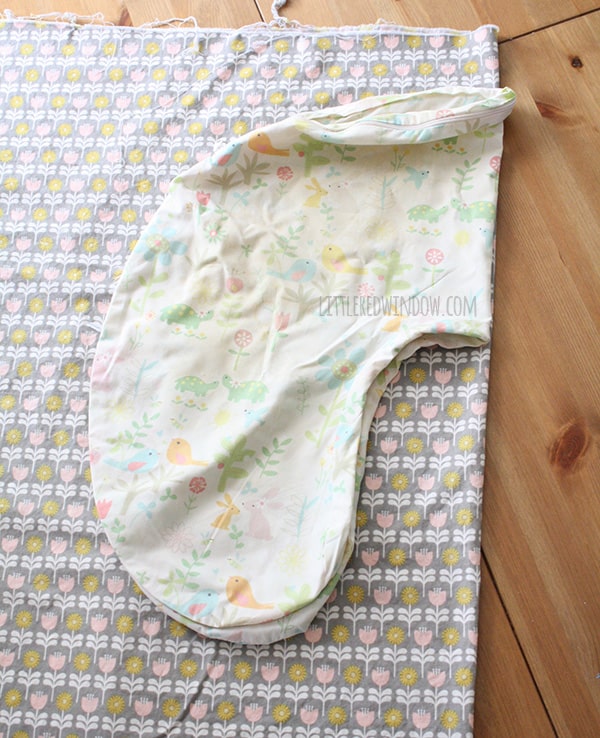
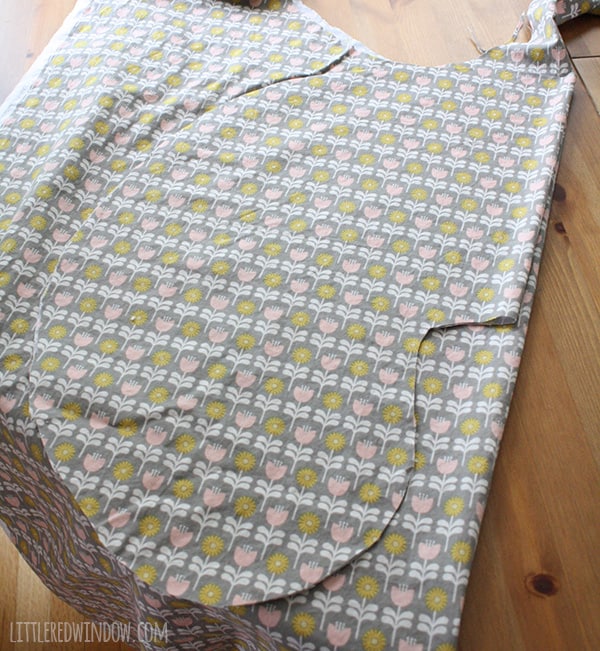
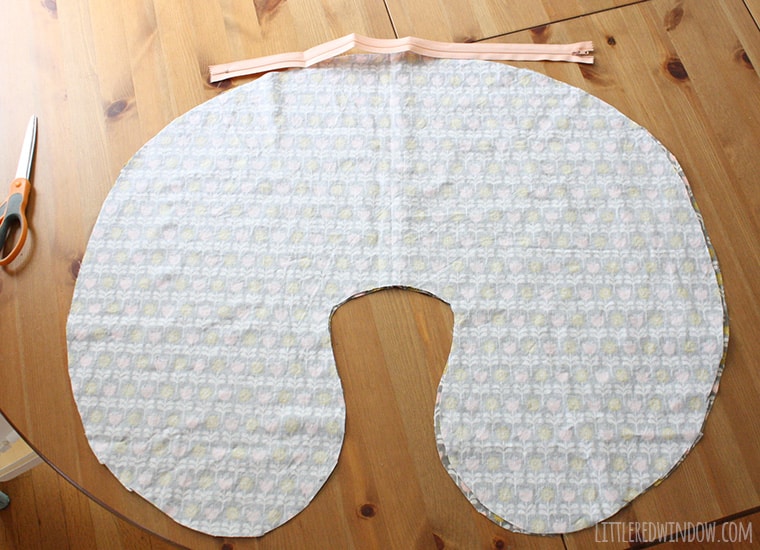
1. Lay out your fabric, folded in half. Fold your old Boppy pillow cover in half as well. Then line up the folded edges. The unfortunate thing about making this Boppy pillow cover pattern, is that it takes up kind of a lot of fabric and leaves weirdly shaped scraps. Be forewarned.
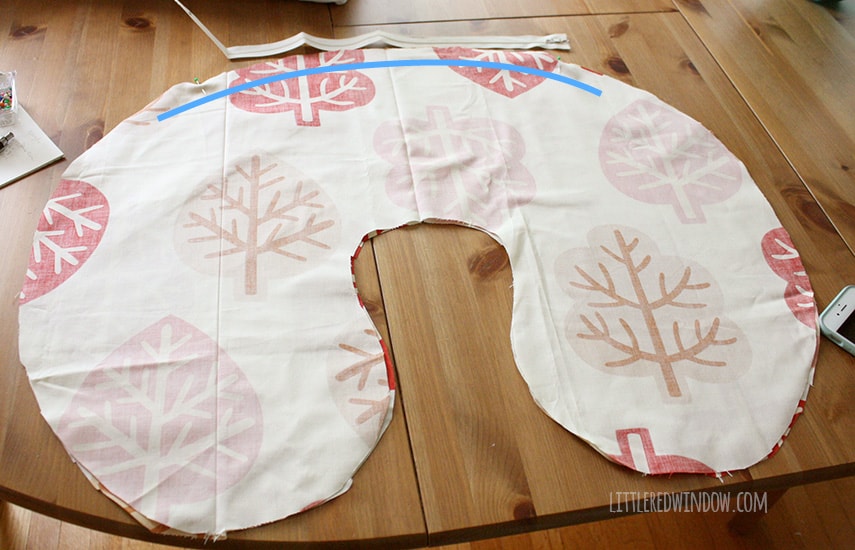
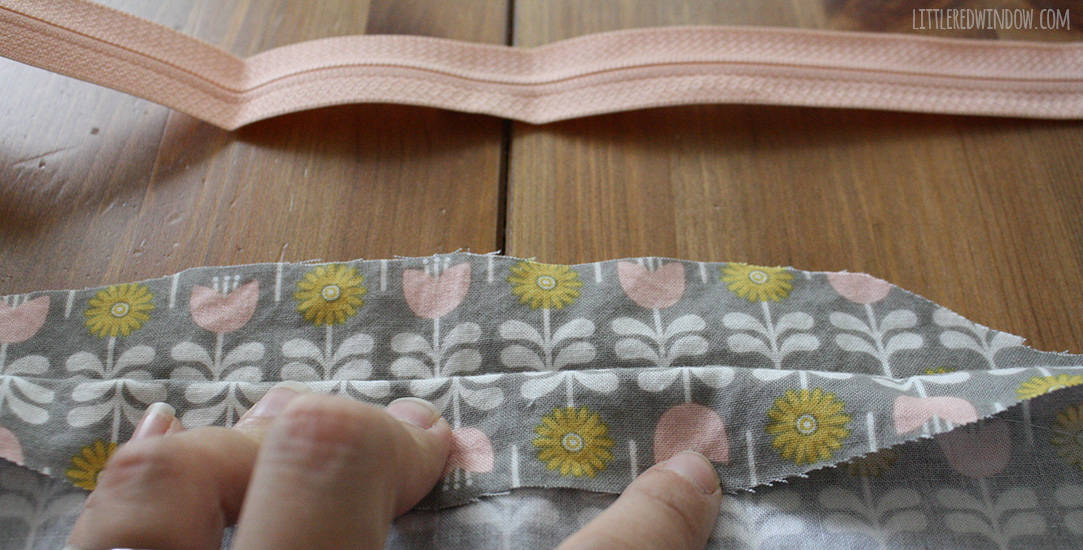
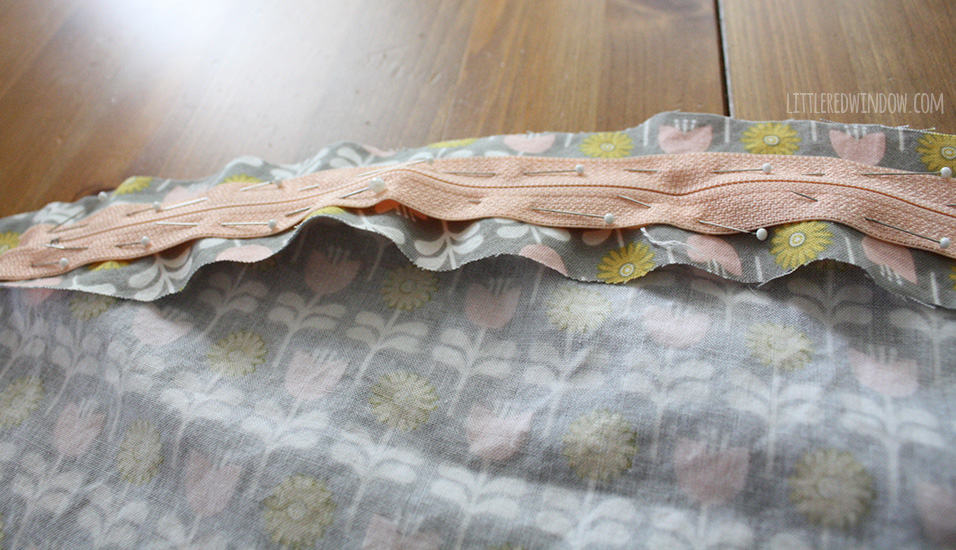
4. Unfold the pieces and lay them out right sides together. Then lay out your zipper, centering it. Mark where the ends of the zipper are. You will sew a 1″ basted seam from about 3″ before the zipper starts to about 3″ after (shown with the blue line).
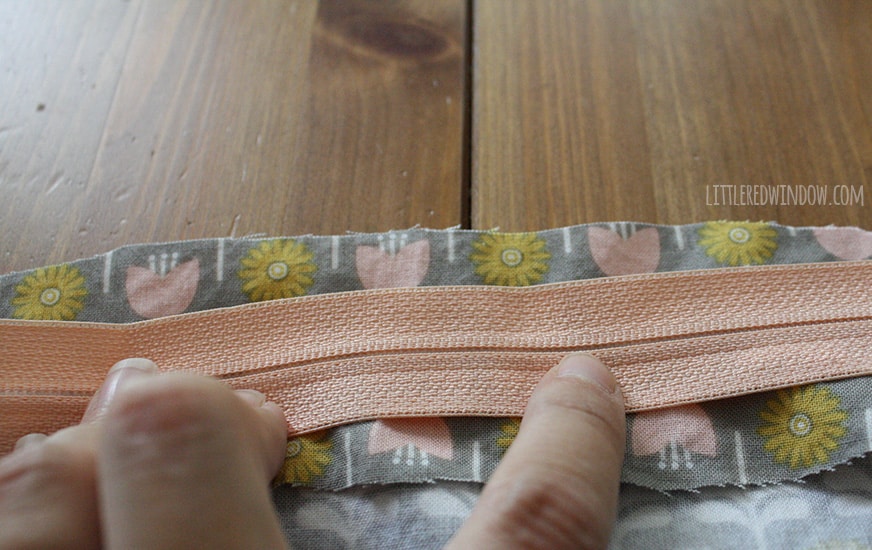
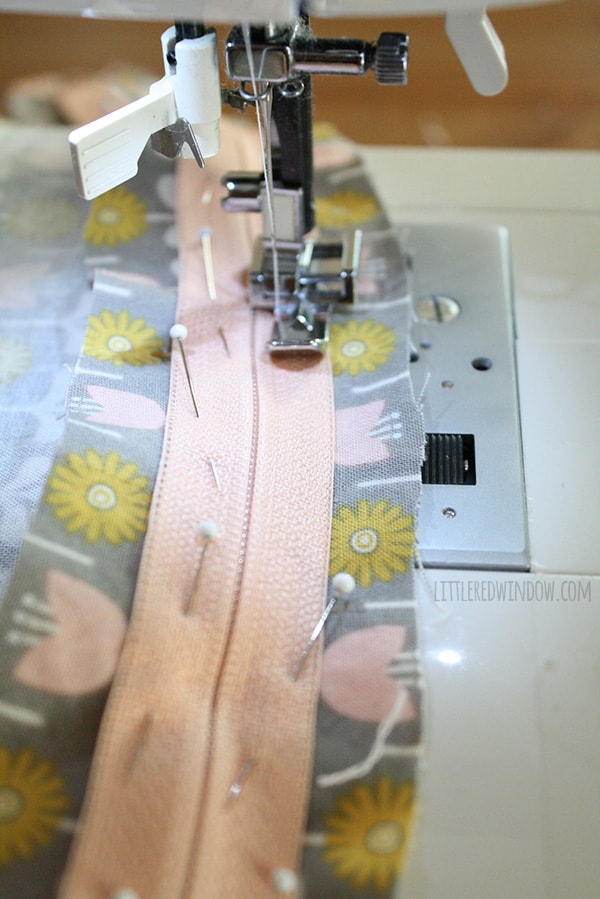
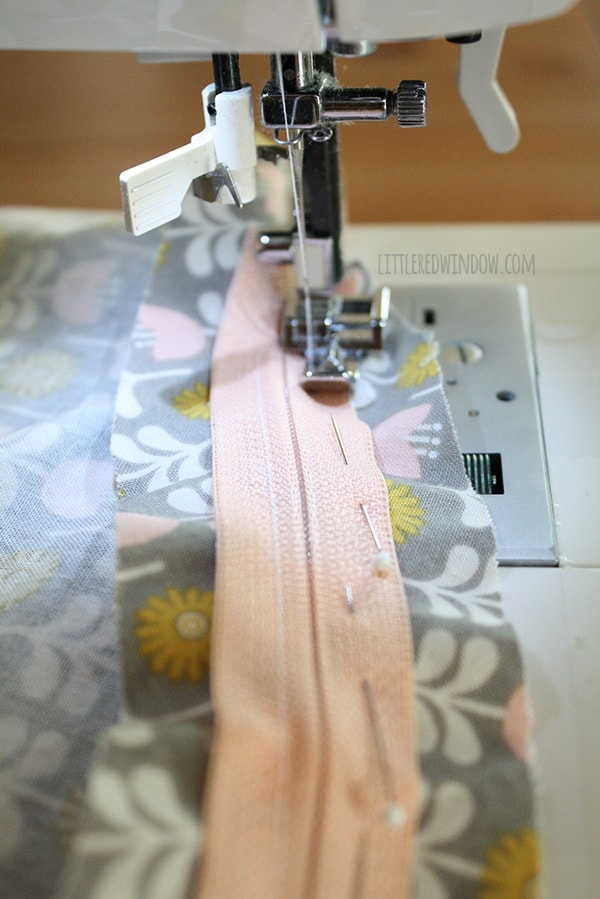
6. Using your zipper foot, carefully sew the zipper in along both sides. Don’t forget to add a few stitches at either end of the zipper to secure it.
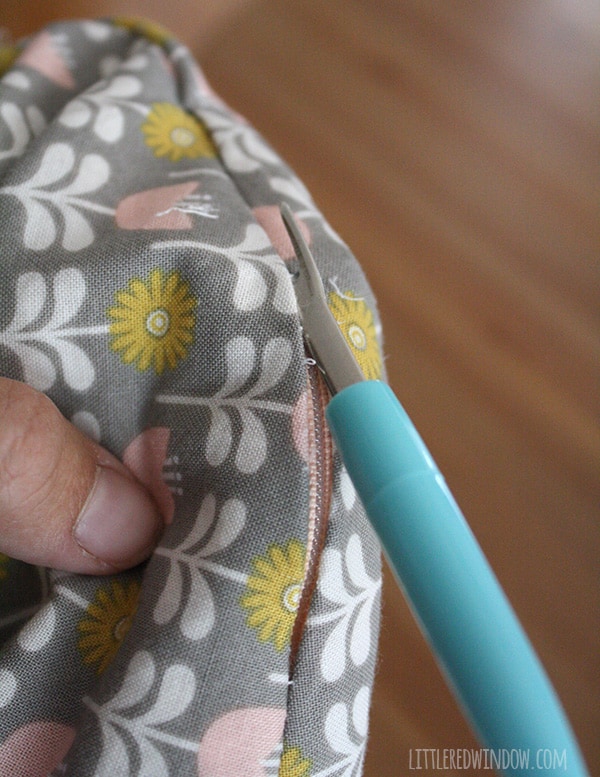
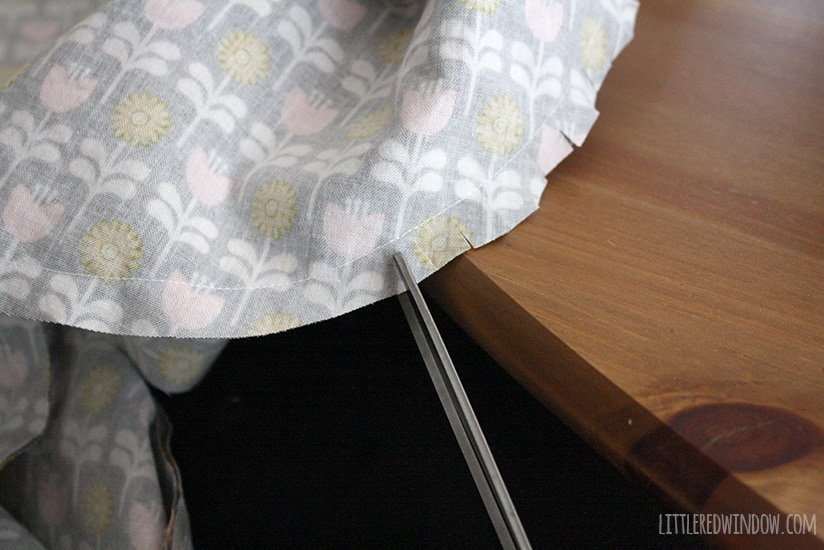
9. Before you turn the pillow cover right side out, clip the seam all the way around. For the curviest areas I clip about 1/4″ apart, up to a 1/2″ on the straighter parts. This will help keep your curves nice and smooth when you turn it right side out. Just be careful not to clip any of your stitches!
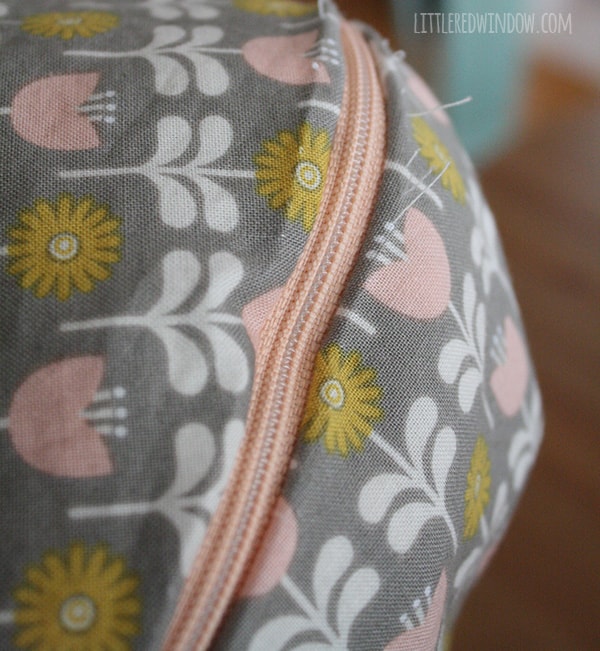
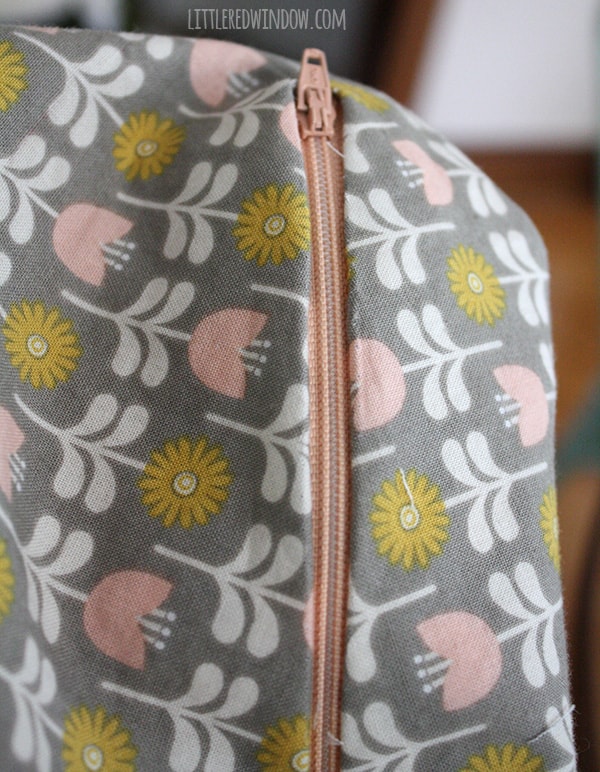
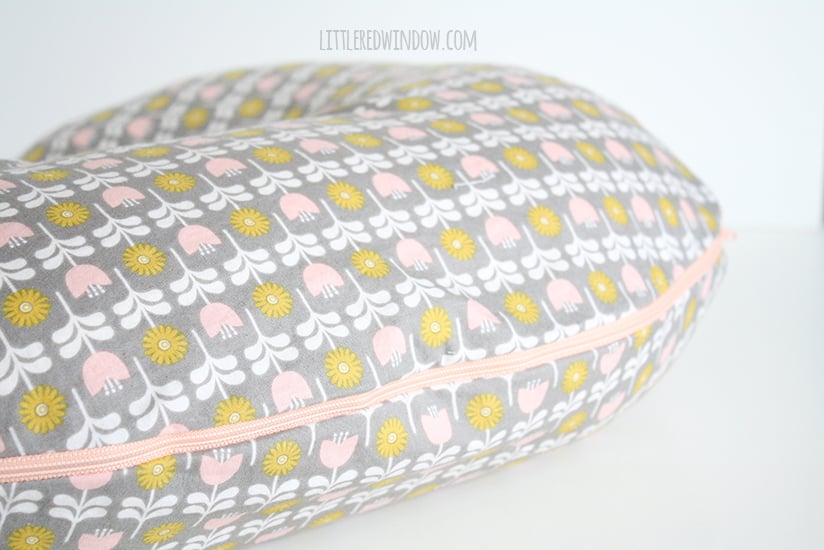
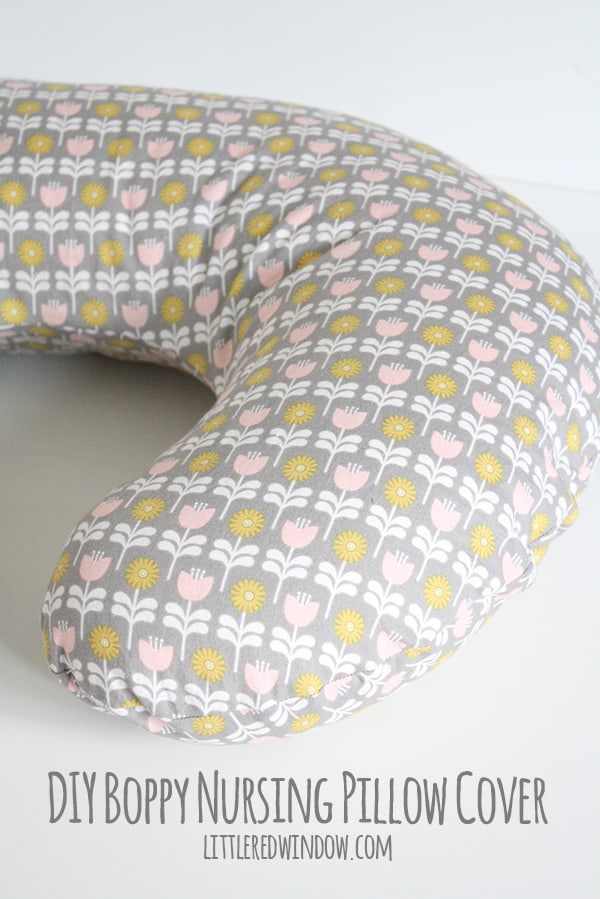
10. Reach in, open the zipper the rest of the way, and turn the pillow cover right side out. Insert your Boppy pillow and zip it back up! That’s it, you’re done!
Make your own customizable Nursing Pillow Cover with this easy and detailed tutorial! As an Amazon Associate and member of other affiliate programs, I earn from qualifying purchases.DIY Boppy Cover Pattern
Instructions
Recommended Products
Tips & Tricks for making your DIY Boppy Cover Pattern…
- Be generous with the seam allowance as you trace your old nursing pillow cover.
- Be sure to clip the curves before you turn your pillow cover right side out, this will make for smoother seams.
- You may want to reinforce seams with a zigzag stitch or a second line of regular stitching. My pillow got heavy use for over a year (with a baby that also got heavier and heavier), it was washed a lot, and by the end, some of the seams were close to splitting.
- If zippers frustrate you, just go really really slowly, you can do it!
If you liked this, you may also like some of my other posts…
- Double Stockinette Stitch Knitting Pattern: Easy How To for Beginners - April 18, 2024
- Fiery Fades Hats Knitting Pattern - April 16, 2024
- Flower Pillow Knitting Pattern - April 11, 2024





Michelle M. says
Help!! My daughter wants me to make a custom cover for a Boppy but we don’t have an old cover to trace. Can you draw an outline and send it to me? I’m happy to pay you for it!
Ginny says
Thanks for the clear step by step instructions, looks to be straightforward process. How did you compensate for the extra gusset piece that the original boppy covers have on the inside curve?
pregnancy pillow says
We’re a gaggle of volunteers and opening a brand new scheme in our community.
Your website provided us with valuable information to work on. You have
done an impressive job and our whole neighborhood will be thankful to you.
Mary Edel says
love this. my daughter has asked me to sew a slip cover for her. baby due in 3wks. can I use an all purpose zipper for this cover? or do you never to use a separating bottom one. not sure I knew that those were made even thanks. mary
Cassie May says
Hi there! As long as you tack over the end of the zipper, any kind should be fine, but all purpose without a separating bottom would certainly be easier to deal with! 🙂
Rebecca Ringquist says
What a great tutorial! I had never done a zipper this way, but was able to figure it out easily. Thanks so much- super cute and quick project.
achini says
Can i know the exactly measurements
Cassie May says
I’m sorry, it depends on your pillow that you want to cover. The tutorial is just for the method, but if read on I tell you how to trace it to create your own pattern! 🙂
Deborah Gonzalez says
How do you secure the ends of the zipper for them to look nice? I triend to stitch the end but I always end up with a hole at the end of the zipper.. do you have a tutorial on this? Other than that it was an amazing an super easy tutorial. Love it!
Thanks!
Cassie May says
Hi! I’m sorry I didn’t see this right away, I will often use a zig zag stitch that’s a bit wider than the width of the zipper and set the length of that stitch as low as possible so I’m basically going back and forth across the end of the zipper without moving forward or back much, until it’s secure. Does that make sense? I hope so! 🙂
Abby says
Just finished mine and it turned out great!!! Thanks for the great instructions!
Jessi says
What a clever way to do the zipper! I can’t wait to try!