Add a quick and easy DIY frame to a plain mirrored bathroom medicine cabinet!
So the building we just moved out of is about 10 years old and built by a condo developer which means that someone in an interior design office probably chose a lot of the standard features and fixtures mostly based on price. Which is totally fine. But that means things like our bathroom medicine cabinet were what we would call “builder basic”. Perfectly acceptable but vanilla, bland and basic. So our medicine cabinet was been one of those things that I pretty much ignored for the last four years.
I ignored it, that is, until one day when I was blow drying my hair when I bumped the lower corner of the mirrored door with my hair dryer (not even hard, I swear!) and a big shard of glass came off. Ugh! This is the kind of home improvement thing I HATE dealing with because unfortunately although the damage was pretty small, the corner was now super sharp. And so you can’t really just leave it that way. Nor is there a medicine cabinet repair company in the phone book to call. And because it was a builder basic medicine cabinet there are no manufacturer’s markings and no way to figure out how to replace only the door. Obviously I’d hate to throw out an entirely functional medicine cabinet just because of a little chipped glass. (And can we take a short pause to also appreciate the *awesome* way the builders dealt with the light switch cover here? (sarcasm intended))
So I looked online and then kind of freaked out about how much medicine cabinets cost. Which is when I stuck my head in the sand, covered the chipped edge with tape and proceeded to ignore it for several months. But we had just sold our condo and my in-laws were moving in so I knew I had to deal with it for them. About a month ago I got some small pieces of wood from my stash and made a DIY frame that covered the sharp chipped edge and actually makes the medicine cabinet look better!
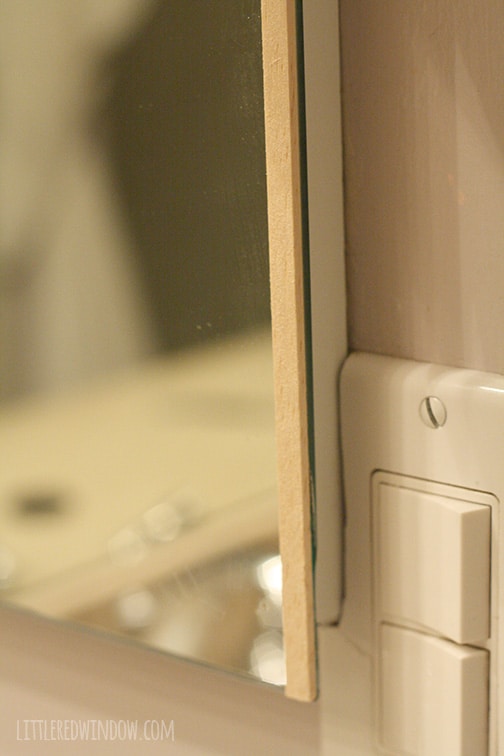
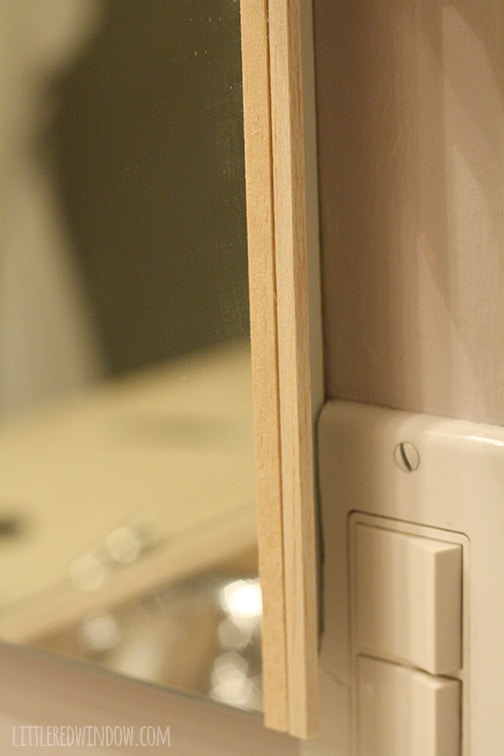
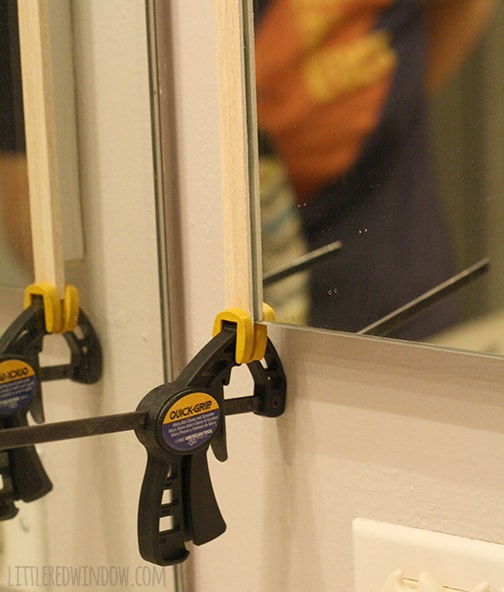
First I held up the wood to see how I was going to use it. I decided that I would have two pieces on each edge, one that sat on the front face…
and one that wrapped around to cover the edge of the glass.
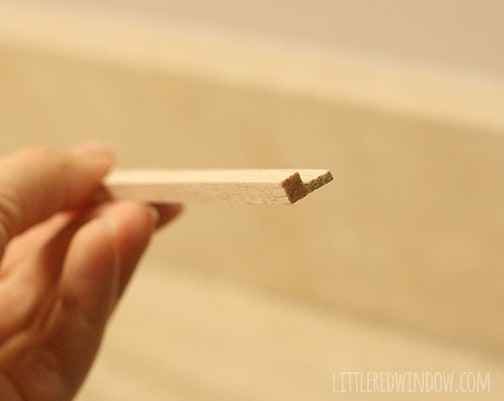
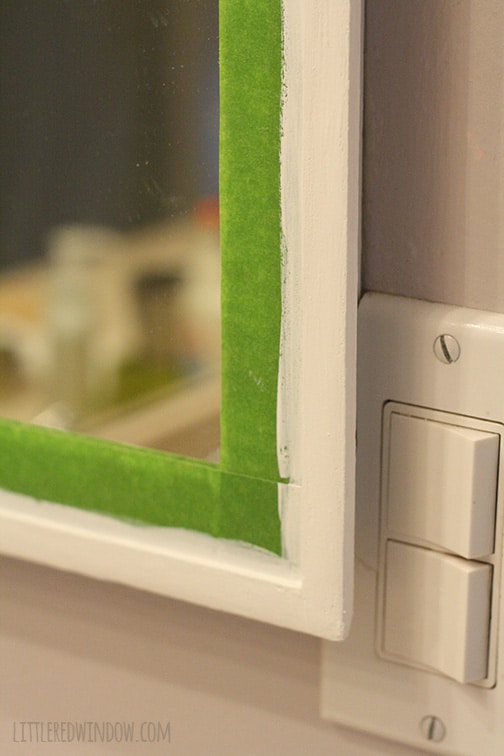
I let that dry for 24 hours and then made the top and bottom pieces. Because they needed to cover the raw bottom edges of the vertical pieces, they looked like this:
The finished product! A more polished looking medicine cabinet and no more sharp, pointy edge! Hooray!
If you liked this, you may like some of my other posts…
- 10 Tips for Organizing Your Craft Supplies On a Budget - April 25, 2024
- Rib Zag Hat Knitting Pattern - April 23, 2024
- Double Stockinette Stitch Knitting Pattern: Easy How To for Beginners - April 18, 2024








bet169 says
Wow, what a difference! Thanks for stopping by our Cook it! Craft it! Share it! Link Party. I hope you can join us tonight at 8:30 PM EST – Doree
dagatructiep79 says
I loved your article.Really thank you! Cool.
choi da ga says
Thank you, I have just been looking for info approximately this topic for
a while and yours is the greatest I’ve found out till now.
Catie says
Thanks for sharing! What width trim did you use here and how did you cut the wood?
Cassie May says
Hi! It’s about an inch wide and I just cut it with a little hacksaw and miter box by hand. 🙂
Daniella says
You inspire me in my work
Professional Drain Cleaning Rods says
Hey There. I discovered your blog thee use of msn.
That is ann extremely smartly written article.
I will mae sure to bookmark it and return to read more of your helpful info.
Thank you for the post. I’ll certainly comeback.
Silvia says
Nice post. I learn something new and challenging on blogs I stumbleupon everyday.
It will always be helpful to read articles from other writers and use something from other web sites.
Free website analytics says
The Great Barrier Reef is composed oof many reefs inside great reef; in fact there are
over a known 3,000 reefs within The Great Barrier Reef.
Find the proper people to dive with, discover a fantastic dive spot that fits your
preferences (whether macro, to see small sea creatures, or see bigger fish) and
nearby sspa facilities to sooth your body aches from a dive – it’s a wonderful combination that may almost
always ensure a gfeat scuba diving experience. Pulau Mantanani (Mantanani Island, 45nm north of Kota Kinabalu).
my webste – Free website analytics
Soundcloud Hd downloader says
Pretty! This was a really wonderful post. Thanks for providing
this information.
Evelyne says
I absolutely love your blog and find many of your post’s to be just what I’m looking for.
Would you offer guest writers to write content in your case?
I wouldn’t mind creating a post or elaborating on some of the subjects you write related to here.
Again, awesome blog!
Debbie Smith says
I love your fix for your mirror. You added so much with just a small bit of trim, thanks for sharing.
Doree says
Wow, what a difference! Thanks for stopping by our Cook it! Craft it! Share it! Link Party. I hope you can join us tonight at 8:30 PM EST – Doree
Val says
What a difference a little trim can make! That looks really good Cassie!
Stopping by from Friday Link Party @ The Pin Junkie.
Val @ artsybuildinglady.blogspot.ca