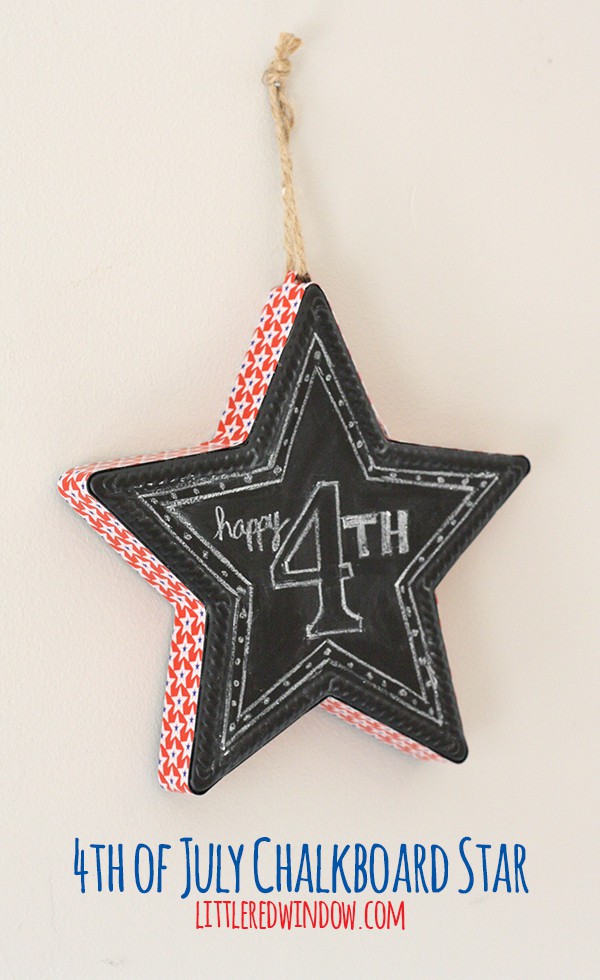
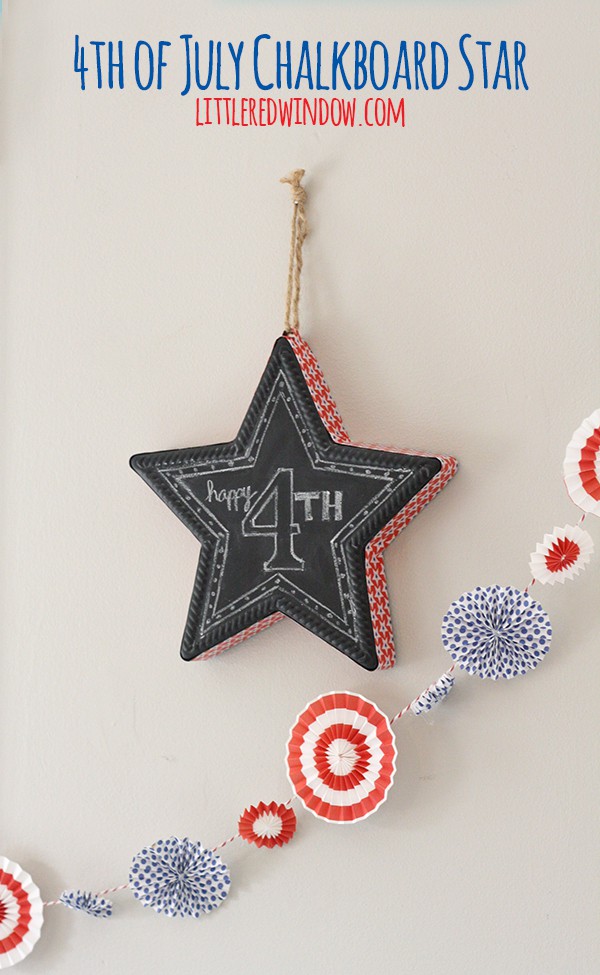
Customize a cheap metal chalkboard star for the 4th of July!
I made a couple pieces of 4th of July decor last year but something about our house, I think it’s the awesome front porch, just begs for 4th of July sparkle. So when I saw this little metal hanging chalkboard star in the dollar section at Target (it was actually a $3 item) I grabbed it. And then a couple weeks later, I spotted some very cute patriotic duct tape for $1. So I picked up some of that to take my little chalkboard star from drab to patriotic!
I wasn’t sure how easy duct tape would be to work with, but it turned out it was a piece of cake! Here’s how I did it!
DIY 4th of July Chalkboard Star
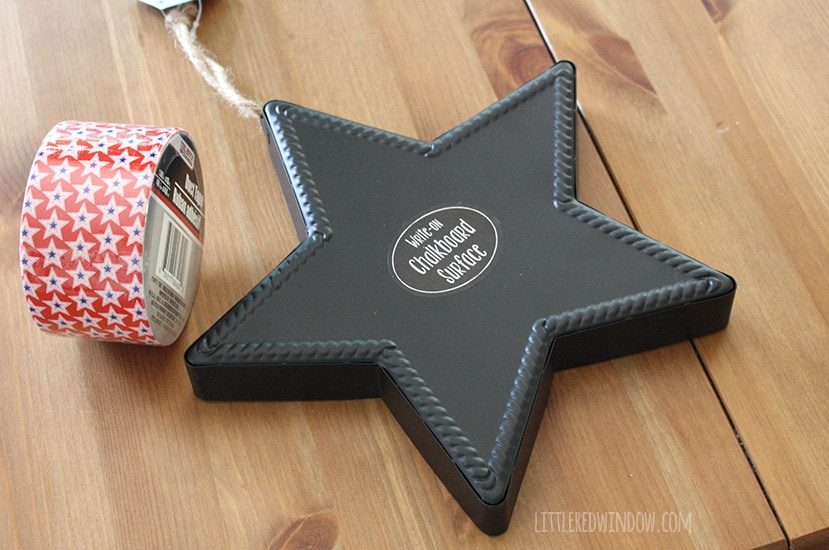
Metal Chalkboard Star
Patterned duct tape
Chalk
1. First, take the string off the chalkboard star. Then start carefully applying the duct tape to the edges of the star. My star had a straight metal edge on the side which made it pretty easy to apply straight.
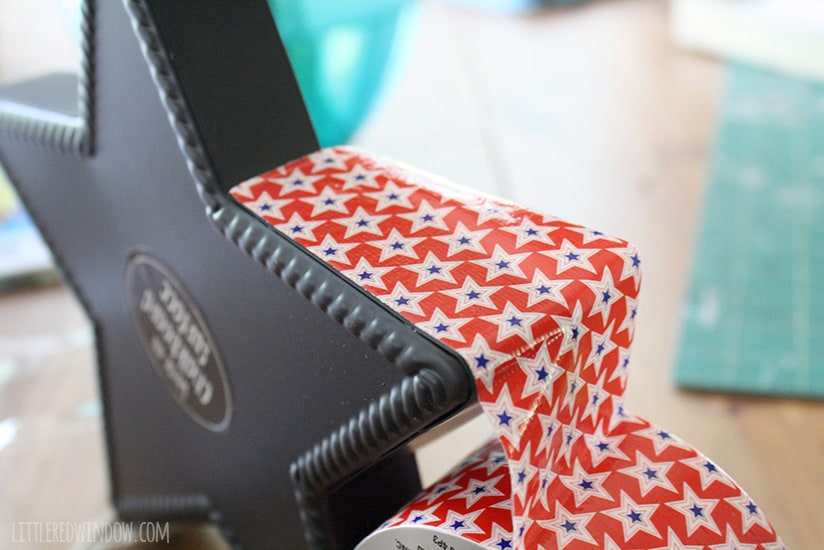
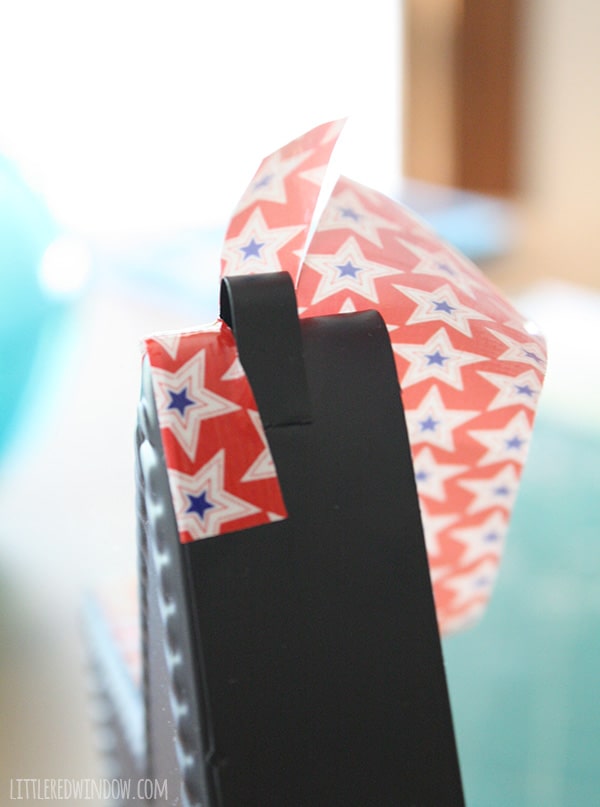
2. Continue on around the star, making sure your tape is smooth. Allow extra to just hang off the back. When you come to the part of the star where the hanging string is attached, cut the tape long enough to cover this area, but don’t stick it down yet.
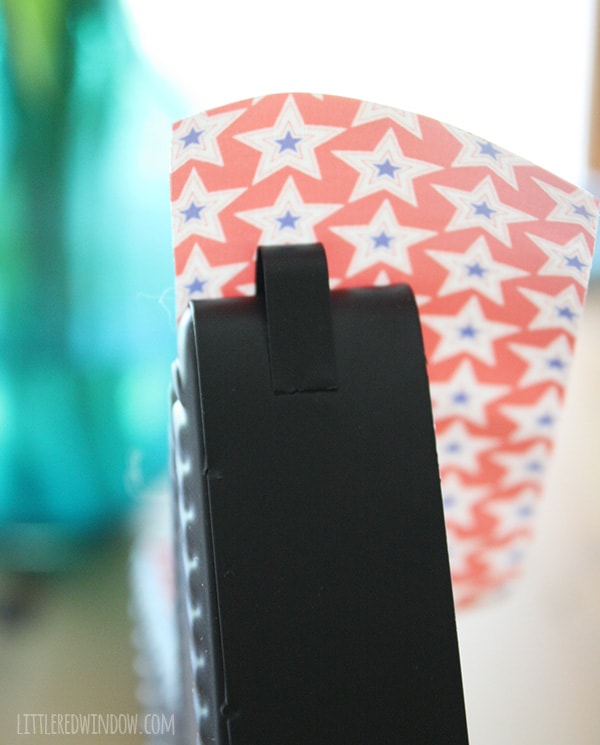
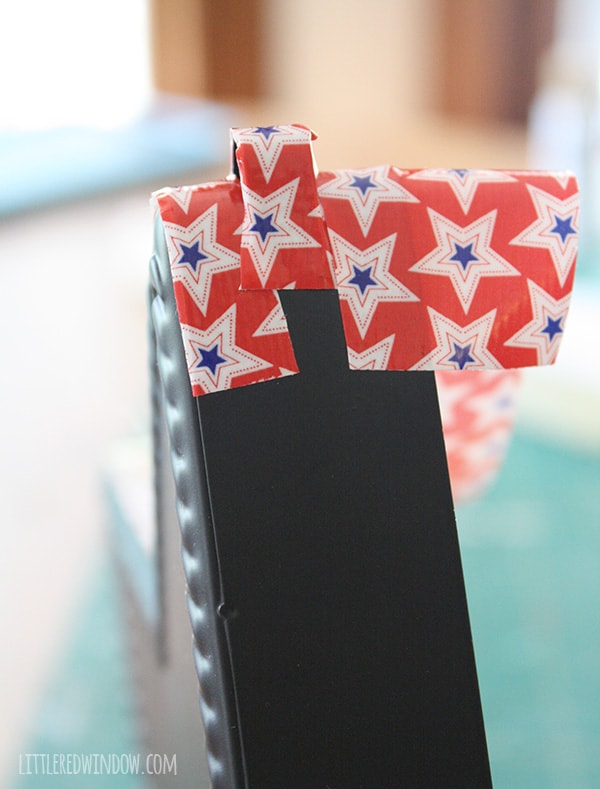
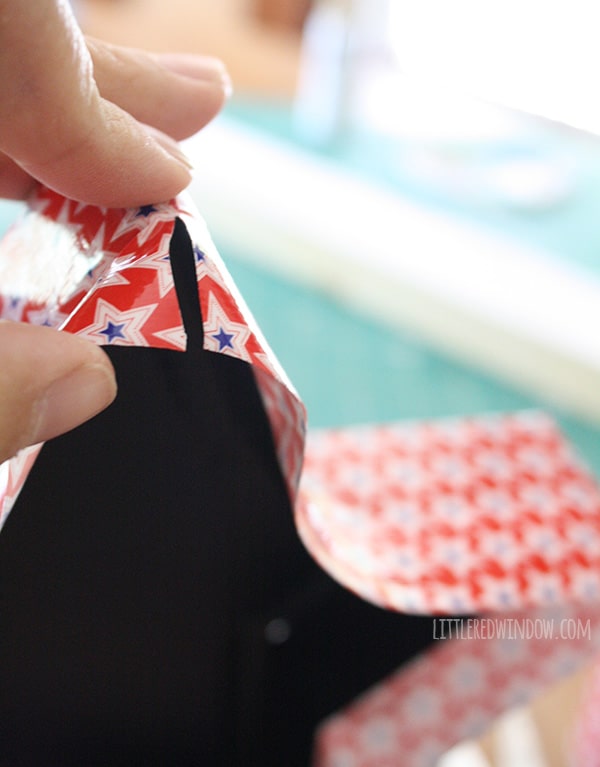
3. Make a vertical cut with scissors to split the tape so that it will follow the contours of the hanging loop.
4. Now apply a new piece of tape to cover those rough edges. Trust me, you won’t even notice when it’s finished.
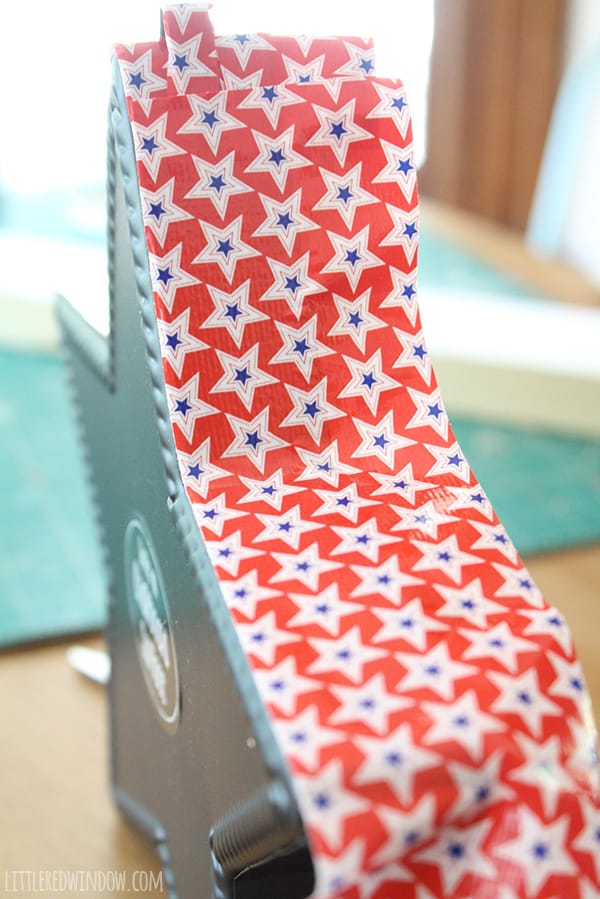
5. When you’ve gone all the way around the star and are back to where you started, cut the tape and stick the end down as close to the beginning edge as possible.
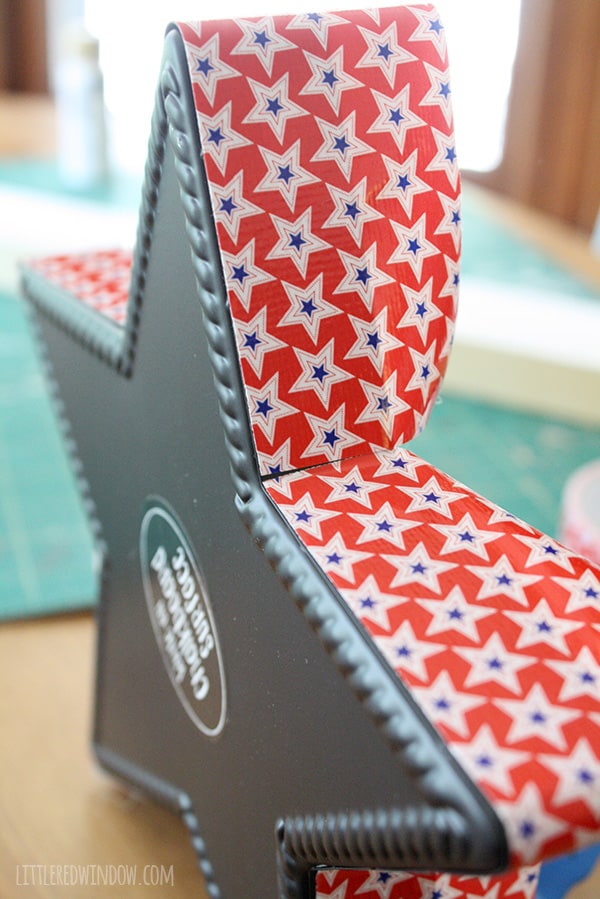
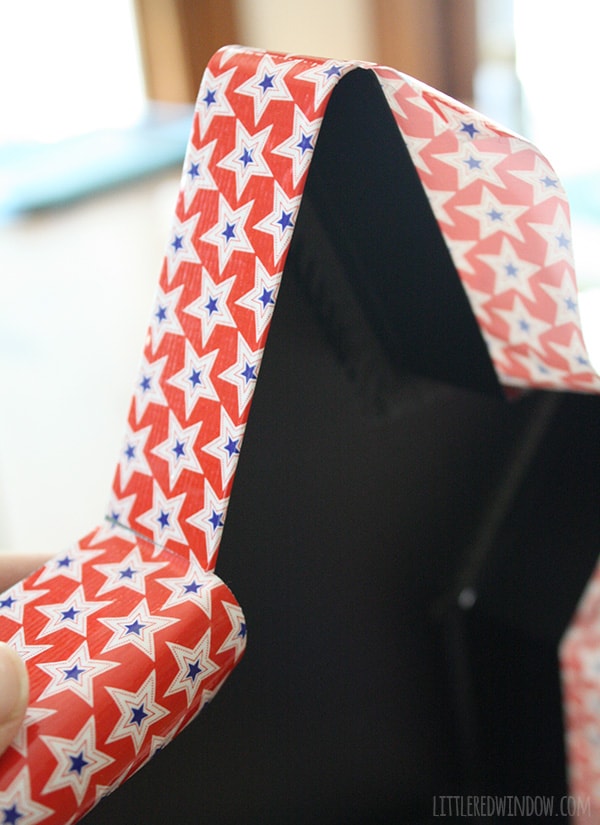
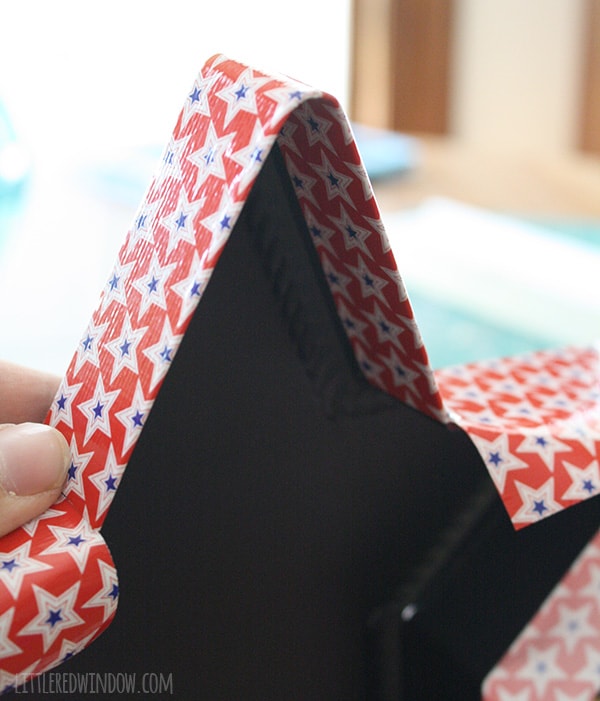
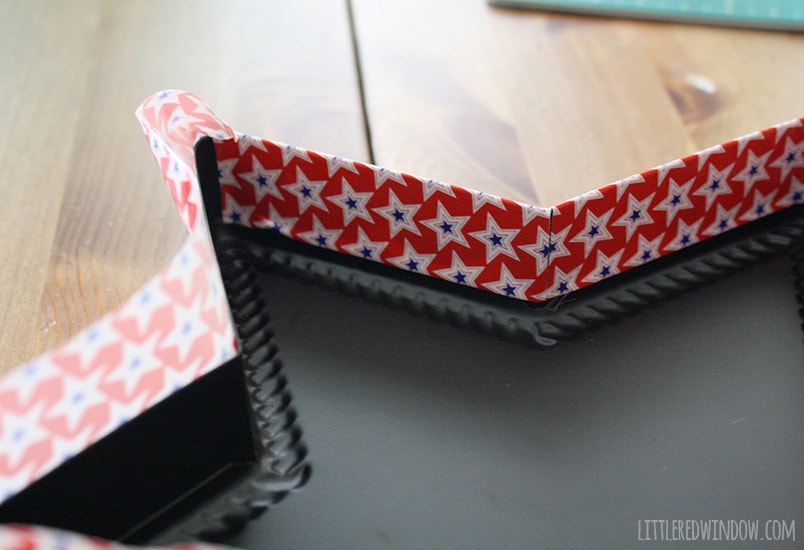
6. Now because the duct tape was wider than the edge of the star, I have quite a bit hanging off the back. You could try and cut that off but I figured that would be tricky, hard to get a nice edge and had a higher chance of getting tape stuck to itself. Which, if you’ve ever used duct tape, you know is a disaster. Once duct tape sticks to itself, you’re in trouble! So I decided to wrap it around the back edge instead. At each point and interior corner of the star shape, I cut a slit, with scissors, in the tape. This left me with flaps that were as long as each side of the star. I carefully wrapped those around the edge and inside. Repeat until all edges are covered.
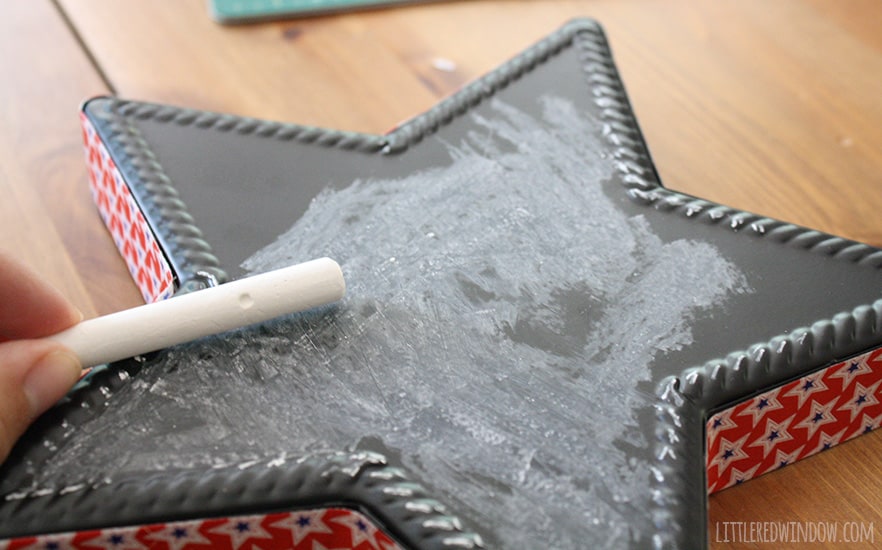
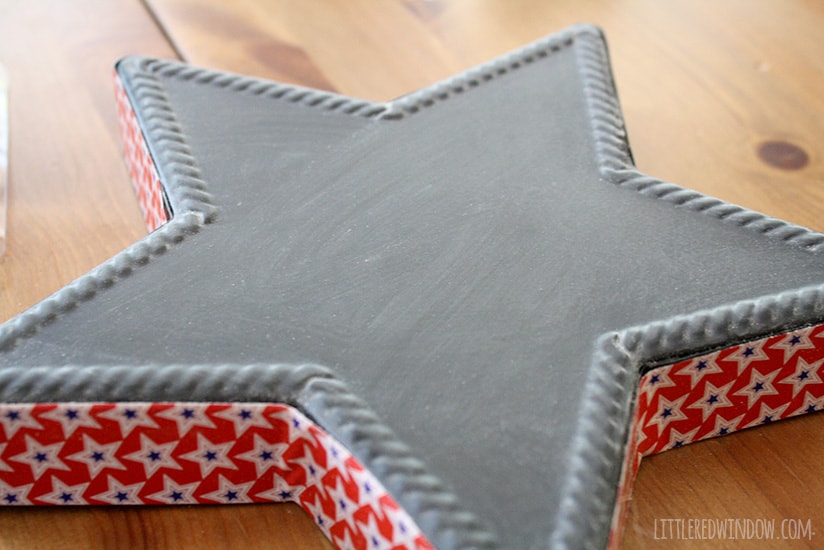
7. Decide what you’re going to write or draw on your star, but before you start, make sure to rub the entire thing with the side of a piece of chalk and wipe it clean with a tissue. This primes the chalkboard and prevents your first drawing from leaving permanent marks.
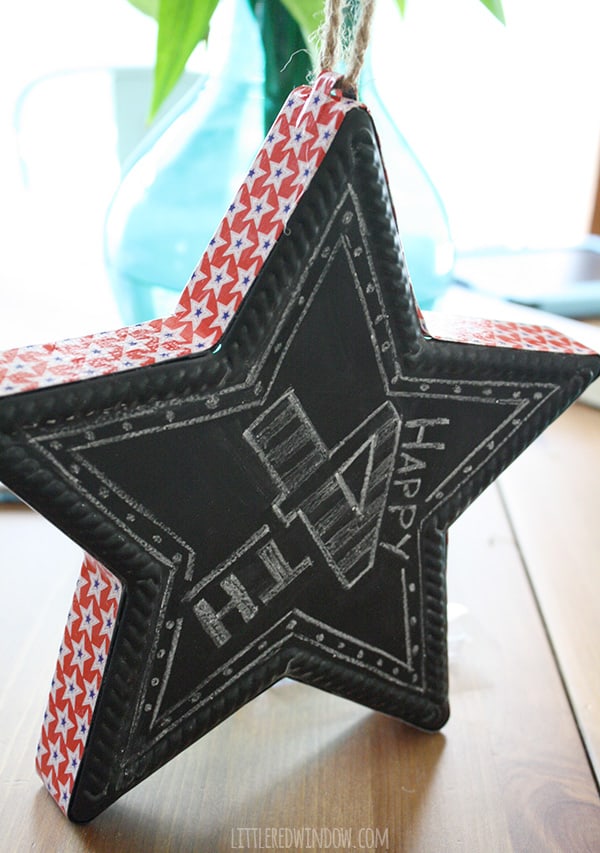
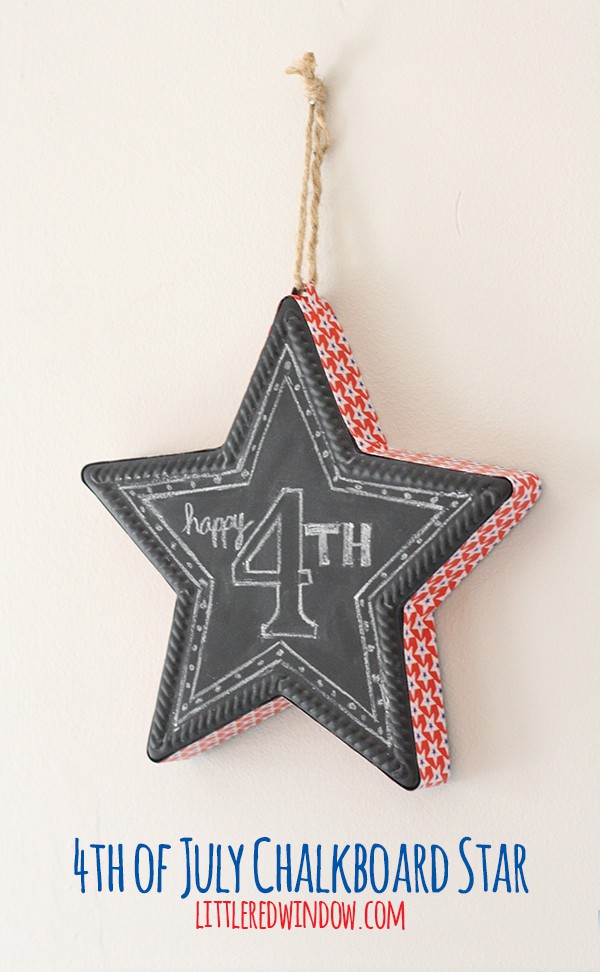
8. THEN, use your brain and sketch your design right side up. Because apparently I wasn’t paying attention, my first sketch was not alligned with which way the star actually hangs. Doh! So I tried again and this time, got it right!
Enjoy your pretty little patriotic chalkboard star!
If you liked this, you may also like some of my other posts…
- 10 Tips for Organizing Your Craft Supplies On a Budget - April 25, 2024
- Rib Zag Hat Knitting Pattern - April 23, 2024
- Double Stockinette Stitch Knitting Pattern: Easy How To for Beginners - April 18, 2024



Leave a Reply