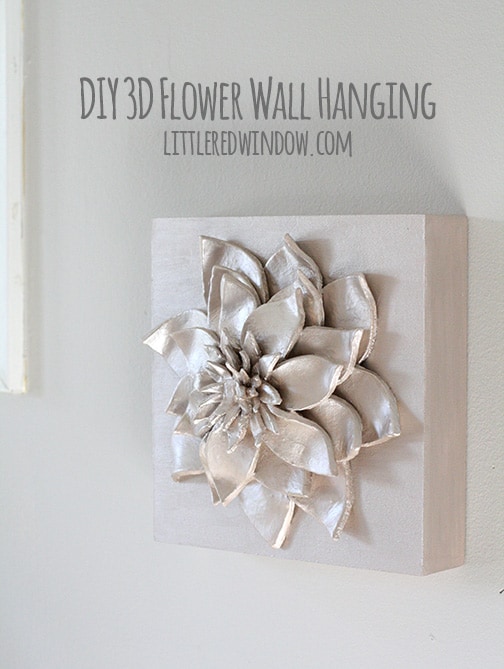
Make a gorgeous 3D Flower Wall Hanging with simple materials! | littleredwindow.com
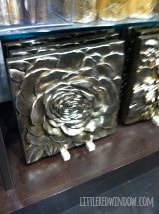
A couple months ago, Aa and were on rare couple date to the movies and we were a little early so we wandered into a chain home decorating store next to the movie theater. Most of the store was kind of fancy for a family with a small child but there were a few things that caught my eye, one of which was a really cool 3D flower wall hanging. I apologize in advance for this terrible and tiny phone pic.
DIY 3D Flower Wall Hanging
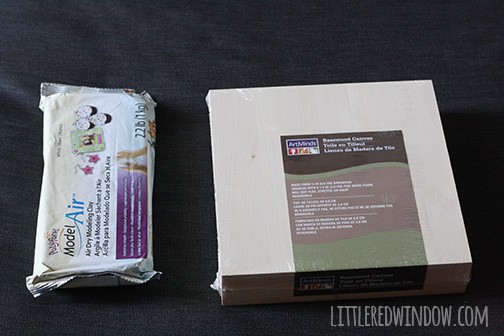
1 basswood canvas (in the fine art painting section)
Acrylic Craft Paint
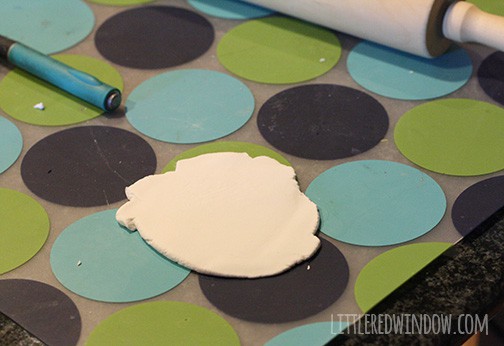
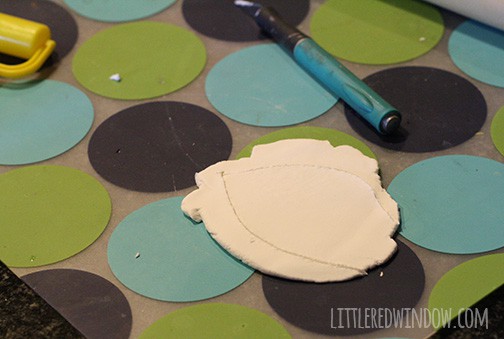
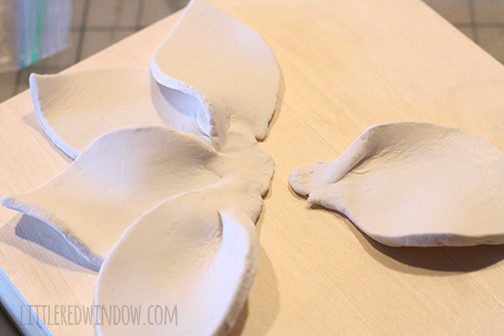
2. Then using the back of the blade, I cut a petal-ish sort of shape.
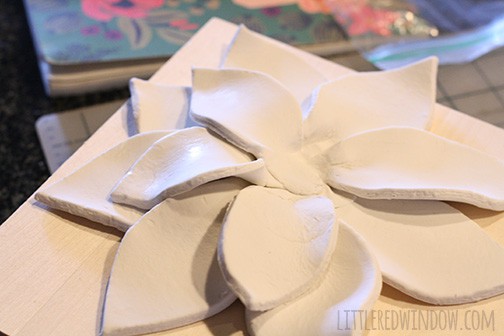
5. Repeat with more layers, each with progressively smaller petals until your flower looks full.
6. Then let it dry for as long as you can. I would suggest at least 24 hours. Mine actually dried for about two weeks because we moved to our new house mid-project! If you can, lift it up onto something small, I set mine on 4 wooden spools, so air can circulate underneath and it will dry faster.
7. Smooth any rough areas or edges with an emory board or sandpaper.
8. Paint with acrylic craft paint. I used Martha Stewart metallic in Champagne.
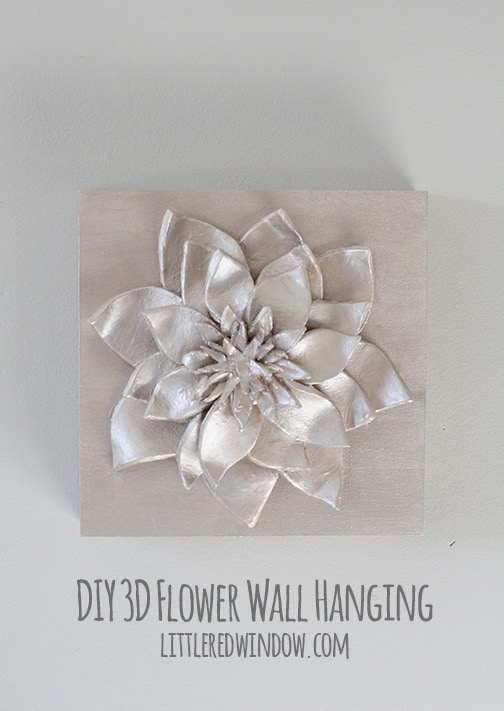
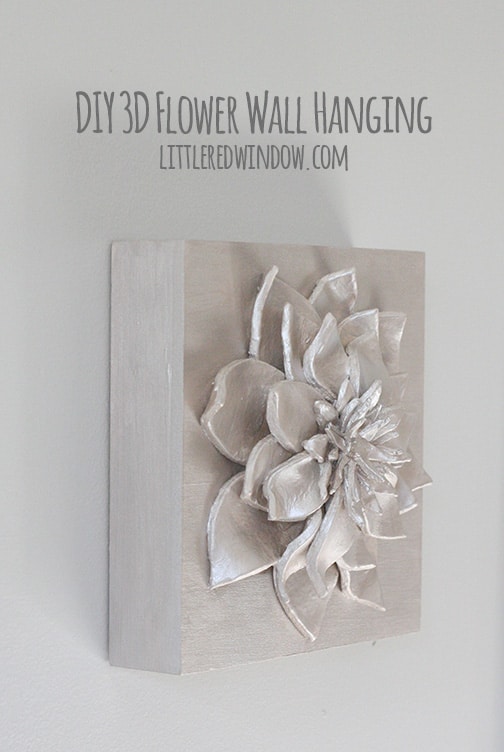
9. I also gave a coat of the same color paint to the basswood canvas and then glued the flower to the wood using some construction glue intended for gluing odd things together. It was the same glue I used in to attach my DIY Mirrored Bathroom Cabinet Frame. Allow this to dry for as long as the glue recommends. In my case, that was overnight. And here’s the finished product:
If you liked this, you may also like some of my other posts…
- Mallard Duck Hat Knitting Pattern - April 30, 2024
- 10 Tips for Organizing Your Craft Supplies On a Budget - April 25, 2024
- Rib Zag Hat Knitting Pattern - April 23, 2024





Elaine says
Hi, I was just wondering how large this flower is. I’d like to make one a foot wide and I don’t know if just one package of air clay would be sufficient. Actually, what’s the weight on the package you used?
Cassie May says
Hi!
I’d say mine is about 8 inches square. And the clay came in a package of 2.2 lbs (1kg). But I’m pretty sure I didn’t use the whole thing. The flower is fairly heavy though. And the bigger you make it the longer it will take to dry. We moved in the middle of making this so mine dried for over a week. And you won’t want to try to glue it to the wood until it’s 100% dry or it will probably fall off or fall apart. I haven’t tried it but I wonder if maybe some of that light weight modeling clay you can find might be better for you? Maybe do a trial run with some of that? Let me know how it goes! Cassie
Linda B. says
Hi Again Cassie May,
As you know from my previous note, I really love this metallic flower you made. BUT, I was unsuccessful making one nearly as beautiful as yours. I know you are not ‘in business’ this way, but I was just thinking out loud and wondering if you would consider making a pair of these for me. And, if so, how much you would charge. As I said, just thinking out loud. I may try again.
Thanks.
Linda B.
Cassie May says
Oh gosh, I wish I had the time Linda! Thank you so mush for the compliments!
Linda Barker says
It’s Linda B. again Cassie May. I’m about to start on my project and have another question never having worked with air dry clay. When you are assembling the flower do the petals stick to themselves or do they have to be glued to each other?
Thanks.
Linda B.
Cassie May says
Mine stuck to themselves with a little smoothing and some water. But it probably depends on the brand of clay you’re using. If it doesn’t have any instructions, I would do a little experiment. Also, I can’t remember if I said in the post, but this took a LONG time to fully dry because it gets so thick in the middle. If you’re in a time crunch, you’re right, you could make all the petals separately, let them dry and then glue them together.
Linda Barker says
This piece is stunning and I want it right now!! Since that can’t happen I want to make one. However, I am a very uncrafty person and need further instructions. Is there a more detailed tutorial somewhere that may even give me templates for the petals.
Thanks so much.
Linda B.
Cassie May says
Sorry Linda, this is as detailed as I’ve got. The petals are really just wide on one end and pointy at the other, it doesn’t have to be perfect and it’s a very forgiving project. It’ll still look cool even if you don’t do it exactly the same way I did. good luck 🙂
Linda Barker says
Thanks, Cassie May! I’ll try just ‘winging’ it and see what happens! I’ll keep you posted.
Theresa @DearCreatives says
Such a great idea! & love the color choice too. Thanks for sharing at the party @DearCreatives Pinned
Ashley @ PioneerMomma.com says
Absolutely gorgeous. It looks better than the expensive one you originally found! Side note, I recently picked up some of that air dry clay for a December project and I’m happy to see it works so well! Thanks so much for sharing, your post will be featured in tonight’s What’d You Do This Weekend. Pinned 🙂
Cassie May says
Thanks Ashley, yes, I was really pleasantly surprised by the clay. I’ve used other kinds before that were hard to work with or smelled weird, this one was just right!
Katie Goldsworthy says
So cool! Pinning to the Monday Funday board! Thanks for sharing it.
Kelly says
I am so impressed with this–the tutorial and the finished product! Beautiful!
Cassie May says
Thanks Kelly!!
Jamie Asper says
What a cool wall hanging! I love your tutorial. You make it look easy but I’m sure I wouldn’t have an easy time with it! 🙂 Congrats on the Brag About It link party feature! ~ Jamie
Bre @ Average But Inspired says
CASSIE!!!! This might be my favorite project of yours ever! It is so gorgeous!!!! The clay is a genius idea! Thank you so much for linking at On Display Thursday as well!
Cassie May says
Aw, thanks Bre!!
Judith says
This is beautiful! Thanks for posting step by step instructions. Definitely pinning for inspiration!
Katie Adams says
Thanks for linking to Create Link Inspire at The Crafty Blog Stalker. You have been featured and pinned! Thank you for sharing.
–Katie, TheCraftyBlogStalker.com
Debbie says
GORGEOUS!!! Wow!!! Thank you for sharing the tutorial. I look forward to making one myself!
Adrian says
These look easy enough for me to make! Love ’em! Thank you for sharing with us at Hump Day Happenings:)
Megin says
Amazing!
Thank you for sharing your post this week at Brag About It Link Party on VMG206. I’m featuring you at Next Weeks Brag About It Link Party, Monday at midnight!
~ Megin of VMG206
Amanda @ Dwelling in Happiness says
This is SO cool!! What a neat idea, I’ve never seen anything like it! I really like yours better than the one in the store! 🙂 Great job!!
Cassie May says
Thanks Amanda!!
Mandee Thomas says
Absolutely beautiful! Great work 🙂 I wanted to let you know that this post is being featured tonight at the Create & Share Link Party (7:00 PM MST)! Congratulations!!! Can’t wait to see what you share with us this week 🙂 http://www.designsbymissmandee.com/