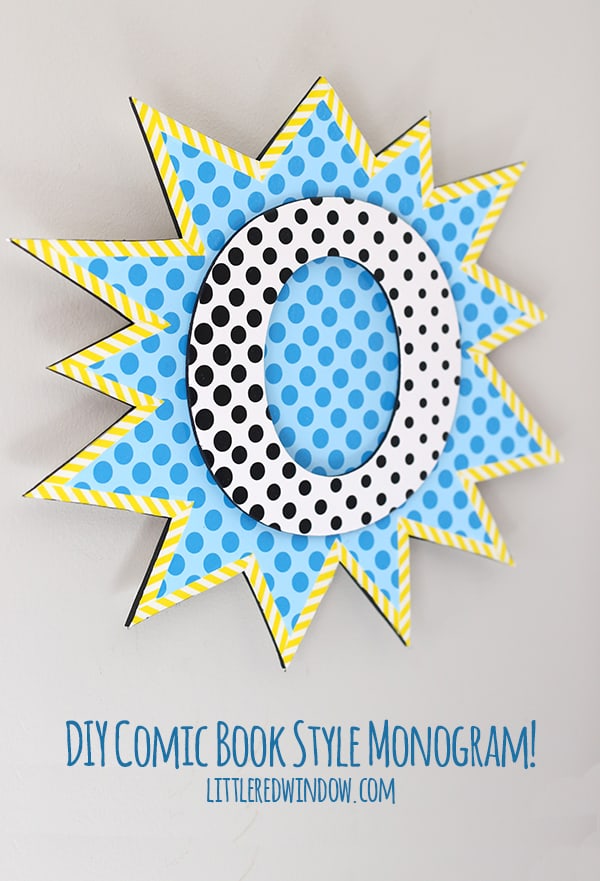
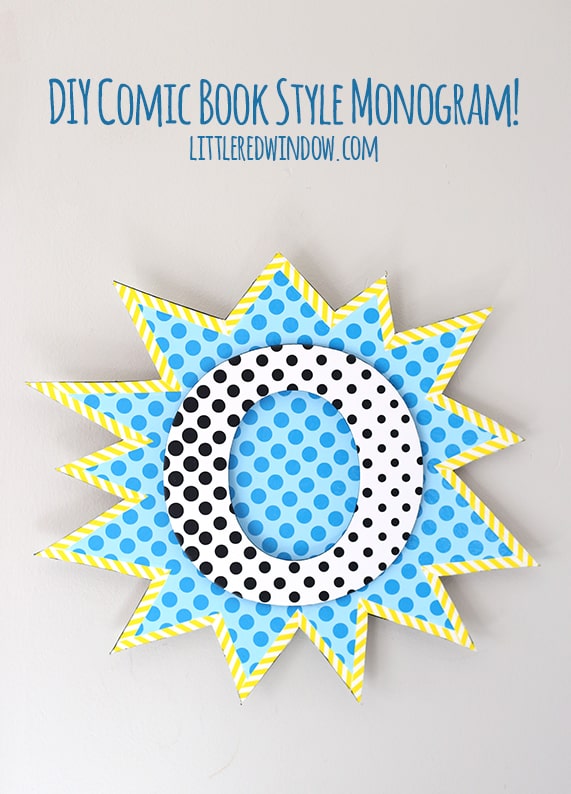
Make this graphic comic book style monogram for your favorite superhero!
So when we moved into our new (ish) house, O’s was in the little room still in a toddler bed. And after we removed the weird closet in there, he had patched walls and it was kind of a mess. I did hang all the old art from his nursery. And he had the same rug and bedding and everything, but it still wasn’t great. And you know what? He totally didn’t care because he was 4. But then once Baby V was on the way, he moved into the bigger guest room and into a big kid bed and suddenly we needed new bedding and the art we had up in his old room looked really tiny on what was suddenly like 4 times as much wall space. It was sad. And while he still didn’t really care, I did. So, long story short, I found a bedspread I loved from target and that was the start of the new room. It’s a graphic charcoal and white geometric pattern and then I got sheets with dark gray little x’s on them. We also kept the same green and blue rug and so now we are slowly transitioning it from baby to bigger kid while generally keeping in the same color family, green and blue plus dark gray/white geometric. I like that kind of decorating where you build on/edit existing decor to turn it into something new because while I looooove designing rooms I am also a cheapskate and can’t stomach replacing everything in a room at once.
So after we spent a weekend installing these awesome decals, I decided the new theme for his room would be something I’m going to call “understated superhero”. Which is superhero-esque without any name brand superheroes or any bright primary colors. So he gets the joy of superheroes and I get the joy of stuff that’s not covered in garish characters and retina-blinding colors. It’s a good compromise!
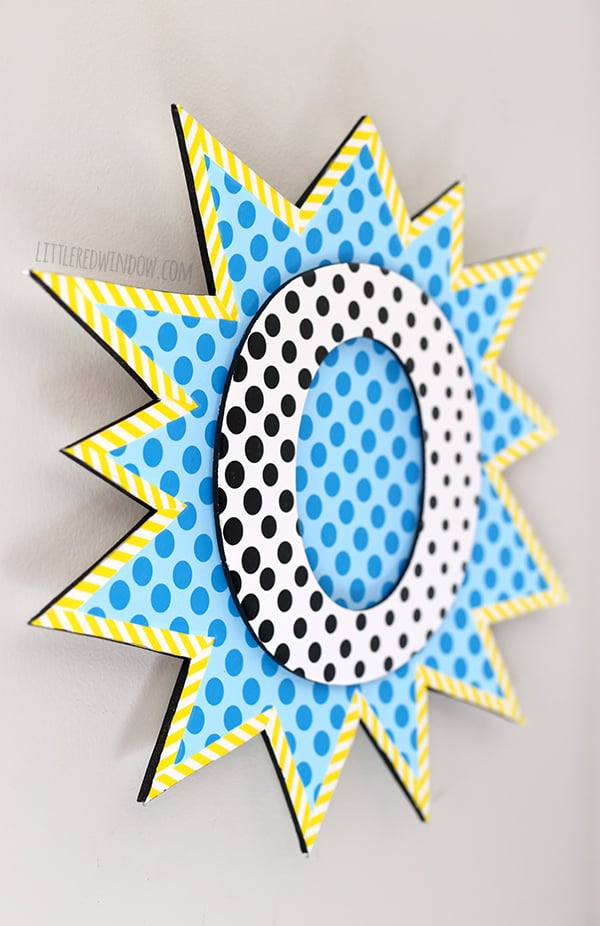
Anyway, the decals helped, but we still had a lot of empty wall space so I had, over time accumulated a little pile of letter O’s with the intention of doing a monogram gallery wall type of thing. This awesome comic book style monogram is the first part of that and I seriously think it turned out so cool. It’s modern and superhero-related but within my color scheme and totally unique. Plus it was cheap so extra double win! Here’s how I made it…
Comic Book Style Superhero Monogram
Adhesive vinyl in blue and black (if you don’t have vinyl you could also use pre-made dot stickers like these!
Transfer tape or clear contact paper
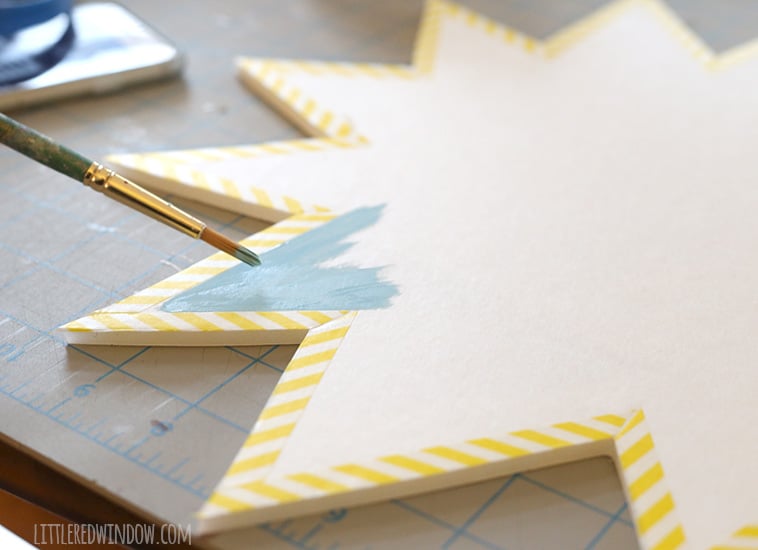
Light blue acrylic craft paint
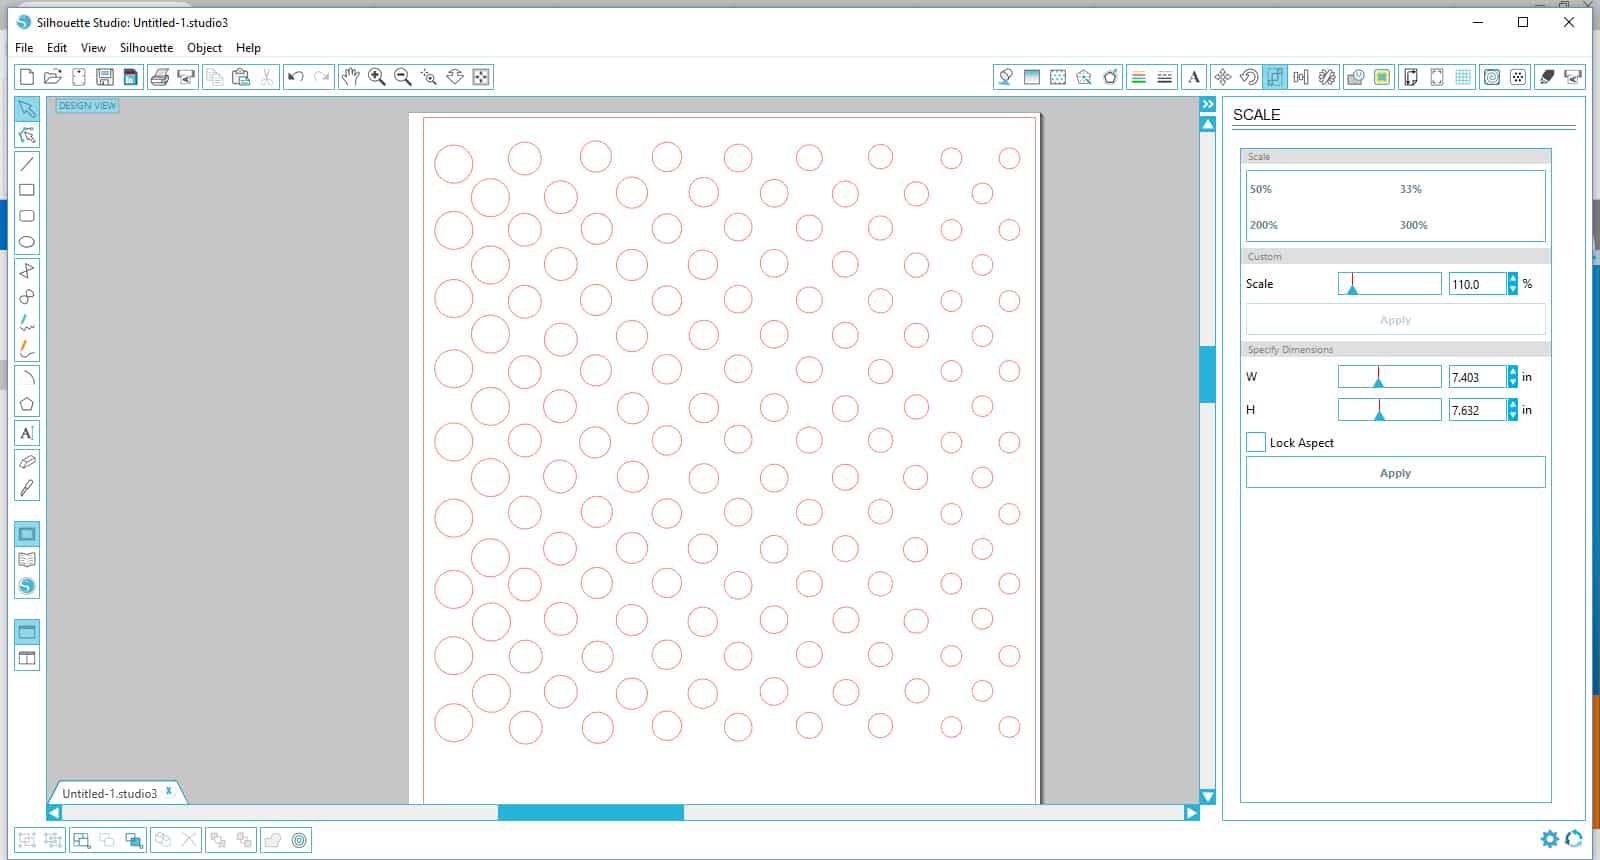
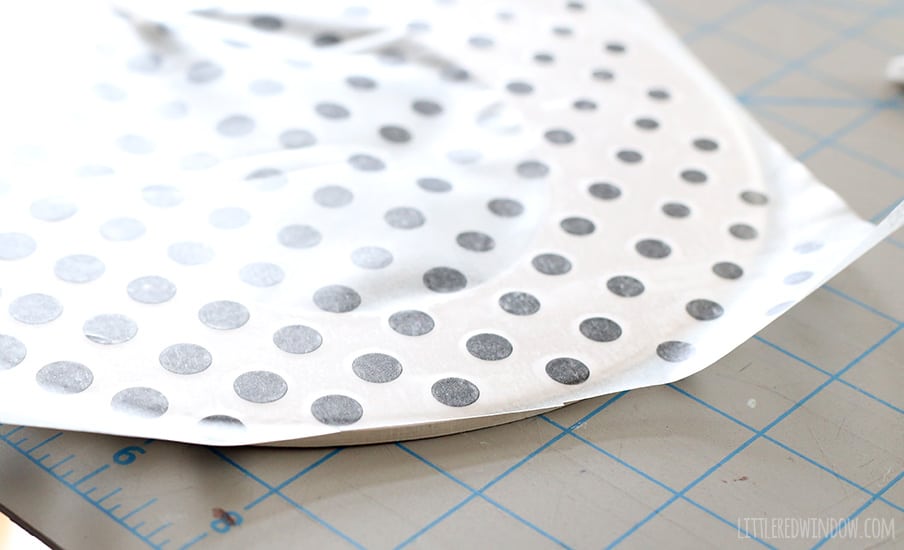
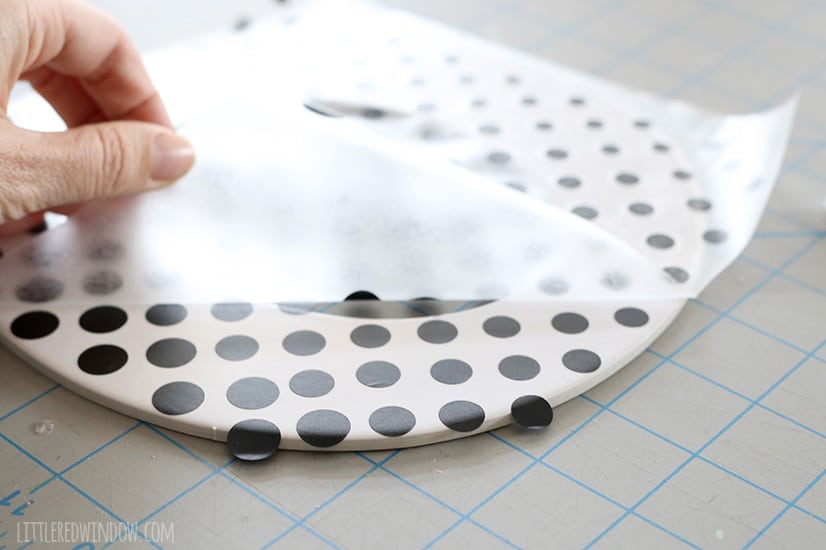
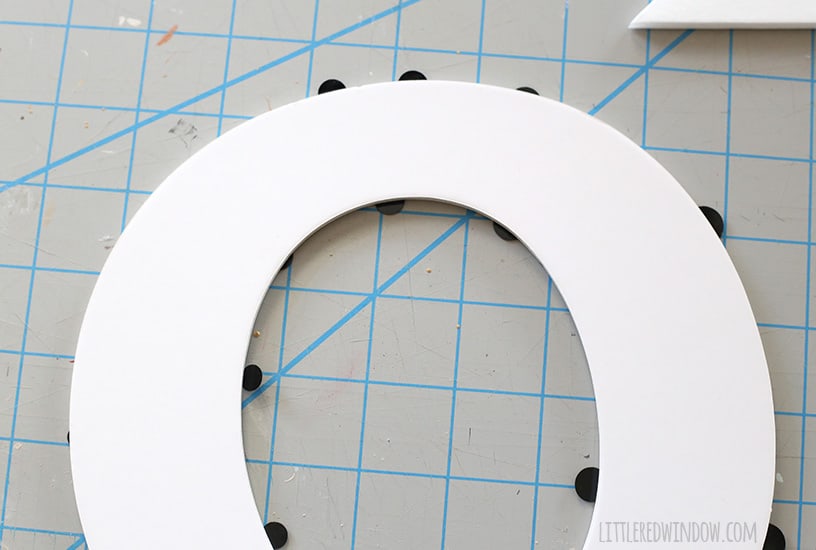
1. I started by adding the dot pattern to the chipboard letter. I wanted it to have a pop art comic book style ombre effect; kind of Lichtenstein-y (that should really be a word). So I created a dot pattern using my Silhouette Cameo software and then just scaled it down across the grid. If you’re using dot stickers then just go ahead and apply them in a grid pattern and skip ahead!
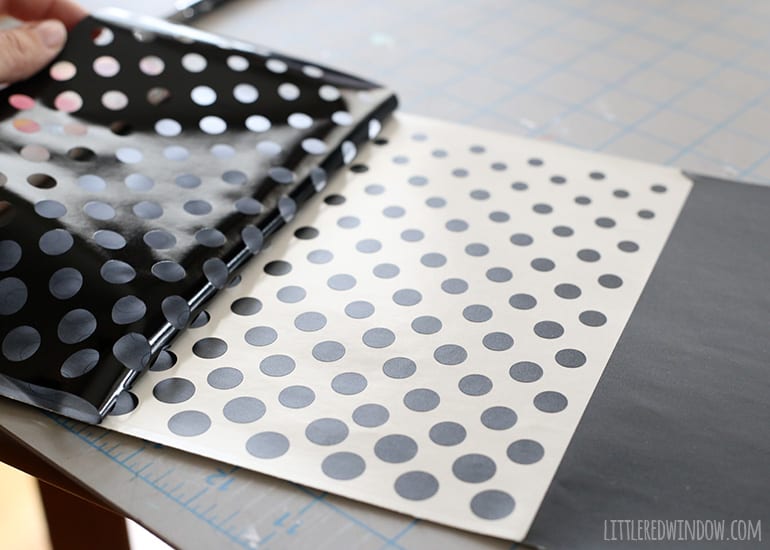
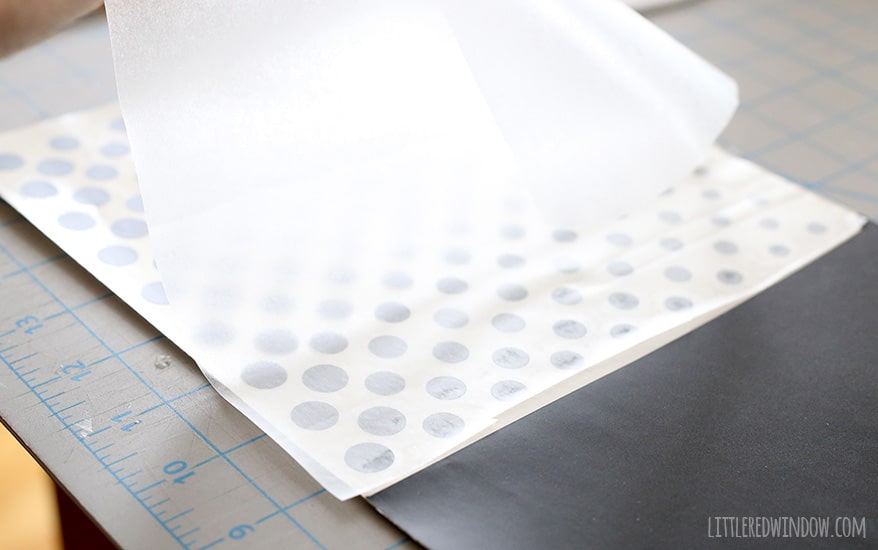
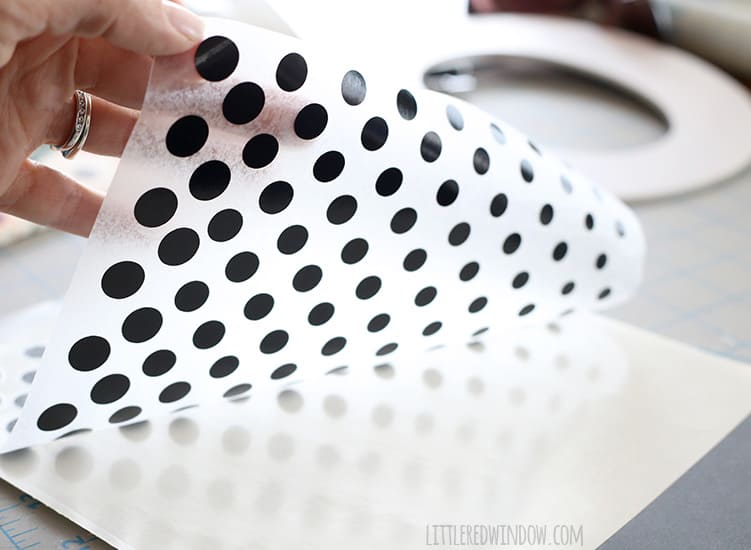
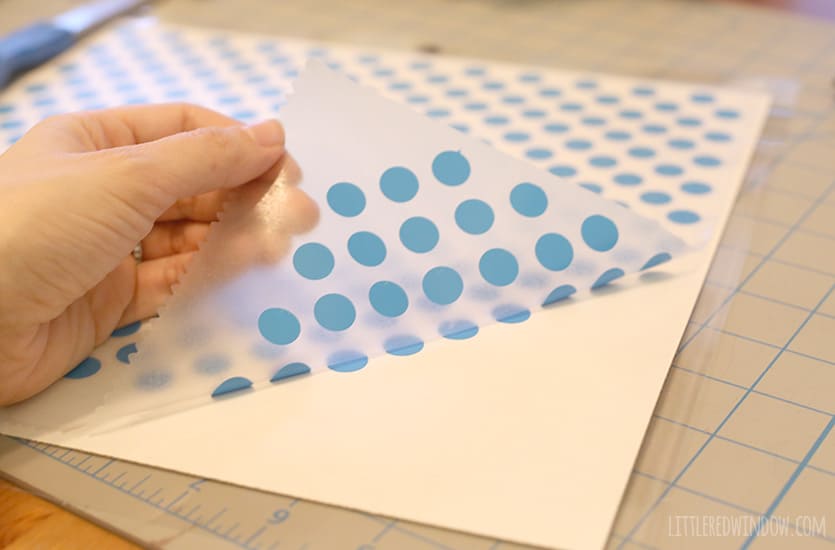
2. I cut this pattern from black vinyl using a blade setting of 1, a speed of 2 and a width of 10. Go get a snack, it takes a while! Then peel away the negative space background. (I actually saved this piece in case I want to use this pattern as a stencil on some other project later, I just stuck it back down to the vinyl backing after I picked up all the dots.)
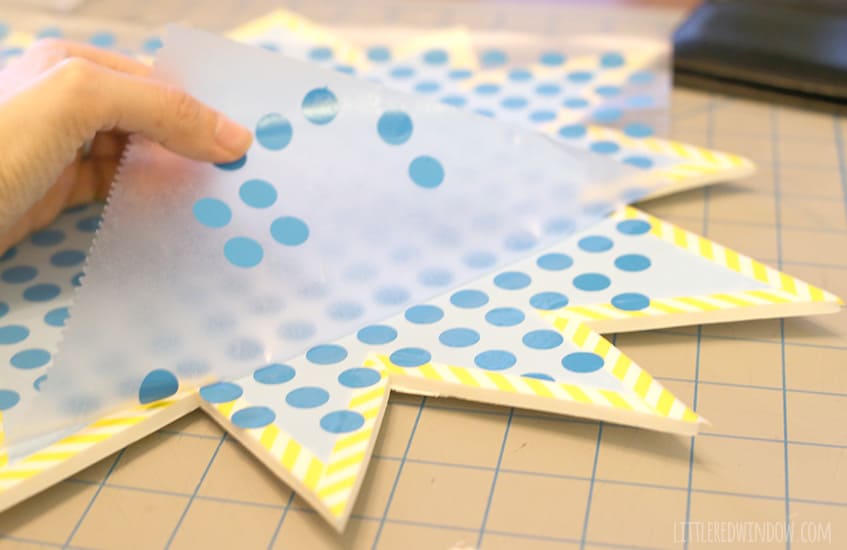
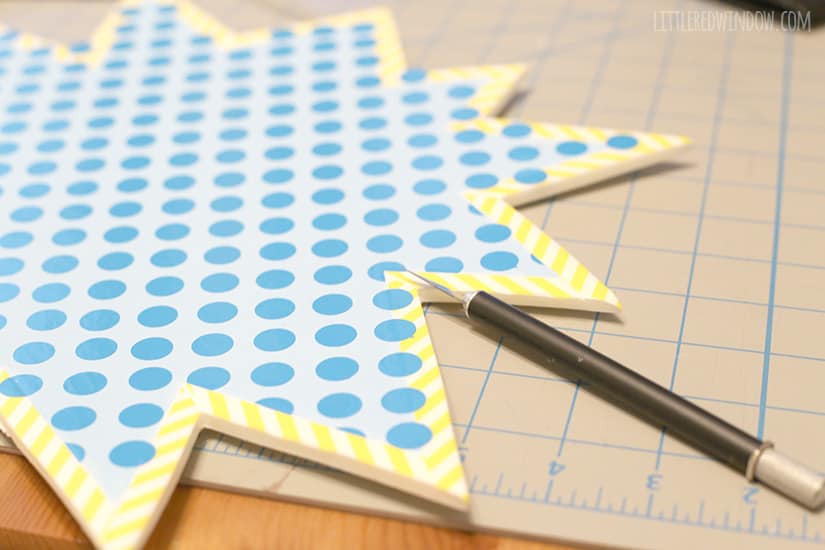
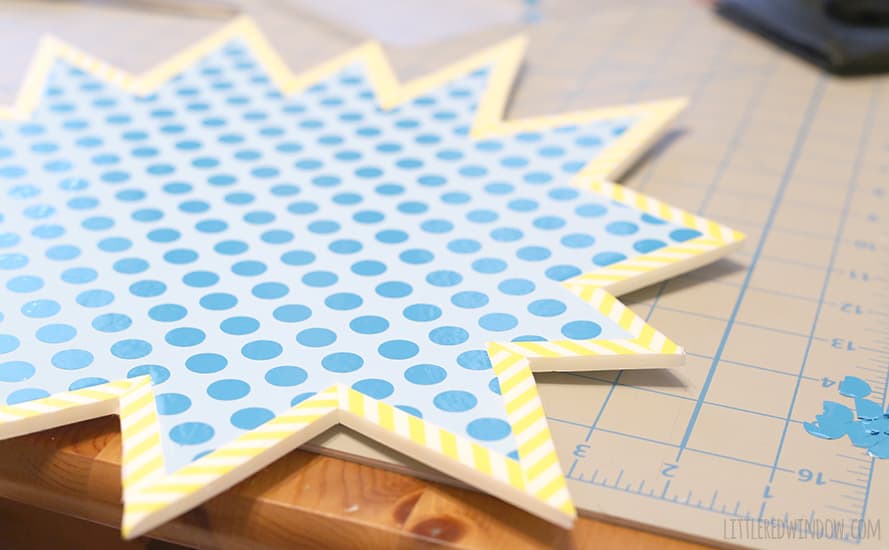
I used the same cut settings and transferred the dots the same way by peeling off the negative space and then using clear contact paper to pick them up and transfer them to the starburst.
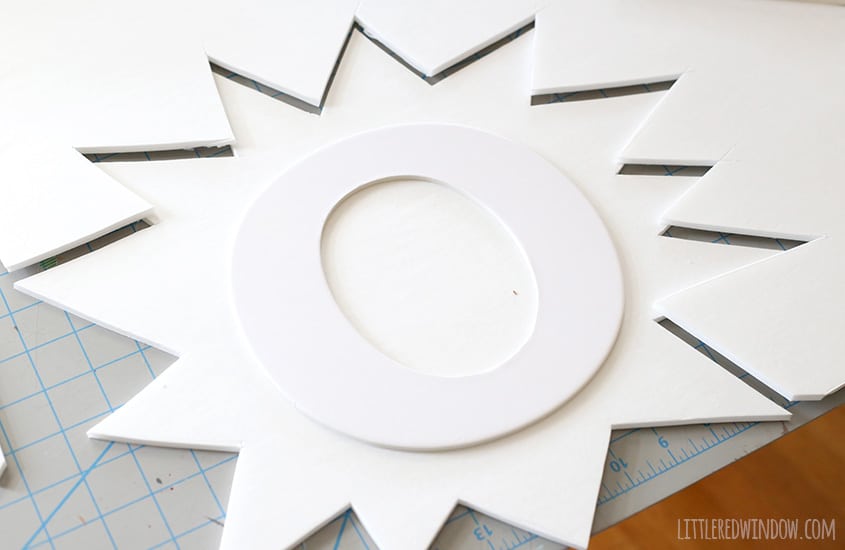
12. The last step is to glue the monogram letter to the middle of the starburst! This is great for a kid’s room or nursery because it’s really lightweight and it’s super easy to hang with a command strip or two.
If you liked this, you may also like some of my other posts…
- 10 Tips for Organizing Your Craft Supplies On a Budget - April 25, 2024
- Rib Zag Hat Knitting Pattern - April 23, 2024
- Double Stockinette Stitch Knitting Pattern: Easy How To for Beginners - April 18, 2024



Leave a Reply