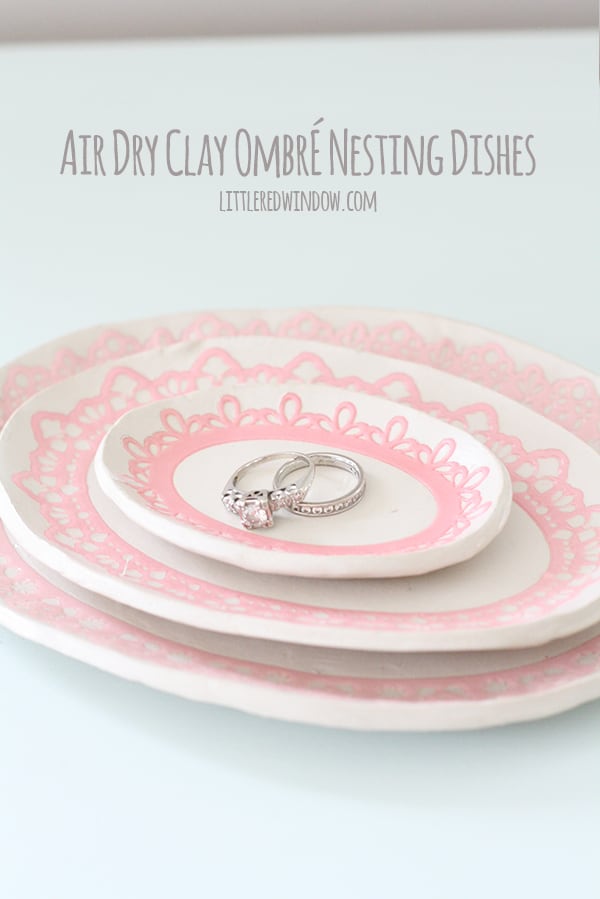
Make your own pretty nesting dishes from air dry clay and a surprise secret material!
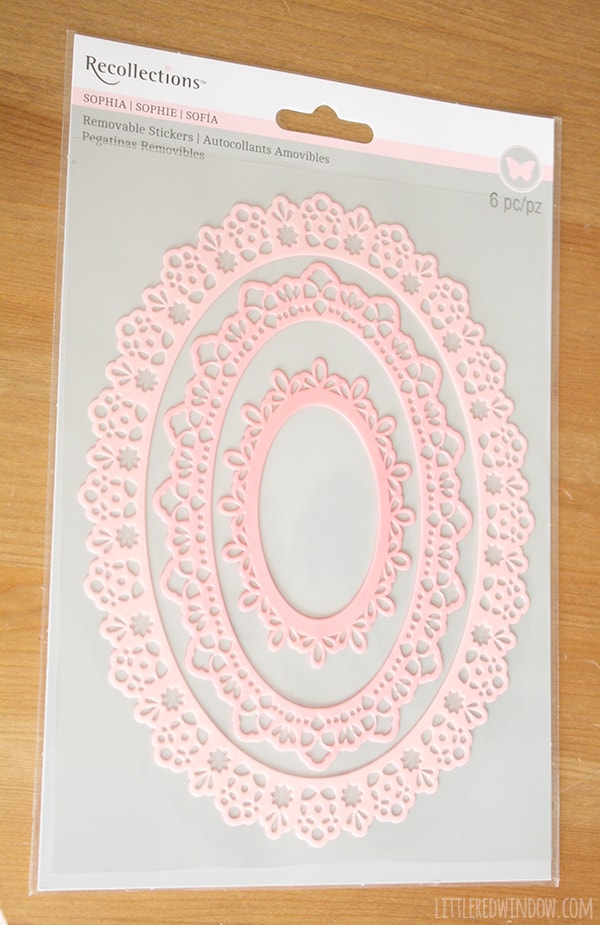
So I randomly grabbed these pretty ombre scrapbook stickers at the craft store a few weeks back. If you you open them up, they’re actually made of some kind of rubbery material with a sticky back. They’re not paper. I had no plans for them. Until one day I saw them sitting next to a new package of clay I ordered and a lightbulb went off. You see, I have a thing for nesting dishes. They’re just so cute and adorable and pretty! I do not, however, have a thing for the price of nesting dishes. I always get so excited when I see them on Etsy or in a store and then I peek at the tag and have a heart attack. I mean, I get that they’re a lot of work to make, but geesh! So I came up with a crazy plan to make my own. I thought they’d look cute sitting on my dresser. Enter the air dry clay. It’s probably not as sturdy as the kind of clay you bake in the oven, but you know what? It’s easier to deal with. And there are no stinky oven fumes. So that’s what I went with. The last time I used air dry clay, I used a different brand and, let me tell you, this brand is so much better. That’s my official review. And here’s how I made these pretty Air Dry Clay Ombré Nesting Dishes!
Air Dry Clay Ombré Nesting Dishes
1 package of rubbery scrapbook frame stickers, do not use paper stickers
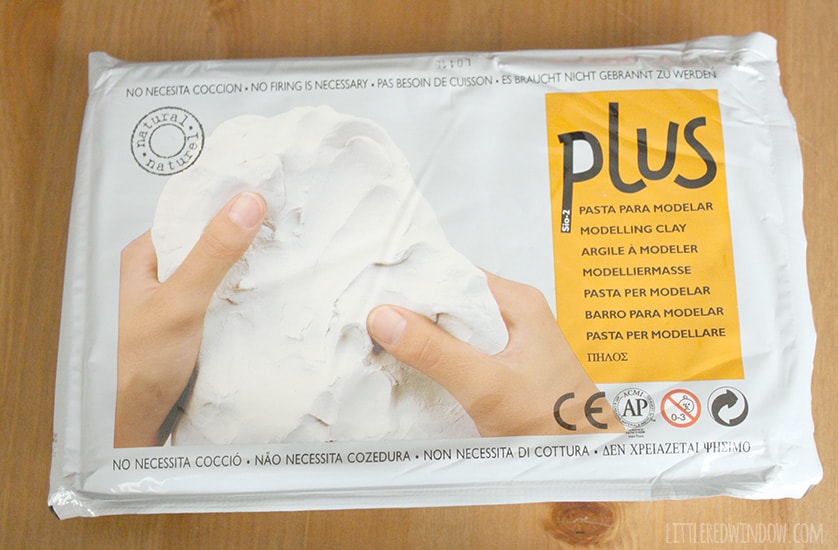
1 package of Air Dry Clay
Sharp knife or clay tools
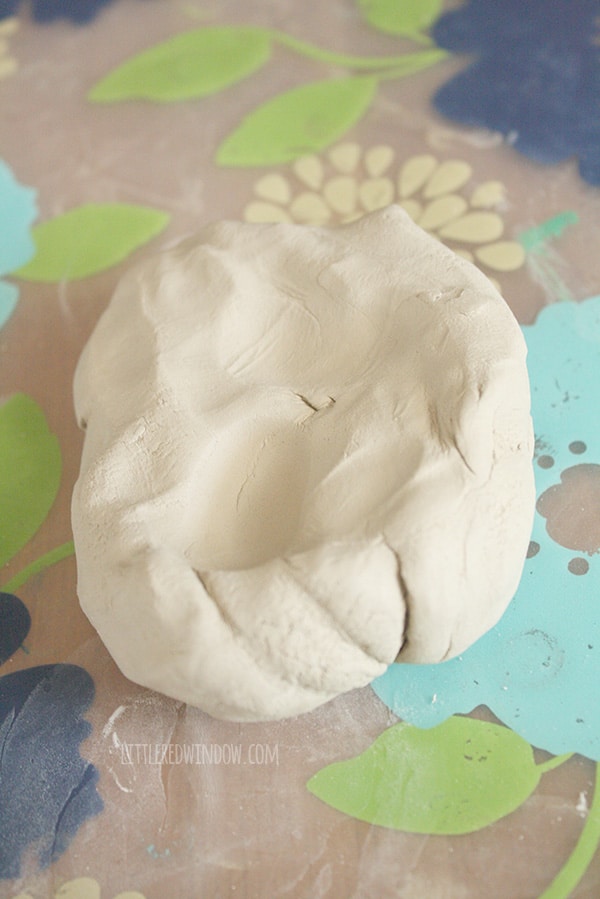
1. Open your clay and pull of about 1/4 to make the largest nesting dish. (A caveat about the clay. Altough the picture on the front and the description say it’s white, in reality, it’s kind of tannish/light brown. It does dry significantly lighter in color though, so don’t panic!)
2. Roll the clay into an even 1/4″ slab using a regular rolling pin.
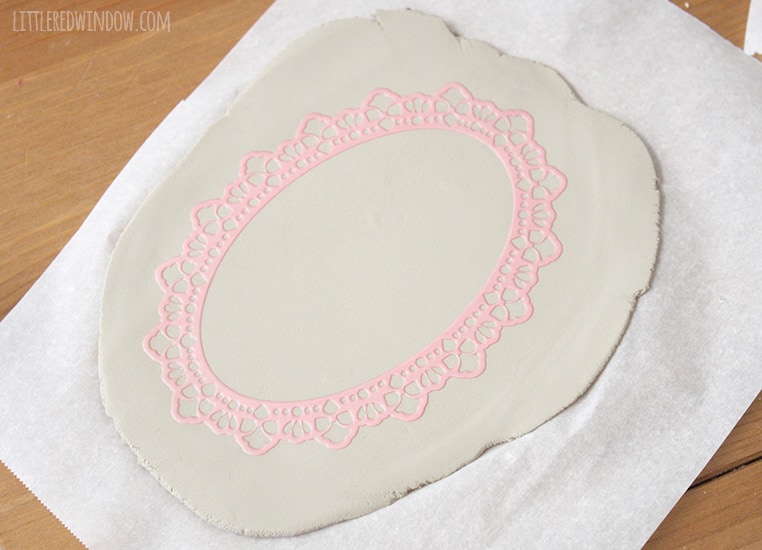
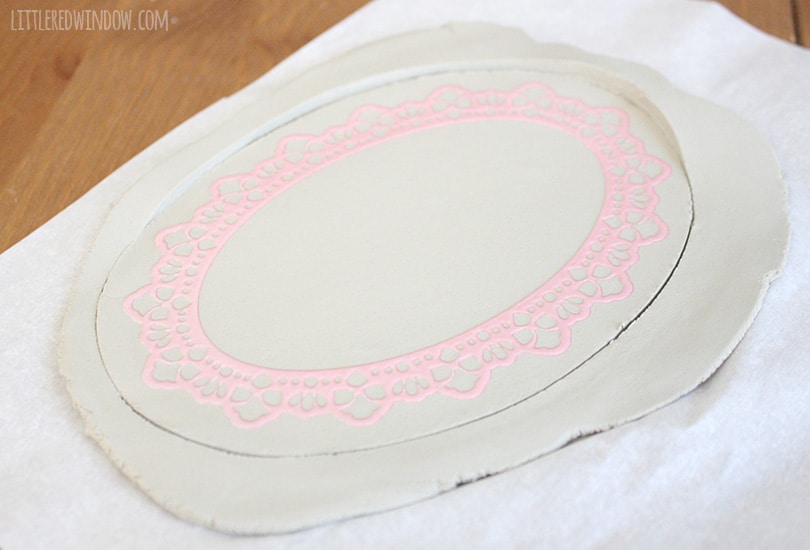
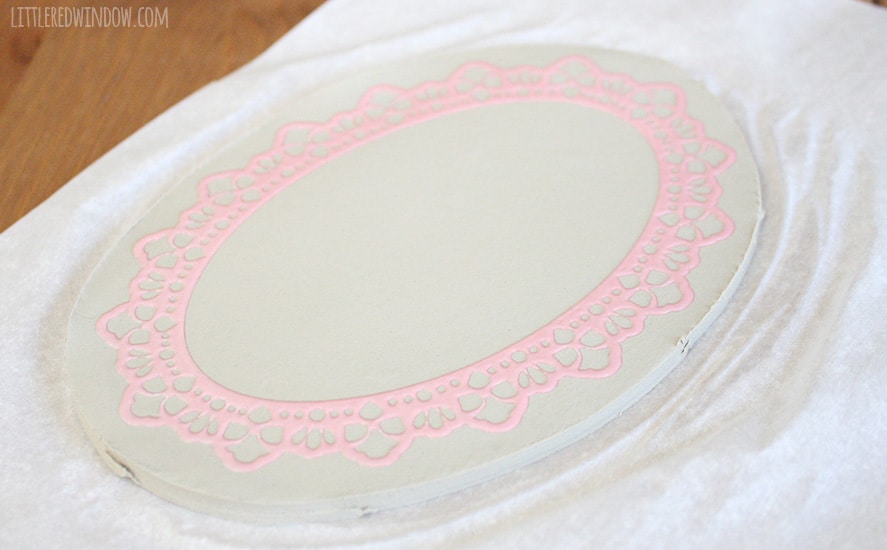
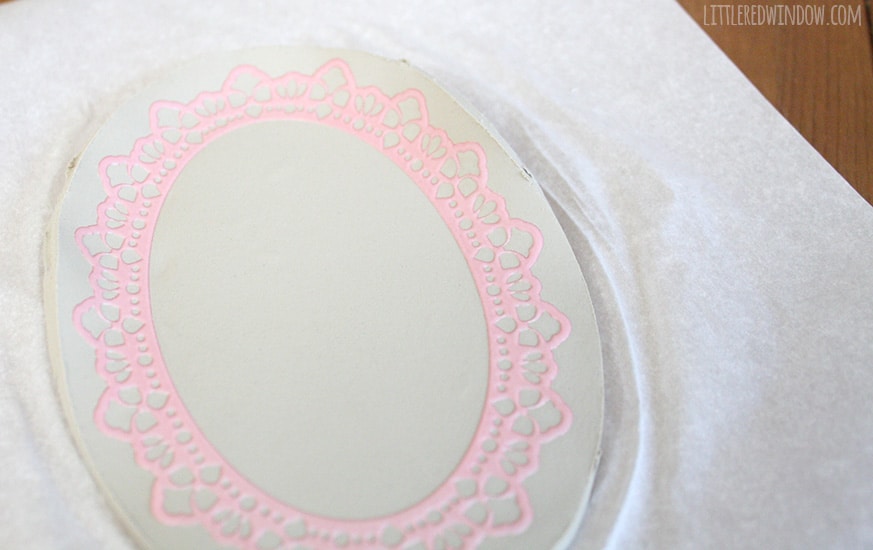
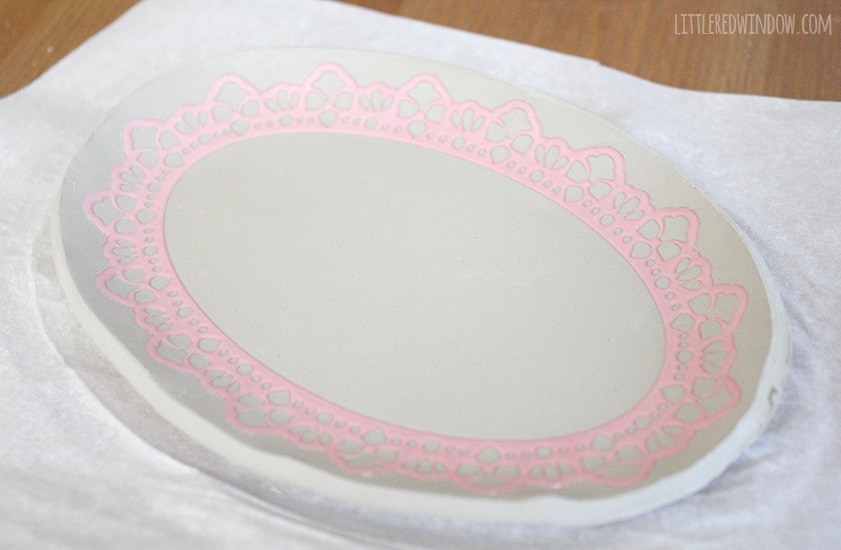
3. I tried this multiple ways including leaving the scrapbook sticker on its backing and planning to stick it on when the dish was dry, but, surprise! Turns out the best method is to just stick the sticker right onto the wet clay! Gently press it into the clay with your fingers4. Cut around the sticker, leaving a small border, with your knife or clay tool.5. Remove extra clay from around the edges. 6. Using your fingers, gently, gently start to go around and bend the edges of the dish upwards. This will take some time to get it even all the way around. This pic is just as I was starting to do that.7. When your edges are shaped, used a tiny bit of water on your fingers and smooth out any rough spots. 8. Allow your dish to dry according to the package directions. Mine took about 24-36 hours. Repeat with the other sizes of scrapbook stickers to make three nesting dishes.
9. When the dishes are dry, use a little bit of sandpaper and, if necessary, smooth out any remaining rough spots, if they bother you.
10. To protect my dishes, I gave them a coat of matte Mod Podge. I momentarily made the clay look darker in color but as soon as it dried it went back to the original color.
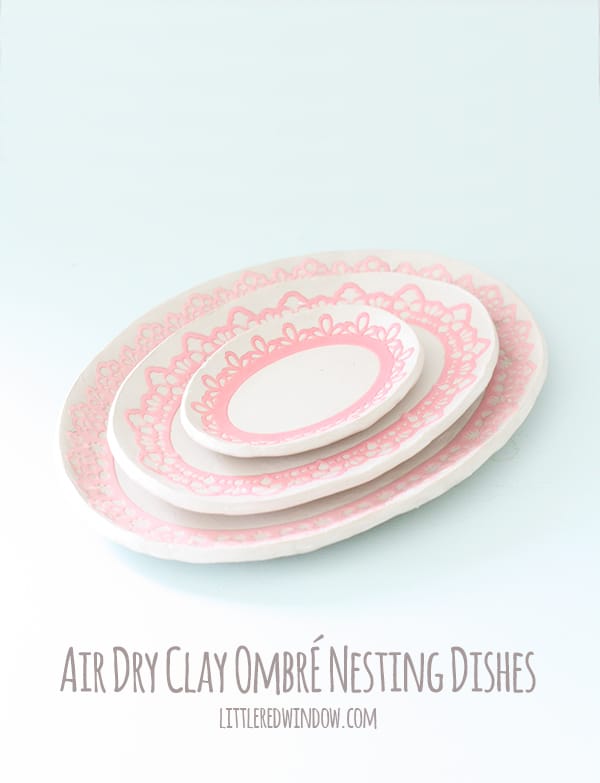
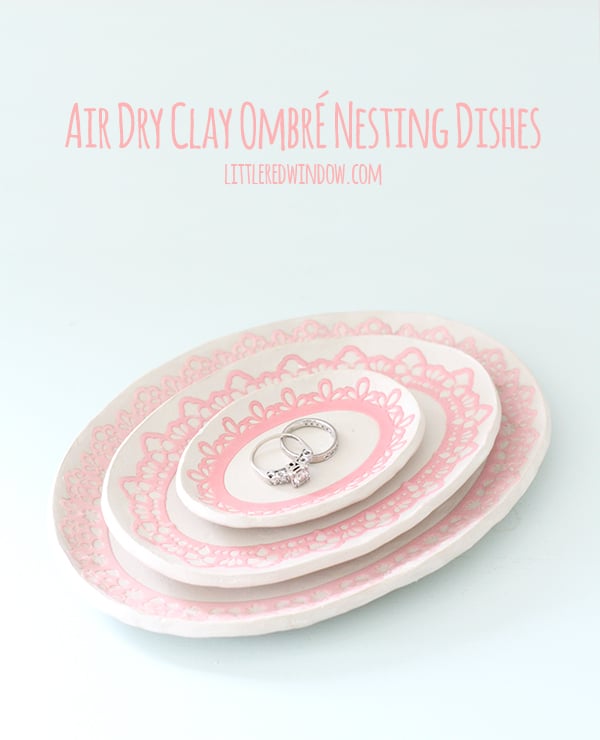
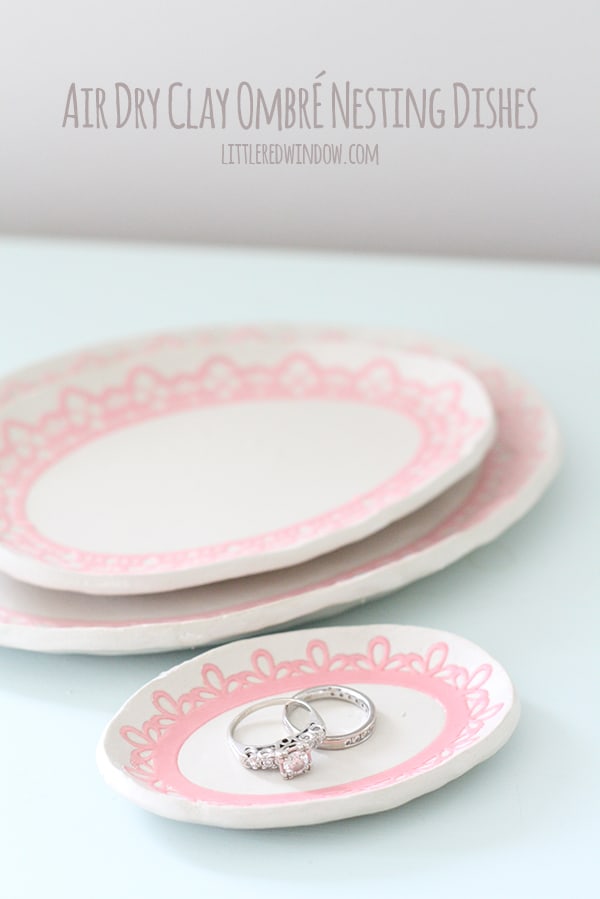
I LOVE my cute new nesting dishes! They look cute empty or with jewelry in them…And they look cute stacked or unstacked!
If you liked this, you may also like some of my other posts…
- 10 Tips for Organizing Your Craft Supplies On a Budget - April 25, 2024
- Rib Zag Hat Knitting Pattern - April 23, 2024
- Double Stockinette Stitch Knitting Pattern: Easy How To for Beginners - April 18, 2024


Sam Baker says
love these, so beautiful.
perfect for jewellery! thanks for sharing 🙂
Leslie says
Oh! I’m pinning this. I’m so out of touch with my crafting. Things have gotten a little crazy lately. I love these! I’m pinning to try!