Make your own little faux succulent out of air dry clay, you don’t even need to water it!
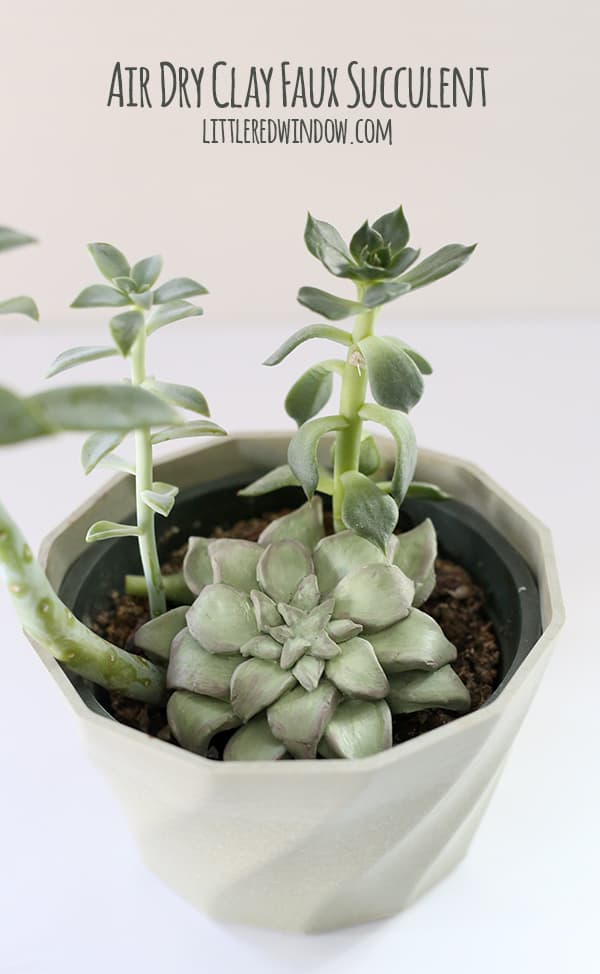
Today’s craft project, this cute air dry clay faux succulent, has a lesson. The lesson is, if halfway through a work in progress, you think it’s going to be terrible and seriously consider just tossing it in the trash, don’t give up until you give it your best shot. Because I honestly, almost gave up on this one, I just wasn’t feeling it this weekend. But I figured, why not add some paint, it wouldn’t take too long and I could just see how it went. And the end result? I totally love it! Like way more than I even originally thought I would. Even Aa said, “whoa, that looks amazing in the photos!” So if you ever need a crafty pep talk, come visit me and I’ll talk you through it. And actually that’s something I learned in design school, sometimes the best results come out of projects that halfway through you get stuck on or hate. That usually causes you to do some creative problem solving which is always a good thing. So anyway, on to the faux succulent.
I keep seeing adorable projects with faux succulents, you know, planter boxes etc. but with fake plants in them so you really can’t kill them. And I think fake succulents are often much more convincing than other fake plants because their leaves are naturally kind of plasticky looking. Do you know what I mean? So a few weeks back, I thought to myself, I love these faux succulent projects, I want to do one! And I went to the craft store which is when I discovered that a lot of them were like $5 each! I mean, at that rate I might as well buy real ones! Hence the clay succulent. It was really just a challenge to myself to see if I could do it. So what do you think, was I successful? Here’s how I did it:
Air Dry Clay Faux Succulents
My favorite air dry clay
Craft knife and/or clay tools
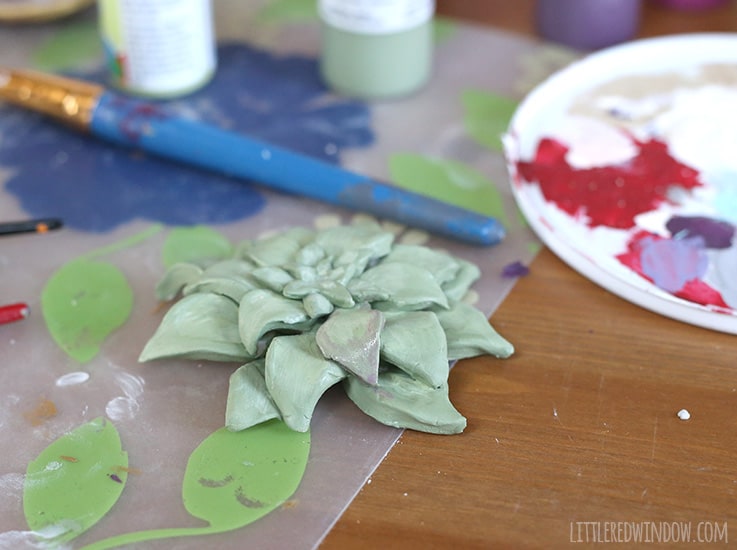
Acrylic craft paint in sage, light yellow green, and a slightly reddish purple
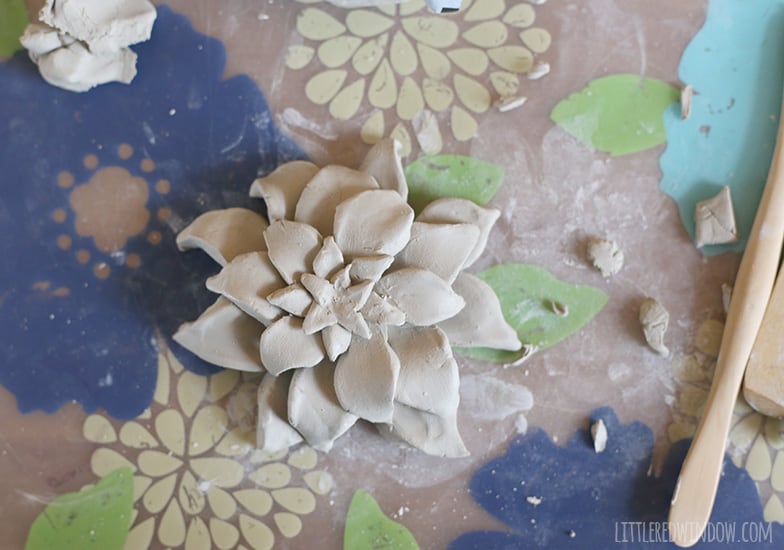
1.For the first layer, roll out some clay (or just flatten it with your hands) and use your knife or clay tools to cut it into a shape like this: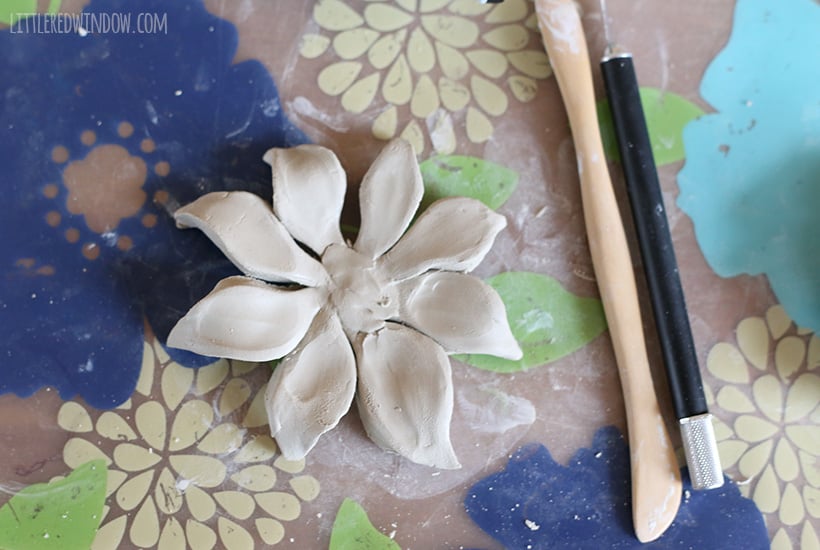
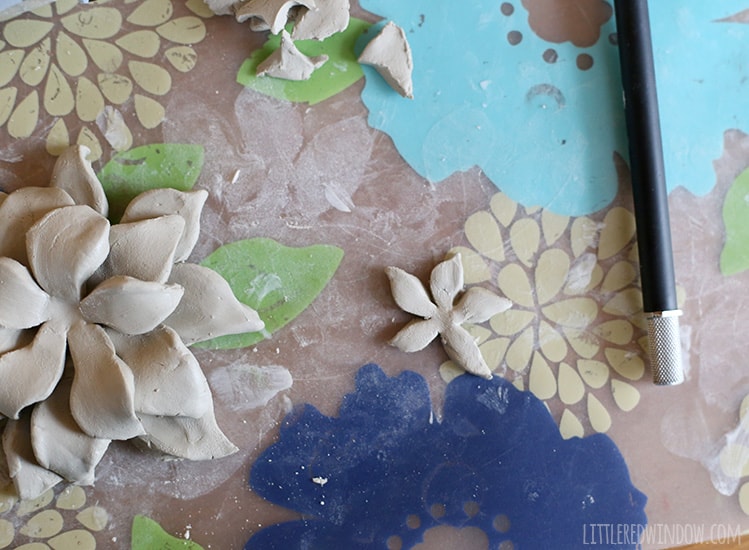
3. Then make another layer a bit smaller and with fewer leaves. Stick it on top and repeat the smoothing and shaping step. 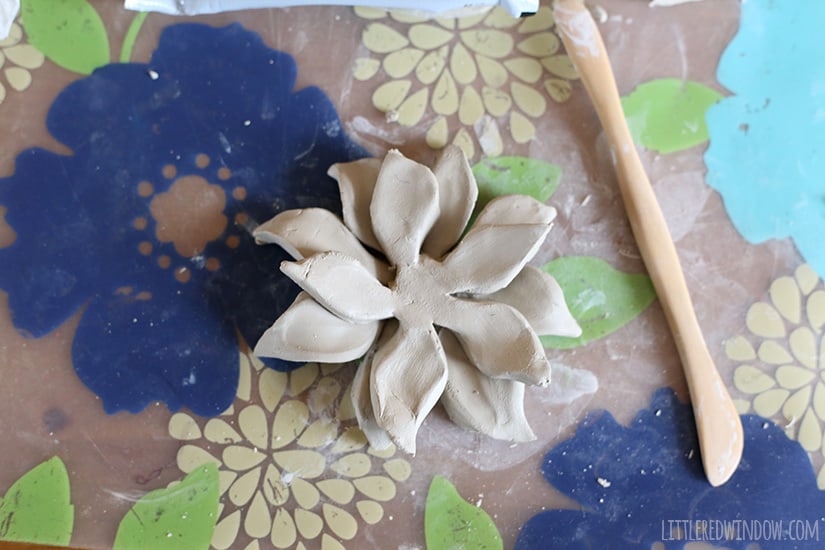
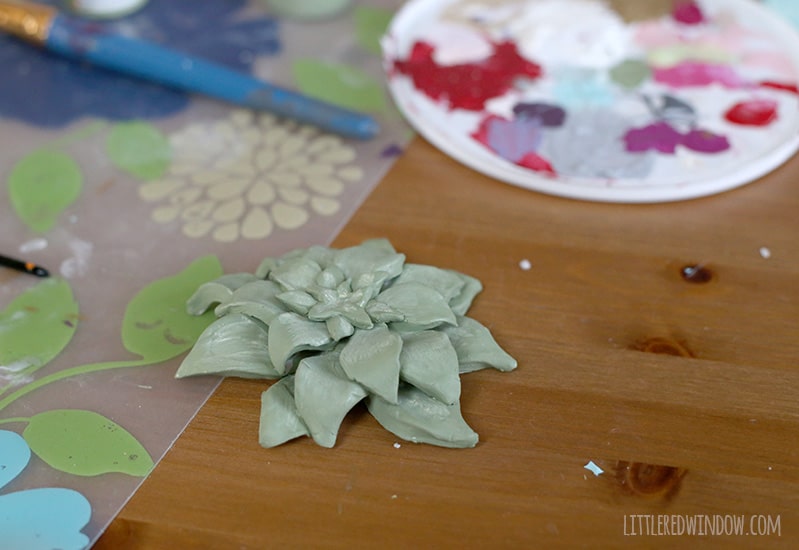
7. When it’s dry, first, paint the entire thing, including all the nooks and crannies with the sage green acrylic paint. 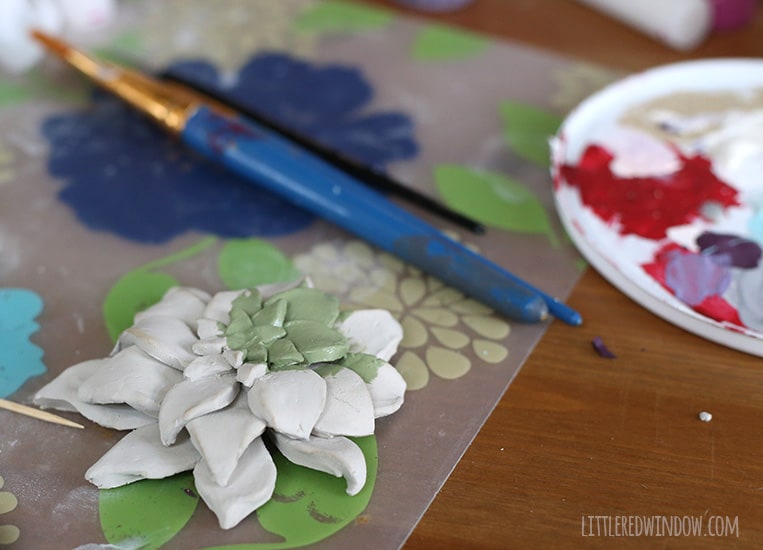


- Crayon Scarf Knitting Pattern - July 21, 2026
- Pencil Scarf Knitting Pattern - July 7, 2026
- Tri-Color Linen Stitch Hat Knitting Pattern - June 22, 2026
Amina says
These are so nice 😍. I am definitely making one.