These cute reversible snowman photo ornaments are a quick and easy craft and make a great Christmas present for relatives!

Today we’re making DIY snowman photo ornaments and I think they are my favorite handmade Christmas ornaments that I’ve come up with (so far)! We have a tradition of making some kind of photo ornament every year as a gift for grandparents and other relatives and because I’m me, they are different every time.
The best thing about these snowman ornaments is that they are reversible. That works perfectly for my two kids, but you could easily make them just one-sided and one ornament per child. This would also be a fantastic project to do with your elementary aged kids.
Are you ready to DIY some snowman photo ornaments?

DIY snowman photo ornaments supply list:
Printed photos of kids sized appropriately
1 inch (or appropriate size) hole punch
Scissors
Yarn scraps
DIY Snowman Ornament Instructions:
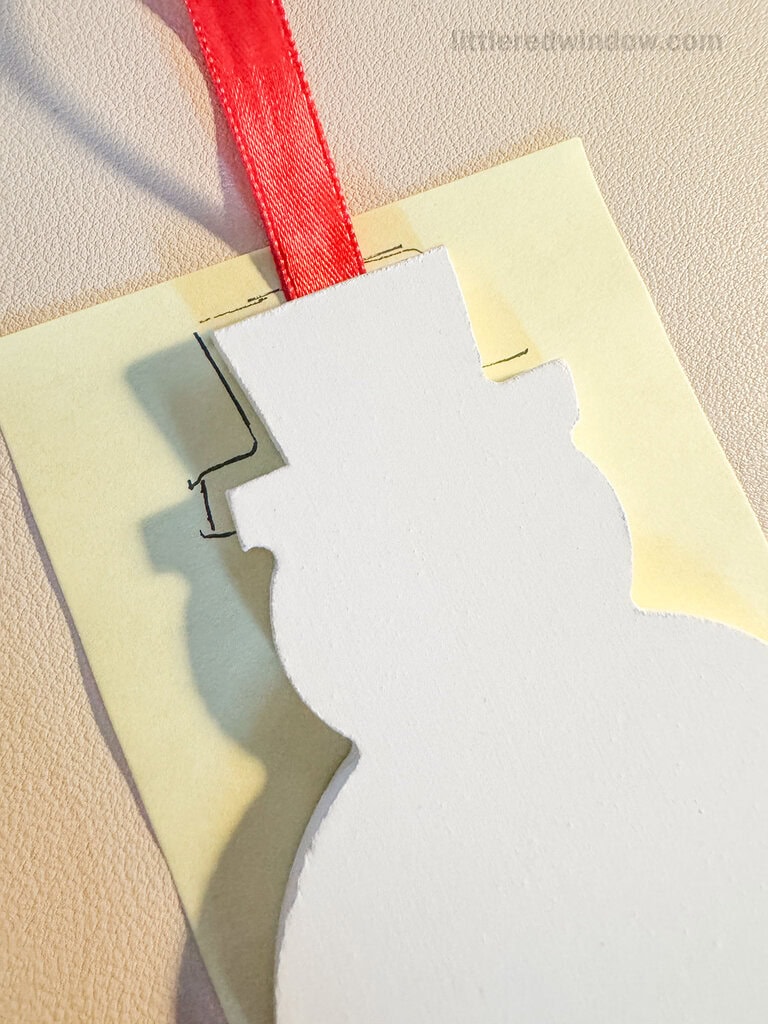
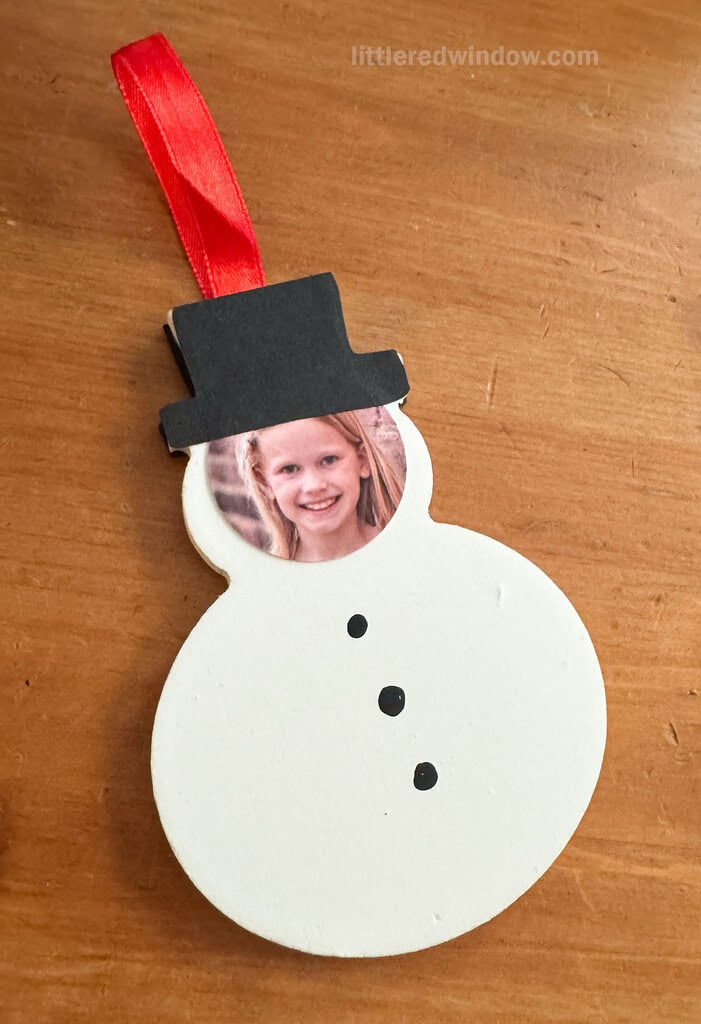
- If your snowman ornaments aren’t painted, paint them white. Print your photos an use the hole punch to cut out just the kids faces. A 1 inch hole punch was the right size for my ornaments, but adjust accordingly.
- Trace just the top hat shape of the ornament on black cardstock. Cut out 2 black hats per snowman.

- Glue the photos to the snowman heads and then glue the cardstock top hats covered the tops of the photos as shown.

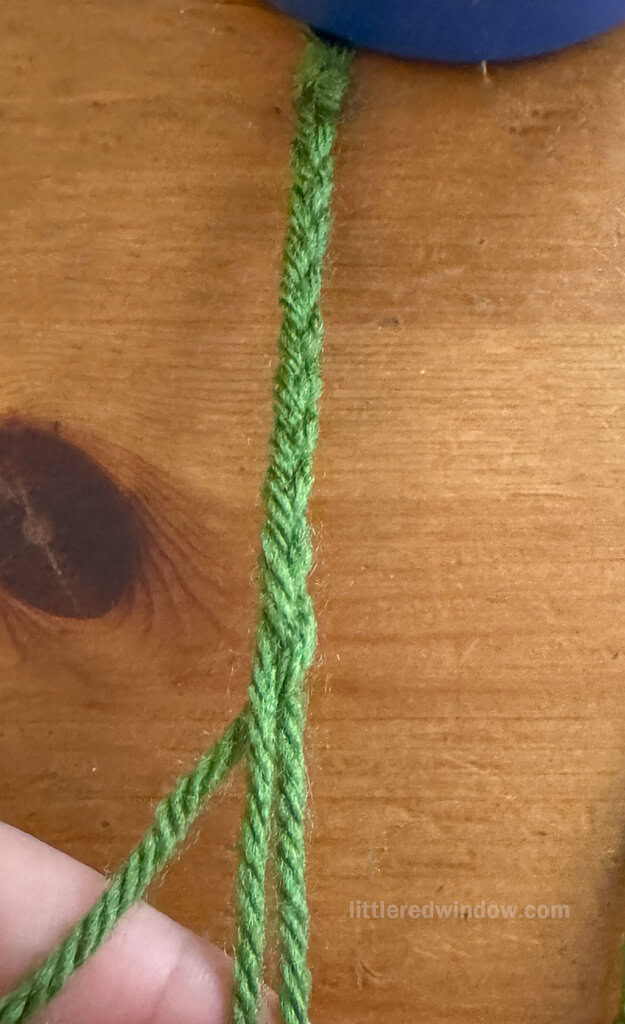
- Cut 3 lengths of yarn about 8-10 inches long. Tie a knot at one end, then braid the entire length. Knot at the other end. Trim the ends evenly so they look like tassels.

- Tie the yarn braid around the snowman’s neck with the knot on the side so you can see if from both sides.

- Use acrylic paint markers to add details including coal buttons, branch arms and even the band and date across the top hats if you’d like.


- Tri-Color Linen Stitch Hat Knitting Pattern - June 22, 2026
- Yummy Ice Cream Cone Hat Knitting Pattern - June 16, 2026
- Tied Stocking Cap Knitting Pattern - May 19, 2026
Leave a Reply