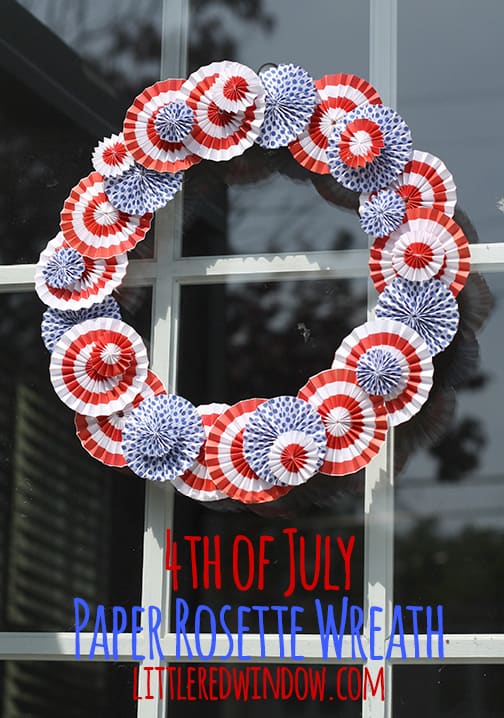
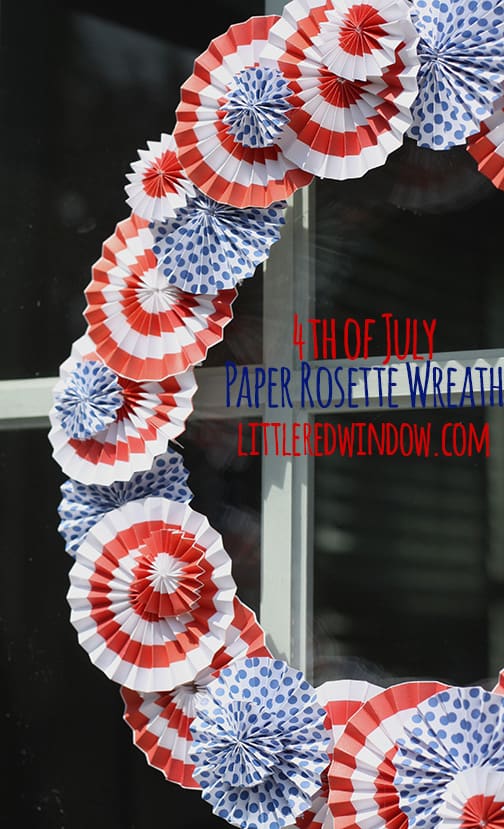
Make an easy and festive 4th of July Paper Rosette Wreath out of scrapbook paper and cardboard!
When I was growing up, our town had a 4th of July Festival every year complete with tilt-a-whirl and cotton candy and everything. I loved going with my friends and playing skeeball or ring toss and crossing my fingers that I’d get enough tickets to win one of those colored feathers on a clip (know what I mean?) or a lucky rabbit’s foot (in retrospect…ewwww!!!) and then at night they have a big fireworks display. And they also always had a bike parade where all the kids decorated their bikes with as much red white and blue as possible. I totally remember carefully weaving crepe paper streamers through my wheels and being really excited for the parade.
There’s no bike parade where we live now, but that doesn’t mean we skip the 4th of July decorations!
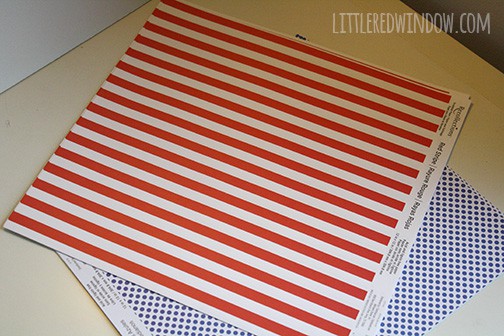
At the craft store I picked up a few sheets of scrapbook paper in red and white stripes and blue and white polka dots. Everything else I already had so the whole project cost under $5.
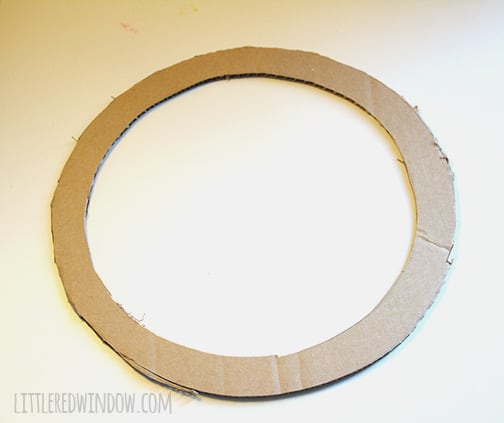
And because we have no shortage of cardboard boxes ever (thanks amazon) I used a cardboard circle as my wreath base. It doesn’t really matter how it looks (because yes, I realize that is not the best cutting job) because you’re going to completely cover it up anyway.
If you’ve never made paper rosettes before, here’s how I do it, it’s really easy! Promise!
4th of July Paper Rosette Wreath Supply List
Red, white and blue scrapbook paper
Craft knife with sharp new blade
4th of July Paper Rosette Wreath Instructions
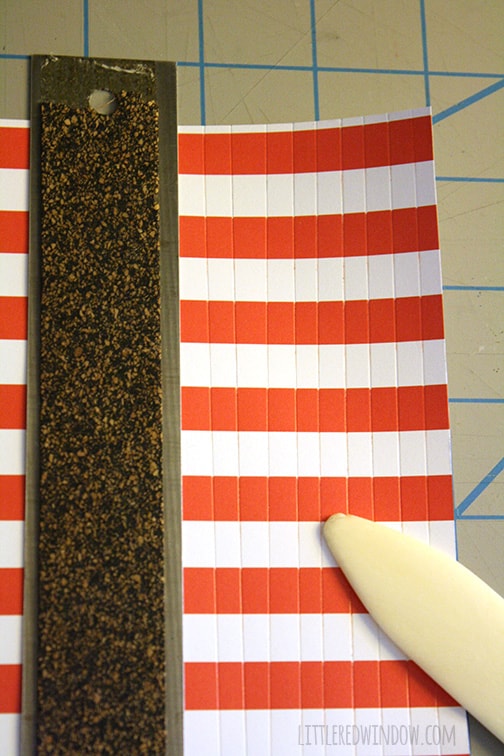
- Using a bone folder or the back of a knife score the scrapbook paper in straight lines 1/4 inch apart across the whole page, do not cut the paper. Use a ruler to make sure the lines are straight.
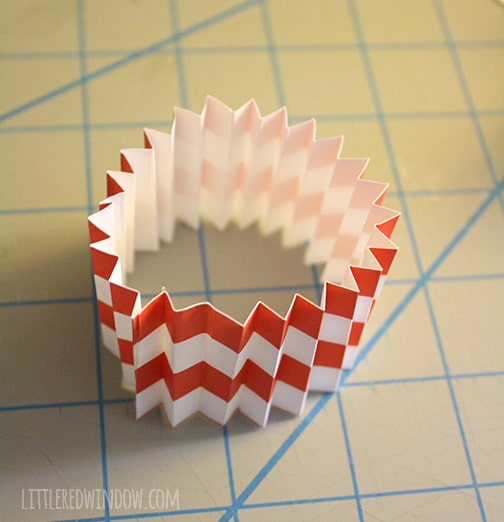
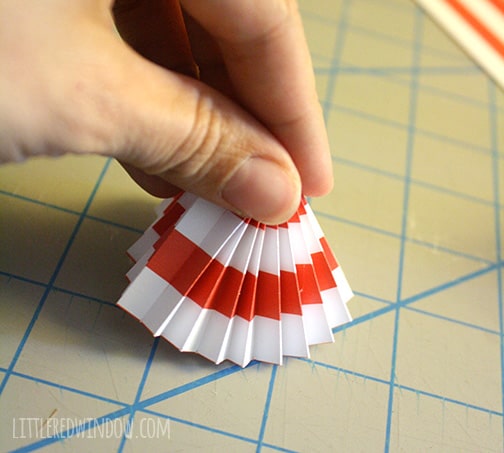
- Using the scored 1/4 inch lines, fold the strips of paper accordion style.
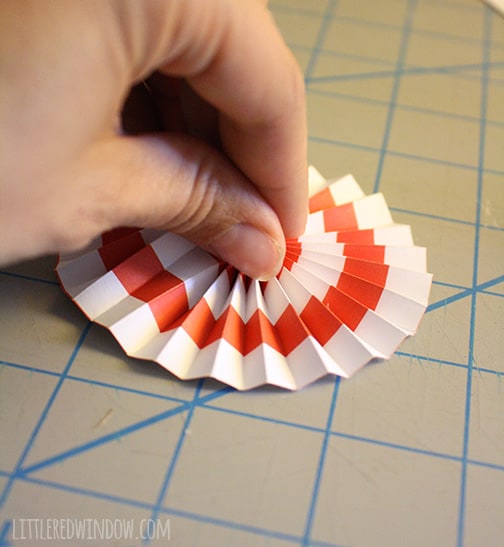
- Carefully gather one end of the tube toward the center, gently pressing down as you go. As it gathers it will start to flatten down until it makes a flat rosette!
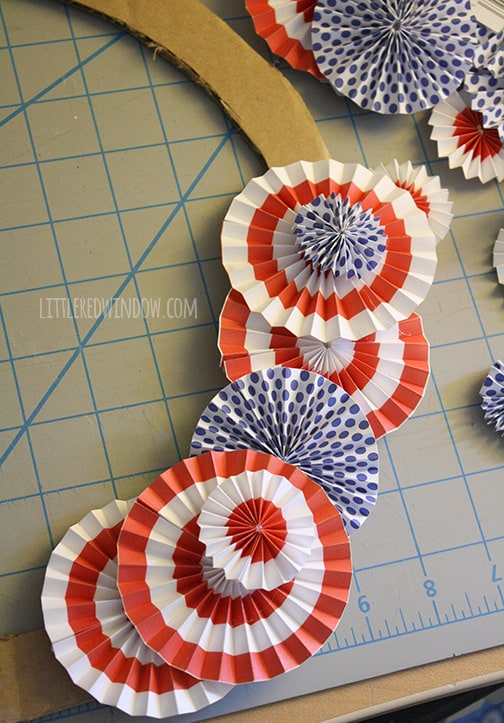
- I arranged mine around the cardboard circle and hot glued them in place until the wreath was full.
If you liked this, you may like some of my other posts…
- 10 Tips for Organizing Your Craft Supplies On a Budget - April 25, 2024
- Rib Zag Hat Knitting Pattern - April 23, 2024
- Double Stockinette Stitch Knitting Pattern: Easy How To for Beginners - April 18, 2024







SHEAN says
Thanks for sharing these, Looks like a lot of great ideas…I’ll have to come back & look more closely very soon!:)
Cathy says
I love this wreath and can think of so many ways it could be changed up for the changing holidays and seasons… sharing this on Facebook… Cathy
Cassandra May says
Thanks for sharing it and for stopping by Cathy!! xo!
Pauline Molinari says
I love this wreath! So great! Thanks for sharing on the Monday Funday Party!
Wendy says
These are just so adorable! Oh my, the time that probably went into this project. The cardboard circle as the base = brilliant!
Emily says
Yay! So festive! I love it.
Jess @ Chaos & Love says
I’m currently obsessed with 4th of July wreaths and this might be my new favorite!
We’d love to have you link up for Adventures in Pinterest this month!
http://www.chaosandlove.com/diy-tent-for-kids-pinterest/
Cassandra May says
Aw, thanks Jess!! I linked up, and I LOVE your tents! super cute!