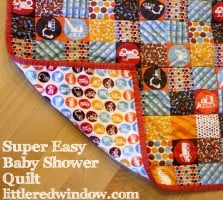
Choose your own fabrics and make a simple but gorgeous DIY crib quilt! 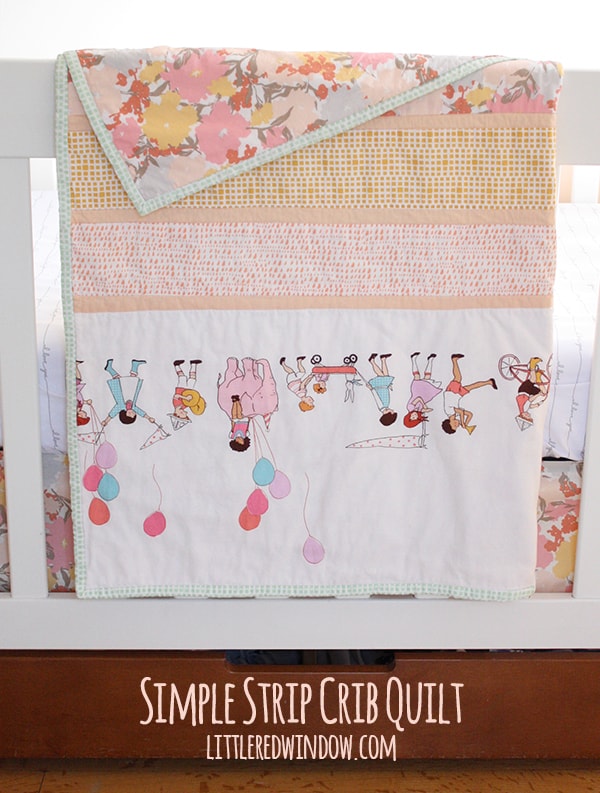
I have a love/hate relationship with quilting. (Ok, hate is probably too strong a word.) I loooove the results but I really dislike cutting all the fabric and I get impatient with how long the whole thing takes. But oddly enough, I love attaching the binding by hand. I find it totally soothing even if it takes forever. I guess it’s one of those weird crafty quirks, we all have things we like and don’t like, right? Anyway, because of this, I tend to stick to pretty simple quilt designs. I don’t have the time and mental energy to attempt super intricate piecing. But that’s ok! I really enjoy making up my own designs anyway. And since I made O a crib quilt (which he used in his toddler bed from about age 2 up until a few months ago), I knew baby #2 needed one too. And even though infants shouldn’t have a blanket in the crib, it’s nice to have in the nursery in case mom or dad gets chilly while rocking or feeding baby. Here’s my super simple strip quilt plan!
Simple Strip Quilt
Cotton quilting fabrics of your choice for the front of the quilt and the binding. Should add up to 45″ x 60″
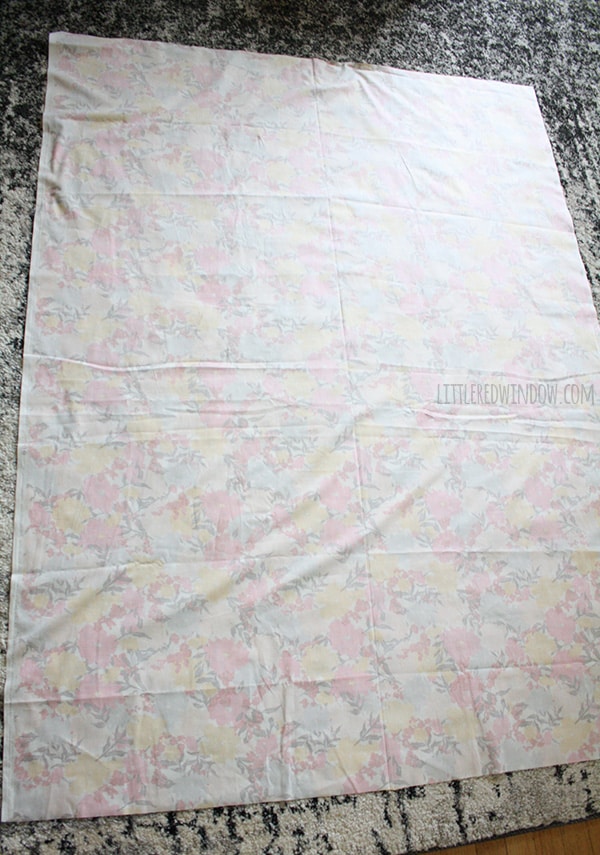
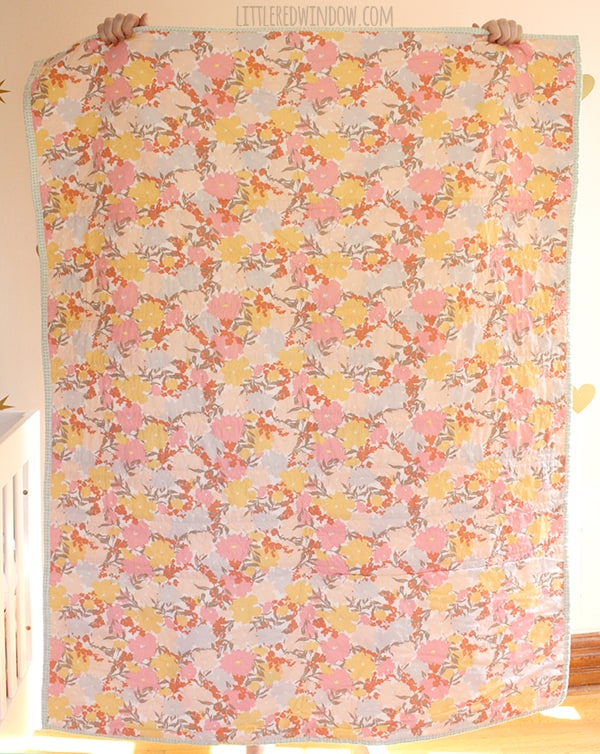
One piece of cotton quilting fabric for the backing of the quilt, 45″ x 60″
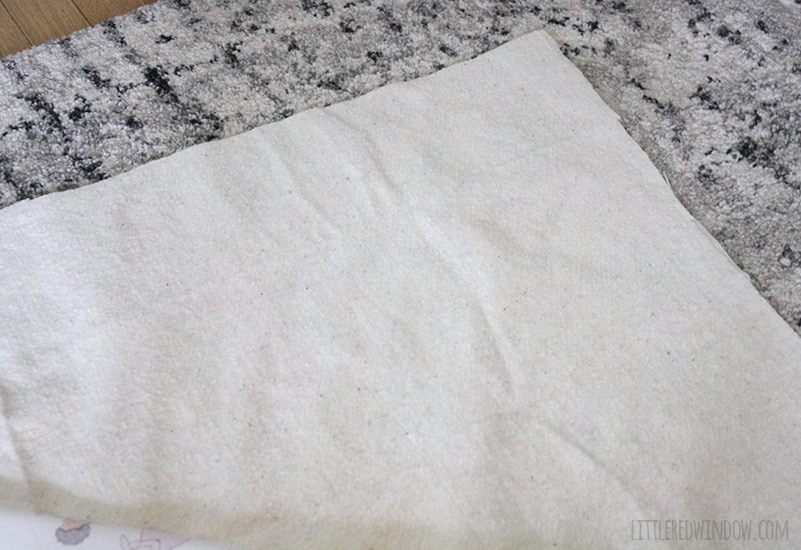
Quilt batting (I like this kind best)
Sewing machine and matching thread
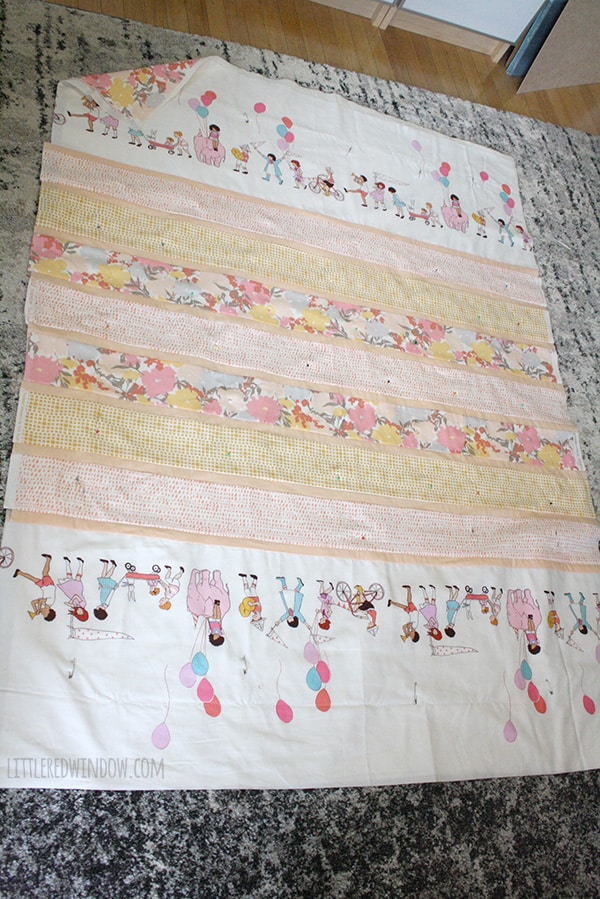
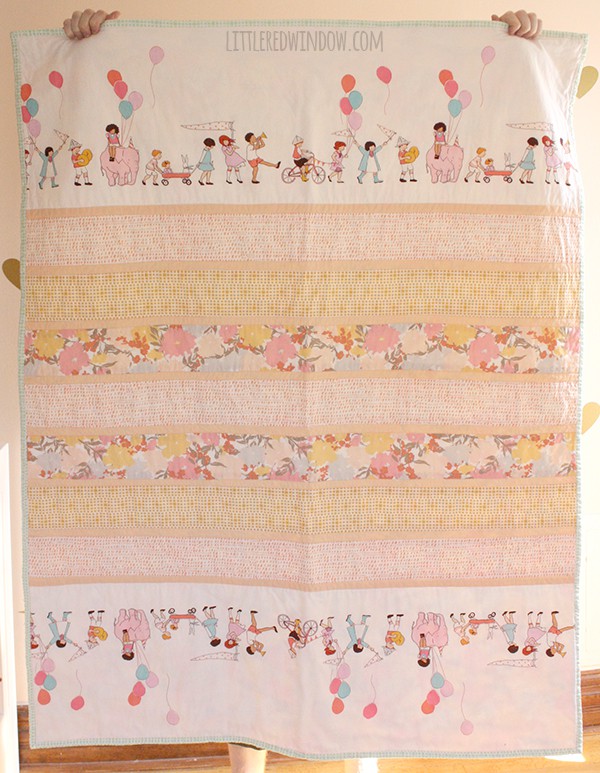
1. First figure out what you want your quilt to look like. You could do this with colored pencils on graph paper. I grab the little thumbnails of the fabrics I’ve chosen from the fabric store website and arrange them in Illustrator until I’m happy. Here is my finished plan: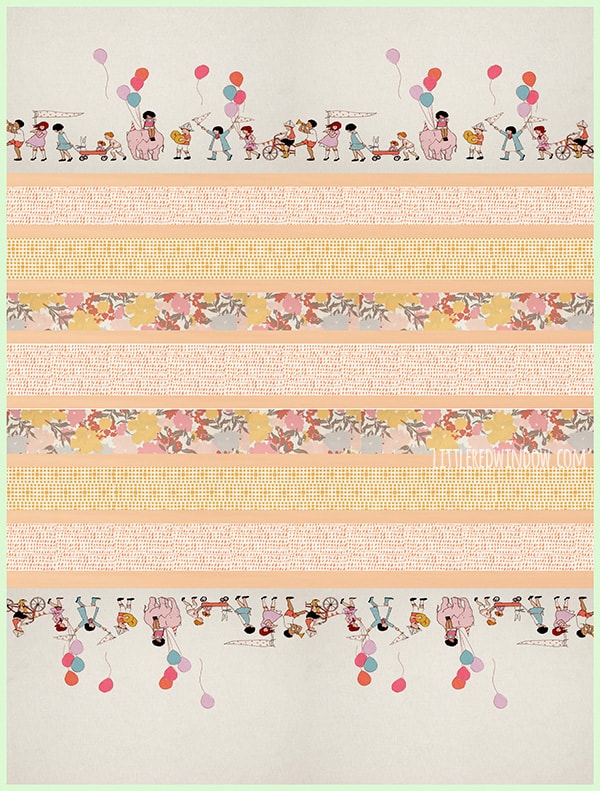
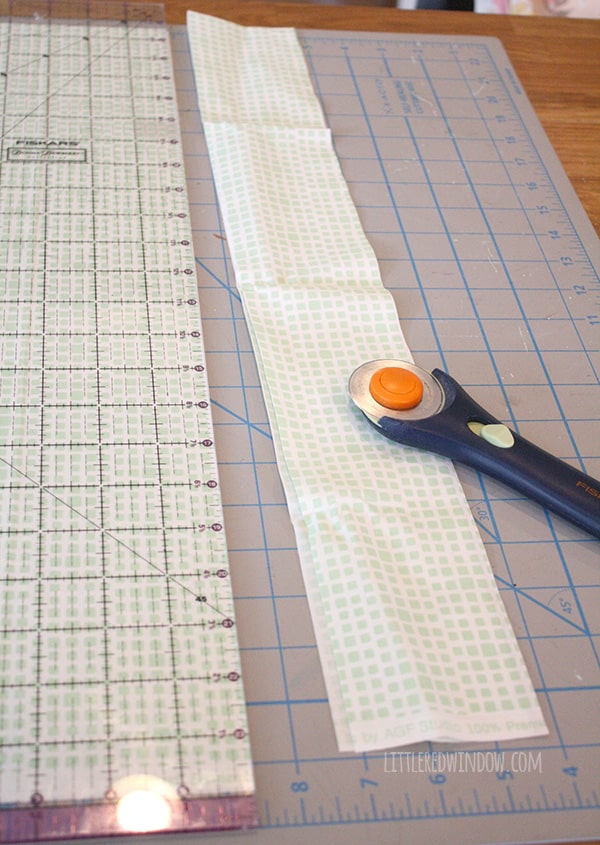
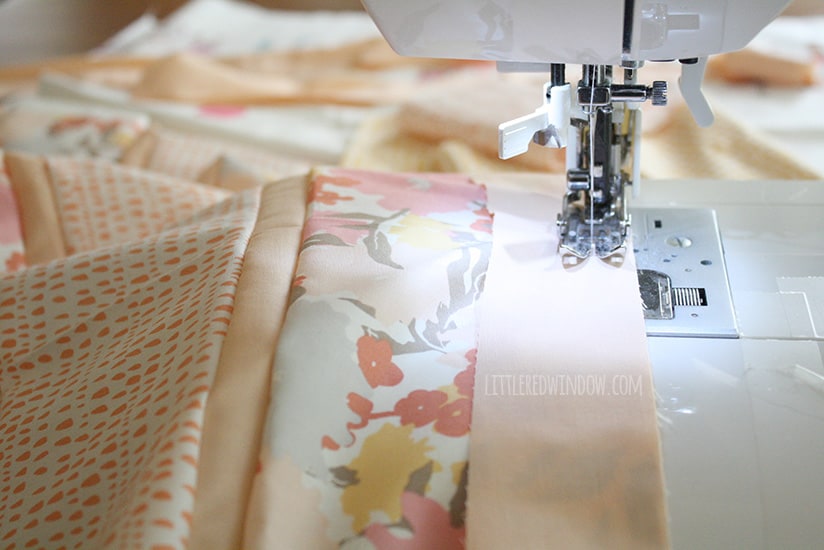
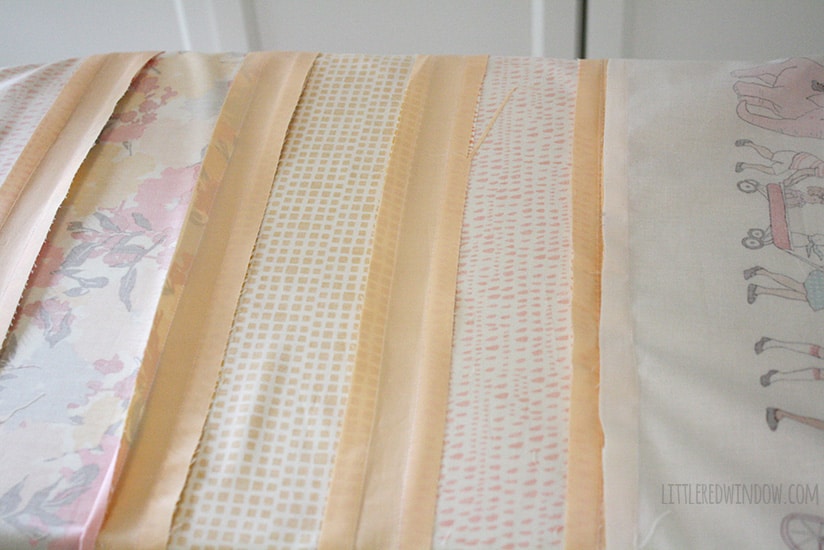
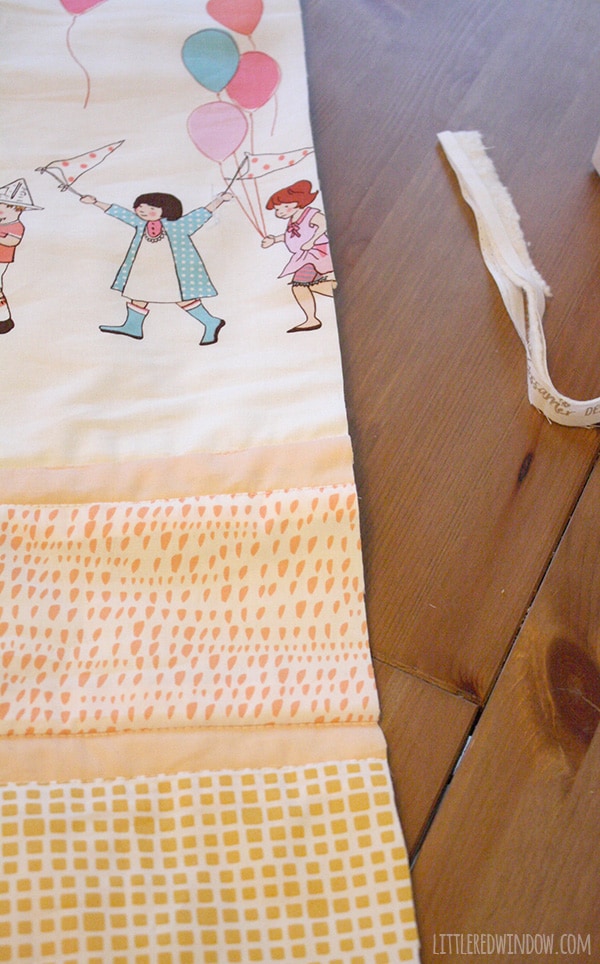
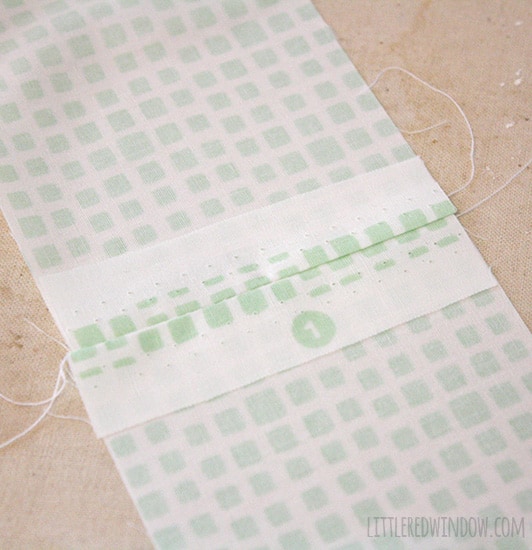
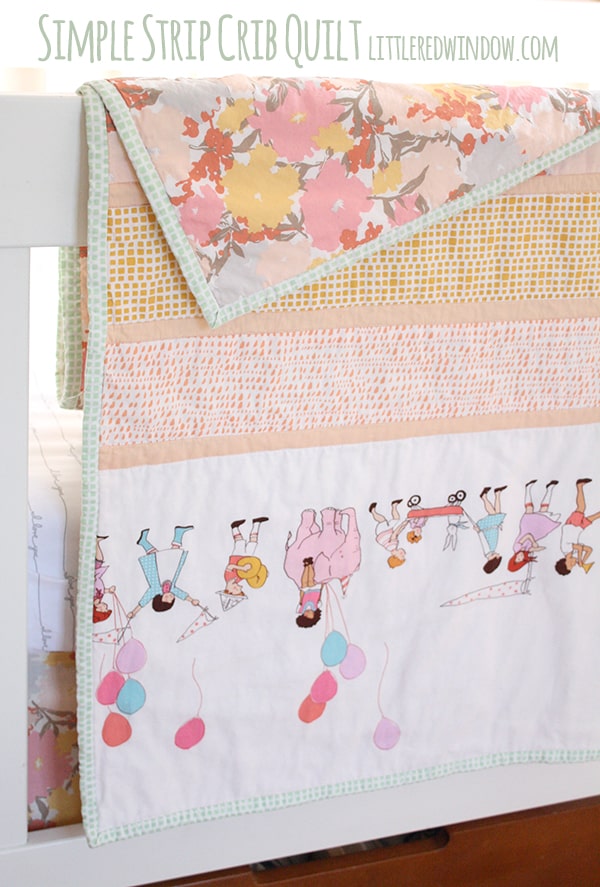
Then I measured and cut all the strips I needed for the quilt front. All strips were 45″ long. The children at play fabric was 15″ wide. The medium sized patterned strips were all cut to 4.5″ (this all includes seam allowances). And the peach strips between each patterned strip were cut to 1 3/4″.

5. There are lots of different ways to baste a quilt (i.e. temporarily attach the layers together before quilting). I usually safety pin mine. Use a lot of safety pins, the more secure the layers, the less likely things are to shift and wrinkle. 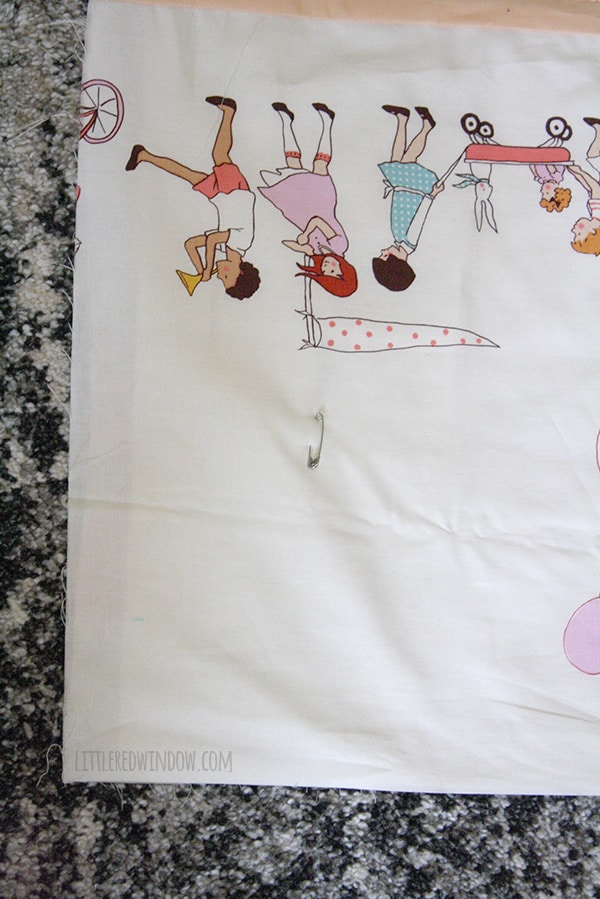

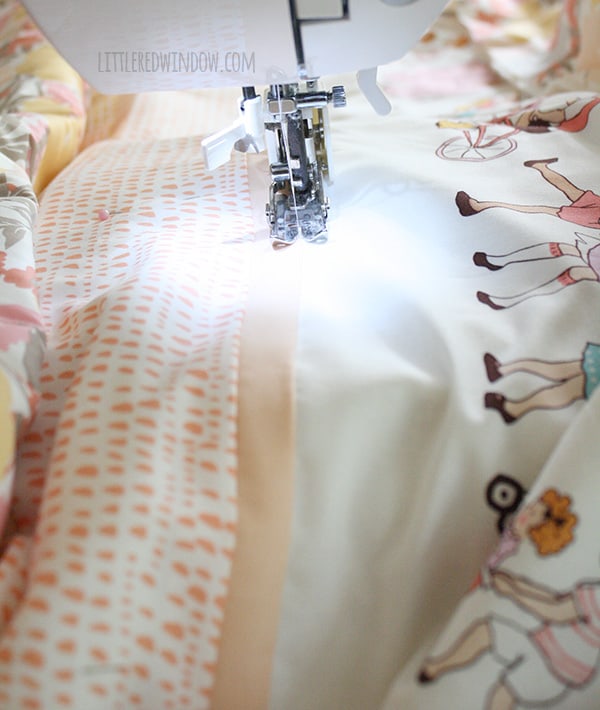
If you have a walking foot for your sewing machine, use it! If you don’t have one, get one, they are soooo worth it.
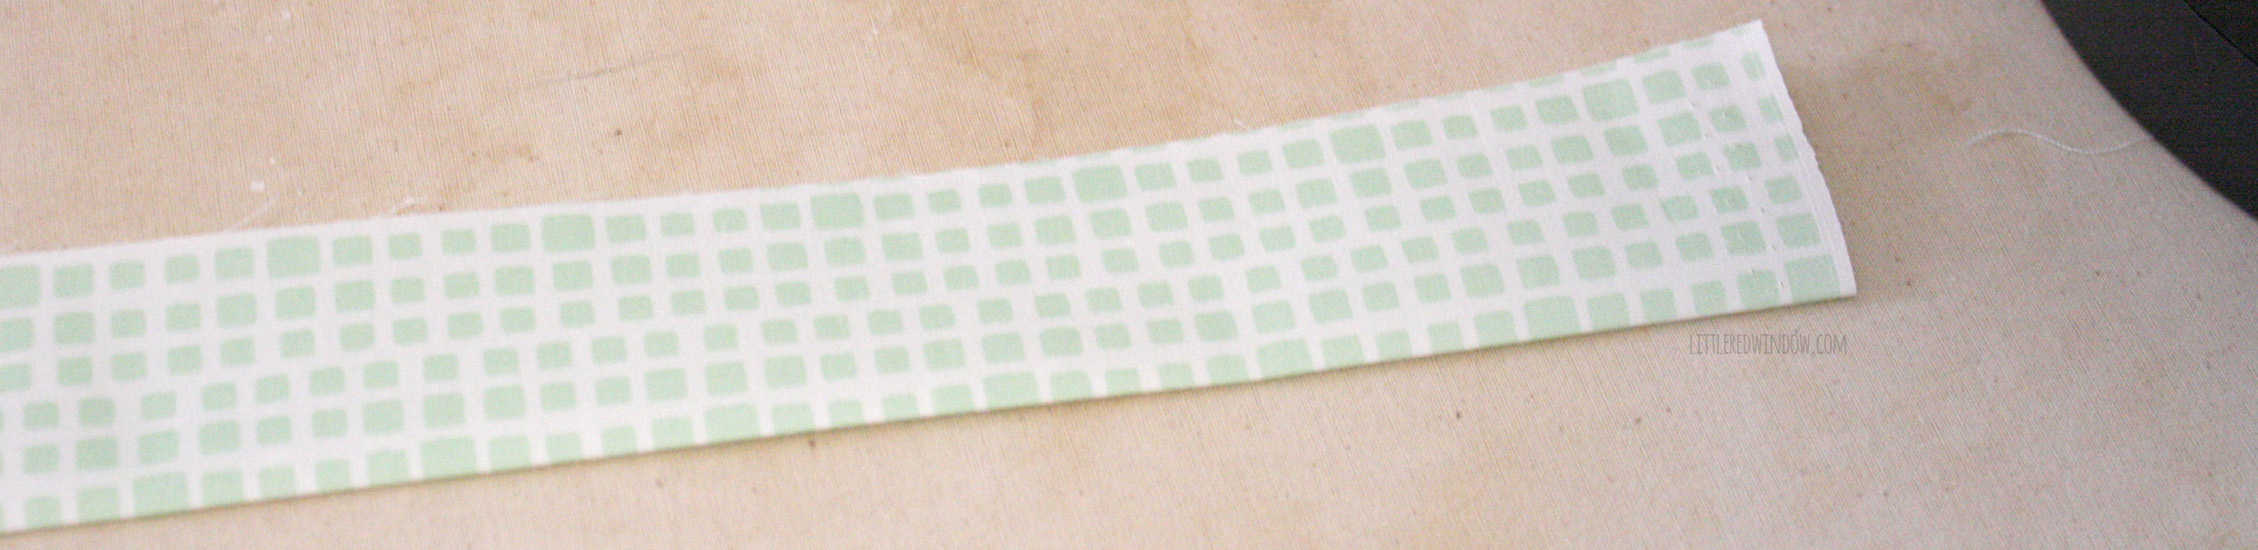 10. To attach the binding to the quilt, I always use my all time favorite quilt binding tutorial. For a square quilt there’s no need to use bias binding (which uses up a lot more fabric) and there’s no need for diagonal seams. I’d show you the steps myself but, in my opinion, this tutorial is perfect, she lays it out well and in the simplest manner possible. No need to be scared of quilt binding!
11. Sew the quilt binding to the front of your quilt using an invisible ladder stitch. Cup of tea and good movie are optional… I think there are two schools of thought over whether you should wash your quilting fabrics before you start. I never do because I like how quilts get wrinkly when you wash and dry them. But it’s really up to you. Since I didn’t, after the binding was attached, I washed and dried my quilt and then it was done!

If you liked this, you may also like some of my other posts…

- Crayon Scarf Knitting Pattern - July 21, 2026
- Pencil Scarf Knitting Pattern - July 7, 2026
- Tri-Color Linen Stitch Hat Knitting Pattern - June 22, 2026
Susie in the country says
Thanks for your very detailed quilt tutorial (especially your comments about not following quilting rules, lol). My biggest fear is not following the rules and having a BIG fabric mess. I need to get over that and stop following the quilting blogs that make one quilt a month or week. For beginners, on one hand their projects are beautiful but I’m not just there yet and discouraging cuz I’m not just on their level. Again, thanks for “dumbing quilting down” (I mean making it simpler).
Cassie May says
you are very welcome!
Nik says
Beautiful! You have much more patience than me for the binding part. Maybe one day I’ll get there! Thanks for the post.