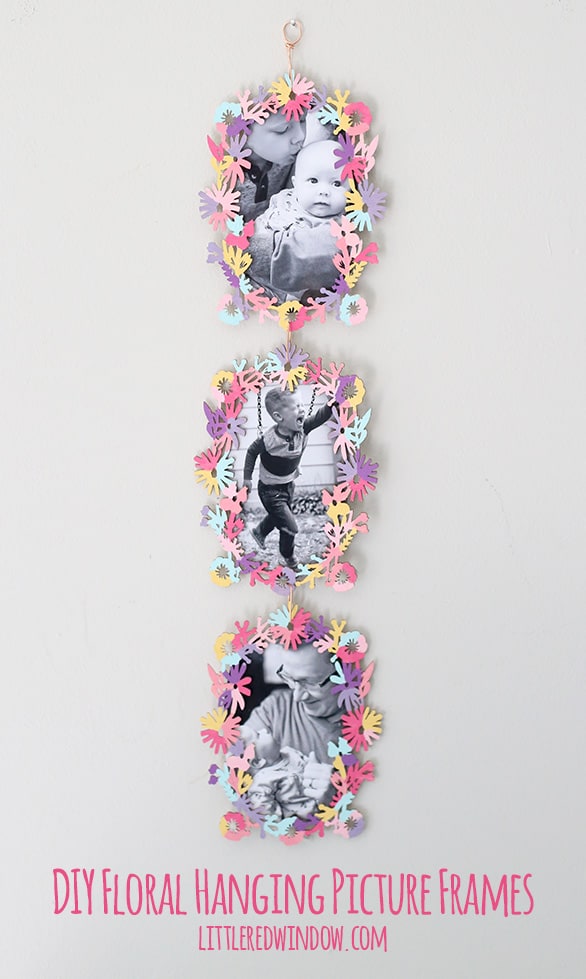
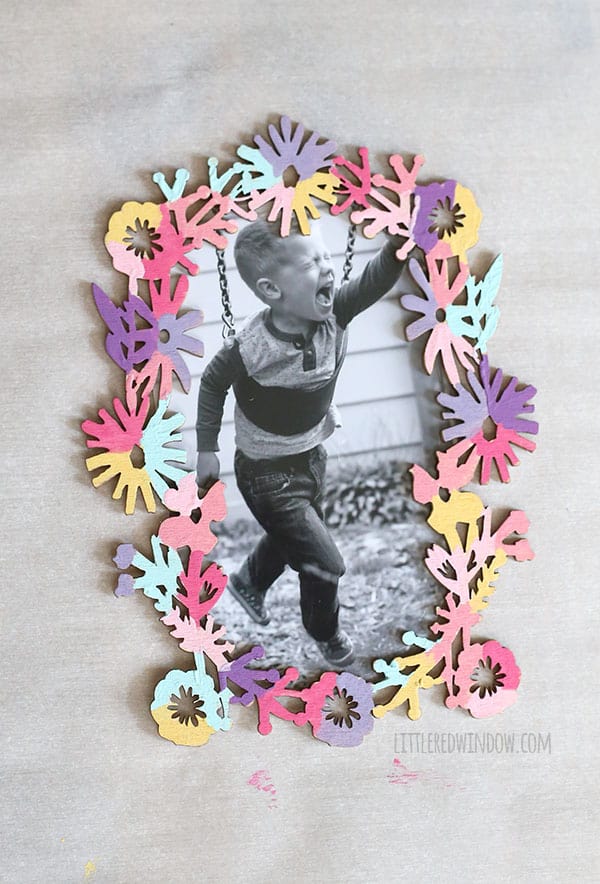
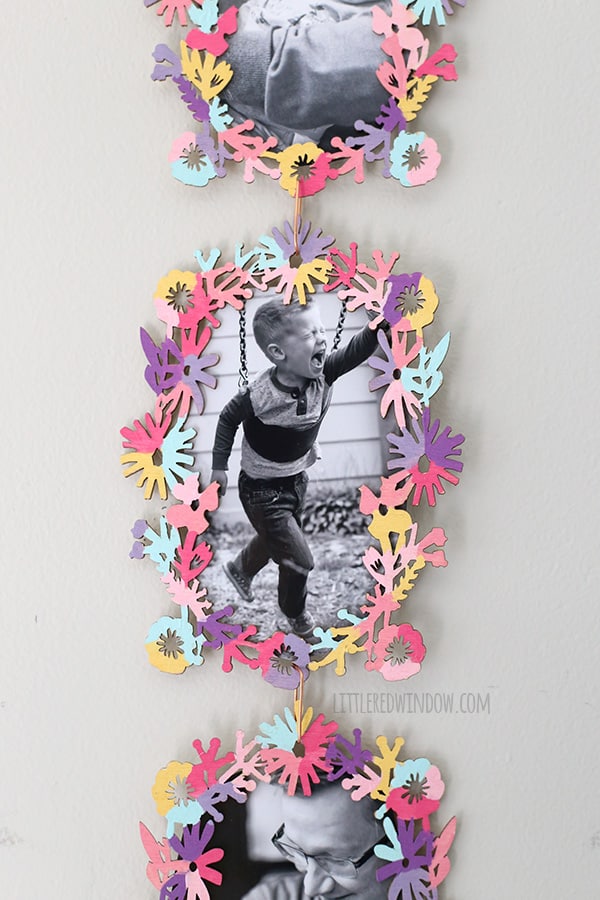
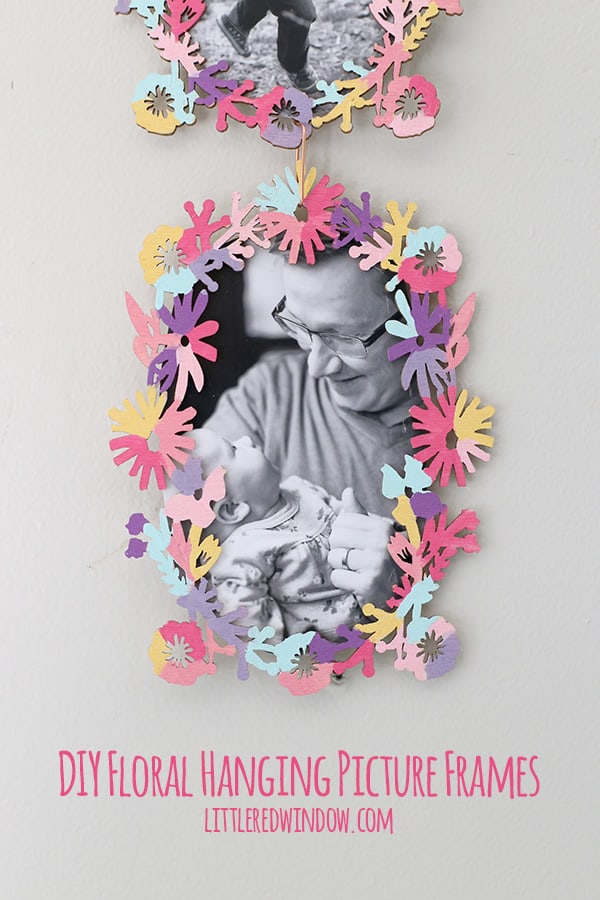
Make these pretty and colorful hanging picture frames with just a few supplies from the craft store!
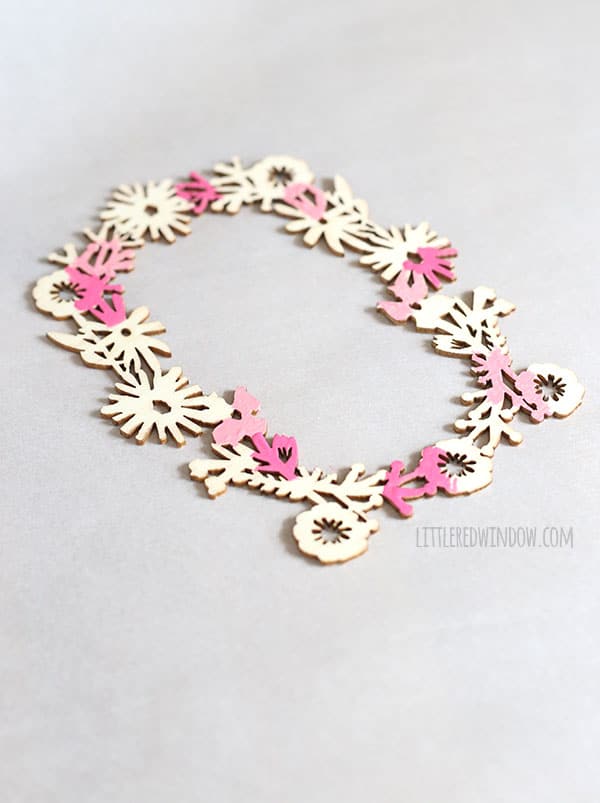
Well, if you’ve visited Little Red Window before, chances are good you’ve noticed I have an obsession with the unpainted wood section of the craft store. It’s definitely my favorite part and my heart goes pitter patter when I round the corner and see they have something new. I was excited to see these pretty floral frames on my last trip and I grabbed three with a vague plan to do something with them.
I’m a little bit of a type A personality (I think my family would say “little bit” is an undertstatement, ahem) so my normal tendency when given something intricate like this pretty floral frame, would be to get out my tiny paintbrushes and paint each flower accurately. But in work and life I’m trying to loosen up a little bit so I decided, you know what? These frames are only 99 cents each, I’m going to TRY something more fun and relaxed and just see what happens. And I think you’ll agree, they turned out awesome. So, note to self, step out of your comfort zone more often! Here’s how I put them together…
DIY Floral Hanging Picture Frame
Photos
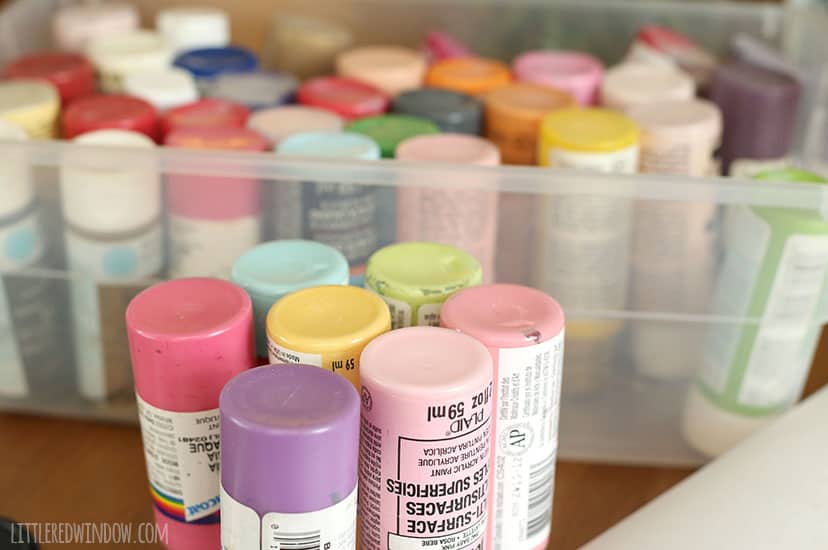
1. First I gathered the colors of paint I wanted to use. I went for some bright spring/summer colors. Feel free to pretend that that bin in the background is my entire paint collection. Yeah, that’s it… I’m totally not a paint hoarder…
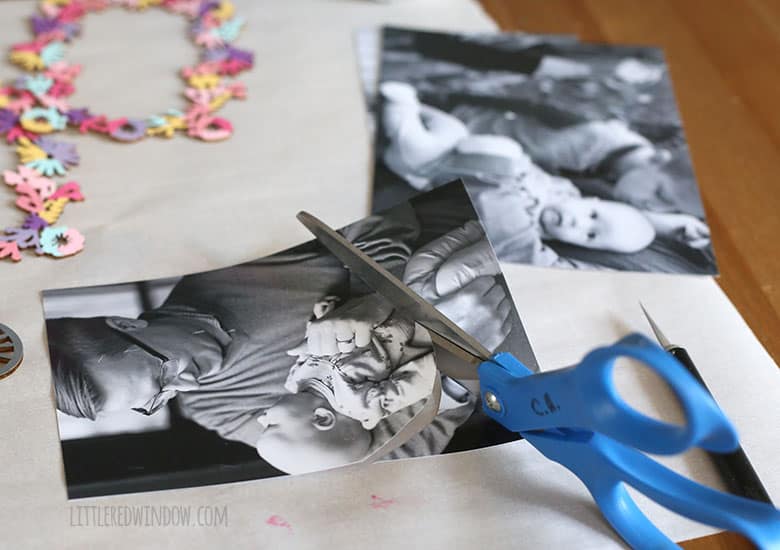
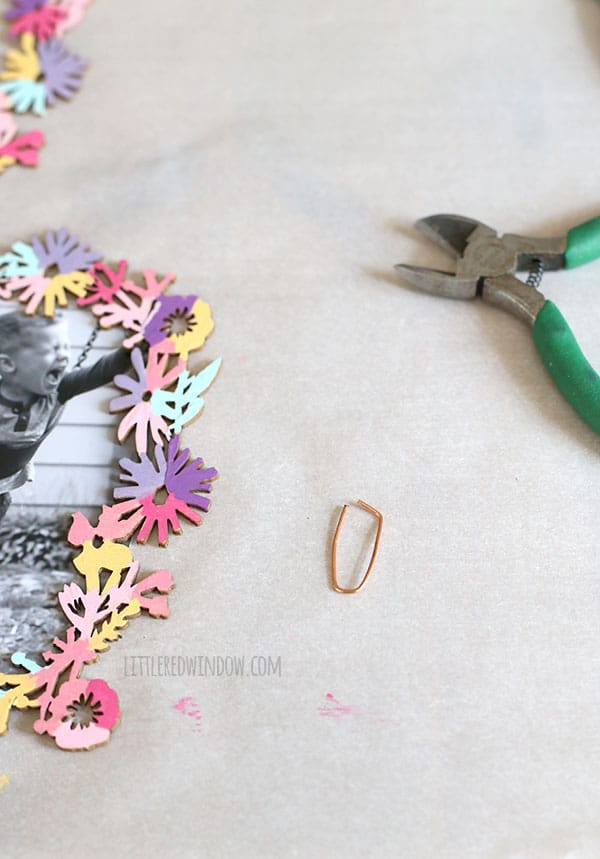
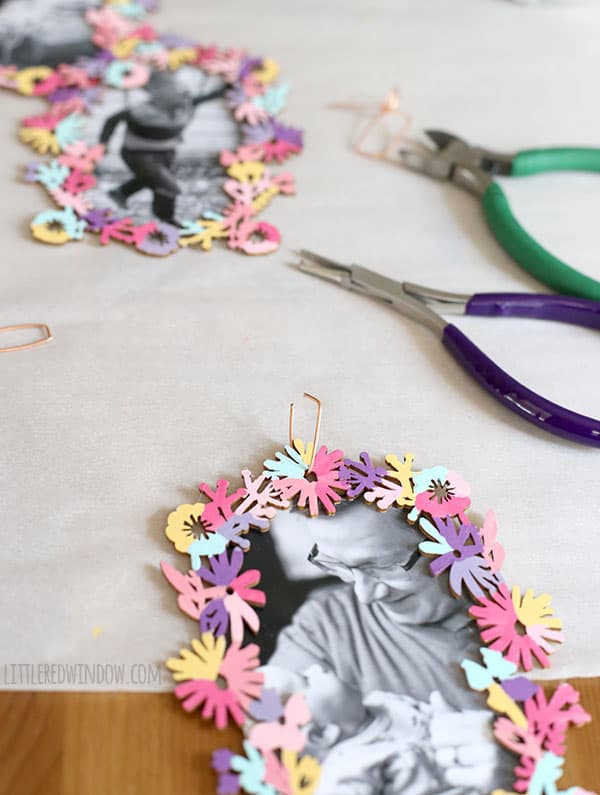
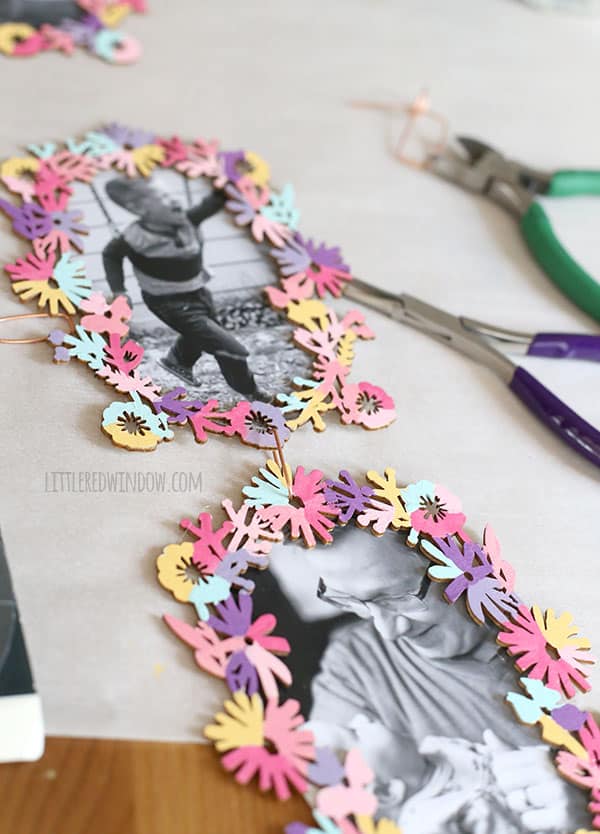
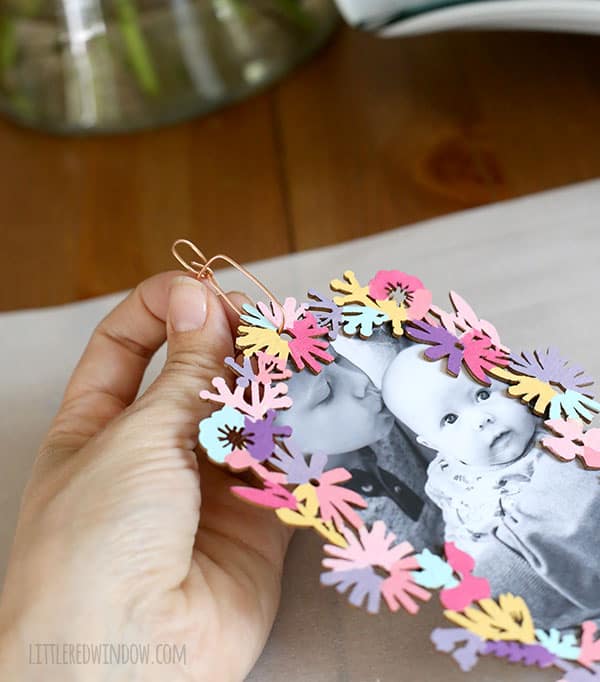
4. Glue the photos to the back of the frame with a few small dots of craft glue.
If you liked this, you may also like some of my other posts…
- Fiery Fades Hats Knitting Pattern - April 16, 2024
- Flower Pillow Knitting Pattern - April 11, 2024
- Compare the Top 5 Best Types of Paintbrushes for Craft Projects - April 11, 2024



Leave a Reply