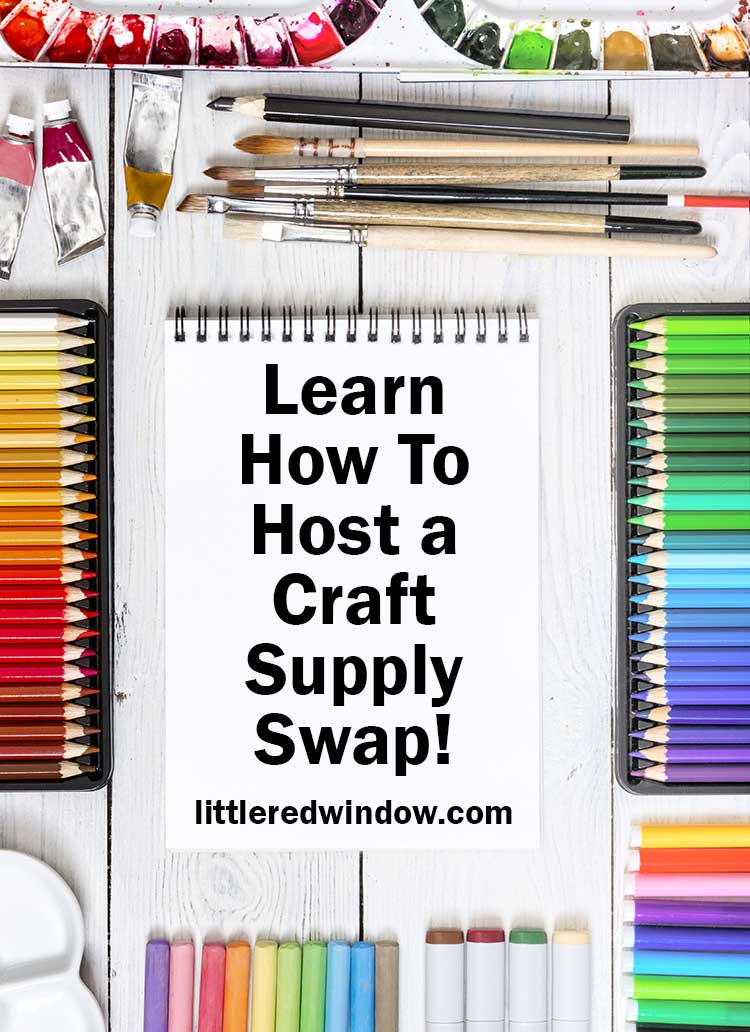
Learn how to setup and host a successful craft supply swap with your friends or neighbors with these easy tips and tricks!
Our local library recently hosted a craft supply swap and it got me thinking that maybe you would like to host a craft supply swap too! I have held one between friends before and it’s really fun. And if you’re visiting this website, then you’re more than likely a craft lover with a craft stash.
And if there’s one thing that’s true about crafters…it’s that we all have craft supplies in our stash that we’re not using. You know how it goes, you’re walking through the craft store and beautiful things just jump in your cart. It’s so weird how that happens.
I’ve found that most of the things in my craft stash that I don’t use are things that I bought without a project in mind, just because they were beautiful or unique or sparked my joy. Much like anything else you purchase, that’s the kind of strategy that lead to clutter. But that’s probably a post for another day.
When you do have an overflowing craft stash, it’s hard to know what to do. Of course no one wants craft supplies (or anything unnecessary) to end up in the lanfill. But often donation and thrift stores don’t take craft supplies. There are lots of other options for excess craft supplies, for example, donating them to a school or nursing home. But honestly, that takes some work.
Another alternative is to host a craft supply swap. It’s a good opportunity to get rid of craft supplies and tools that you aren’t using. (And trade them for something else if you want).
Today we’re going to learn how to host a craft supply swap so you can breathe some new life into your craft stash!
How to Host a Craft Supply Swap
- Decide who the craft supply swap is for.
You can swap with a group of friends/aquaintances, or you can host a craft supply swap for the community. - Once you’ve decided on your audience, it’s time to find a venue. If your swap is for friends, you may be able to use your home or someone else’s! If you’re hosting a swap for the community, you’ll need a bigger community space. Consider a local library, community center, coffee shop or other community space that may be willing to work with you.
- Pick the date. Make sure it works with your location and also with the people that you want to come. If you pick the same day as a local street fair or another big event at the same venue, for example, that may hurt your attendance.
- Set up the craft swap rules. There are two common ways to set up your swap:
Swap Type #1: Only people who bring items to swap may participate. This may be as simple as saying that if you show up with items, you may leave with items. Some groups take it to next level and assign value to items that you bring to trade. They may issue ticket for each dollar worth of items you come with and you can trade those tickets for other items of the same cummulative value. Supposedly this is meant to keep anyone from taking too many things. This option might be best for groups of friends and serious crafters.
Swap Type #2: Anyone can swap. This is obviously the most inclusive option. Anyone can drop off items for the swap and anyone can take items from the swap (even if they didn’t bring anything themselves). This is the best for community swaps and is the best way to do it for people who primarily want to declutter and donate craft supplies. Personally, I think swaps run this way just have a kinder vibe and include more people, but of course, that’s up to you. - Decide what items will be accepted. You can swap any kind of craft supply. You could swap only a specific type of supply like only scrapbook paper or only yarn. You can accept materials but not tools. You can set limits on whether or not scraps are allowed. It’s totally up to you.
- Promote your craft supply swap. Either invite the people you would like to swap with or promote the even in your community. MAKE SURE that the limits you’ve set in steps 4 & 5 (swap type and acceptable items) are communicated to attendees ahead of time as well as things like time and location.
- Set up swap items. Decide when you would like to set up your swap. For a small swap it may be find if your attendees bring their items with them when they arrive. If you are hosting a larger swap, pick a time for people to drop off their items ahead of time and make sure that’s also clear.
- Organize your craft supply swap. This is the last step before the swap and it’s a doozy! There are SO many ways you can organize a craft supply swap. Some people might like to organize their swap by who brought the items (if the person wants to take anything left back home). You might choose to organize the items by type of craft. Or by type of material. You might like to set aside an area just for kids’ craft supplies or an area just opened or partially used items. There are tons of options. Make sure you have enough table space and consider labeling the areas that you decide on so people can find what they want.
- Consider if you will supply logistical things like tables, chairs, water, snacks, shopping bags, etc. ahead of time.
- Decide what to do with items that no one chooses to take home. You can have people take home unchosen items. You can trash anything that’s left. You can set up a donation location ahead of time that you plan to take anything that’s left over. You can even store it somewhere if you plan to run another swap in the future. Whatever you decide, make sure attendees know ahead of time what will happen to any leftover items.
- Enjoy your successful craft supply swap! Whether it’s a big or small event you’re sure to clean out your stash and come home with some fun new items to get your crafty juices flowing! Happy crafting!
If you liked this, you may also like some of my other posts…


- Crayon Scarf Knitting Pattern - July 21, 2026
- Pencil Scarf Knitting Pattern - July 7, 2026
- Tri-Color Linen Stitch Hat Knitting Pattern - June 22, 2026
Leave a Reply