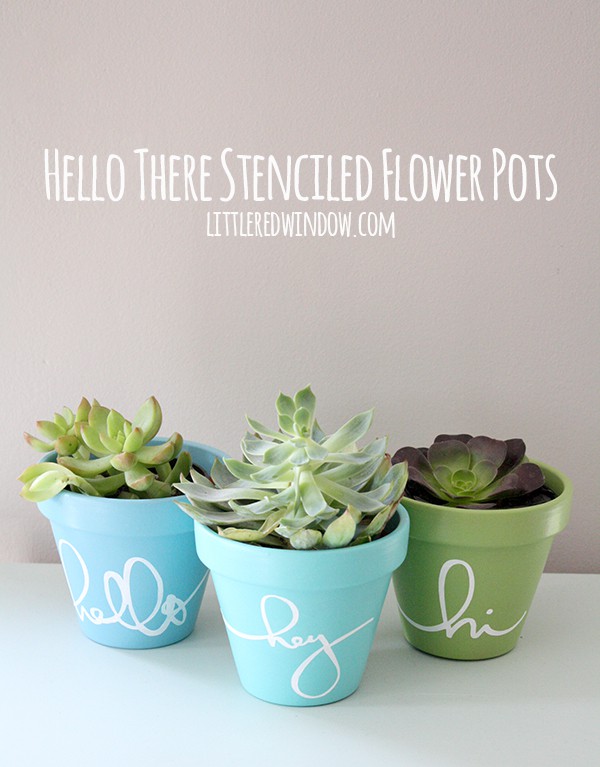
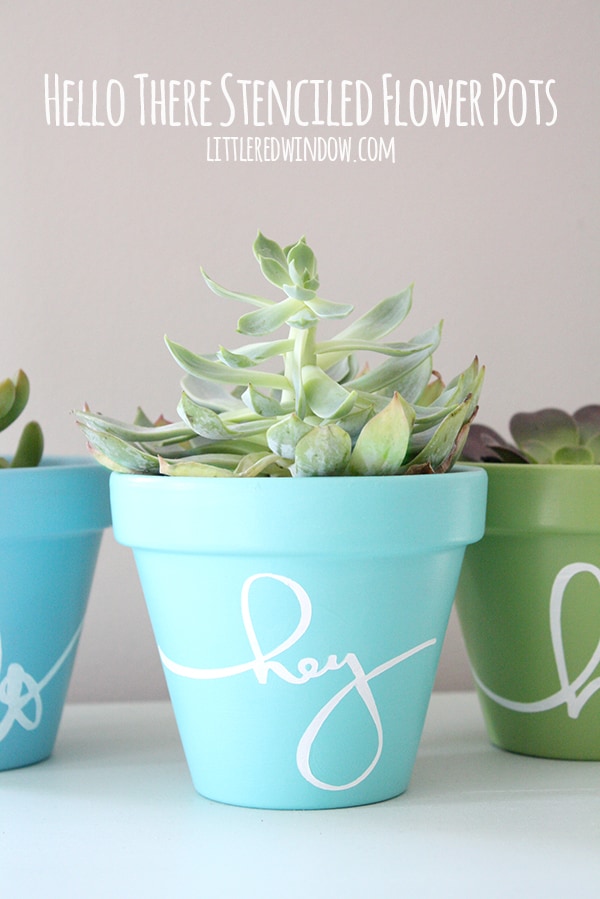
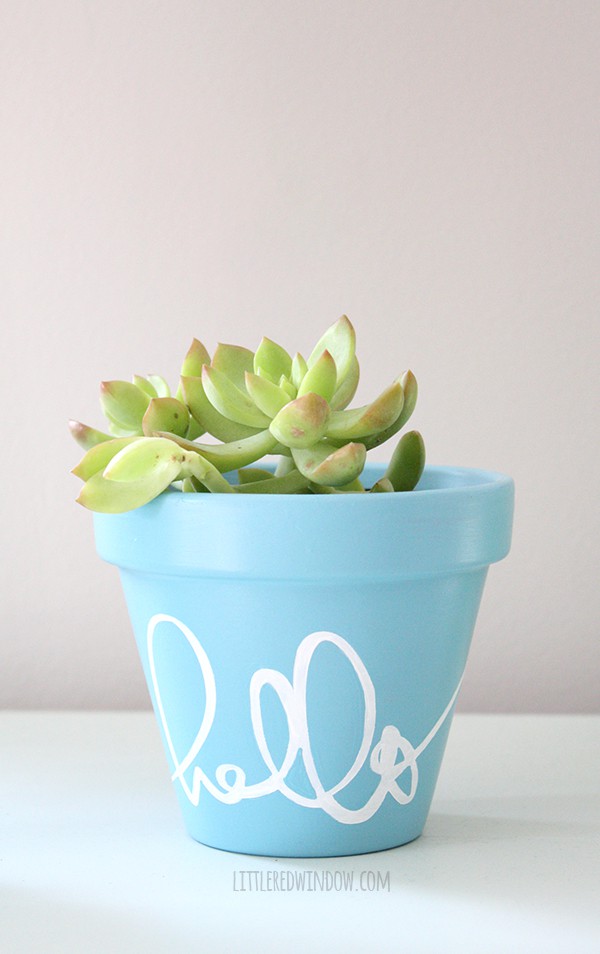
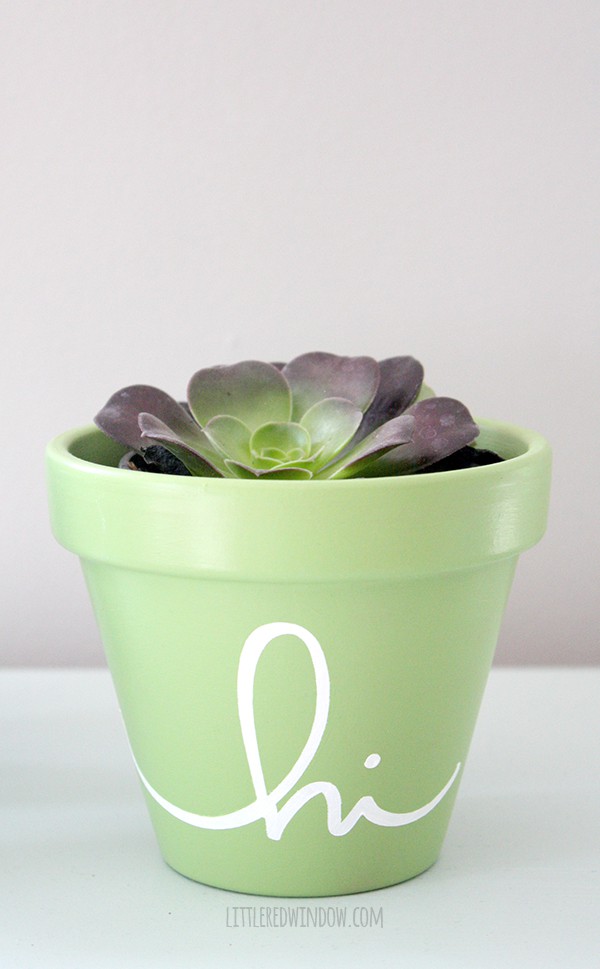
Make your own cheerful and colorful stenciled flower pots!
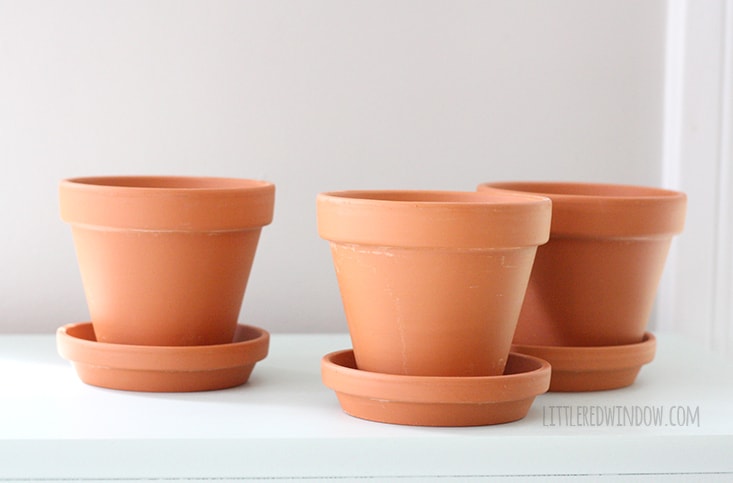
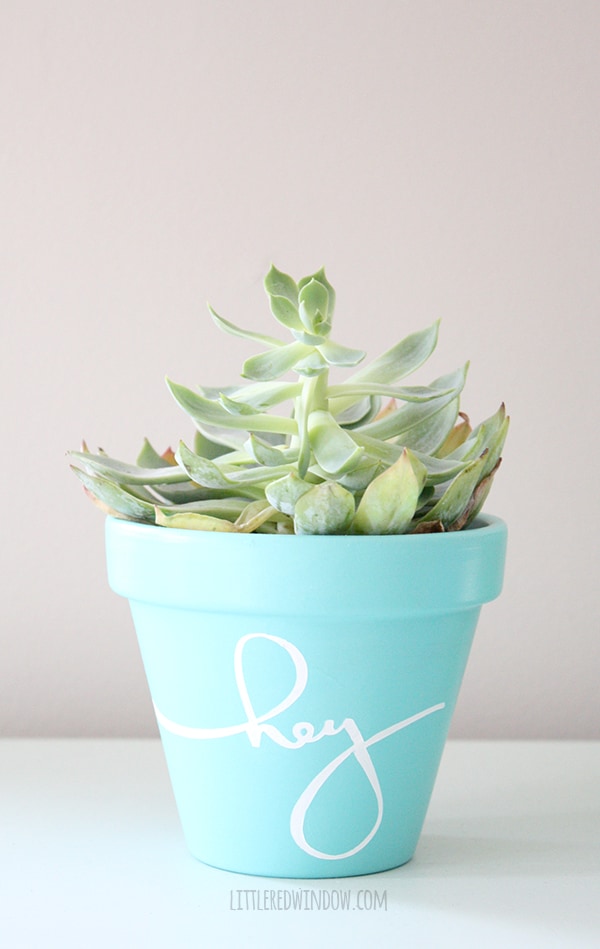
Aa and I used to have a whole bunch of houseplants. I think somewhere around the time that O was 1 and we our kittens had to go live with someone else, we gave most of them up. It was kind of freeing to be able to go on vacation and not have to worry about someone watering them. It wasn’t a big deal when we had pets because someone had to come watch them anyway. But at that point, we didn’t know many people in our building and making someone else come all the way over just to water some plants seemed silly. Plus, having a toddler is just exhausting. I think managing to keep just him alive was about all we could handle! (that’s a joke.) So anyway, we haven’t had houseplants in a long time and we miss them. And after this particularly hard winter, I got hung up by the terracotta pots at the craft store. They’re just so cheap! And we left a whole bunch of ours outside over the winter and, I guess because of the freezing and thawing, about half broke and cracked. So grabbed three little pots and some of the outdoor paint they had sitting right next to it. I thought some cheerful indoor pots would look cute in our kitchen and it turns out, I love them! It’s nice to have someone say hello to you when you come home, even if it is just a succulent! Here’s how I did it:
Stenciled Flower Pots
Contact Paper or vinyl
Craft knife or Silhouette cutting machine
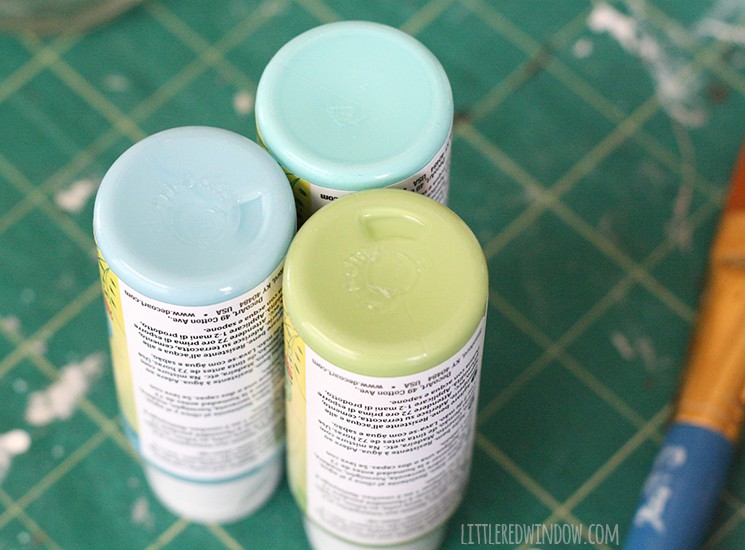
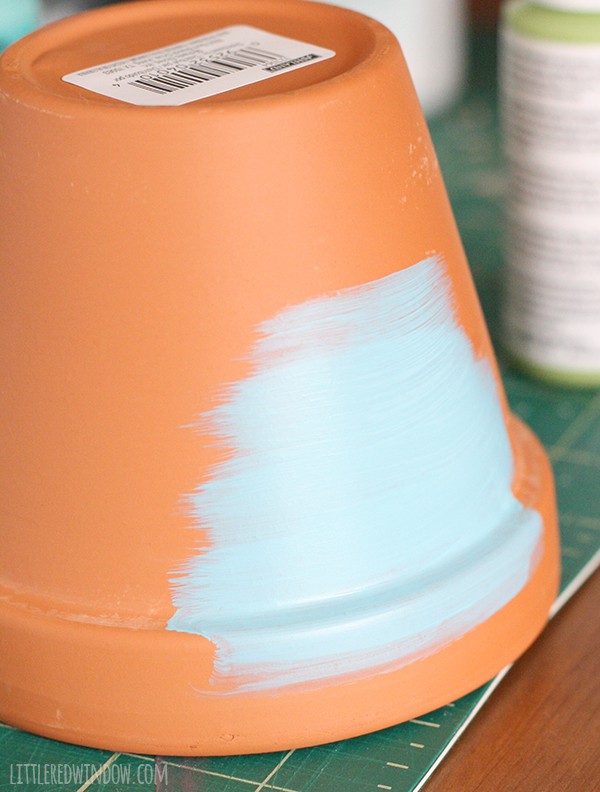
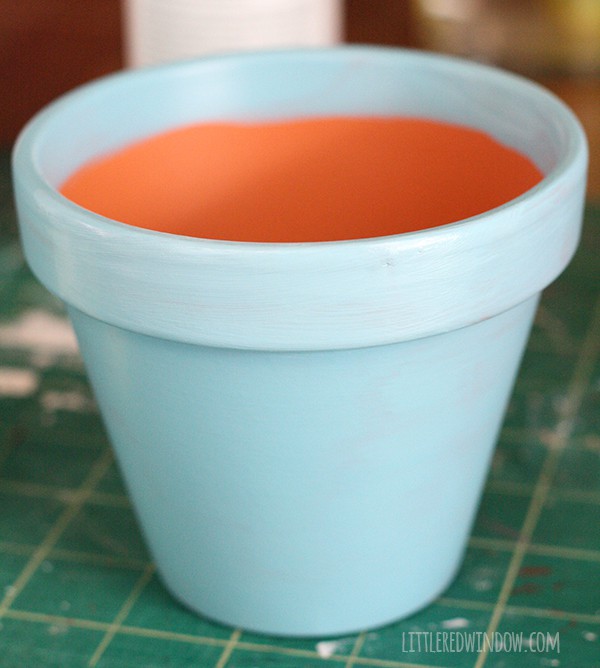
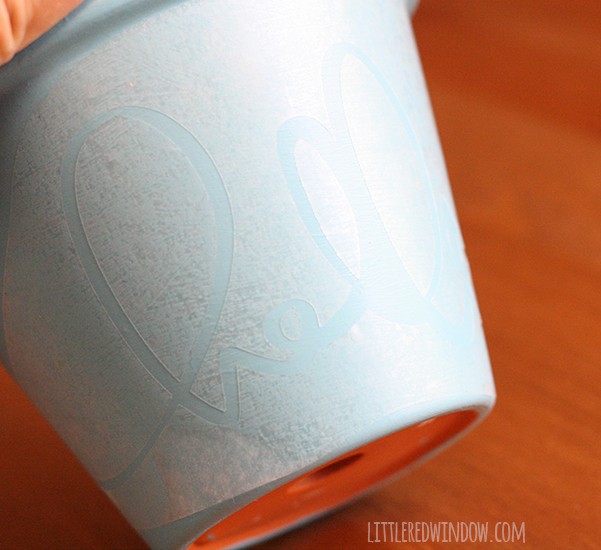
1. Here are the cute little pots and the outdoor craft paint colors I bought. 2. Give each pot two coats of the outdoor craft paint. Even if your plants will live inside, you want to use outdoor paint because the terracotta will absorb moisture when you water your plants. 3. I used my Silhouette machine to cut the stencils. If you don’t have one, you can cut the stencil with an exacto knife! (The arrow were for something else…)
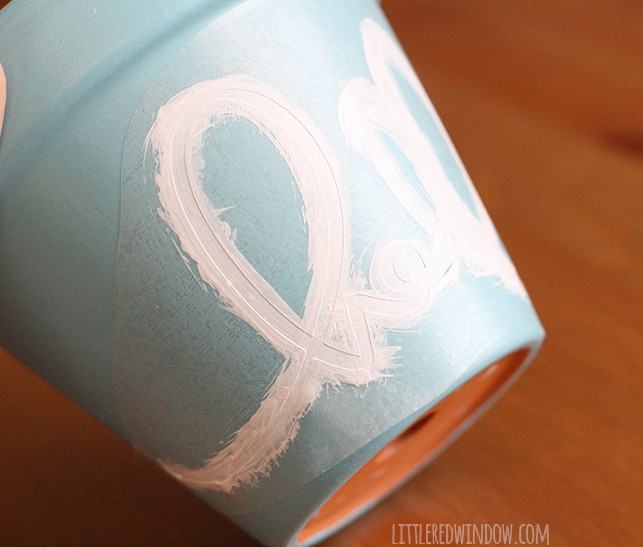
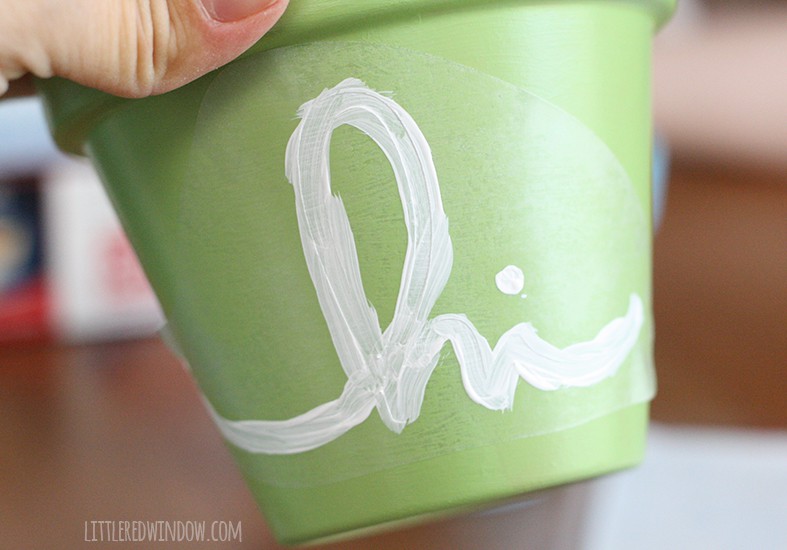
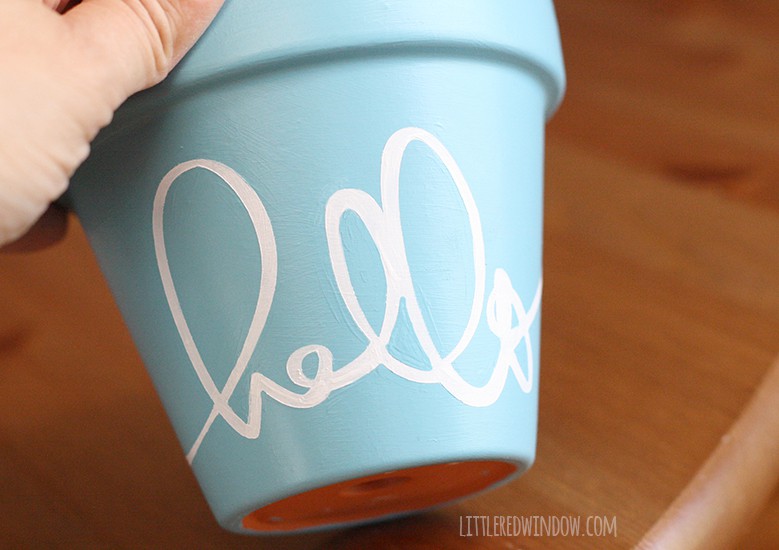
I decided, this time around to use contact paper for my stencil because it’s cheap. It worked reasonably well although there was some bleeding around the edges. I think that’s because I didn’t press around the edges of my stencil well enough. So when you apply your contact paper stencil to the flower pots, use a credit card or something similar and press hard around all the edges and points. 4. Then I painted about 4 coats of white outdoor craft paint over the stencil. It works best if you peel the stencil off while the paint is still a little bit wet, otherwise it can peel. 5. Like I said, I had a little of paint bleeding under the edges of the stencil so I used a tiny brush in the original color of the pot to paint over that. Then I filled my flower pots with some cute little succulents! They’re so bright and cheerful, I love them!
If you liked this, you may also like some of my other posts…
- Rib Zag Hat Knitting Pattern - April 23, 2024
- Double Stockinette Stitch Knitting Pattern: Easy How To for Beginners - April 18, 2024
- Fiery Fades Hats Knitting Pattern - April 16, 2024




Dea Lenihan says
Hi there!
I linked this very cute craft to one of my brochures as an adorable colored pencil holder. Hope it brings you some hits and biz. xo
Jean Nicolson says
What about putting the plant name on the pots. These are great looking
Cassie May says
That would be a great idea!
teya88 says
So adorable! 🙂 Thank you
Sharon McDonald says
They are cute. Would make great gifts.
Cassie May says
Thanks Sharon!
Lucy @ Patina Paradise says
Oh my goodness, found your post on google + and just adore your flower pots! My favourite is the hello, but I like all 3 of them. Can I ask what font you used? I painted some this Spring also, using image transfers, but I love the idea of using vinyl as a stencil. The possibilities are endless!
Cassie May says
Hi Lucy! Thank you! It’s actually not a font, it’s a cut file from the silhouette store, you can find it here: http://www.silhouettedesignstore.com?page=view-shape&id=46981
Carin says
I adore these pots! They are so cute! Thanks for sharing!
Cassie May says
Thanks Carin!