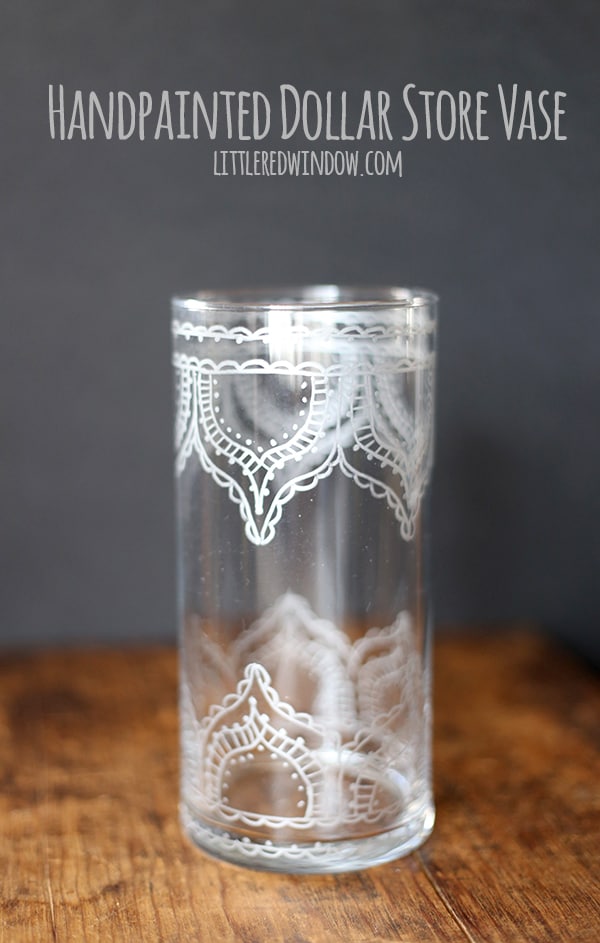
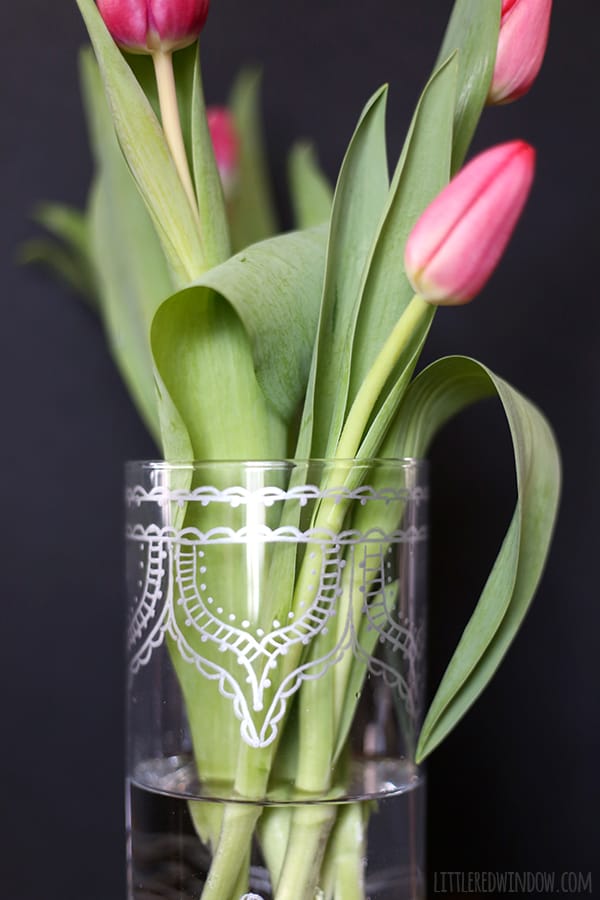
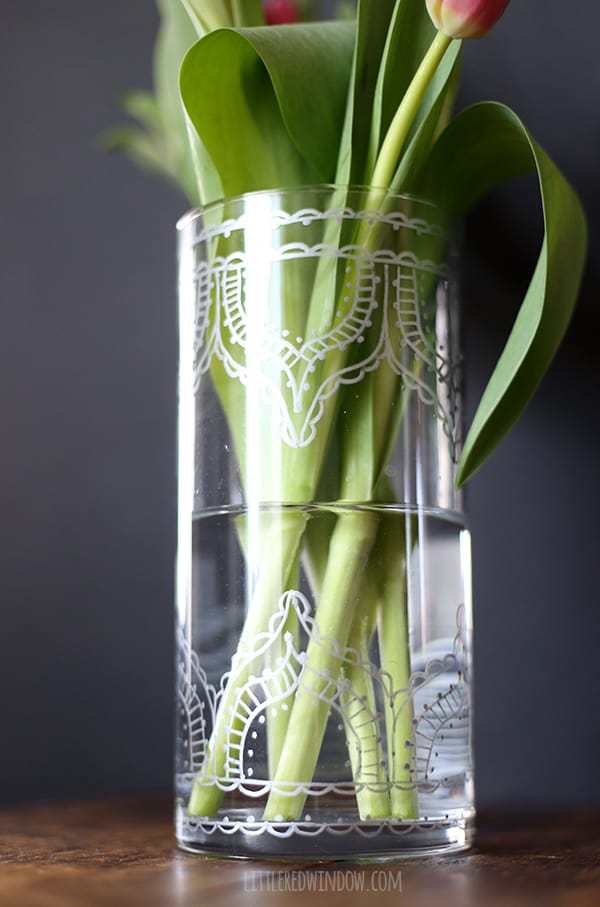
Turn a boring dollar store vase into a gorgeous handpainted Moroccan beauty!
So if you sign up for my newsletter, you know that you get access to my weekly list of awesome craft supplies. I find things that I’ve used and loved, things that look cool, or things that I just can’t wait to try and share them with you. (But you only get access if you’re a subscriber so sign up!) Anyway, while I was researching that recently I found some glass paint pens which got me thinking about the infamous “sharpie mug” pin on pinterest. Do you know the one? Where supposedly you can draw on a mug with a sharpie, bake it and it will be permanent only it seems like it never works for anyone? Yeah, that “sharpie mug”. Anyway, among the gazillion versions of that project, I occasionally see a recommendation to use a different kind of marker or paint that’s actually meant for glass or ceramics. So I saw this glass paint pen and decided to give it a try. However, I didn’t go for a mug because, personally, I think the reason those mugs fail most of the time is that a mug is kind of a ‘high traffic’ item that is both handled and washed a lot. And if you’re going to put something like that in the dishwasher, forget it. So I thought I’d play it smarter and try this out on a vase. Spoiler alert: it works great! I totally thought the paint pen would be uneven or hard to use but it really wasn’t. It didn’t stink, the paint came out evenly and it was super easy to use. So yay for craft wins! Here’s how I made this pretty hand-drawn Moroccan inspired design to take my dollar store vase from drab to amazing!
Handpainted Dollar Store Vase
Clear Glass vase
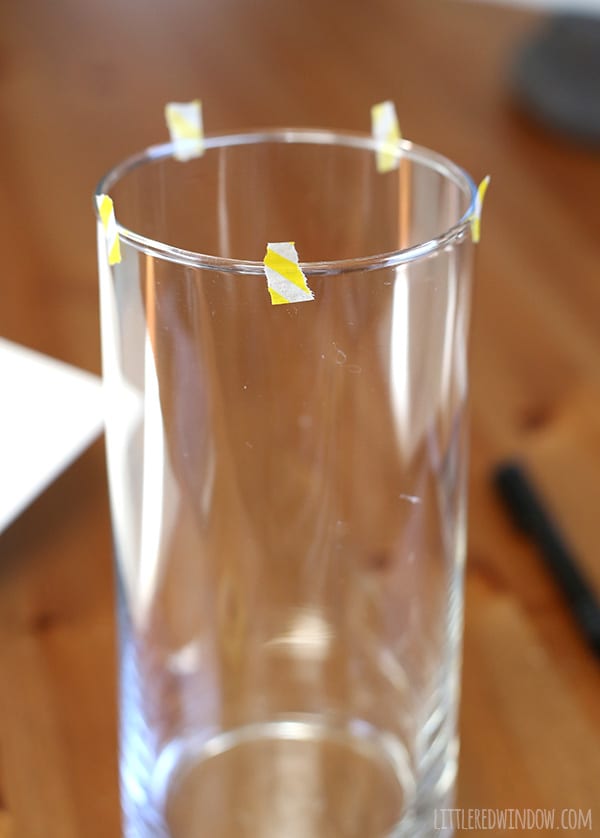
1. First I washed my vase with soap and water and dried it carefully. Then I put on a pair of rubber gloves. Not so much because of the paint, because it really wasn’t stinky. But because I swear somewhere in the depths of my craft addled brain, I read somewhere that if you’re painting on glass you should avoid getting fingerprints and oils from your skin on it or the paint won’t stick as well. I could totally be making that up, but it kinda makes sense, right? So take it with a grain of salt.
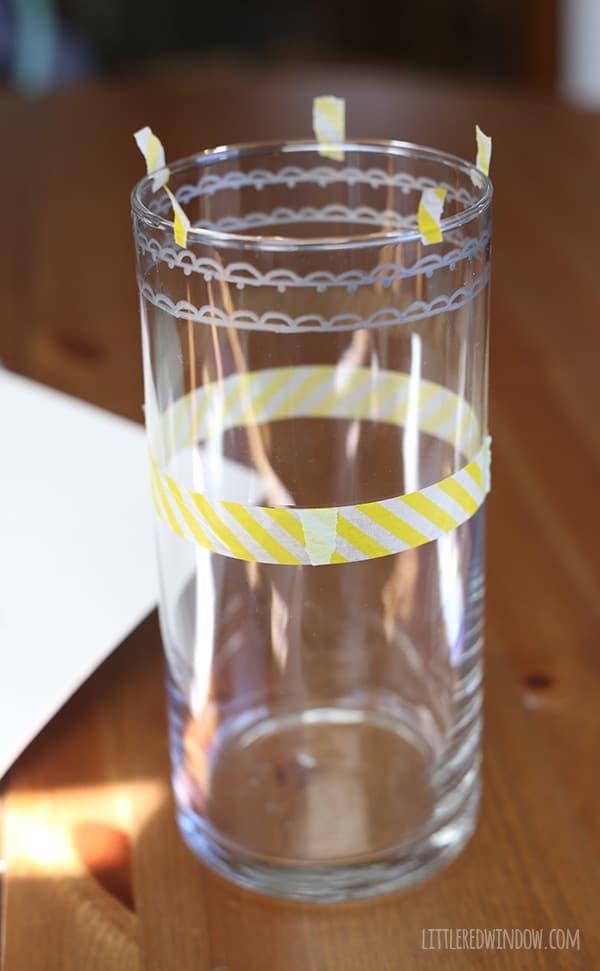
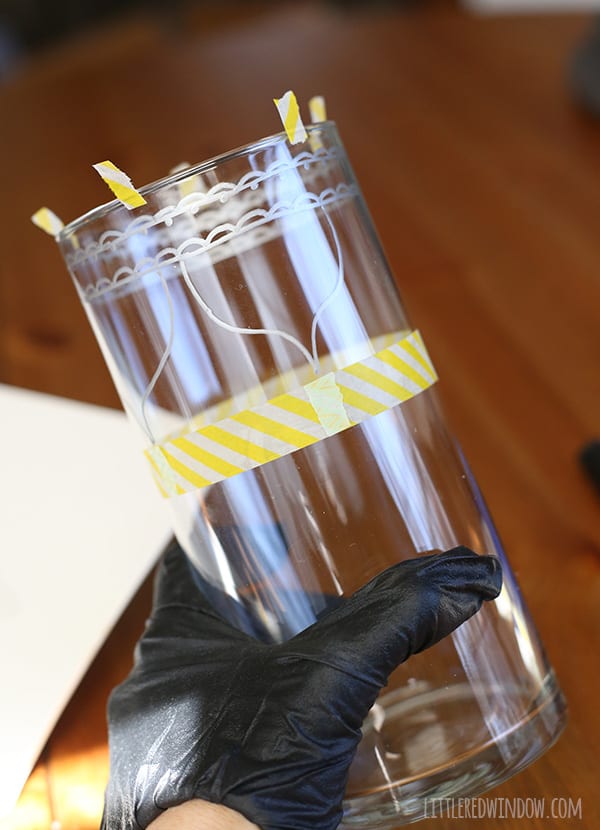
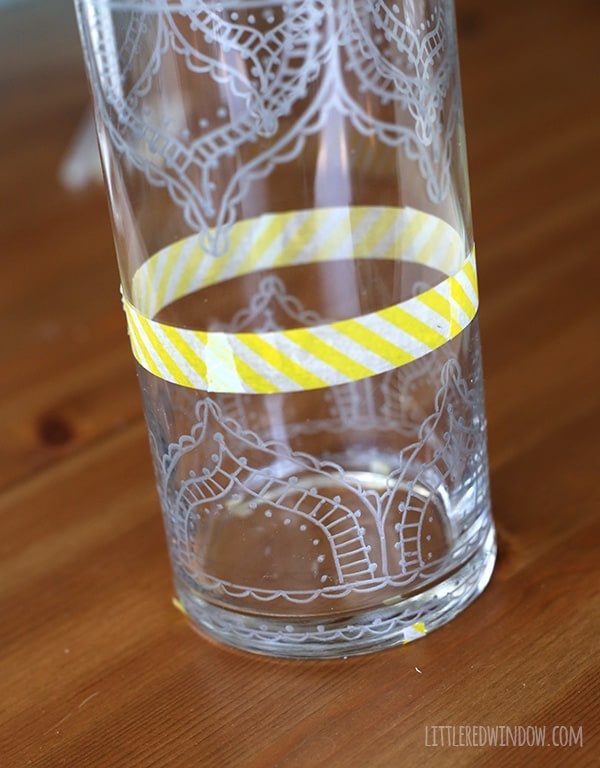
2. Then I took some little strips of washi tape and divided my vase evenly into five sections. I just did that to make sure my design elements were all pretty much the same size.
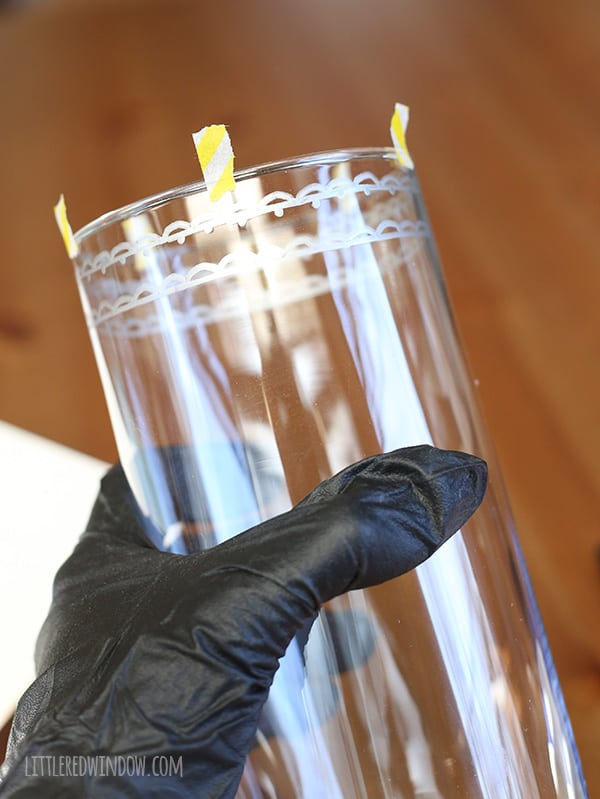
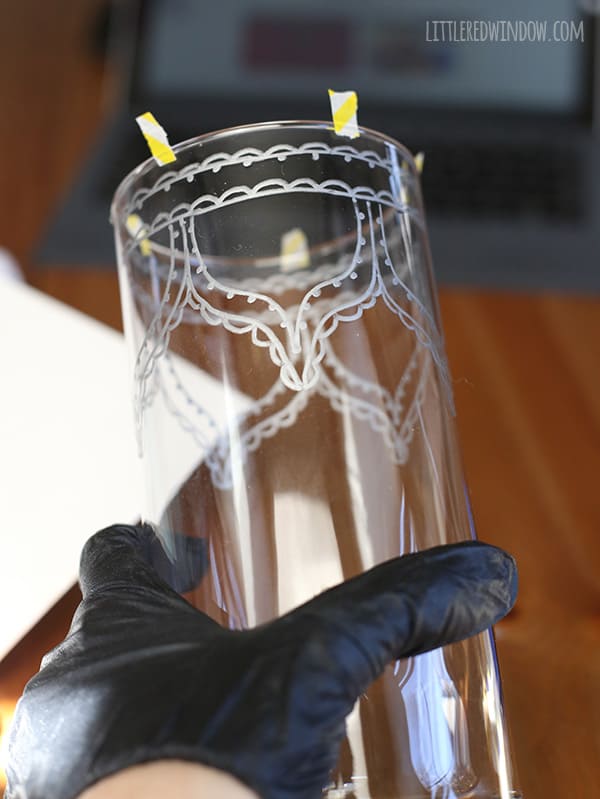
3. Next I started carefully drawing my pattern, making sure not to smudge what I had just drawn. I was actually pretty surprised that this paint dried quickly!
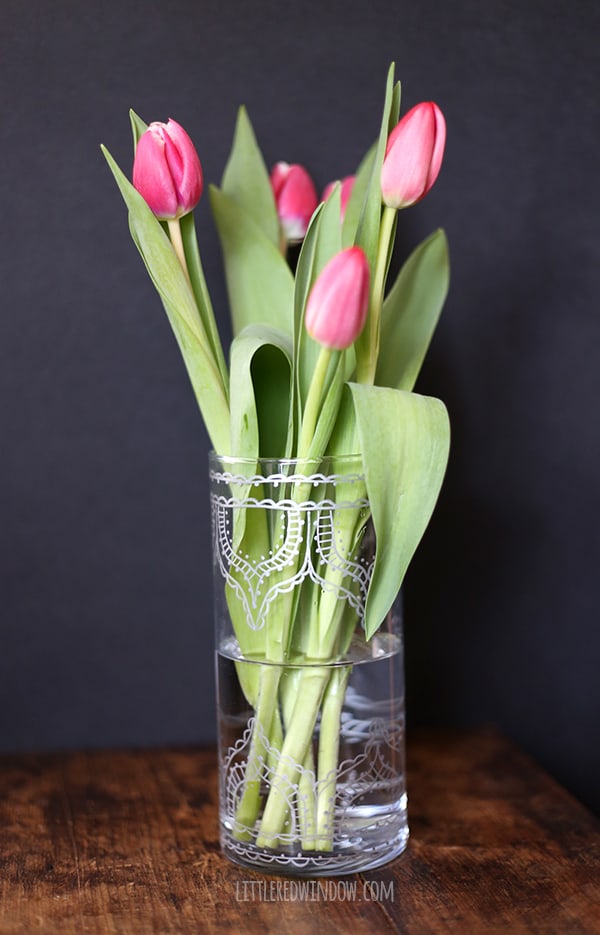
I love how it turned out, the metallic silver is so pretty but not too sparkly and the paint is nice and even! I’m definitely going to be making more of these!
- Double Stockinette Stitch Knitting Pattern: Easy How To for Beginners - April 18, 2024
- Fiery Fades Hats Knitting Pattern - April 16, 2024
- Flower Pillow Knitting Pattern - April 11, 2024



Meg says
I love this idea! I’ve never tried a sharpie mug project, but you’re right that it’s much smarter to do sharpie art on something that isn’t washed and used so often. This turned out so beautiful & delicate looking. It reminds me of lace! Pinning this so I remember it as a gift idea!
Cassie May says
Thanks for stopping by, Meg! xoxo!
Ashley ~ 3 Little Greenwoods says
Such a super cute and quick project! It would be perfect for a birthday gift or as a thank you to a friend!