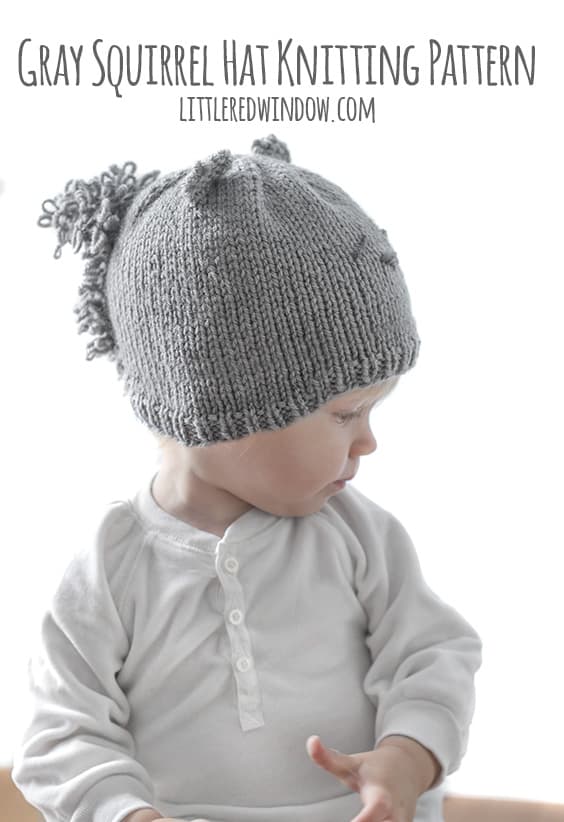
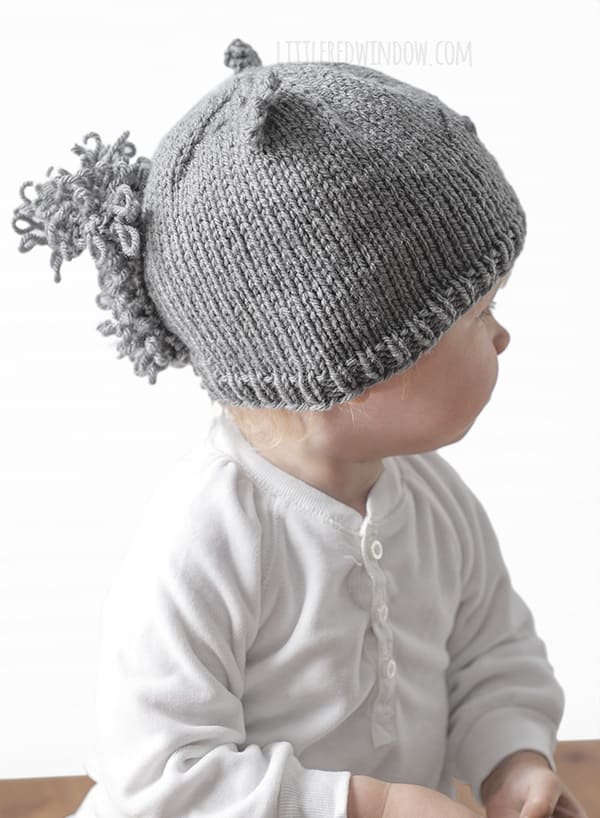
This adorable little gray squirrel hat knitting pattern is so fun to make and includes a free video tutorial for the fluffy tail!
You guys, I wasn’t quite sure how to execute a squirrel hat but I just love how the fluffy tail turned out! And if you’ve made my unicorn hat, you can definitely make this squirrel hat, it uses the same loop stitch!
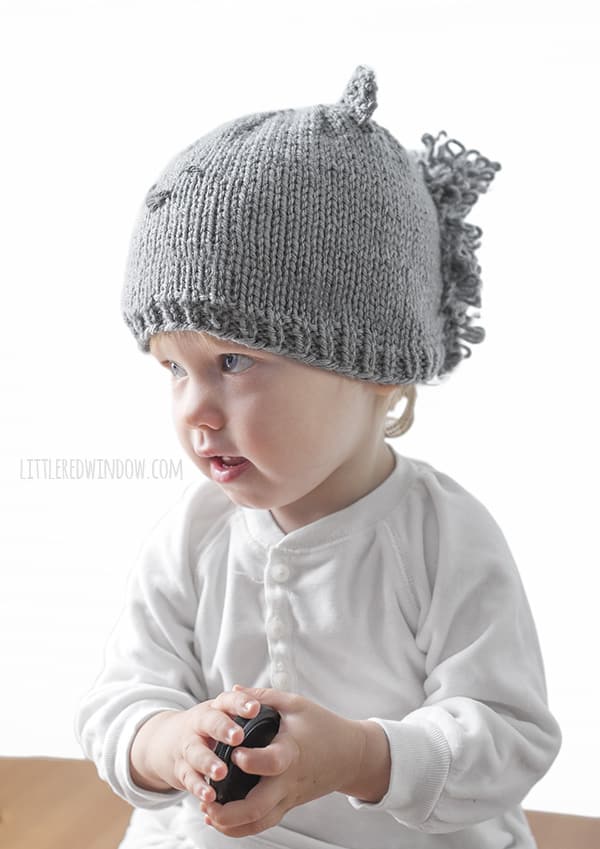
The result is soft and fluffy and definitely squirrel-y. (Which is appropriate for small children who also tend to be squirrel-y, am I right?! ) Baby V loves to point out squirrels from the front window or when we go on walks so she was pretty excited about this one!
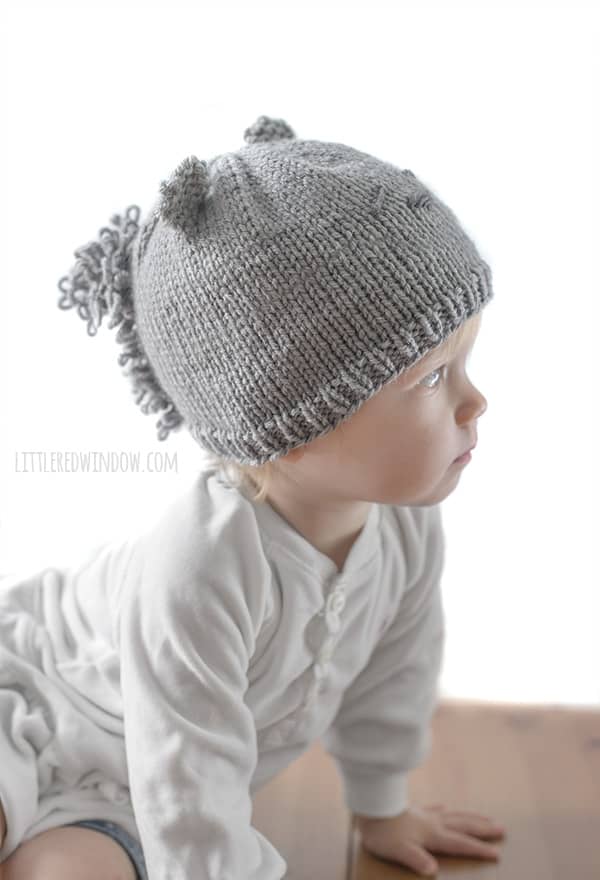
Looking for the pattern? Here’s how it works: This pattern is available for FREE in one size right here on my site (keep scrolling down). Or for just a few dollars, you can choose to purchase an upgraded PDF pattern that is nicely formatted and easy to print. Besides being easy to print, the PDF pattern also contains MORE SIZES with instructions for additional sizing including 0-3 months, 6 months, 12 months and 2T+! Thank you for supporting Little Red Window!
Gray Squirrel Hat Knitting Pattern
(12 mo. size, see PDF for additional sizes)
Gauge: 20 st. = 4 inches
Gray Squirrel Hat Supply List:
- Worsted weight yarn in medium gray and charcoal gray
- US 7 16″ circular knitting needles
- US 7 double pointed needles
- Yarn needle
(If you need help, my favorite knitting reference book for everyone from beginners to advanced knitters is THIS ONE!)
Gray Squirrel Hat Instructions:
Using long-tail cast on, cast on 72 stitches onto your circular needles with the gray yarn color. Join to knit in the round and knit 1 stitch, purl 1 stitch in a rib stitch for 4 rounds. Then knit all rows until the hat is about 5 inches long.
Decrease (distribute your stitches evenly among 3 double pointed needles or use magic loop):
Round 1: (k6, k2tog) and repeat to the end of the round for a total of 9 repeats.
Round 2: Knit all stitches
Round 3: (k5, k2tog) and repeat to the end of the round.
Round 4: Knit all stitches
Round 5: (k4, k2tog) and repeat to the end of the round.
Round 6: Knit all stitches
Round 7: (k3, k2tog) and repeat to the end of the round.
Round 8: Knit all stitches
Round 9: (k2, k2tog) and repeat to the end of the round.
Round 10: Knit all stitches
Round 11: (k1, k2tog) and repeat to the end of the round.
Round 12: Knit all stitches
Round 13: k2tog and repeat to the end of the round.
Cut yarn, pull through loops and close. Weave in ends.
To knit the Ears (make 2):
Using double pointed needles as straight needles, cast on 6 stitches with gray yarn. Leave a long tail to stitch the ears to the hat.
Rows 1 – 4: Knit all stitches
Row 5: k2tog, k2, ssk
Cast off and weave in that end. Use the long tail from each ear to stitch the ears securely to the top of the hat.
To knit the tail:
To knit the tail you will need to know how to knit a loop stitch (knit loop = KL), here’s how I do it:
Knit one stitch into the first stitch on the left needle but leave that stitch on the needle. Bring the yarn from the back to the front between the needles, wrap it around your left thumb and bring it back to the back of your work between the needles again. Then, keeping the loop on your thumb, knit a second stitch into that original stitch that’s still on your left needle. Drop that stitch off the left needle. Then pass the first stitch over the second and off the right needle, watch a video of this stitch here:
Using double pointed needles as straight needles, cast on 10 stitches with gray yarn. Leave a long tail to stitch the tail to the hat.
Row 1: knit all stitches
Row 2: k1, KL8, k1
Rows 3 – 15: repeat rows 1 & 2
Row 16: kfb, KL8, kfb
Row 17: knit all stitches
Row 18:k1, KL10, k1
Row 19: k1, KL10, k1
Row 20: knit all stitches
Row 21: k1, KL10, k1
Row 22: knit all stitches
Row 23: k1, KL10, k1
Row 24: knit all stitches
Row 25: k2tog, k2tog, KL4, ssk, ssk
Row 26: knit all stitches
Row 27: k1, KL6, k1
Row 28: knit all stitches
Row 29: k1, KL6, k1
Cast off and weave in that end.
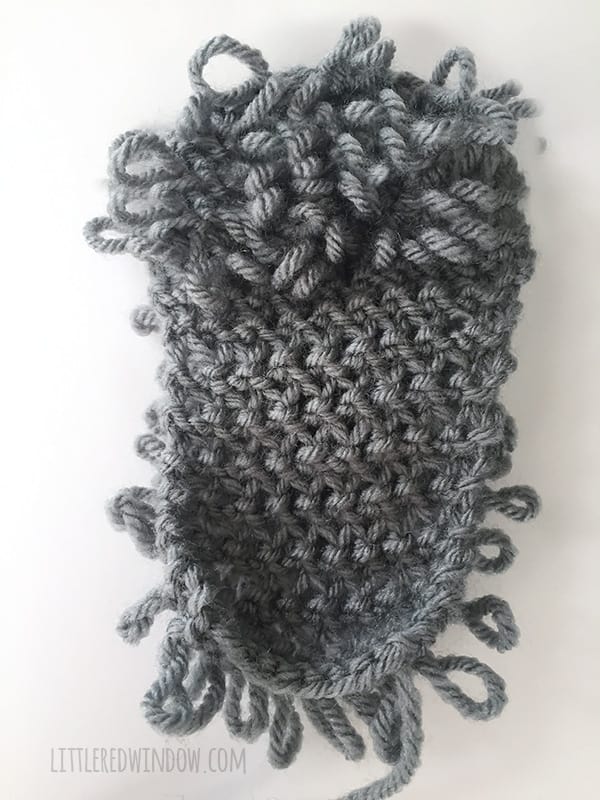
Pay careful attention to counting your rows, because the loopy side of the tail will switch between rows 18 & 19.
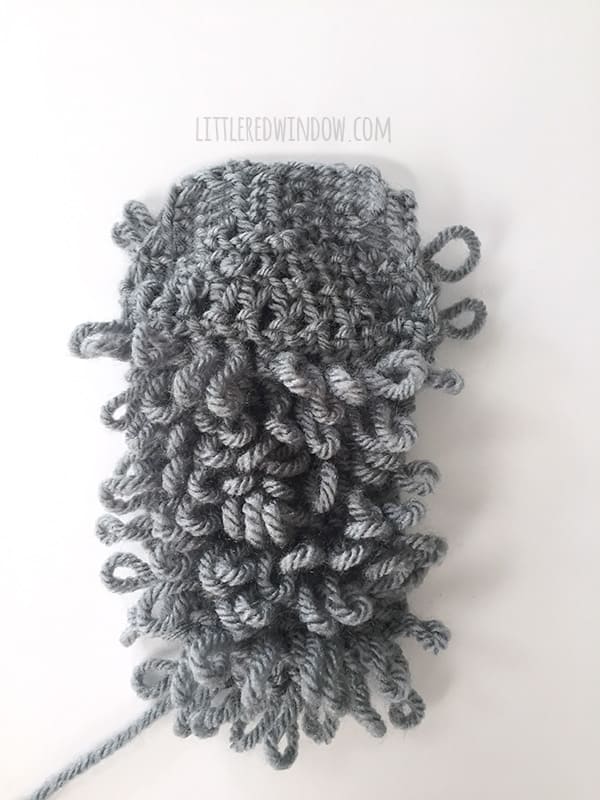
Right side
Wrong Side
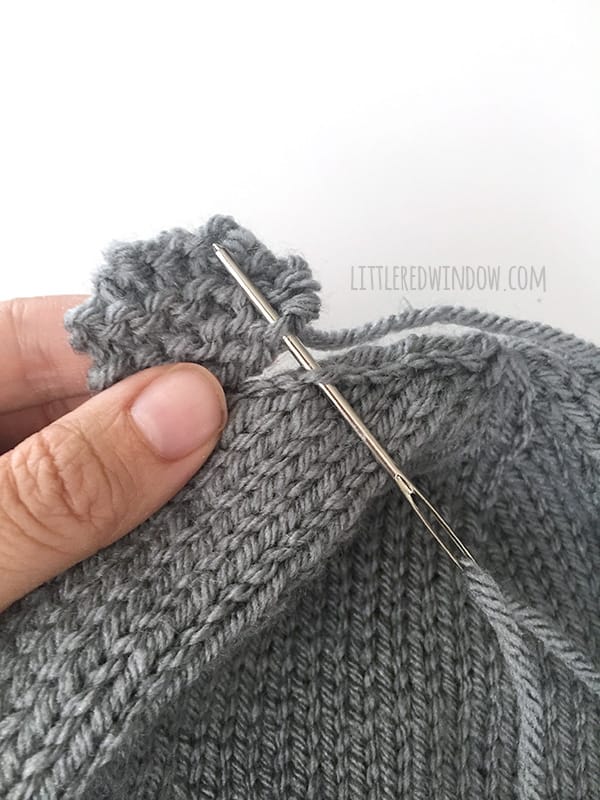
To attach the tail to the hat, lay the tail wrong side against the back of the hat and stitch it to the hat ONLY from the bottom of the cast on edge up to row 18 and back down again. Allow rows 19 – 29 to flop back over exposing the other loopy side of the tail as shown.
To finish the hat:
To make the face, thread a length of charcoal yarn on your yarn needle and stitch 3 horizontal stitches in descending length close together for the nose and two angled stitches for the eyes. Make sure these stitches are fairly loose so they don’t pull when the hat stretches.
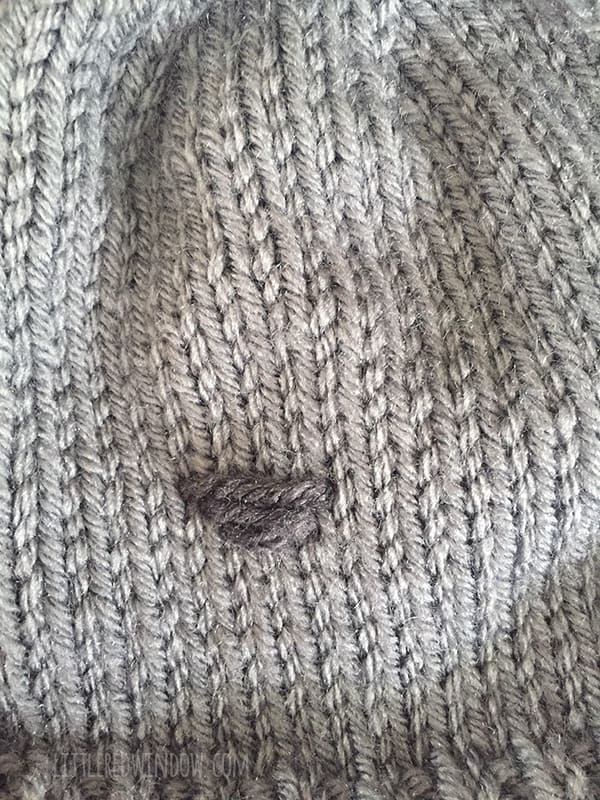
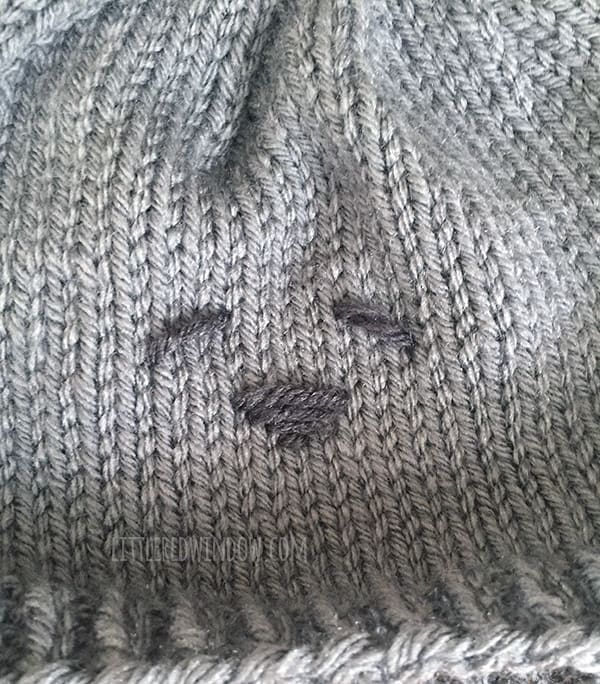
And that’s it! If you want a super easy to print pdf baby squirrel hat pattern that includes sizes 0-3 months, 6 months, 12 months, 2T+:

If you liked this, you may also like some of my other posts…
- Rib Zag Hat Knitting Pattern - April 23, 2024
- Double Stockinette Stitch Knitting Pattern: Easy How To for Beginners - April 18, 2024
- Fiery Fades Hats Knitting Pattern - April 16, 2024




Leave a Reply