Your kids can make gorgeous personalized hankies with this easy tutorial, perfect for birthdays or Christmas gifts!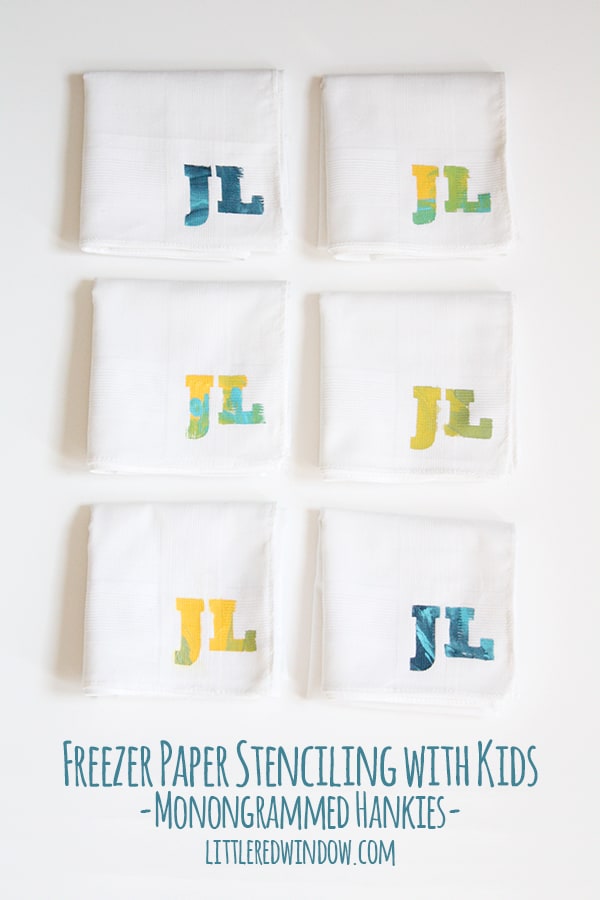
Does anyone else’s dad carry hankies? My dad always always has, his whole life. He doesn’t even use them very much but he always has them in his pocket which is pretty nice in an emergency. But I wonder, are handkerchiefs an endangered species? I hardly know anyone who carries one anymore. Maybe hipsters will pick it up? Anyway, my dad still does and as far as I know has never had monogrammed ones, so hopefully he’ll like them! Oh, and by the way, it’s a long story, but J & L are not his real initials, it’s a long story but related to what O calls him instead of Grandpa. So that makes them extra sweet. Here’s how we made them!
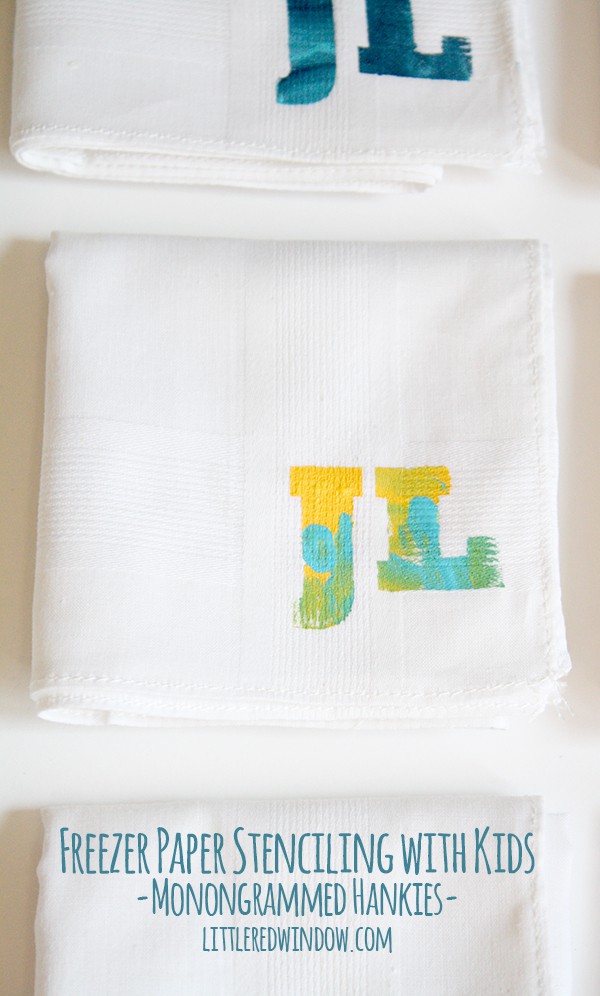
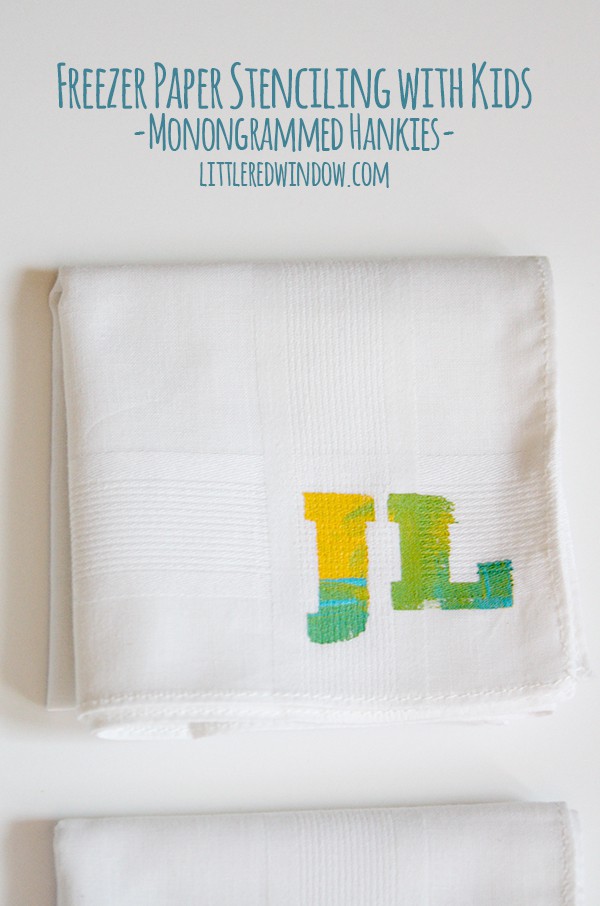
Freezer Paper Stenciled Monogrammed Handkerchiefs
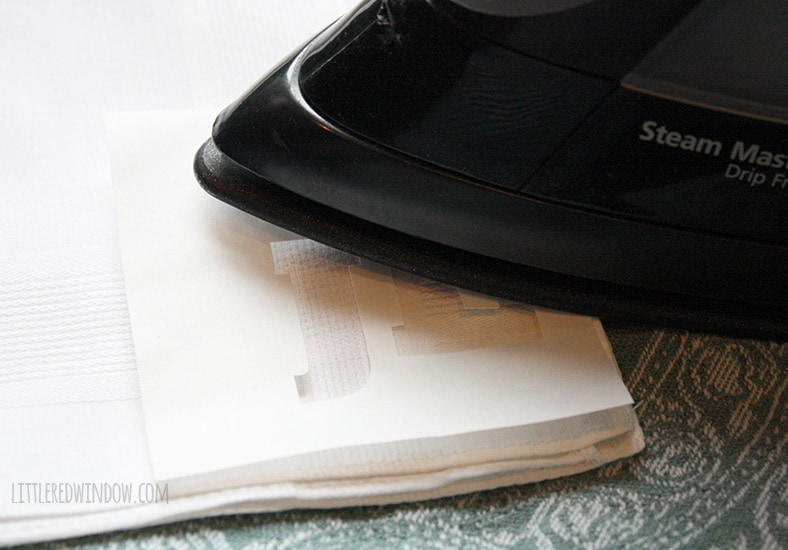
Iron
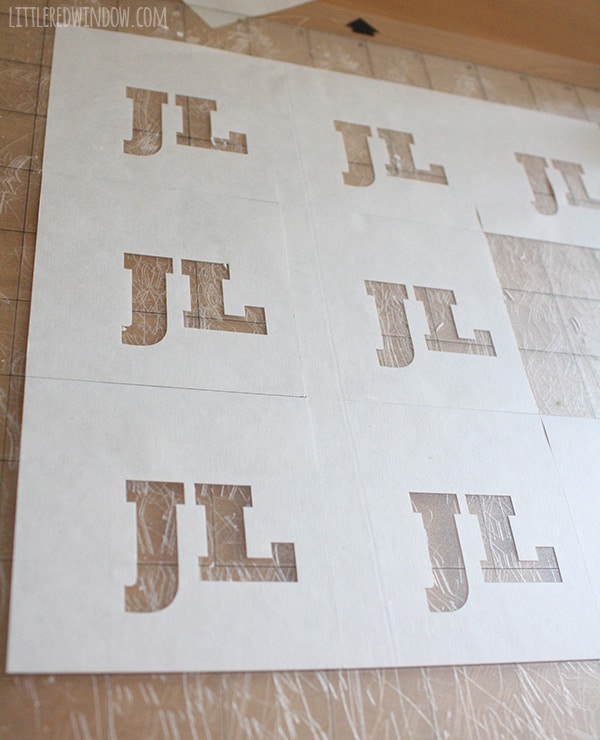
1. Ok, technically, you should probably wash, dry and iron your hankies before you start. I like to live on the edge so I skipped that. To make my stencils, I used my Silhouette Cameo, but these are so simple you could cut the shapes out with a knife. To do that, just print the letters, trace them onto the freezer paper and cut them out.
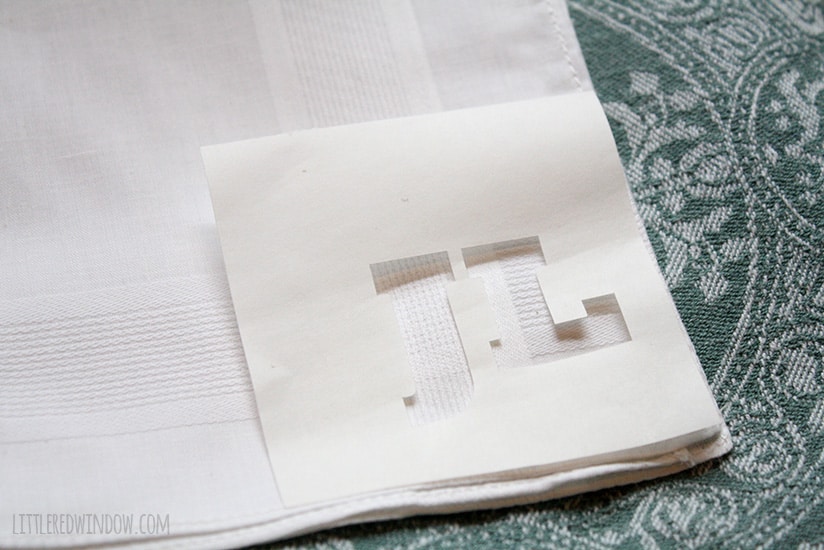
To cut them with your cutting machine, I picked a font and laid out the monogram, I also had the machine cut out rectangles around the letters to make individual stencils for each hanky. I made sure to measure the borders so the I could line the stencil up with the edges of the fabric and have the monogram be right where I wanted it. 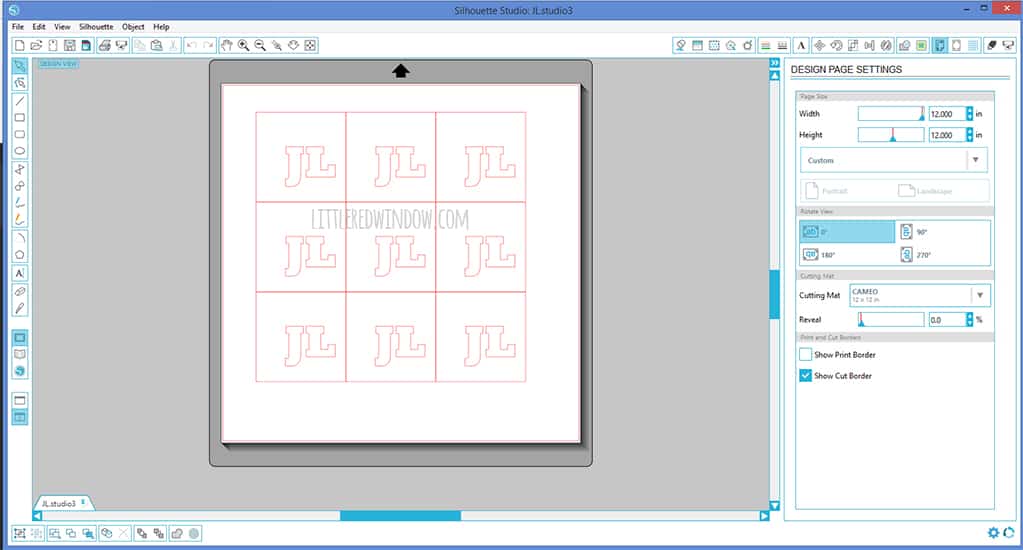
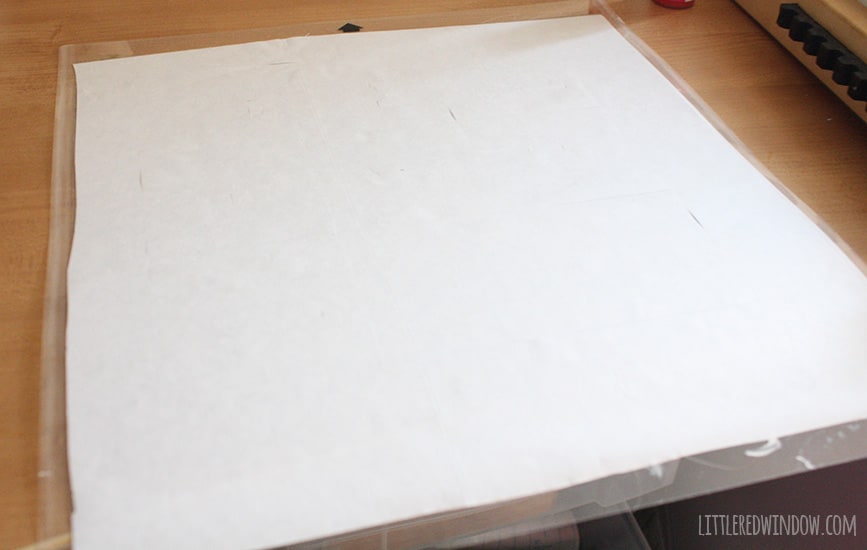
4. When it was done, I peeled of the negative space so I had individual stencils. 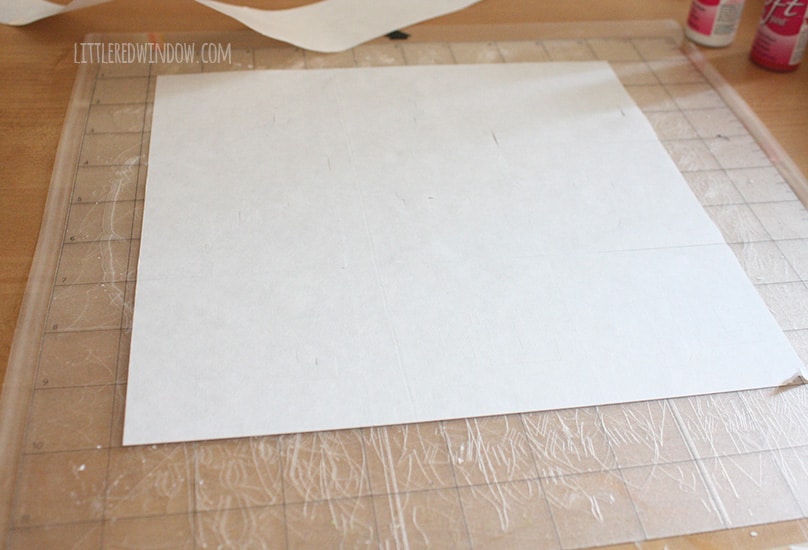
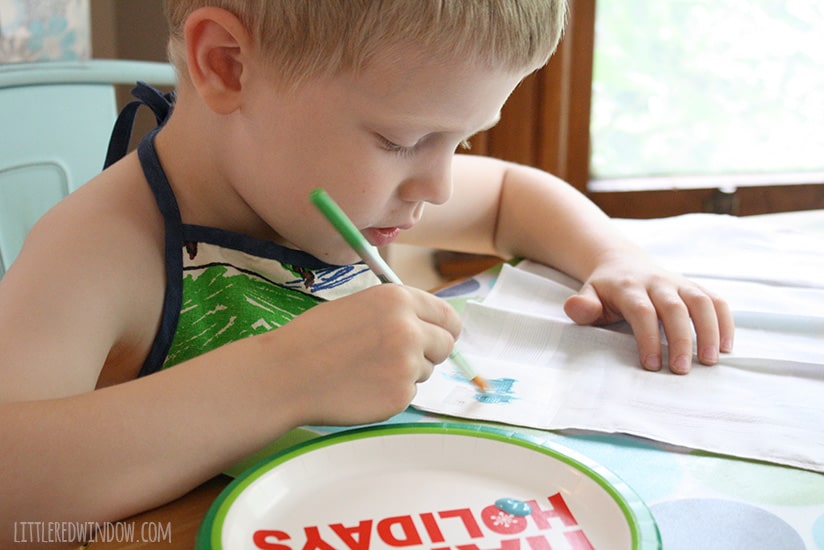
6. Now it’s time to let your kids loose! When I let O use any kind of paint that’s not washable, I strip him down. He doesn’t usually get any on himself but I’m sure that if I left his shirt on, he totally would. Know what I mean? Anyway, at 5 years old, he’s pretty good, at staying within the lines and keeping the paint where it needs to be. If you’re working with a younger child, you might want to make the border of your stencils much wider so they don’t get paint on the rest of the handkerchief.
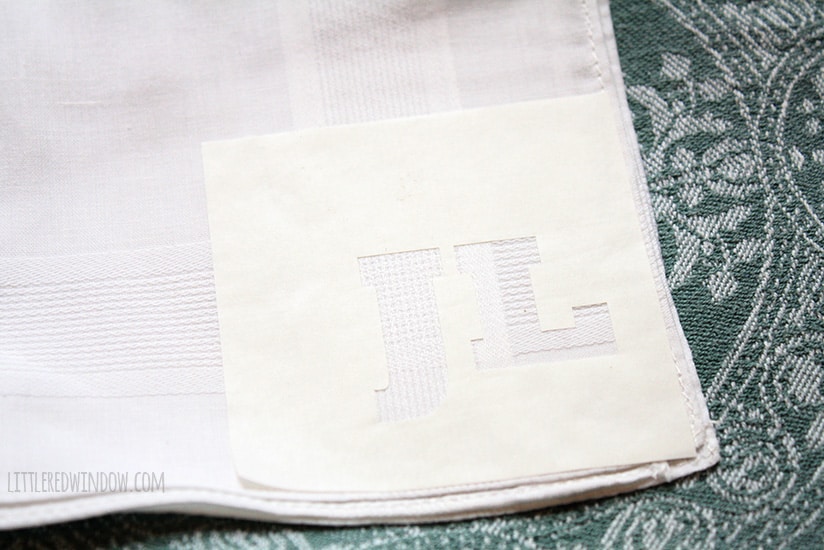
Make sure your handkerchief is completely unfolded for this step so you’re only painting on one layer, you don’t want the paint to bleed through to another area.
7. As your little one finishes each monogram, carefully peel off the freezer paper while the paint is still wet. How cute is that?!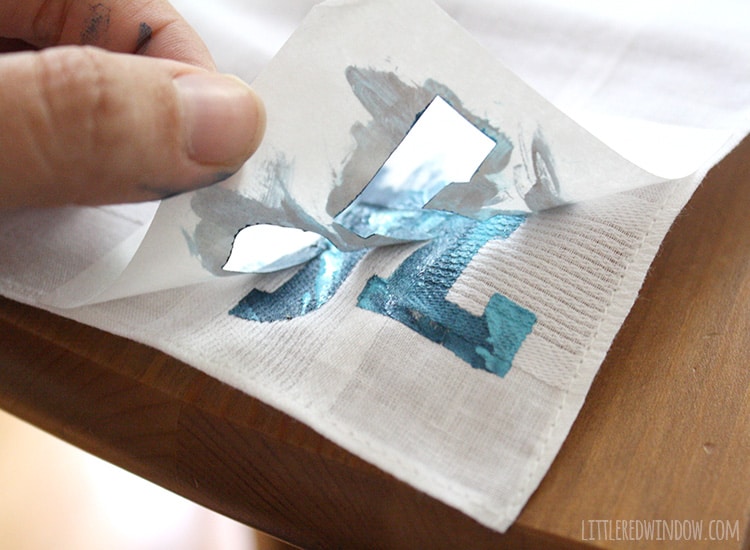
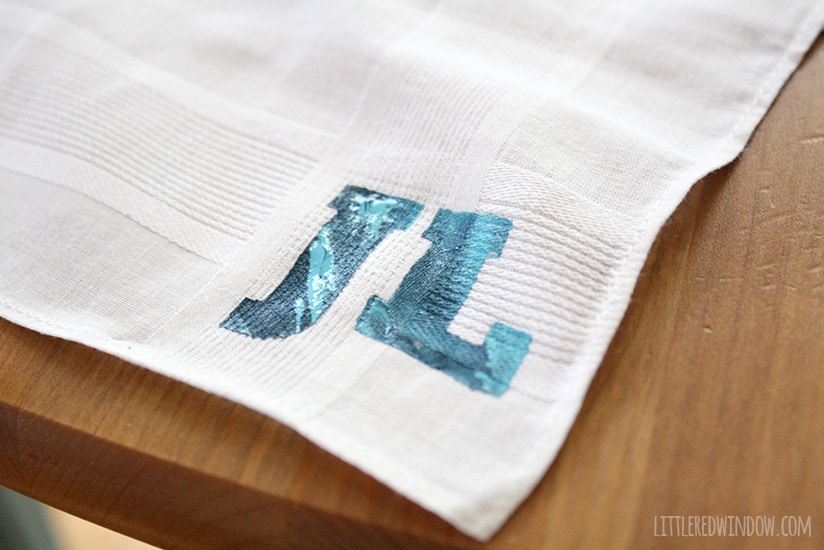
And that’s it! Personalized monogrammed hankies that your little one made beautiful all by themselves! 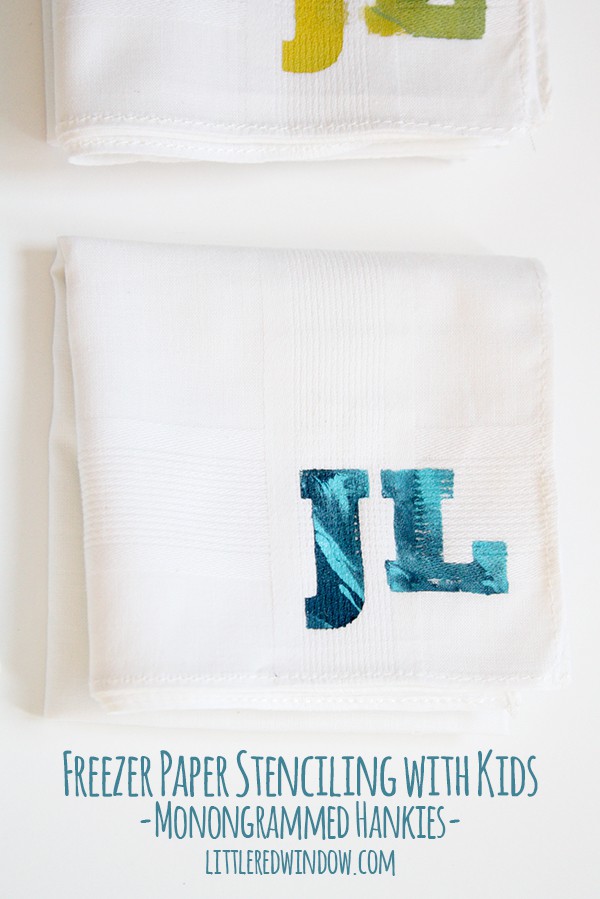
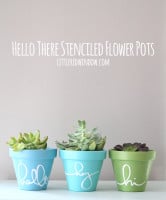
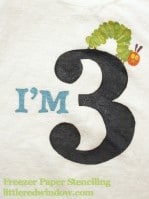
If you liked this, you may also like some of my other posts…

- Pencil Scarf Knitting Pattern - July 7, 2026
- Tri-Color Linen Stitch Hat Knitting Pattern - June 22, 2026
- Yummy Ice Cream Cone Hat Knitting Pattern - June 16, 2026
Leave a Reply