Make some easy and cute fabric covered letters with this tutorial! Have I mentioned how awesome it is to have an office for myself? I mean I do share with O and occasionally with Aa, but mostly it’s my space full of my crafty stuff. It’s amazing not to have to go to three different secret storage closets to find supplies and to have a work surface that I don’t have to clean up in order to make dinner. I put up some of our favorite art in this room too because it’s right off the dining room in the middle of downstairs so we all see it all the time. But I was wanting a little something more personal to make it really seem more like an office. Because as this site grows it’s becoming more and more of a real serious business and I’m proud of that. So the other week I grabbed 3 matte board letters (and L, R and W for Little Red Window) from the scrapbooking area of the craft store. They were $1.99 each so this is a really affordable project. I had a million ideas of what to do with them but in the end I decided to cover them in fabric so I could use up some prints that I love. Here’s how I did it!
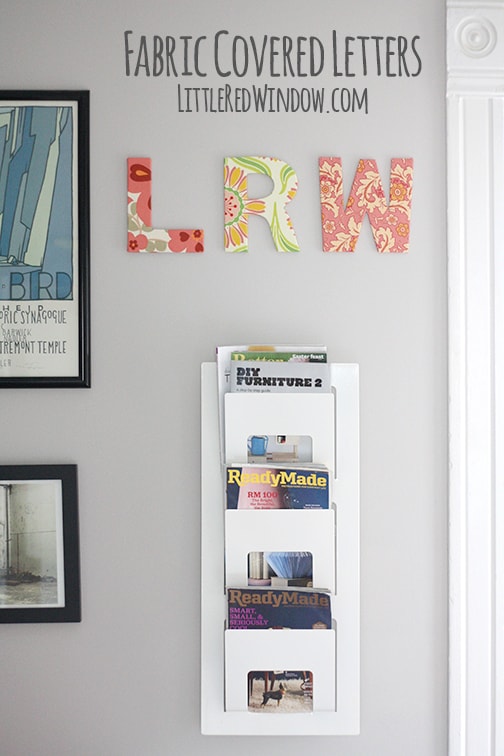
Fabric Covered Letters
Cardboard, chipboard or matte board letters. (If you can’t find them, you could cut out your own!)
fabric
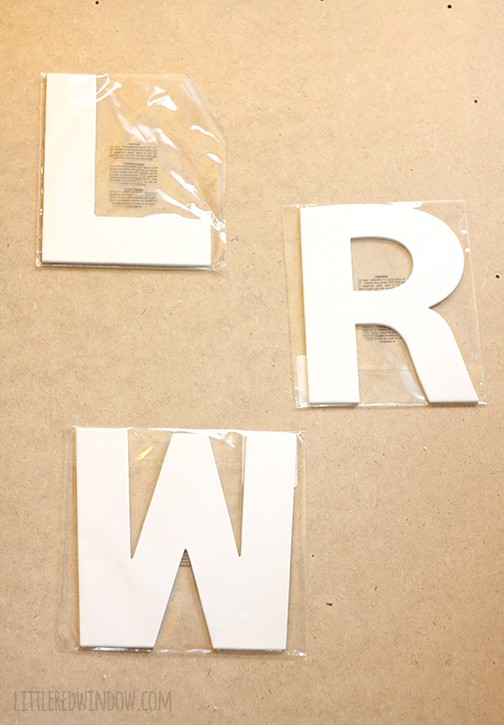
1. Lay your letters upside down on the back of the fabric (and honestly, iron it first. What was I thinking?!)
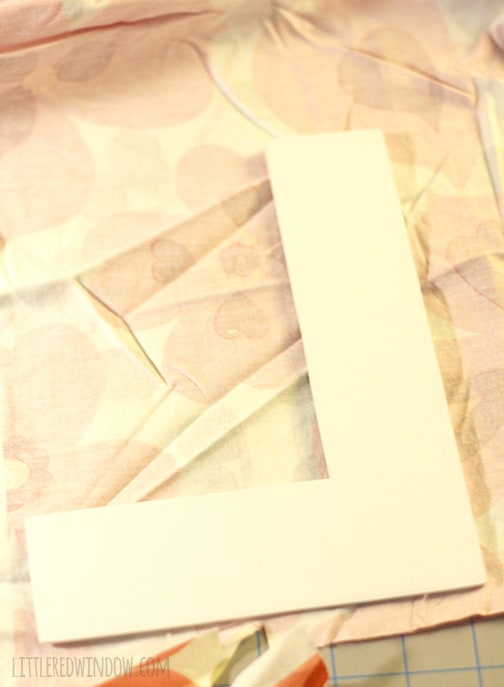
2. Cut around the edges leaving about 3/4″ on all sides. Then starting on a long straight side if you have one, fold over the fabric and secure with glue.
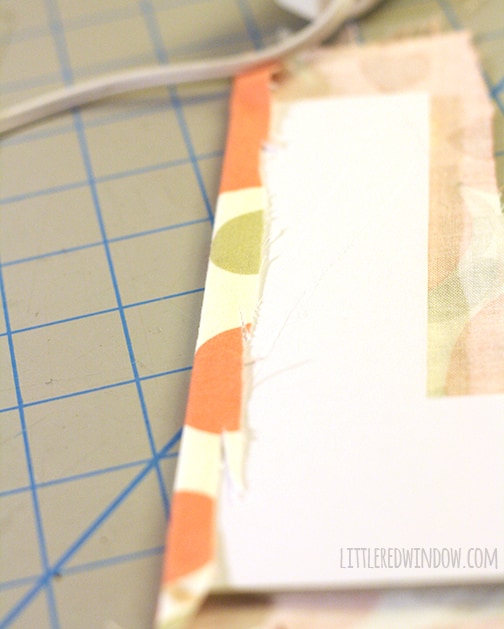
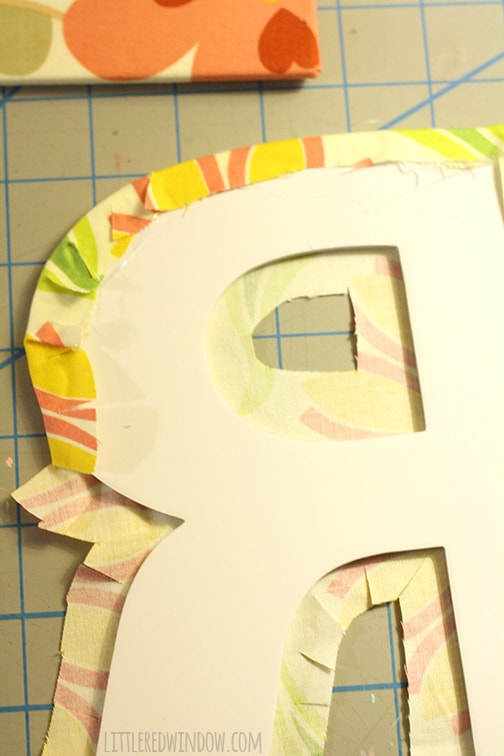
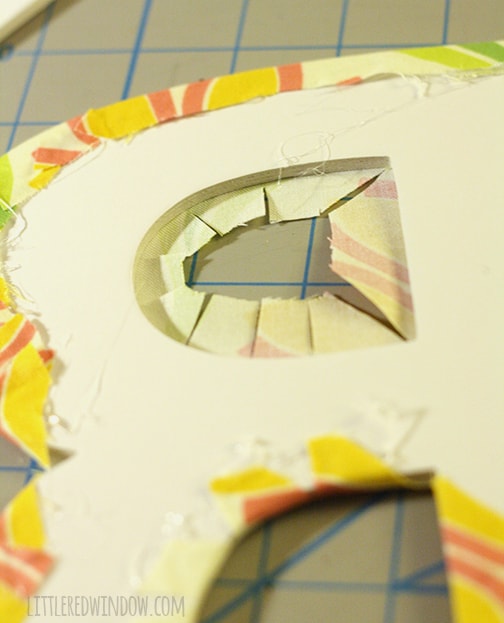
3. Go around the letter, pulling it fairly tight as you go. At corners, carefully fold it like you would wrapping paper or if you were upholstering a chair seat. If you get to an inside corner like below, cut into the corner at a 45 degree angle almost all the way to the letter. Then fold each flap over and glue. 4. If you letter has curves, like my R, make sure you’ve started with a long straight side first to keep the fabric in place. Then clip the curves every 1/2″ or so around. Cut in almost but not quite all the way to the edge of the letter. Then carefully fold up and glue the flaps. If the curve is convex, they will overlap a little. If it’s concave, they will spread apart. But you should get a smooth edge.
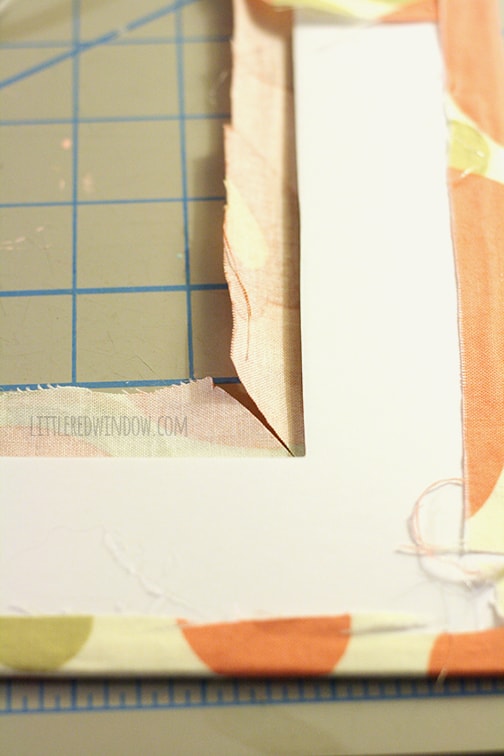
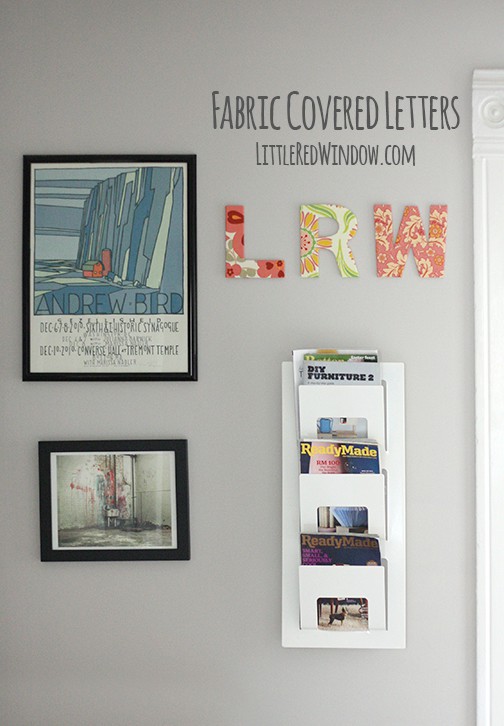
And that’s it! How easy was that? I used mine in my office, but wouldn’t they be so cute in a nursery or kid’s room? Or a grown-up room as a monogram? I hung mine up with 3M strips so they’d be easy to put up (and take down). And I totally love them!
If you liked this, you may also like some of my other posts…
- 10 Tips for Organizing Your Craft Supplies On a Budget - April 25, 2024
- Rib Zag Hat Knitting Pattern - April 23, 2024
- Double Stockinette Stitch Knitting Pattern: Easy How To for Beginners - April 18, 2024
Leave a Reply