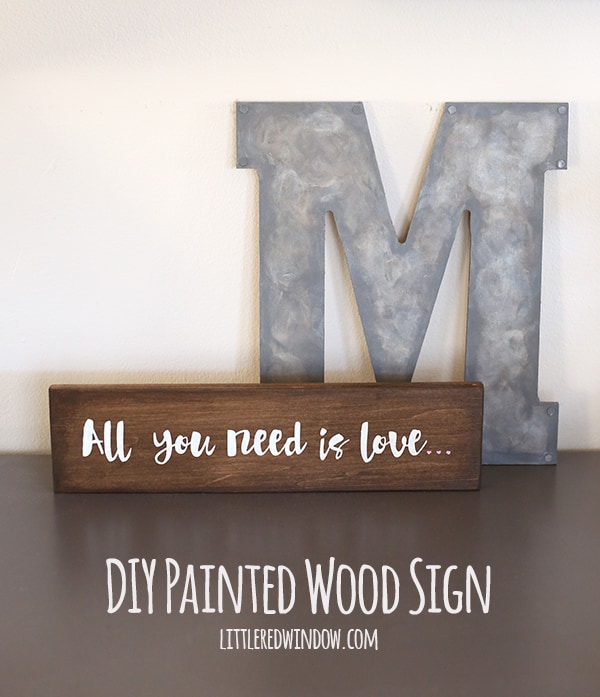
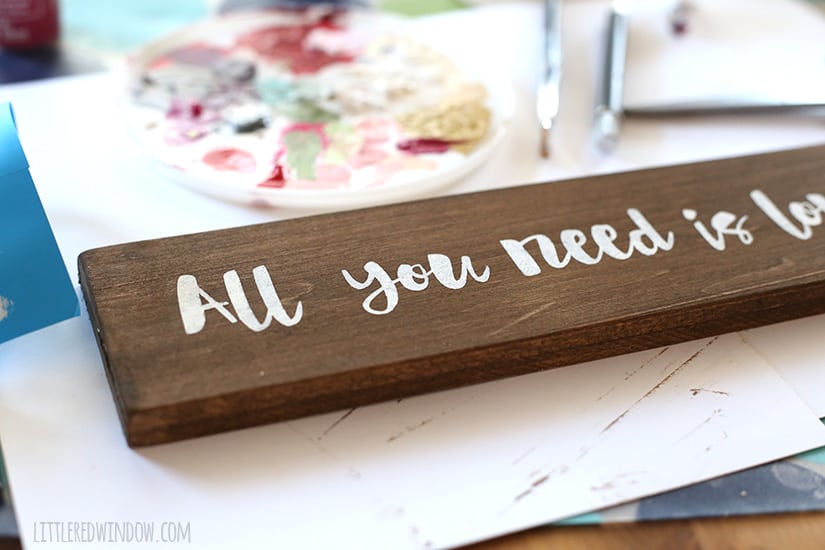
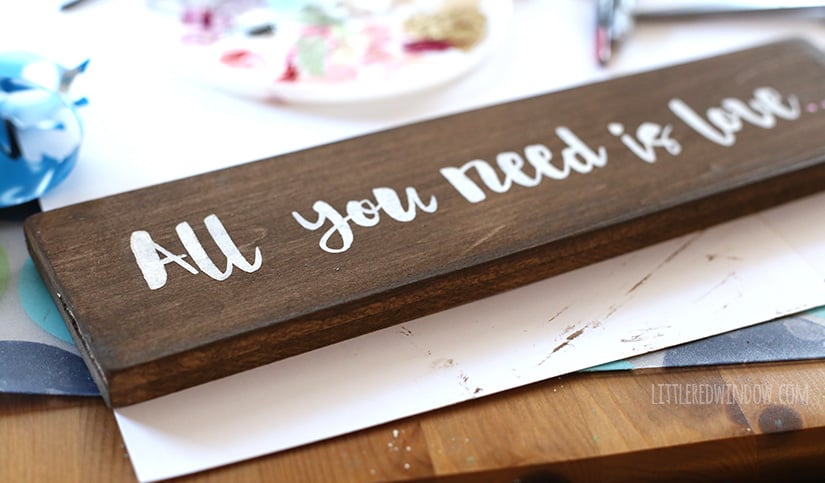
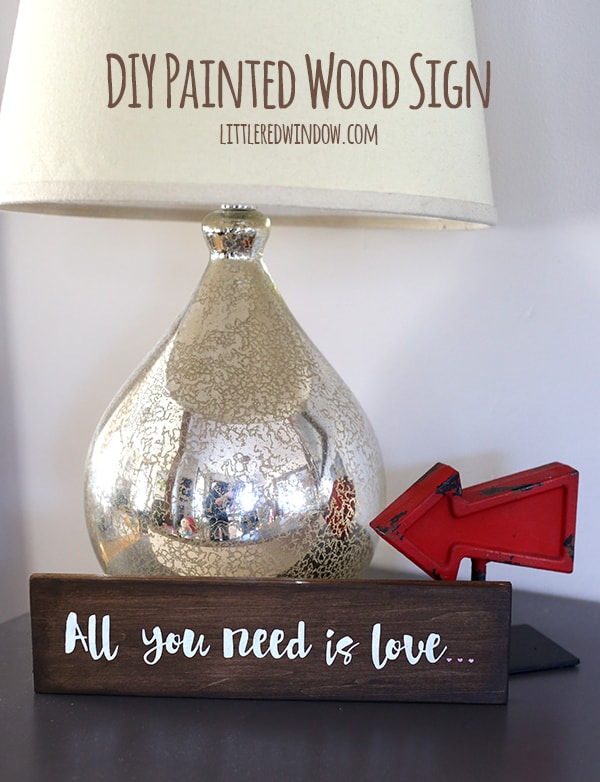
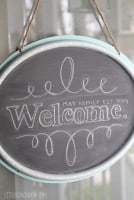
Make a gorgeous painted wood sign featuring your favorite quote! No power tools needed!
So the other day, baby V and I were at the craft store and I was sharing the cozy (euphemism for tiny and cramped) acrylic paint aisle with two nice women who were discussing the best way to do some sort of wedding or anniversary project where they wanted to paint a monogram and some dates on something and they couldn’t decide what kind of paint or what colors to paint it or what was the best way to do it. And I actually stood there for a minute debating whether I should offer to help but in the end baby V was fussing and I just didn’t have time to get into a long discussion with them. (Although you know that’s totally my favorite kind of conversation!)
Anyway, it got me wondering whether you all would occasionally appreciate hearing about more than one way to do things? Like for example, today’s project, this adorable DIY Painted Wood Sign? I have been seeing designs and quotes painted on wood signs everywhere, they’re super popular on Etsy and in other handmade shops and I’m even seeing mass marketed versions. So I wanted to show you how to easily make your own wood sign (without power tools!) Because I have one, I would immediately turn to my Silhouette (computerized cutting machine, if you’re unfamiliar) to make a stencil. But this overheard conversation got me thinking more about those craft store ladies. They clearly are crafty but at more of a beginner/intermediate level and probably don’t have a (fairly expensive) cutting machine. Because despite the fact that I spend a lot of time talking to professional artists and makers like myself, most of you are not. Which is absolutely fine and normal! That’s why I do this, to share my ridiculous crafty knowledge with all of you. So today, I’m going to show you how to do this project TWO different ways. One way if you do have a Silhouette (or other brand) cutting machine and another if you don’t. Let me know if you like having options!
DIY Painted Wood Sign
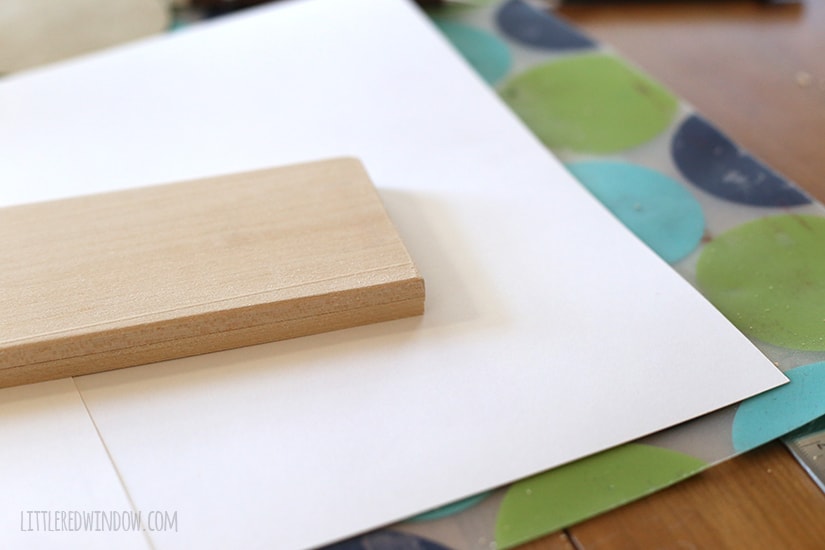
Basswood plank: 1/4″ x 3″ x 24″
Silhouette Cameo & removable adhesive vinyl (optional)
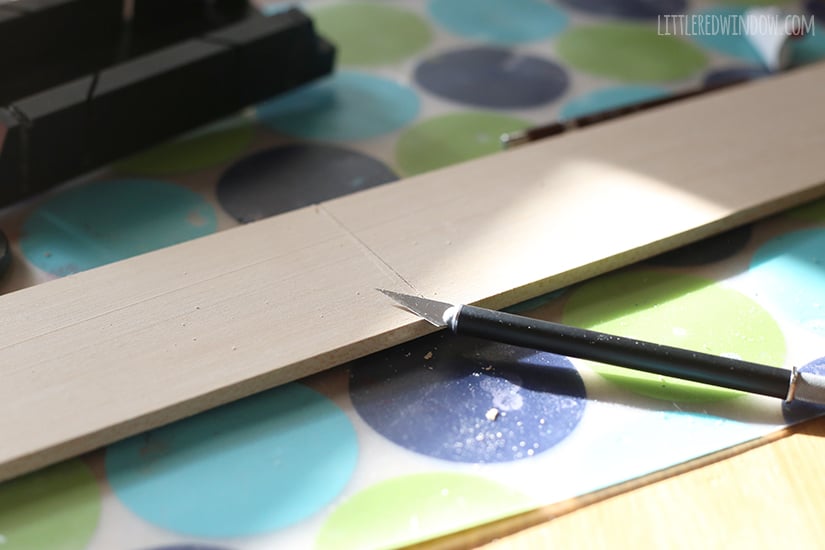
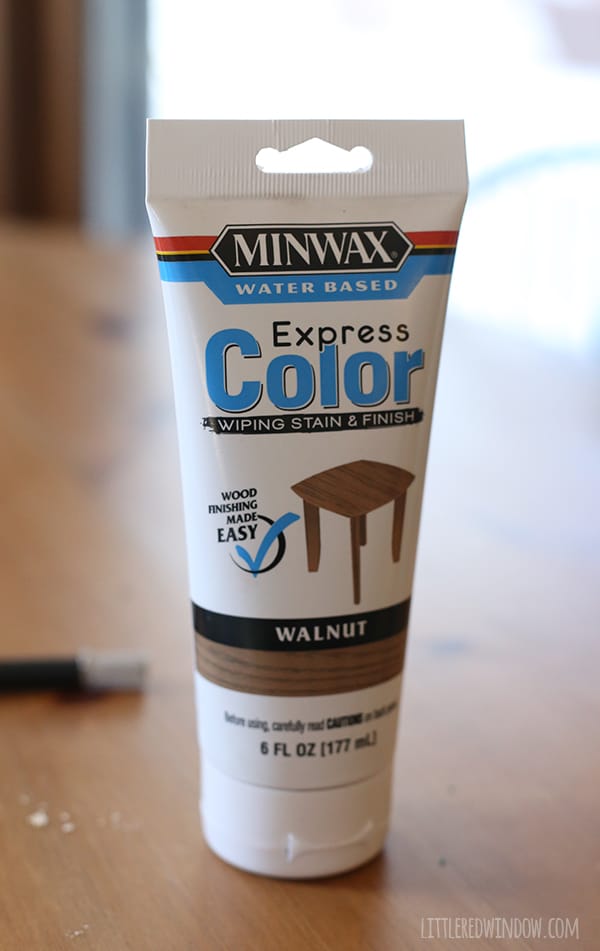
A word about craft wood (aka random facts that Cassie knows): most people just refer generally to craft wood as balsa but if you look in that section at the craft store (or actually my local hardware store also carries it) there are actually two types of craft wood. Balsa wood and Basswood. Balsa is significantly softer while basswood is harder and usually has a more visible grain. And when I say balsa is softer, I mean you can easily cut even a 1/2″ piece with an exacto knife. That also means it’s susceptible to dings and dents. I chose a piece of basswood for this project because I liked the grain much better but that meant it was more difficult to cut. I managed to get through it with a craft knife but if you choose basswood, you might also want to use a mitre box and small saw. Or go with balsa. It’s up to you.
1. First measure your 24″ long board in half and cut it so you now have two 12″ pieces.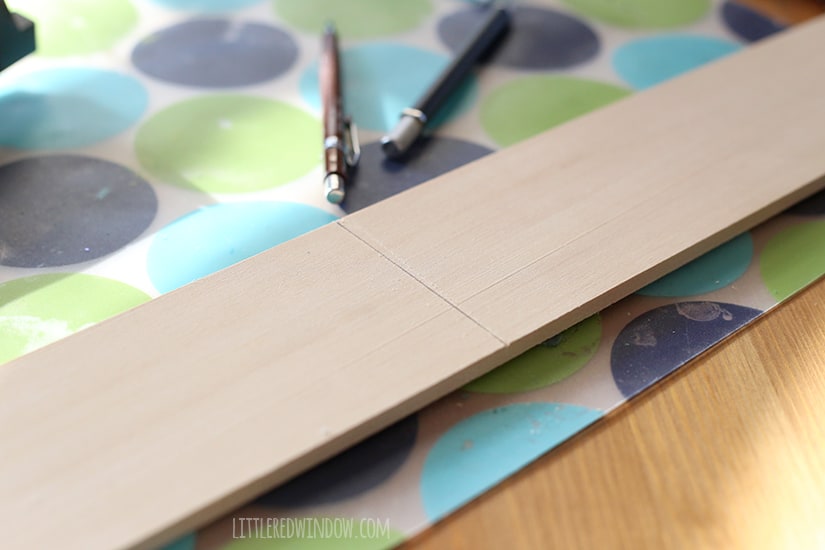


Method A:
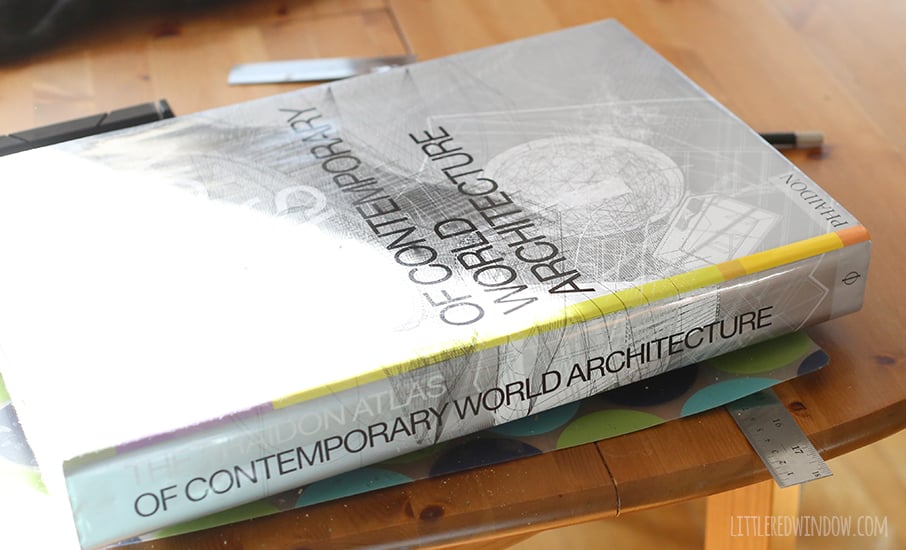
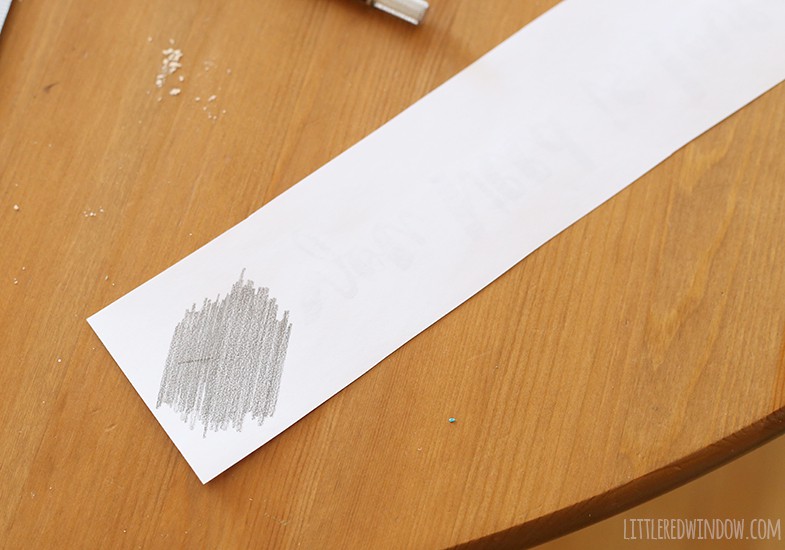
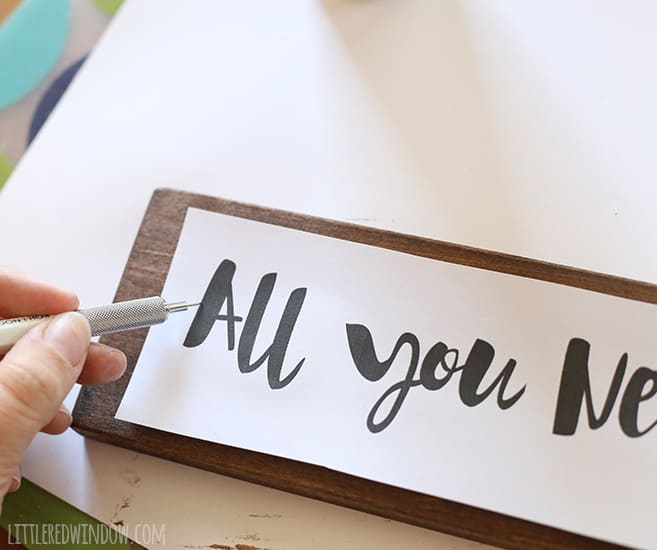
Pick a font and print out your quote at the right size from you computer, cut it to size, then take a soft pencil and use the side to draw all over the back. Finally, tape the paper right side up to your wood and trace the text with a sharp pencil. The pencil shading on the back should transfer the design to the wood. Finally, fill in the text with a small paintbrush.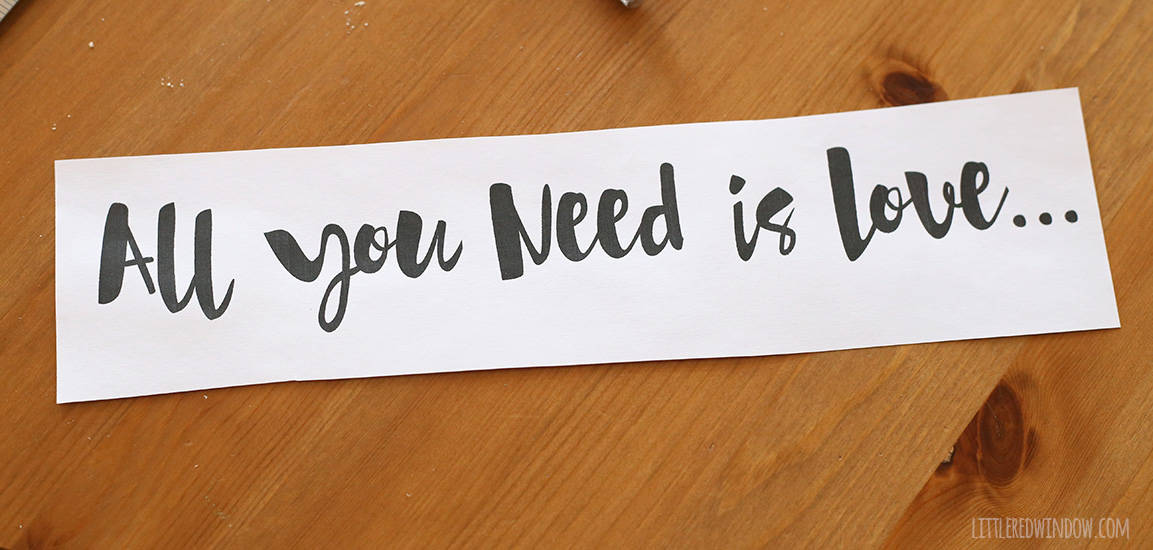
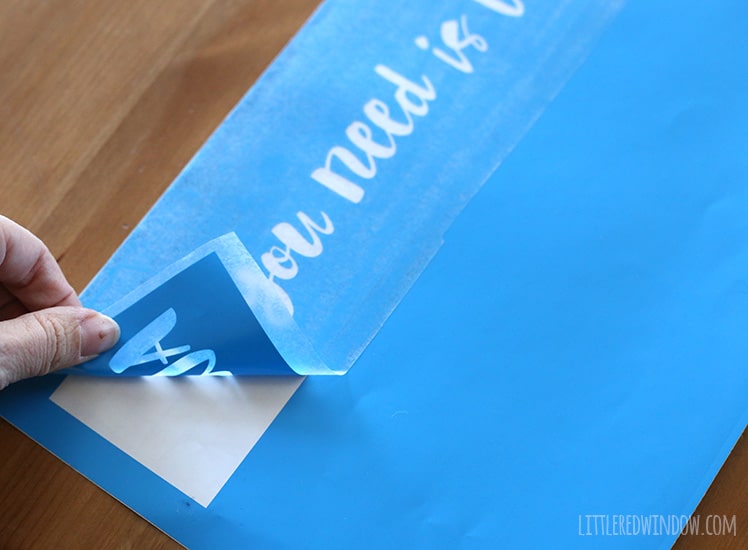
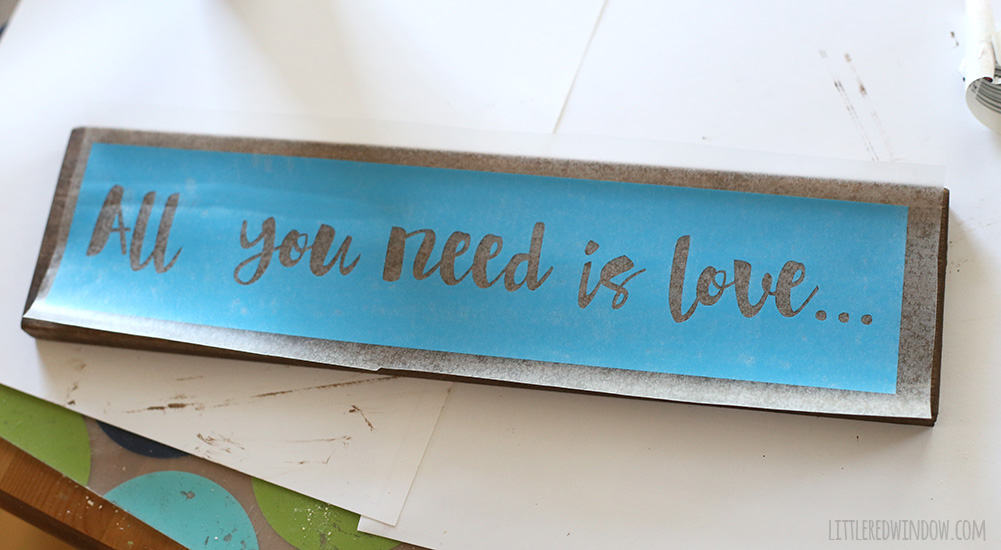
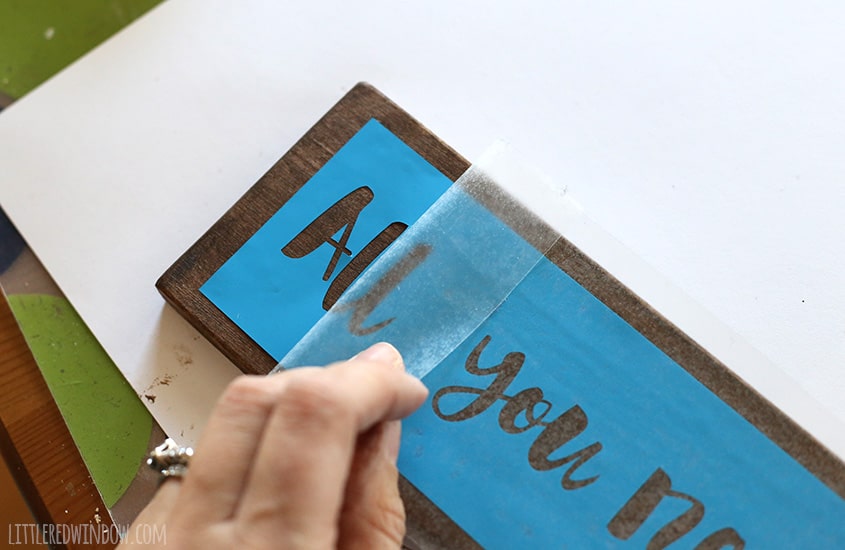
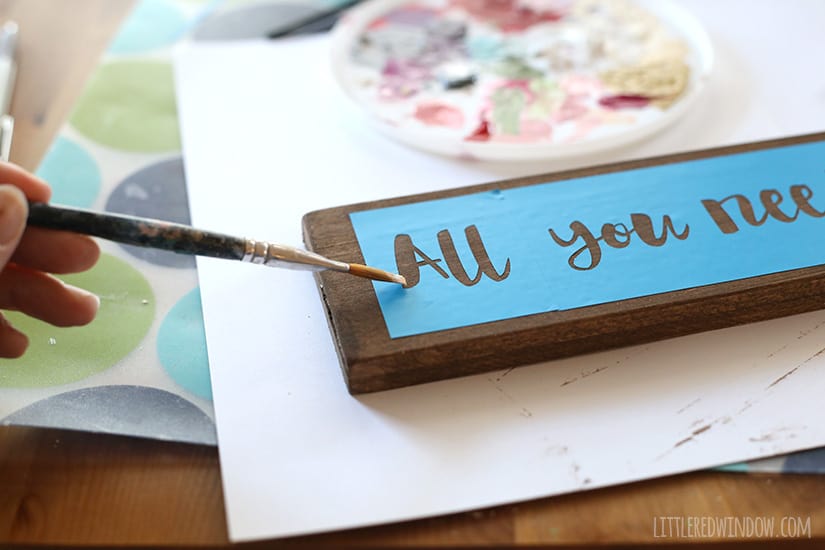
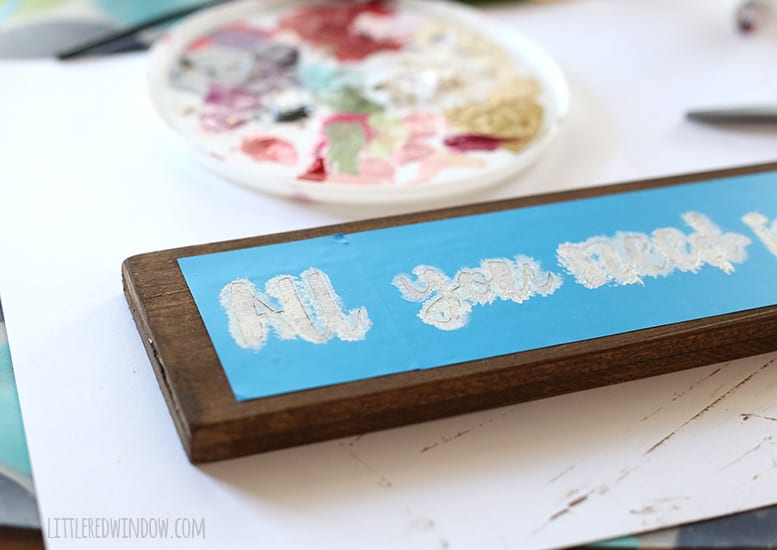
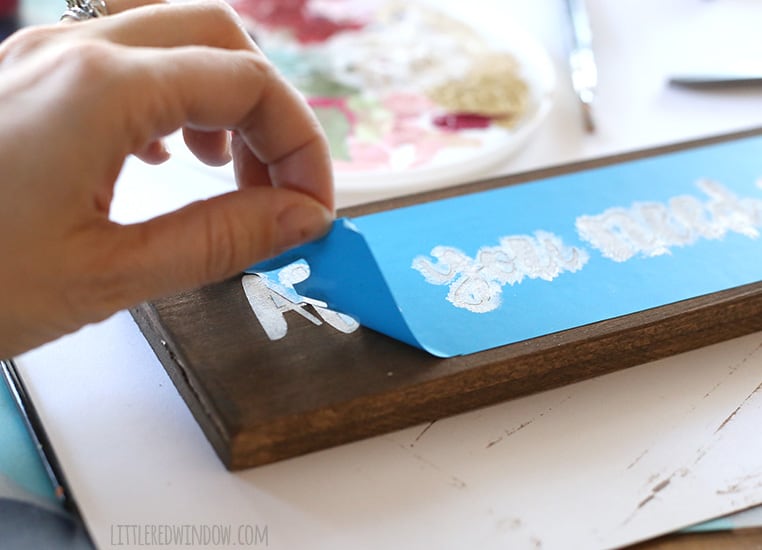
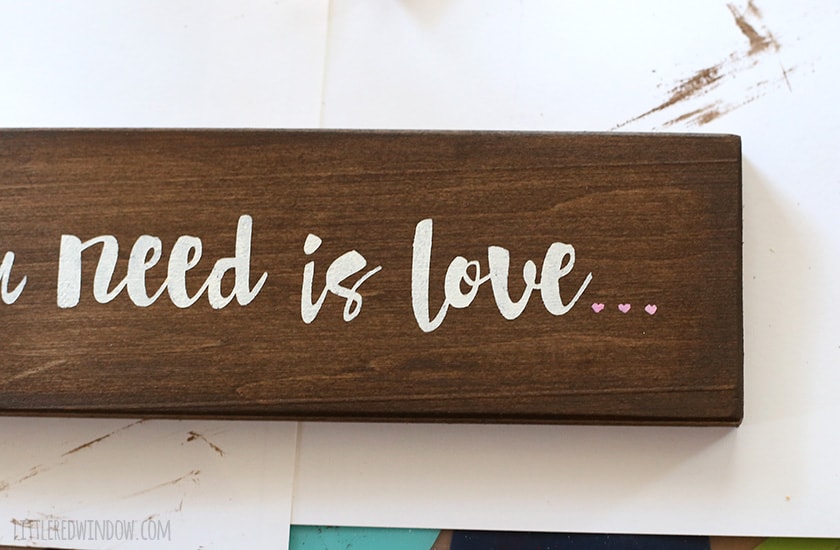
Lay out your quote in your Silhouette software, load repositionable vinyl in your machine and cut the stencil out. I used a blade depth of 1 and a speed of 1. Then remove all of the text pieces–don’t loose all those tiny bits like the centers of O’s and A’s! Use either transfer tape or clear contact paper (my money saving trick!) to lift the stencil from the vinyl and place it on the wood. Rub all over to get the vinyl to stick to the wood and then slowly peel off the contact paper. Using a fairly dry brush, fill in your stencil with acrylic paint using a dabbing motion, this will keep paint from bleeding under the edges of the stencil. Add any additional details (I added some little pink hearts for the “…”) with a small paintbrush. 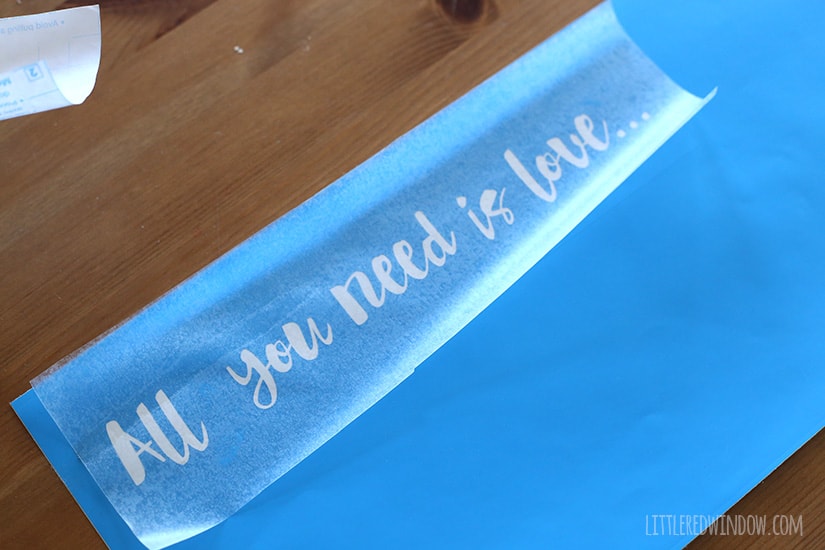

- Pencil Scarf Knitting Pattern - July 7, 2026
- Tri-Color Linen Stitch Hat Knitting Pattern - June 22, 2026
- Yummy Ice Cream Cone Hat Knitting Pattern - June 16, 2026
LarryLefum says
Halo! http://meldonium.webuje.cz/