Make this adorable DIY Felt Christmas Tree for your toddler to decorate over and over!
So the other day someone was posting on facebook about a cute little felt Christmas tree they bought on the internet for their toddler to play with. And of course, I looked at it and thought, I REALLY don’t need to spend $20 (or more) on that, I can totally make a DIY felt Christmas tree for way cheaper! And can you guess what my total cost was? $0!! I did this all in about 45 minutes using only supplies I already had at home!
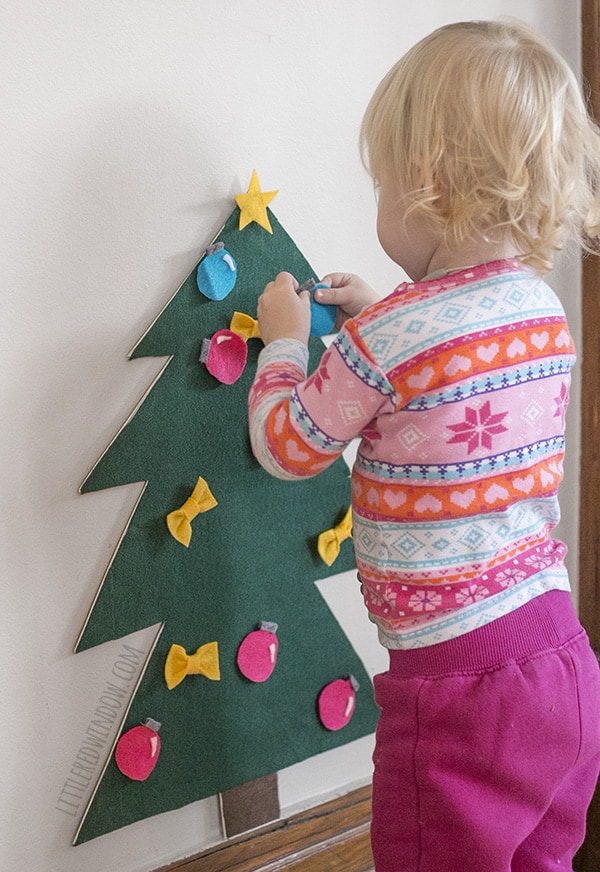
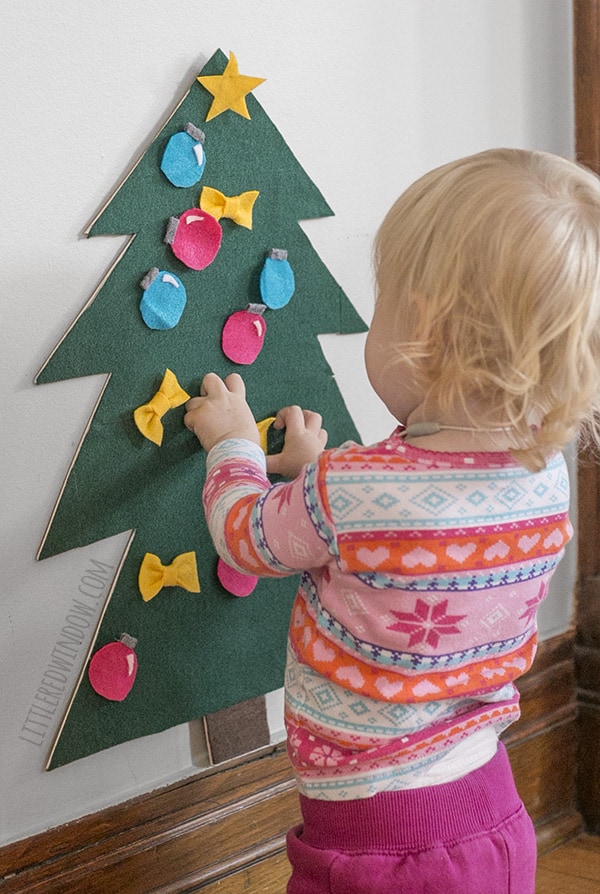
I do realize my craft stash is probably slightly larger than a regular person (ahem, slightly larger actually means way way bigger, ha!). But if you have some craft felt hanging around, everything else you need for the DIY felt Christmas tree is stuff you probably already have if you’re crafty. Baby V is a big fan of having her own Christmas tree and has already spent lots of time putting the ornaments on and rearranging them. So here’s how I did it…
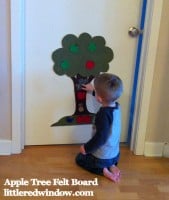
(psst! If you’re willing to brave some truly terrible photography from many years ago, I’ve made some adorable DIY felt board before, here’s my DIY apple tree felt board and my DIY farm felt board!)
DIY Felt Christmas Tree Supply List
Cardboard, museum board or foam board for the tree shape (psst, if you don’t buy your foam board at the dollar store, you’re paying too much!!!)
Felt in dark green, brown, yellow, pink, blue and gray (or whatever ornament colors you want)
Hook and loop dots (optional)
Command Picture Hanging Strips (the kind with hook and loop-like texture)
Don’t feel like making your own? THIS one is super cute!
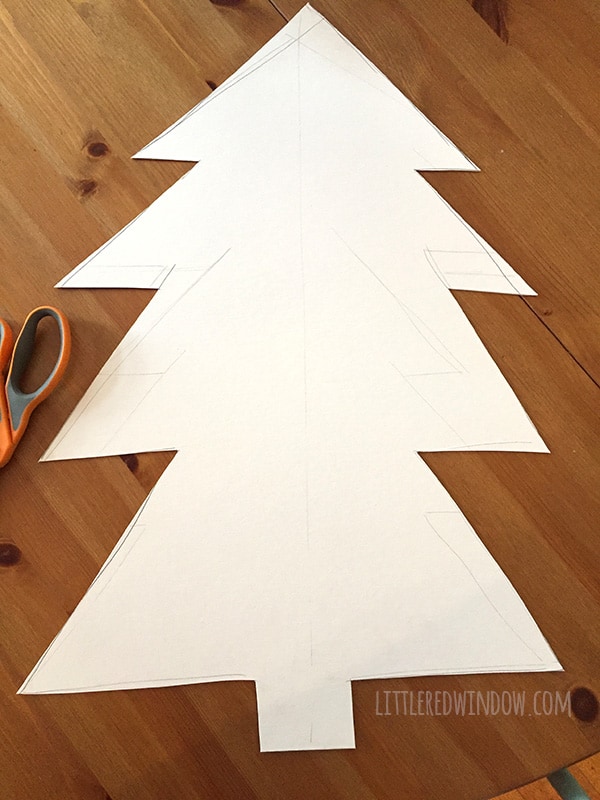
1 . First draw a tree on your board with a pencil and then cut out the tree shape. Honestly, I realize my tree isn’t perfect. It’s for toddlers, that’s TOTALLY OK. This entire project should take less than an hour and it’s for fun, it’s ok to just wing it!
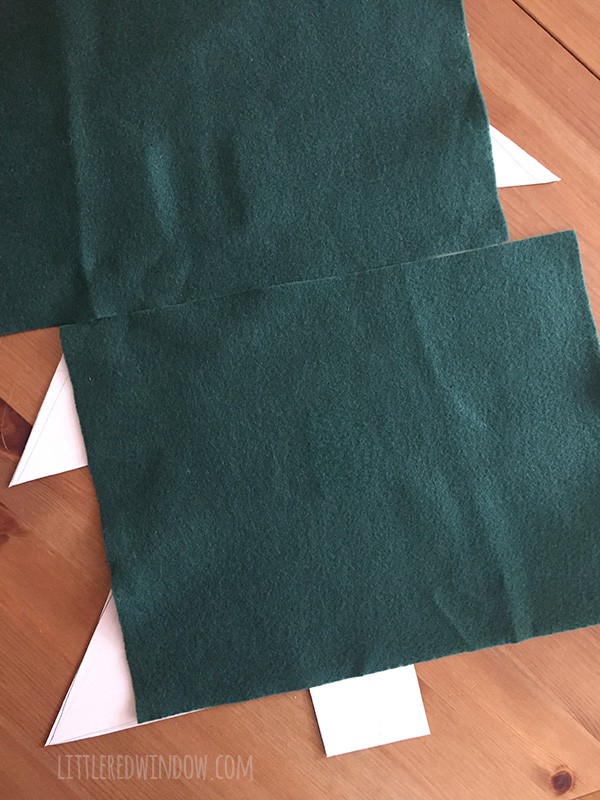
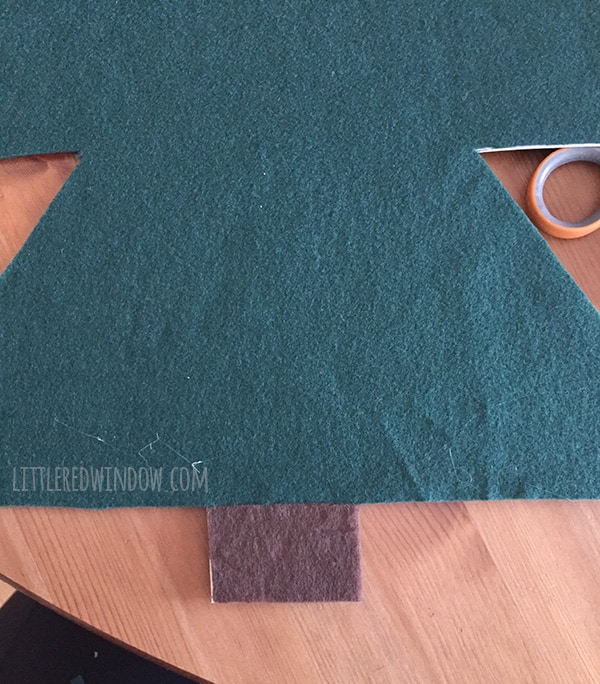
2. Then cover your tree with felt. If you purchased green felt by the yard, then just cover the tree in one piece and trim off the extra with scissors. As you can see, I only had craft-sized felt sheets but if you hot glue them really carefully, the seams are almost invisible.
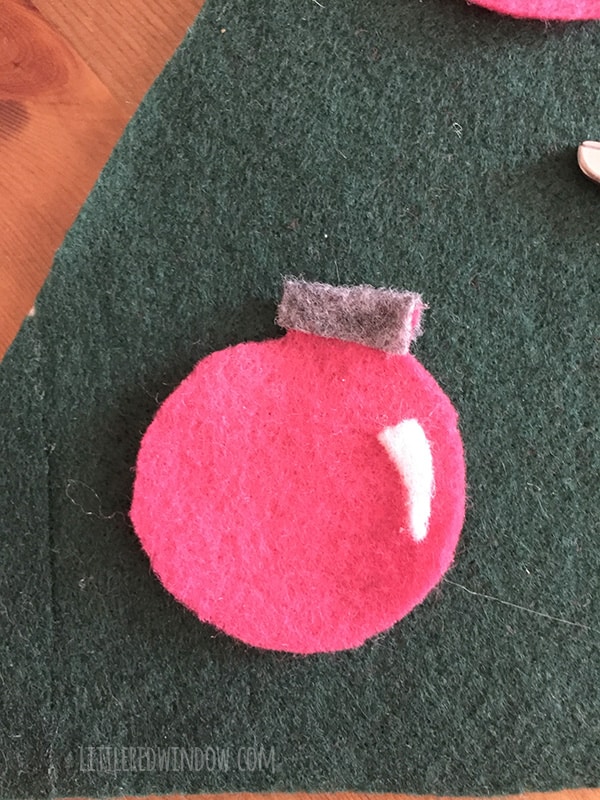
3. Cut one star shape out of yellow felt for the top. Then to make the ornaments, cut circles out of colored felt, a little gray rectangle for the top and a little curved piece for the shine mark. Attach those pieces carefully with hot glue and make as many ornaments as you want.
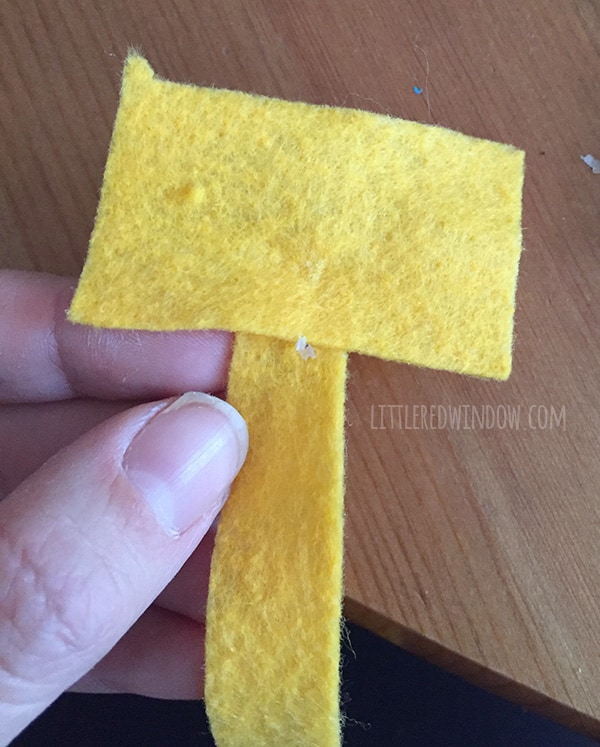
4. To make the little gold bows. Cut a small rectangle of felt about 2 inches long by 1 inch high. And a long strip of felt that’s about 1/3 inch wide. Glue the end of the strip to the back of the rectangle like this:
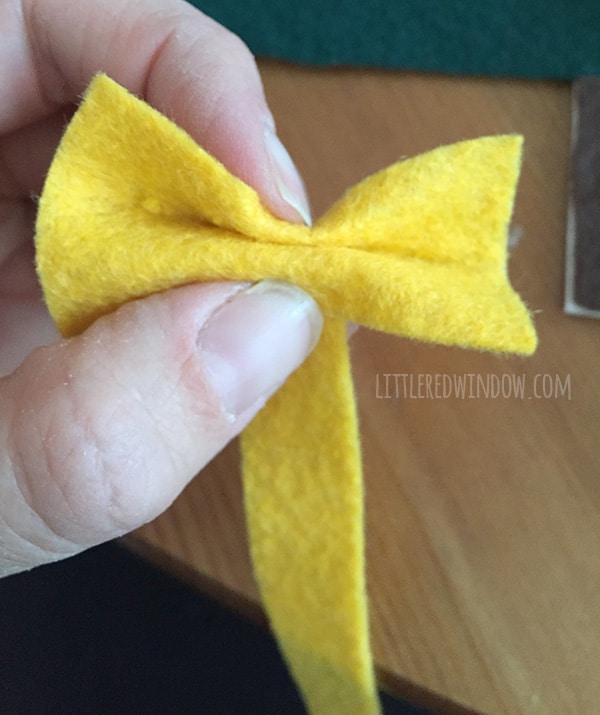
5. Then pinch the rectangle to form a bow shape, wrap the strip up and around the bow and glue in the back to secure.
6. The way felt boards work is that the friction between the flat felt surfaces keeps the pieces staying on even when it’s vertical. The bows were a little heavy so I glued a tiny piece of the hook side of hook and loop dots to the back of the bows so they’d stick a bit better. Don’t use too much or they’ll stick too well and damage your felt background.
I used Command picture hanging strips (the kind that have the hook and loop type texture) to hang this lightweight felt christmas tree up on the wall!
And that’s it! Let your little one decorate their own Felt Christmas tree!
Don’t feel like making your own? THIS one is super cute!
If you liked this, you may also like some of my other posts…
- Double Stockinette Stitch Knitting Pattern: Easy How To for Beginners - April 18, 2024
- Fiery Fades Hats Knitting Pattern - April 16, 2024
- Flower Pillow Knitting Pattern - April 11, 2024



Cindy says
I want one and I don’t have kids! I want one for myself, maybe little pockets on the tree to hold knitting needles. Just a thought. Or hang the tree up every year for Christmas. Thanks for the great idea.