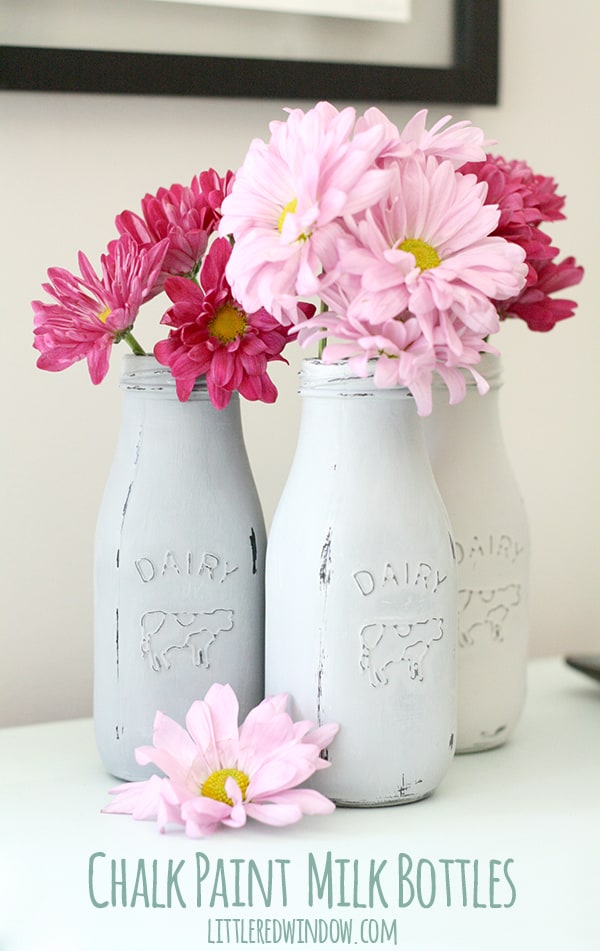
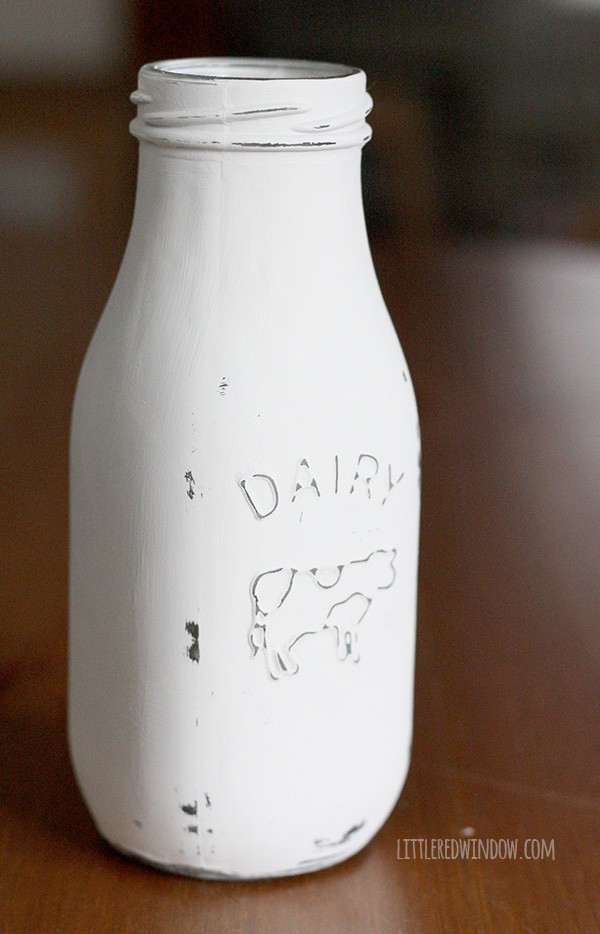
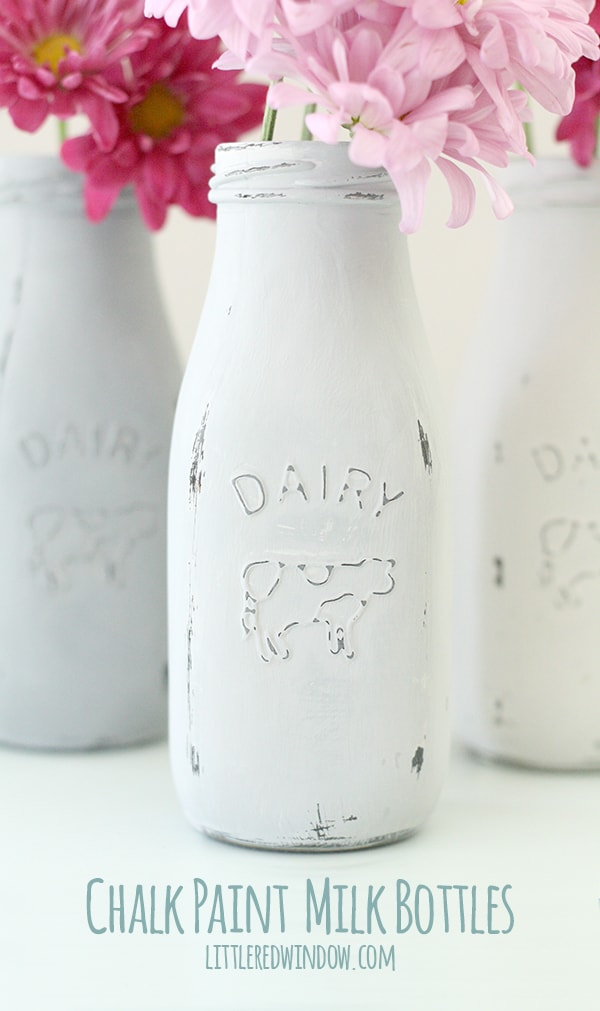
Wondering how to chalk paint glass? Transform these 89 cent milk bottles with chalk paint and a little elbow grease!
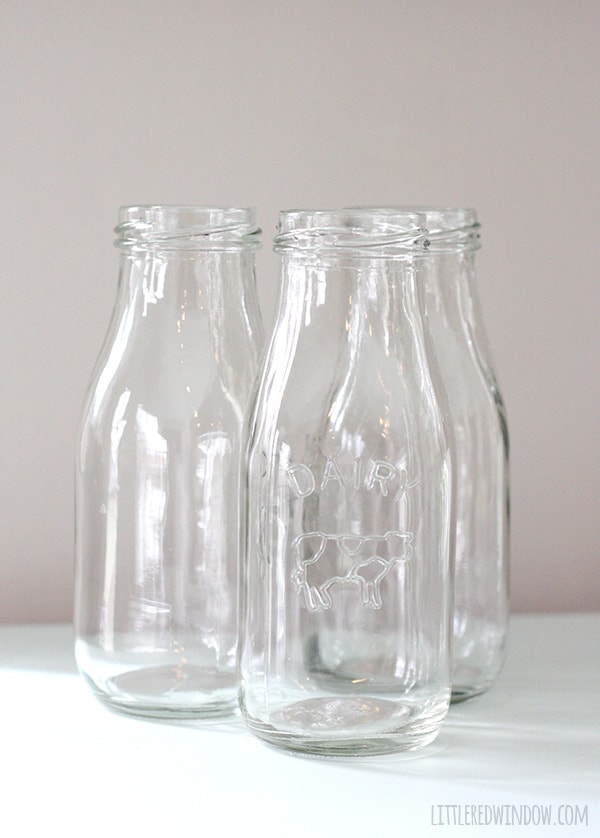
You guys, as when I came up with this idea, I was worried that I wasn’t totally sure how to chalk paing glass. But I saw these cute little milk bottles in the glass aisle at the craft store and they were only 89 cents each. And then the entire section was on sale on top of that!
And I have heard soooo many people talking about how awesome chalk paint is and how it will stick to anything etc. So I wondered, can I figure out how to chalk paint glass? How would go on? And how well would it stick? I’ve painted on glass with acrylic paint before and while it sticks pretty well, it can peel off and crack. Plus you usually need several pretty thick coats for it to cover and then that takes a while to dry. But chalk paint doesn’t usually do that. So chalk paint it was! And it totally works! Here’s how I did it:
How to Chalk Paint Glass Milk Bottles
Chalk Paint (I used the smoke and charcoal colors)
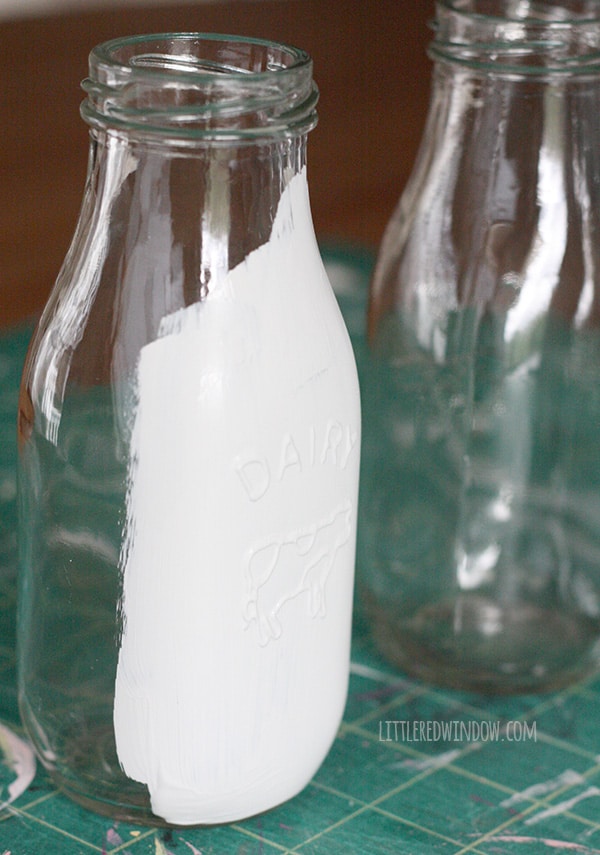
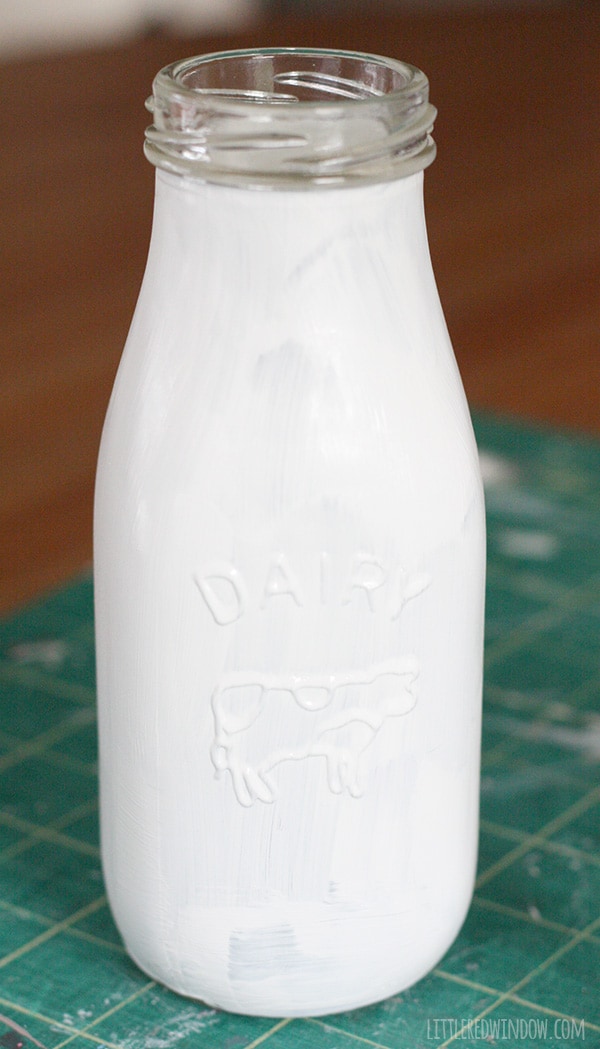
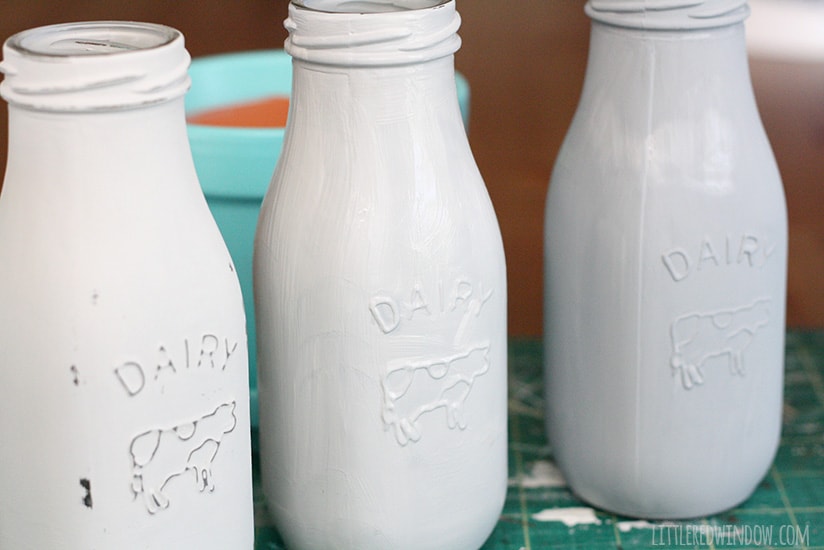
1. Make sure your bottles are clean and dry. Then using a large paintbrush, apply a coat of chalk paint directly to the outside. When that has dried according to the directions, add a second coat. That was all I needed!
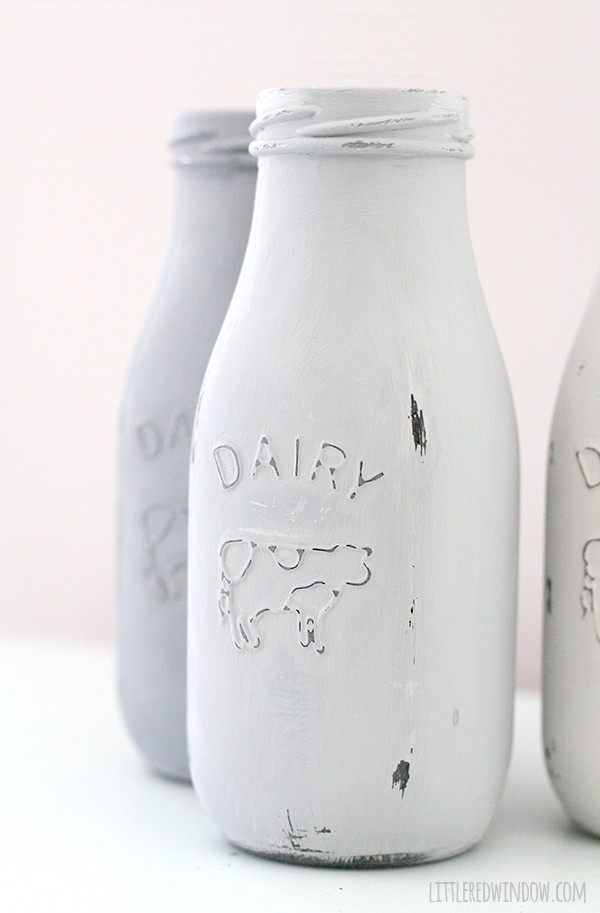
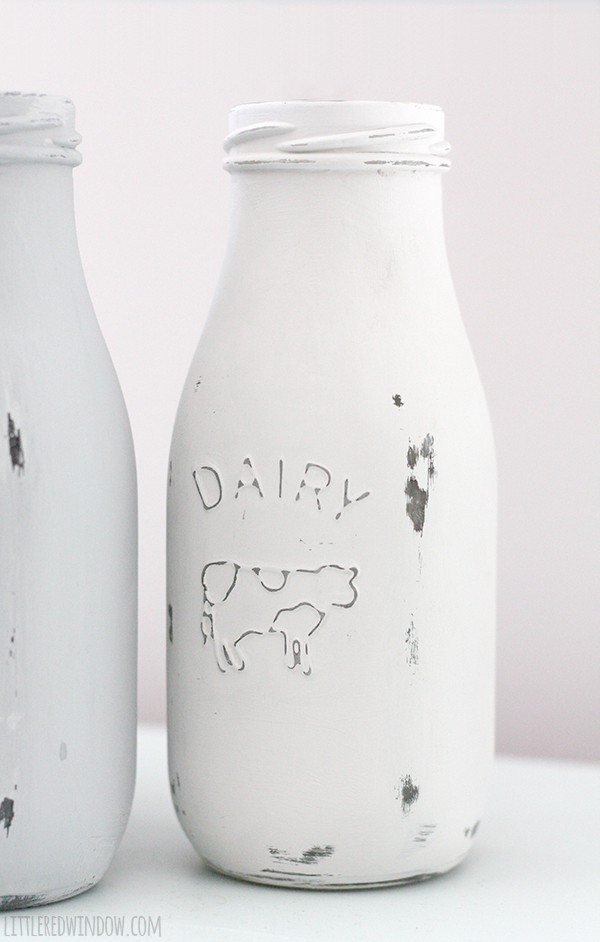
2. When the second coat is dry (but don’t wait too long) use the 220 grit sandpaper to distress your milk bottles. Focus on the raised areas and edges. I was surprised that although the paint did distress well, it did take a bit of elbow grease. That’s a good sign that the chalk paint adhered well to the glass!
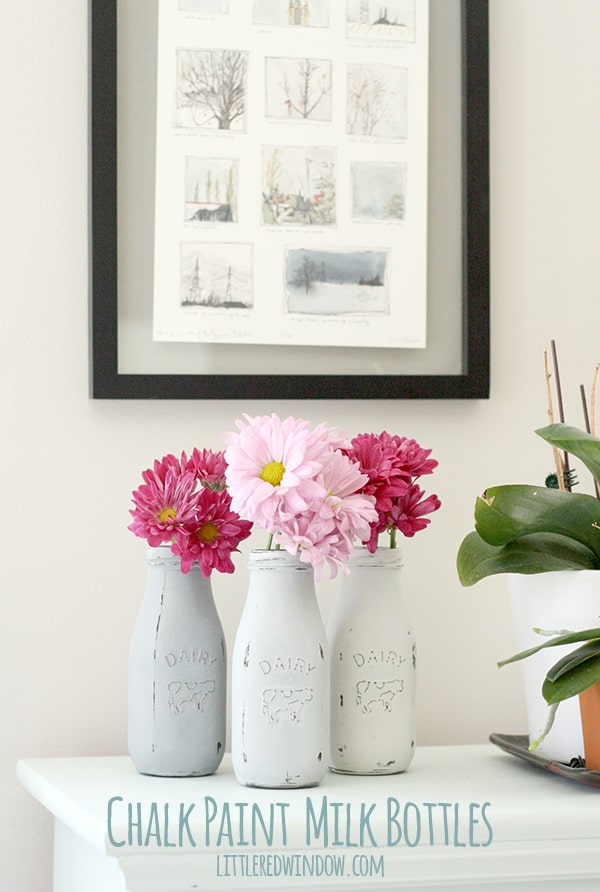
3. Repeat with your other bottles as desired. I decided to mix my light gray smoke color with a bit of charcoal to create two darker shades so I would have an ombre effect with my bottles. It took a bit of trial and error to mix the right colors because chalk paint definitely dries a little darker than it looks when it’s wet. But I was happy with the end result!
4. You can wax chalk paint to protect the finish but I haven’t tried that yet. They look super cute just sitting on a shelf, but I also decided to try using my milk bottles as vases. Don’t they look pretty?!
Because chalk paint is water based, I’d avoid getting these wet and definitely don’t submerge them. A couple of drips didn’t seem to hurt anything but I wouldn’t want to test it too much. But again, a waxed finish might help with that. I’ll report back if I try it!
And now you know how to chalk paint glass! Try it on some other projects and share them with me!
If you liked this, you may also like some of my other posts…
- Double Stockinette Stitch Knitting Pattern: Easy How To for Beginners - April 18, 2024
- Fiery Fades Hats Knitting Pattern - April 16, 2024
- Flower Pillow Knitting Pattern - April 11, 2024


Mix Paint says
these bottles are looking so good. I wonder if I use paint sprayers for decorating them with multi colors.
Jenne says
Those milk bottles are adorable. I always wondered if they should be sealed with something? Thanks!
Cassie May says
Hi!
Chalk paint is most often sealed with wax. This is to protect the finish but it does not necessarily make it waterproof which is why you paint on the OUTSIDE for this project especially if you will want to use the bottles as vases for flowers. Hope that helps!