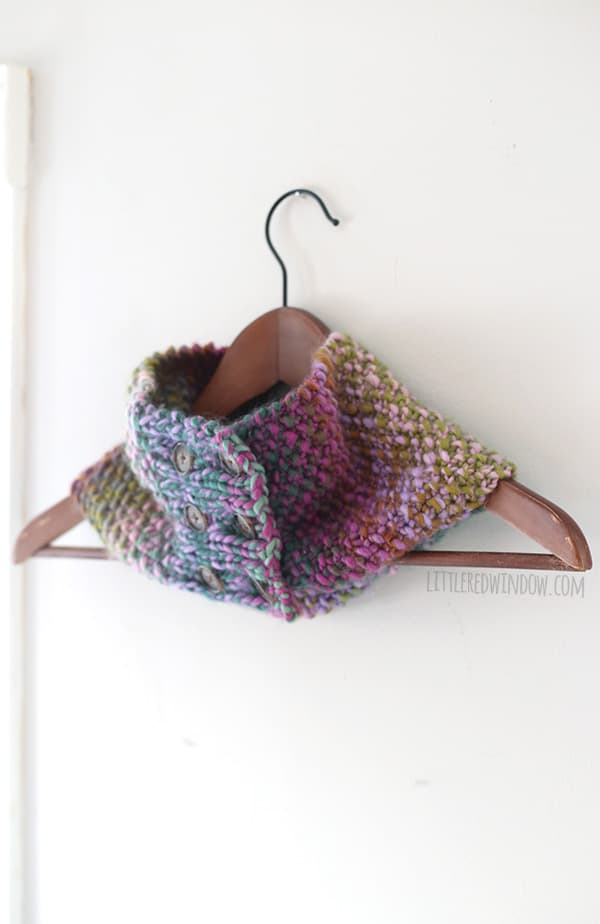
The Buttoned Up Cowl knitting pattern is comfy, cute and easy!
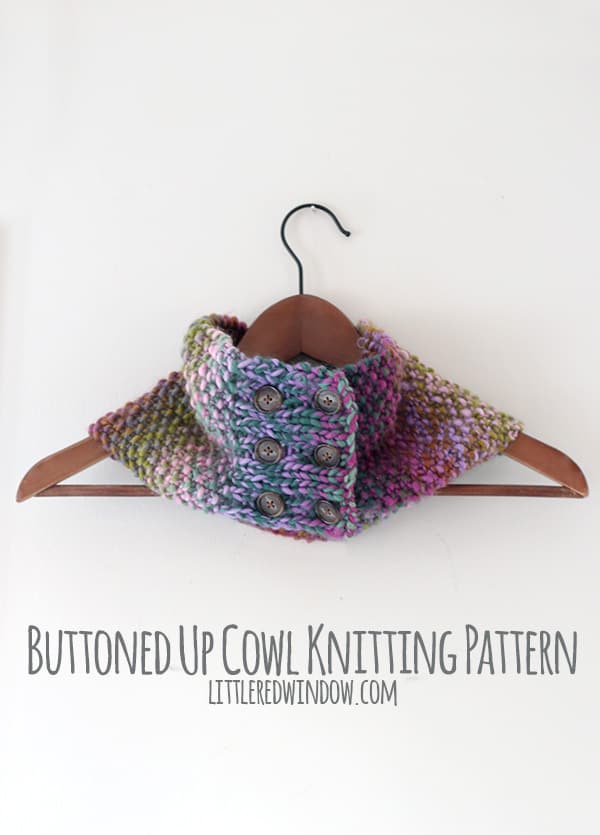
I made the Buttoned Up Cowl recently for a friend and it turned out so cute and cozy that I knew I had to share it with you. The vast majority of my patterns are hats knit in the round and I know for some of you who haven’t learned to knit in the round, that can be a little intimidating. But this cowl, although it ends up being an infinity scarf is
knit flat, which makes it a great project for beginners! If you make one, I’d love it if you’d share it with me!
Looking for the pattern? Here’s how it works: This pattern is available for FREE in one size right here on my site (keep scrolling down). Or for just a few dollars, you can choose to purchase an upgraded PDF pattern that is nicely formatted and easy to print. Besides being easy to print, the PDF pattern also contains MORE SIZES with instructions for additional sizing including 0-3 months, 6 months, 12 months and 2T+! Thank you for supporting Little Red Window!


The Buttoned Up Cowl Knitting Pattern
(one size fits all)
Gauge: 9 stitches = 4 inches
This pattern is copyright Little Red Window Design 2017 and is intended for personal use. You may not not distribute, reproduce or sell this pattern either physically or digitally.The Buttoned Up Cowl Supply List
Bulky weight yarn (I used Loops & Threads Facets in Light Azore)
needle & thread
(If you need help, my favorite knitting reference book for everyone from beginners to advanced knitters is THIS ONE!)

The Buttoned Up Cowl Instructions
Using long tail cast on, cast on 19 stitches.
Row 1: (k1, p1) repeat in rib stitch, place a stitch marker to help you remember which side of the knitting is the “right side”
Row 2: (p1, k1) repeat
Rows 3 – 12: Repeat rows 1 & 2 in rib stitch
Row 13: (k1, p1) repeat until the end of the row
Row 14: (k1, p1) repeat until the end of the row (seed stitch)
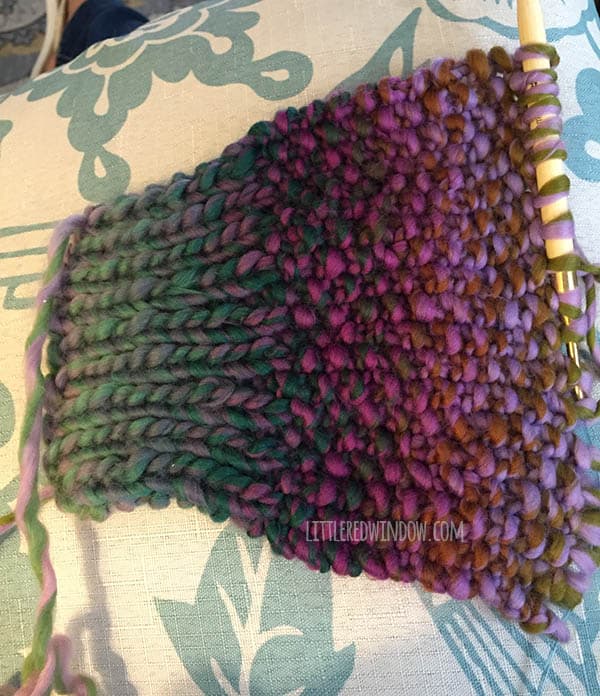
Repeat rows 13 & 14 in seed stitch until the cowl is as long as you want it. Test by wrapping it around your neck. End after a right side row.
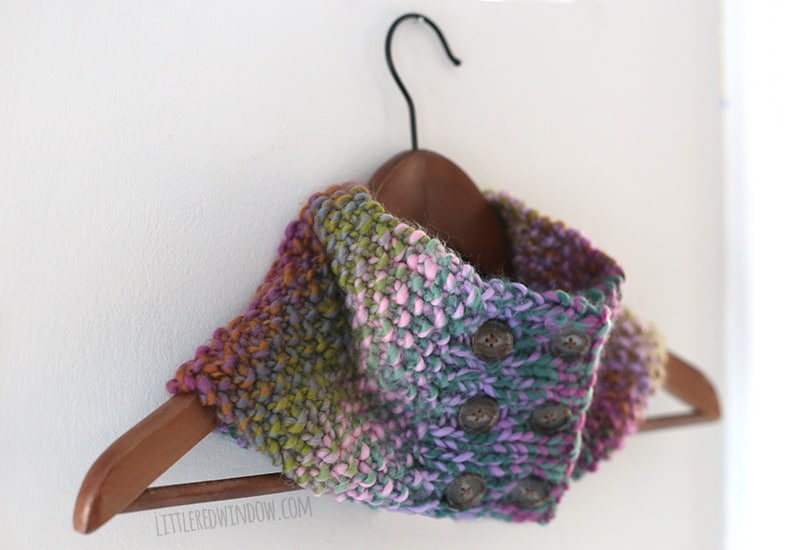
Buttonhole End:
Row 1: (p1, k1) repeat until the end of the row
Row 2: (k1, p1) repeat until the end of the row
Row 3 (buttonhole row): p1, k1, p1, yo, p2tog, k1, p1, k1, p1, yo, p2tog, k1, p1, k1, p1, yo, p2tog, k1,p1
Rows 4 – 8: Even rows, repeat row 2, odd rows, repeat row 1
Row 9: Repeat row 3 (buttonhole row)
Row 10: (p1, k1) repeat until the end of the row
Bind off, cut yarn and weave in ends.

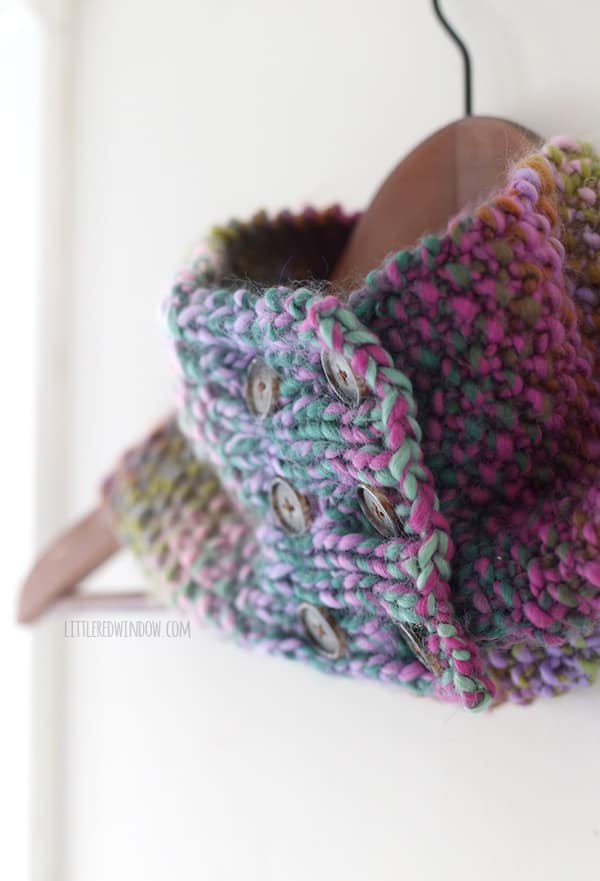
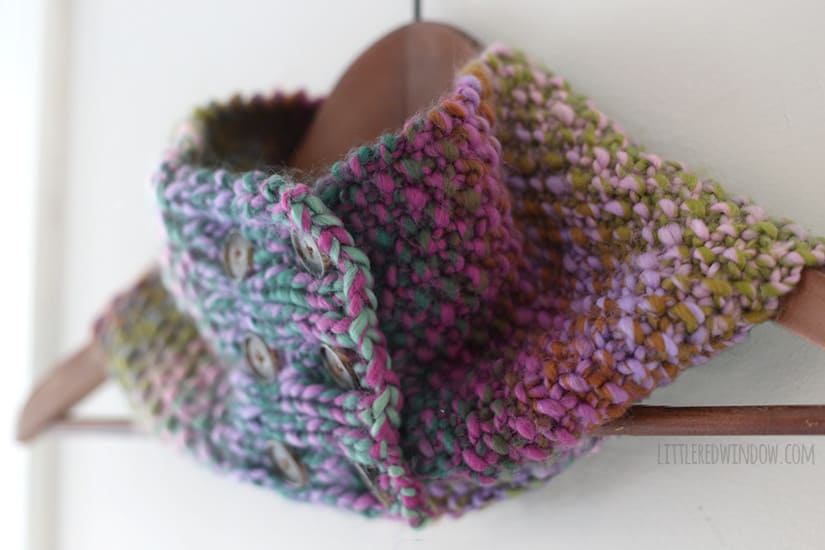
Overlap the two ribbed ends of the scarf and mark where the buttons will need to be placed to line up with the buttonholes. Stitch the buttons to the end of the cowl that does not have buttonholes with your needle and thread. Button up your cowl and enjoy!

If you liked this, you may also like some of my other posts…


- Pencil Scarf Knitting Pattern - July 7, 2026
- Tri-Color Linen Stitch Hat Knitting Pattern - June 22, 2026
- Yummy Ice Cream Cone Hat Knitting Pattern - June 16, 2026
Leave a Reply