Get ready for Halloween with my new Bitty Bat Hat Knitting Pattern for anyone from baby & toddler to child & adult!
Updated September. 2024
This pattern has been updated to include additional child and adult sizes. For more information on the changes, what’s included and many other questions, click here.

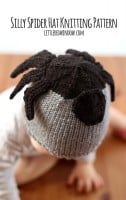
So, one of the best things about my baby hats, is that basically ANY of them will work as an adorable Halloween costume. But if you’re looking for something more Halloween-y, last year I came up with the Silly Spider Hat which I will fully admit is very silly. And this year, I thought, how about a cute little vampire bat hat?

I mean, let’s be honest…what baby wants to wear a hot poufy complicated costume? And what parent of a new baby wants to fuss over and spend a lot of money on a baby Halloween costume that they will wear once (if you’re lucky)?
BUT make them an adorable hat (or have someone else make it for you), put it on and costume done! If you want to get REALLY fancy you can put them in a coordinating onesie. But if they’ll be wrapped up in a baby carrier or stroller, don’t even bother. I mean really, imagine a cute little bat hat peeking out from a baby carrier….

Sizes included: 0-3 months, (6 months, 1-2 years, 3-6 years, Child Large/Adult Small, Adult Large) Read our sizing guidelines post for more information.
Gauge: 19 stitches = 4 inches
(If you need help, my favorite knitting reference book for everyone from beginners to advanced knitters is THIS ONE!)

Looking for the pattern? Here’s how it works: This pattern is available for FREE in one size right here on my site (keep scrolling down). Or for just a few dollars, you can choose to purchase an upgraded PDF pattern that is nicely formatted and easy to print. Besides being easy to print, the PDF pattern also contains MORE SIZES with instructions for additional sizing including 0-3 months, 6 months, 1-2 years, 3-6 years, Child Large/Adult Small and Adult Large! Thank you for supporting Little Red Window!


Bitty Bat Hat Knitting Pattern (12 mo. size, see PDF for other sizes)
Gauge: 19 st. = 4 inches
Worsted weight yarn in black, gray and white
US 7 (4.5 mm) 16″ circular knitting needles
US 7 (4.5 mm) double pointed needles
(If you need help, my favorite knitting reference book for everyone from beginners to advanced knitters is THIS ONE!)
Using long-tail cast on, cast on 72 stitches onto your circular needles with the black yarn. Join to knit in the round and knit 1 stitch, purl 1 stitch in a rib stitch for 5 rounds. Then knit all rows until the hat is about 5 inches long.
Decrease (divide the stitches between 3 double pointed needles and knit with the 4th):
Round 1: (k6, k2tog) repeat to the end of the round
Round 2: Knit all stitches
Round 3: (k5, k2tog) repeat to the end of the round
Round 4: Knit all stitches
Round 5: (k4, k2tog) repeat to the end of the round
Round 6: Knit all stitches to the end of the round.
Round 7: (k3, k2tog) repeat to the end of the round
Round 8: Knit all stitches to the end of the round
Round 9: (k2, k2tog) repeat to the end of the round
Rounds 10: Knit all stitches
Round 11: (k1, k2tog) repeat to the end of the round
Rounds 12: Knit all stitches
Round 13: k2tog repeat to the end of the round
Cut yarn, pull through loops and close. Weave in ends.
Ears (make 2):
Using double pointed needles as straight needles, cast on 6 stitches using the black yarn. Leave a long tail to stitch the ears to the hat.
Rows 1-2: knit all stitches
Row 3: k2tog, k2, ssk
Row 4: k2tog, ssk
Row 5: k2tog
Cut yarn and pull through loop to close. Weave in that end. Thread the long cast on tail onto your yarn needle and use it to securely stitch each ear to the top of the hat.

Bat Wings (make 4):
Using double pointed needles as straight needles, cast on 10 stitches with black yarn. Leave a long tail to stitch the wings together and to the hat.
Row 1: k2tog, k8
Row 2: k7, k2tog
Row 3: k2tog, k6
Row 4: k5, k2tog
Row 5 – 6: knit all stitches
Row 7: kfb, k5
Row 8: k6, kfb
Row 9: kfb, k7
Row 10: k8, kfb
Row 11: k2tog, k8
Row 12: k7, k2tog
Row 13: k2tog, k6
Row 14: k5, k2tog
Rows 15 – 16: knit all stitches
Row 17: kfb, k5
Row 18: k6, kfb
Row 19: kfb, k5, k2tog
Row 20: k2tog, k5, kfb
Bind off and weave in that end.
Use the long cast on tail from one wing piece to stitch two wing pieces together to make one double-thickness wing. Repeat with the other two wing pieces. Then use the remaining long cast on tail in each pair to securely stitch the wings to the sides of the hat.
To make the face:
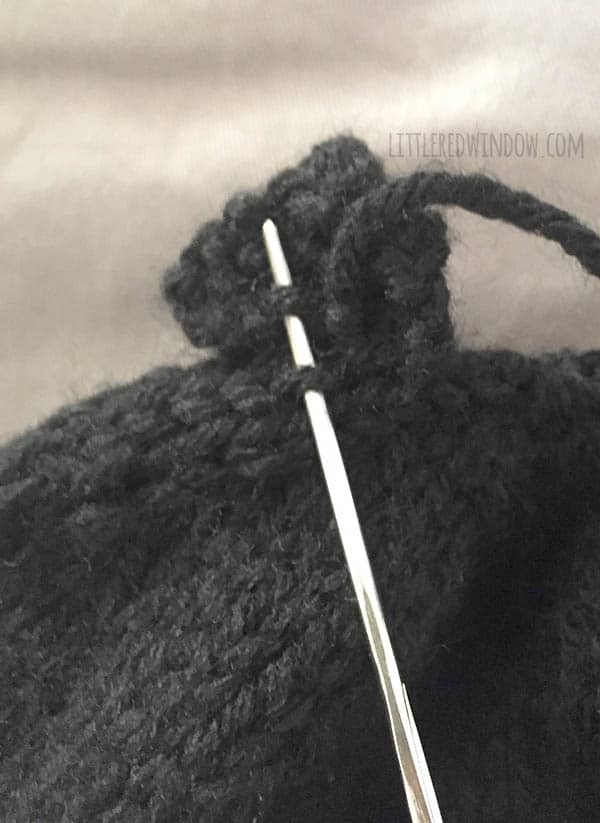
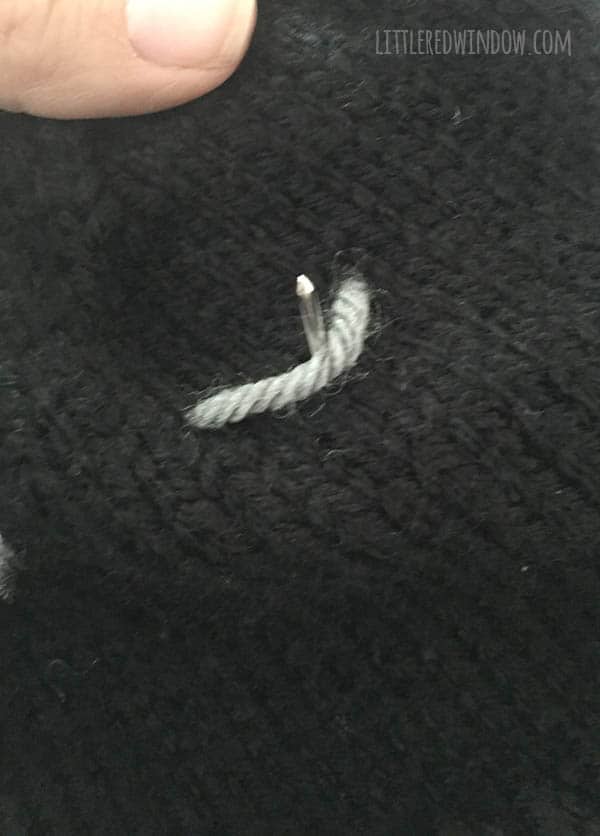
Thread a length of gray yarn on your yarn needle. Make a loose horizontal stitch that curves down in a ‘U’ shape for an eye. Secure the shape with one tiny stitch in the center of the ‘U’.
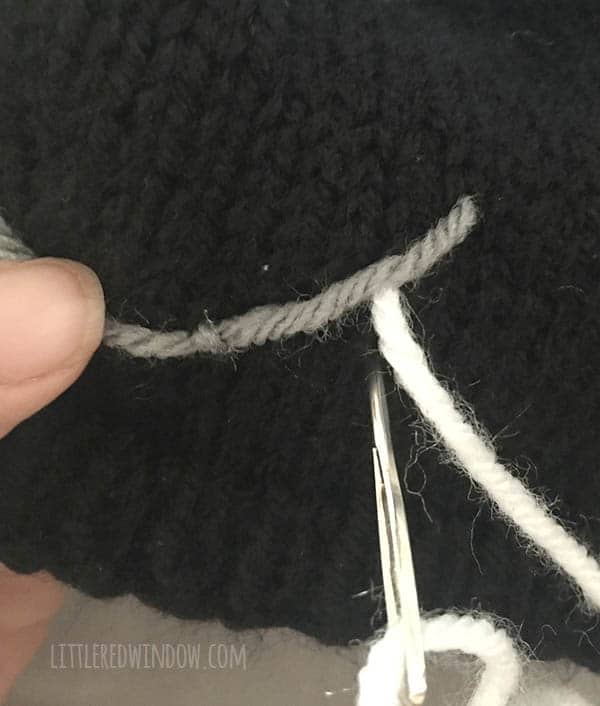
Repeat for the other eye. Make one large loose ‘U’ shaped stitch for the mouth. Secure that shape with one tiny stitch in the center of the ‘U’. Then thread your yarn needle with a length of white yarn and use it to stitch the two little ‘V’ shapes below the mouth for the vampire teeth.
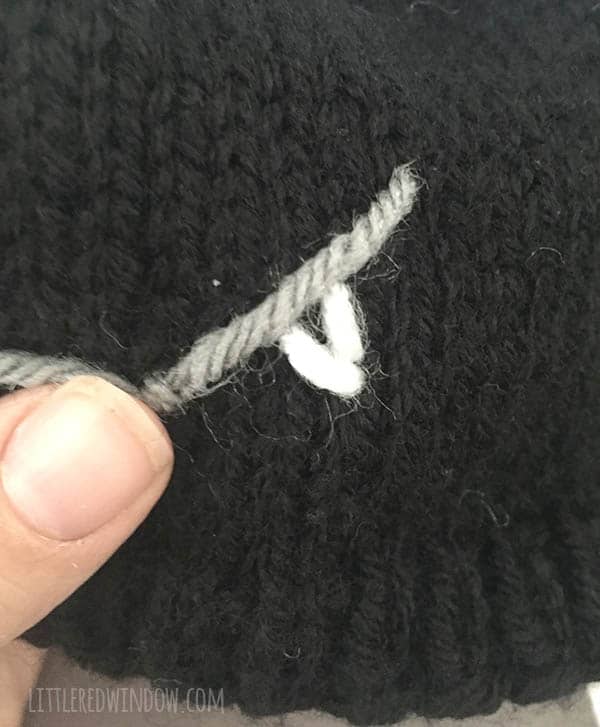
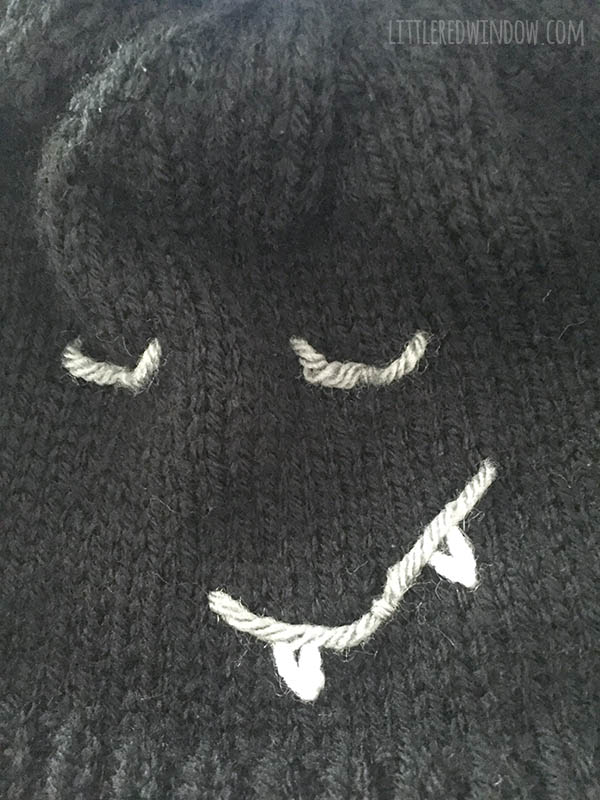
Make sure all of these stitches are fairly loose so they don’t pull when the hat stretches.
If you liked this, you may also like some of my other posts…


- Crayon Scarf Knitting Pattern - July 21, 2026
- Pencil Scarf Knitting Pattern - July 7, 2026
- Tri-Color Linen Stitch Hat Knitting Pattern - June 22, 2026
Leave a Reply