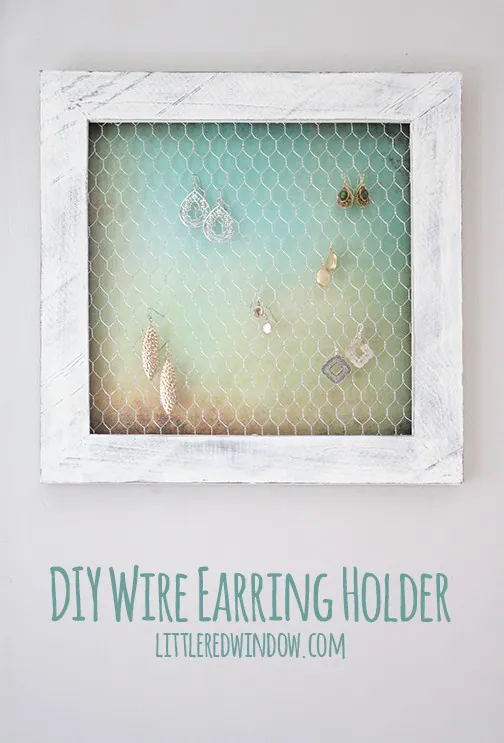
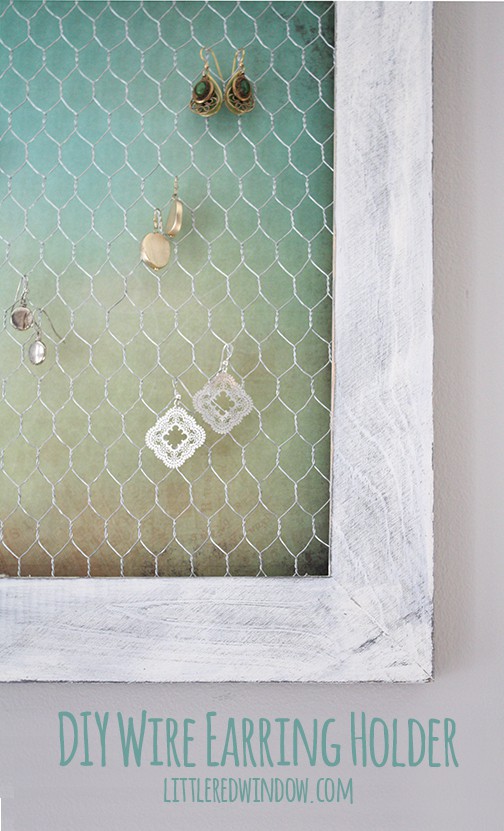
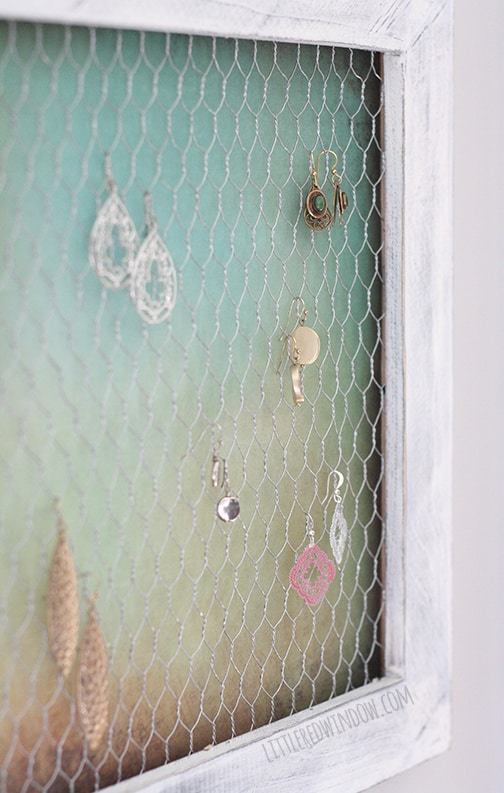
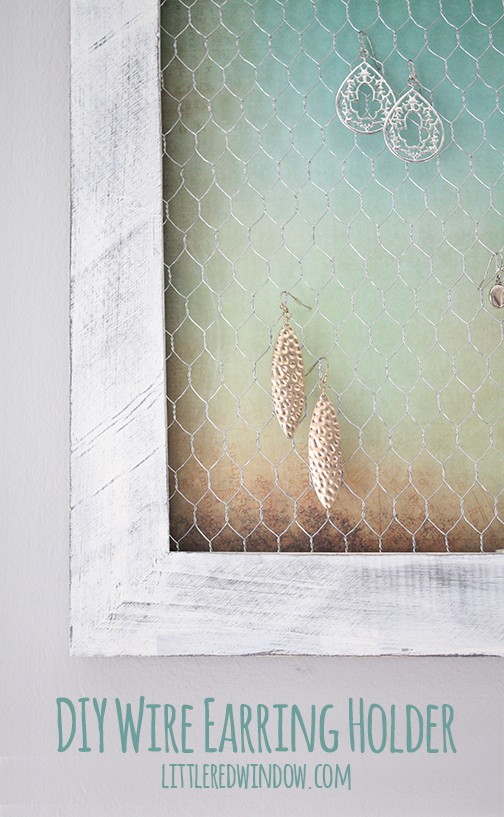
You’ll love this great frame idea, it’s a cute Wire Earring Holder DIY that’s so simple to make and looks anything but handmade!
I came up with this cute Wire Earring Holder because, once upon a time, I used to work in an office. Like an office with other people. Where I got dressed in nice clothes everyday. Well, ok, it was a pretty casual office so I wore jeans most of the time. But I blow dried my hair every morning and didn’t wear t-shirts or sneakers with said jeans, so for me, that’s pretty fancy. And even more shocking, I wore jewelry!
And then I went and had a baby, and then another one. And if you’ve had a baby or even ever just held a baby, you know that dangly earrings and necklaces are irresistible to them. So I stopped wearing dangly earrings most of the time. Baby V has been well past the grabby stage for at least a year and I can wear them again and I have quite a few pairs that I really like. And there’s nothing worse then having them jumbled together and then you can only find one of a matching pair.
So this earring holder DIY came out of sheer necessity. (And also ever since I put together my DIY Jewelry Organizer post, I’ve been jonesing to make my own…) I have another wall-mounted earring hanger, but it just wasn’t working as well as I wanted it to and earrings would sometimes fall off and end up behind my dresser. So I started planning how to make one that would work better and display some of my pretty jewelry.
But before I get into my Earring Holder DIY, can we talk about buying unfinished wood craft products at the craft store? I have been buying this stuff for many many years and let me tell you, there is a reason it’s cheap. There’s a reason that birdhouse is only $1. They use cheap cheap cheap wood and cheap cheap cheap manufacturing processes.
Take this frame that I bought for this project, for example, it was held together only with a couple staples through the back, the mitered corners aren’t perfectly lined up, the edges were rough and splintery and because it was only shrink wrapped in plastic and not in a box, it already had some dents. Now because I knew what I was going to do with it, I was ok with that. It was only $5 with coupon and I was willing to overlook those flaws because I knew I was painting it and distressing it anyway.
But honestly, don’t expect too much out of these craft wood items. Dig through the pile and pick the nicest one, usually the ones that have been laser cut have nicer edges, but don’t expect to pay $1 and get something that looks like Norm Abram made it (gold star if you know who that is!). It’s just not going to happen. Be prepared to do a little of your own sanding and accept that small imperfections, dents or unevenness are just par for the course. And hey, planning to distress? Then you’re already halfway there!
Ok, enough unsolicited advice… Here’s how to make this cute earring holder!
DIY Wire Earring Holder Supply List
12″ x 12″ flat piece of chicken wire
1 sheet of scrapbook paper
A thin piece of cardboard slightly larger than the scrapbook paper
Acrylic craft paint
DIY Wire Earring Holder Instructions
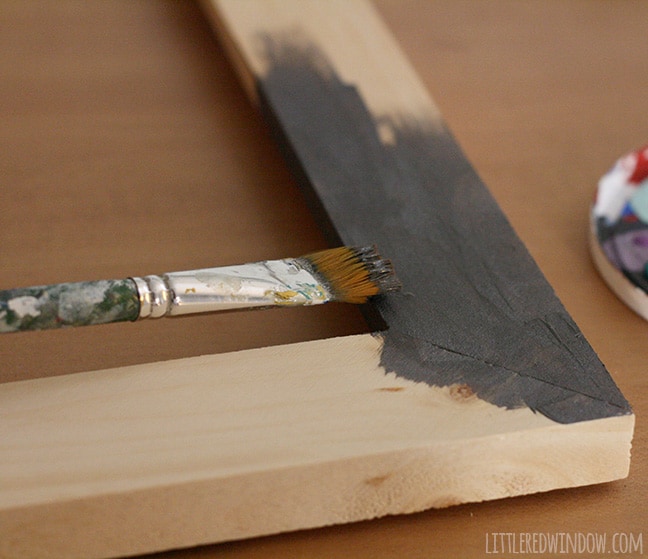
1. First I gave my wood frame a light sanding. Mine didn’t come with glass or plastic inside, but if yours does, remove that. Then I gave it a coat of a dark charcoal color. This was Martha Stewart’s Gunmetal which is actually metallic.
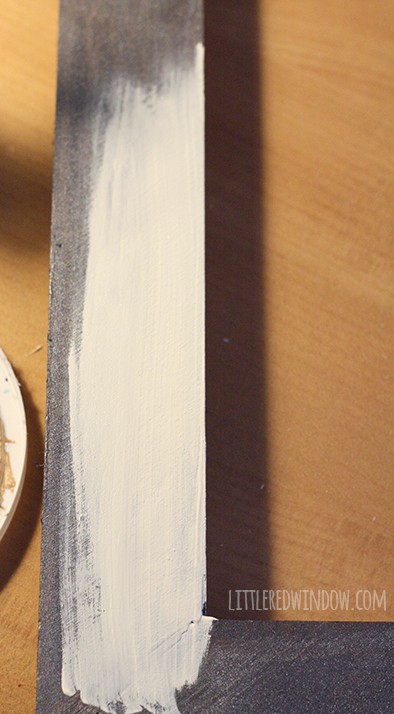
2. When that was dry, I painted a coat of white on top. The paint I used was pretty thick so one coat was enough.
3. When THAT dried, I gave the whole thing a light sanding with some 220 grit sandpaper paying special attention to the corners and edges. If you can’t do this outside, I often do it over my stainless steel kitchen sink to minimize dust cleanup!
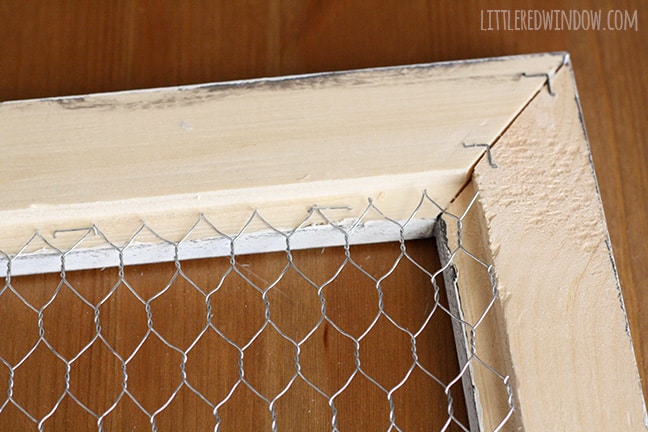
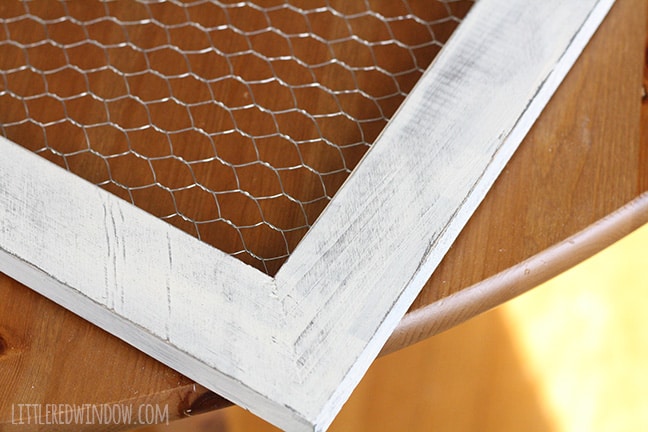
4. Next flip the whole thing over. I happened to buy a flat piece of pre-cut 12″ x 12″ chicken wire at the craft store that was meant for scrapbooking. I am 100% sure this in NOT the most economical way to buy chicken wire. But it meant I didn’t need wire cutters and have a ton of chicken wire leftover, so you know what? I bought it anyway. I laid that in the back of the frame and used my staple gun to secure it.
Here’s what it looks like when you flip it back over to the front:
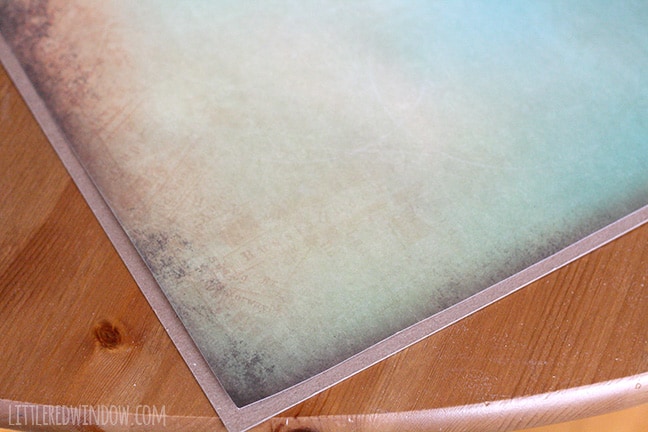
5. Next I took a piece of thin cardboard that was about 1/2″ wider than opening in the back of the frame and used to double stick tape to attach my scrapbook paper in the center. I’m obsessed with this scrapbook paper which is kind of a corrugated rusted metal but also looks sort of like a sunset. It makes my architect heart happy. But you can use whatever color or print you want!
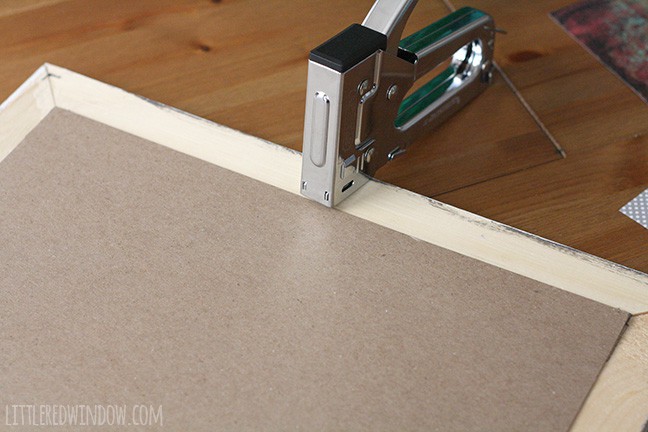
6. Then I put the cardboard over the opening on the back of the frame and stapled it on. Make sure you are putting it OVER the opening and not inside because you want a good gap between the chicken wire and the backing for your earring wires to fit!
7. Finally I hammered in the sawtooth picture hanger that came with my frame and I was done! Hang it on the wall and hook your earrings over the chicken wire to display them!
If you liked this, you may also like some of my other posts…
- Double Stockinette Stitch Knitting Pattern: Easy How To for Beginners - April 18, 2024
- Fiery Fades Hats Knitting Pattern - April 16, 2024
- Flower Pillow Knitting Pattern - April 11, 2024


Anna Smith says
I have been looking for something to display my earrings. They are all just sitting in boxes. Now I have a wonderful idea. I have the perfect piece of wood. Thank you so much for sharing. 😊
Anna Smith
Cassie May says
great, I’m so glad! Have fun making it!
Aquila Clark says
I love this idea–and the thought of hanging this in eyes’s view–is wonderful–Im so glad I found your site–and yes–I am subscribed–thanks so much for sharing this