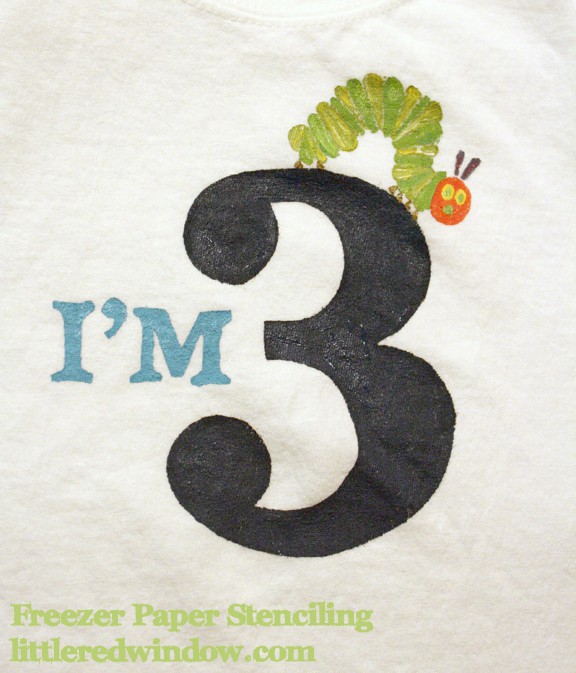
A couple of weeks ago, a friend of mine was telling me she wanted to make a baby gift for her cousin, a onesie with a cute design that she thought up, but she wasn’t sure how to make it or if she should try and have it printed somewhere. I suggested freezer paper stenciling which she had never heard of, but it’s a quick, cheap and easy way to stencil on fabric. She and I had a fun little craft session and she ended up with a super cute onesie for her cousin within about an hour. Most recently I did freezer paper stenciling for O’s 3rd Birthday Tshirt. Did you see it in my post about his Very Hungry Caterpillar Birthday Party? I made him a personalized birthday shirt for his 1st birthday and it’s become kind of a tradition.
The key to freezer paper stenciling is not to have to let your design get too complicated (but if you have a Silhouette or a Cricut or something, this would be even easier!)
Here’s what you need:
Freezer Paper (affiliate link)(Freezer paper is white paper that is matte and one side and plastic coated on the other, DO NOT use wax paper!)
A tshirt
Fabric paint
I got my freezer paper in the grocery store by the saran wrap and tinfoil, it came in a HUGE box that I will probably be using until O goes to college!
First, draw your design onto the matte side of the freezer paper with a pencil or pen. Unlike other kinds of stencils or iron-ons, you don’t have to draw it backwards! I think it’s best to keep the design simple and avoid a lot of text or you’ll be cutting all day.
Next, use your Exacto knife to carefully cut out the parts you want to paint. A word of advice, when people have trouble with jagged edges or cuts that don’t look nice, 99% of the time it’s because you need a new blade in your knife. Paper and paper products dull blades really fast (also why you should never cut paper with sewing scissors!) When I was in architecture school, we bought Exacto blades in boxes of 100 and would change the blade at least once a day often a lot more. Trust me, when you change to a brand new blade, you will immediately see the difference.
If you have letters like O or A that have center solid pieces, make sure you save them so you can iron them on as well.
If you don’t do a lot of cutting with an Exacto knife, here are two things to know, go slow, especially on curves, and keep your fingers and other hand out of the way. I got four stitches in my left hand from learning that second lesson the hard way.
When you are done, lay out your shirt on a flat surface. Take another blank piece of freezer paper and put it, shiny plastic side UP inside the tshirt so that paint doesn’t bleed through to the other side (this is a craft fail mistake you only make once! ) Then lay out your design, and any extra pieces, like the insides of O’s or D’s and iron them carefully to the shirt. I would use a medium temperature and press more than rub. Pay extra attention to thin points, they don’t always stick well.
When the stencil is stuck to the fabric, go ahead and start painting. You can use a regular brush or for larger areas, a foam brush. Like most stencils, you should always push paint from the edge of the stencil toward the center or the design, not out towards the edge of the stencil because then it is much more likely to bleed under. Be extra gentle around corners and point because those areas don’t always stick as well. Use a dabbing motion for those parts.
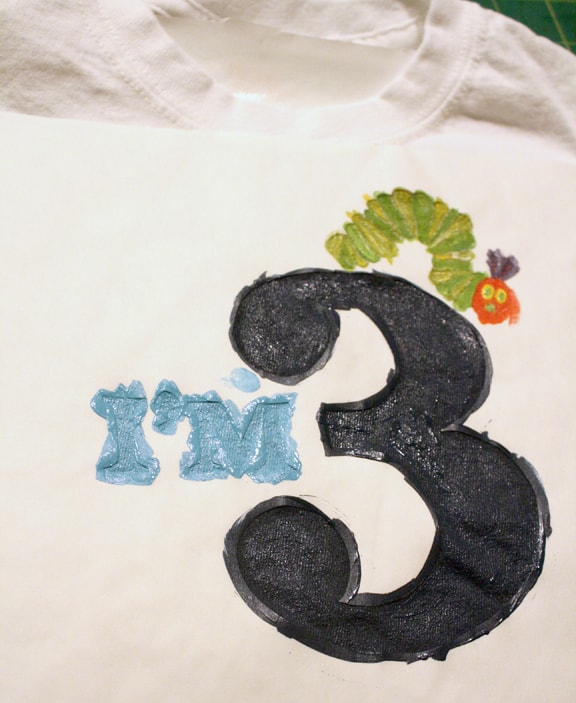
Here’s what my stencil looked like after I painted it.
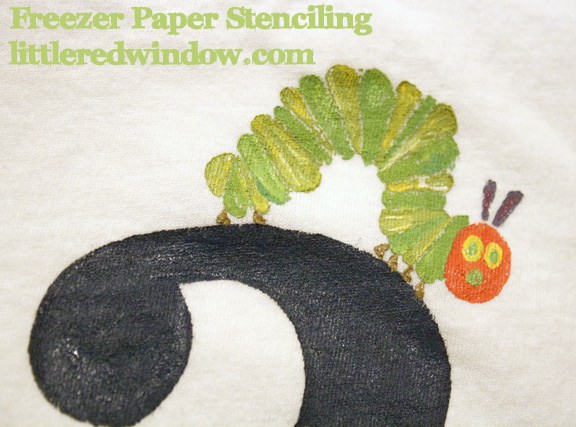
I painted the caterpillar with a small brush and did his eyes and nose freehand. I added the feet with an even tinier brush, after I removed the stencil. When the paint is starting to dry, but is still wet, CAREFULLY peel off the stencil. Make sure that it doesn’t fold back on itself and get paint anywhere you don’t want it. Don’t forget to peel off the tiny parts inside letters if you have any. I use the tip of my exacto knife or clean tweezers for that.
When you get the stencil off you can add anything else you want, in my case, the caterpillar’s feet, and then you’re done. Follow the instructions on your fabric paint to set the paint and for drying and washing. My paint did not require setting with an iron but it did say to wait 72 hours before washing.
I love this for kids’ clothes because it’s cheap and easy. Have you tried freezer paper stencils before?
- Rib Zag Hat Knitting Pattern - April 23, 2024
- Double Stockinette Stitch Knitting Pattern: Easy How To for Beginners - April 18, 2024
- Fiery Fades Hats Knitting Pattern - April 16, 2024


Amber L. says
I have always wanted to try freezer stencils. I love, love, love your shirt!
Cassandra May says
Thanks Amber!!