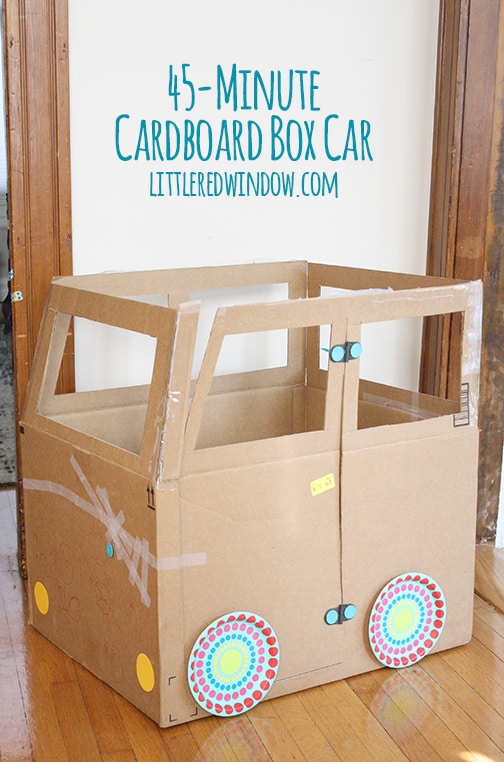
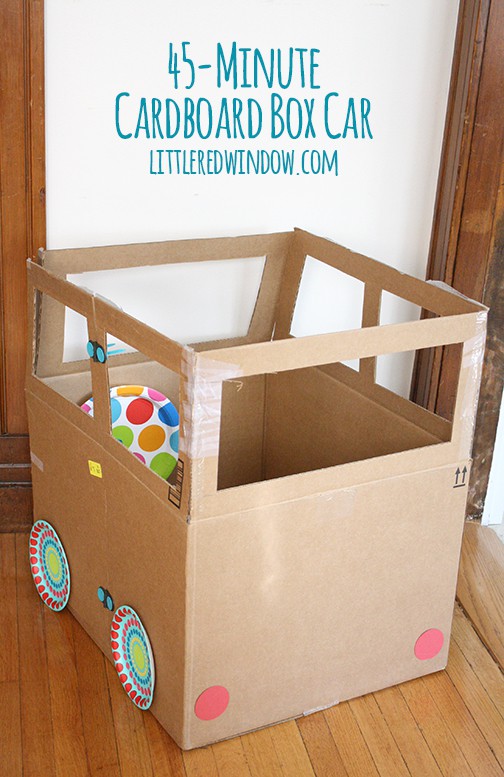
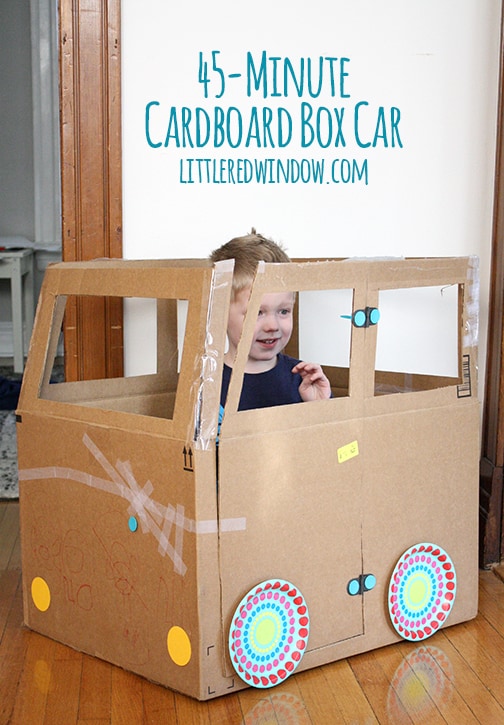
A fun cardboard box car project you can make with your kids in just 45 minutes! They’ll love it!
Want more crafts to do for kids?
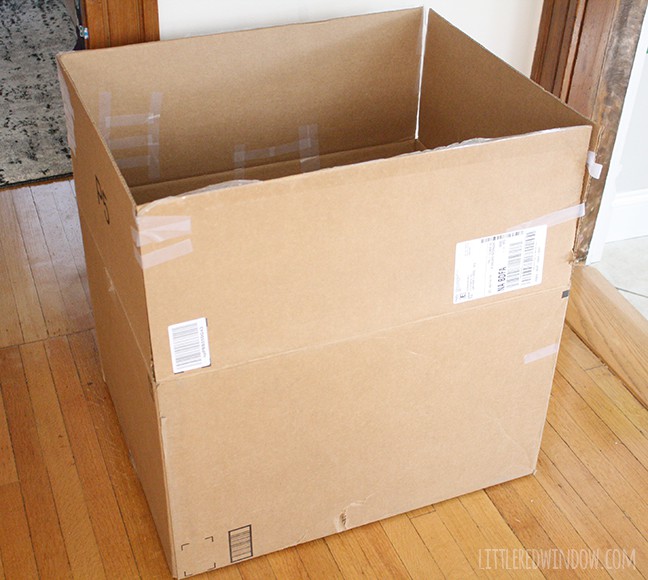
Last week I ordered something on Amazon that came in kind of a huge box. And I didn’t send that box immediately out to the recycle bin because I wanted to use the item for a couple days to make sure I didn’t want to return it. There’s nothing worse than deciding after a couple of days to return something only to remember that you discarded the large & awkwardly sized packaging (*see baby O’s nursery glider chair. ugh, that was a pain…) So I just kinda left the box sitting in the dining room. And O immediately became obsessed with imagining said box was all kinds of different things. (I blame this book.) But what I heard the most was, “Oh, mommy! Let’s make this box into a car!” So a couple days later, that’s what we did.
Now before I show you how, I want to talk about the Continuum of Craft Projects. (I made that super awesome term up.) But you know, I’ve been known to make crazy perfectionist things out of cardboard. I do that because I really truly like doing it. I love making stuff, just for the sake of making stuff. And in the age of “Pinterest mommy wars” I hope you can remember that if you don’t want to, just don’t! Don’t spend your time on something that doesn’t interest you and don’t beat yourself up because you don’t want to. That’s totally fine. I bet you like to do other things, like running, for example, that I hate.
But also, maybe some of those crazy complicated things I sometimes make just seem sort of over the top or too difficult or time consuming. I can understand that. Some of them are. And half the time I didn’t realize until I was halfway done but I was still having fun so I kept going. But today’s project, the 45-Minute Cardboard Box Car is somewhere more towards the easy end on the Continuum of Craft Projects. It’s a realistic, quick project you can make WITH your kids if you want to. It doesn’t have to be perfect, they can (and should) draw all over it and if you don’t want to measure anything, don’t! It’ll still be cute and more importantly FUN to play with! (Because really, who wants to spend hours and lots of money making something only to have your kids destroy it in like ten minutes?!) I mean, I could have spent several more hours and made this car much cuter and more elaborate. But would O have enjoyed it more? Probably not. And I really really wanted to not care if it gets destroyed. When I was growing up, I had this friend whose grandma always bought her super fancy china dolls. But they were so fancy they just sat on her shelf and she hardly ever was allowed to play with them. And really, what kid wants to play with an adult hovering over them yelling, “Be careful! Don’t break that!” every two seconds anyway?! So, minimal time investment, maximum fun extraction was the goal here!
45-Minute Cardboard Box Car
Large cardboard box
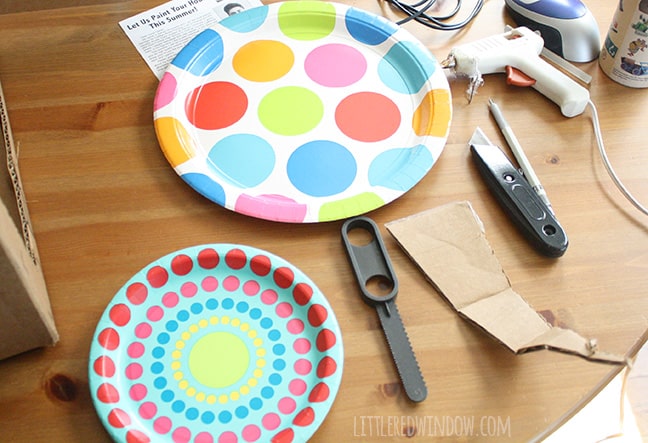
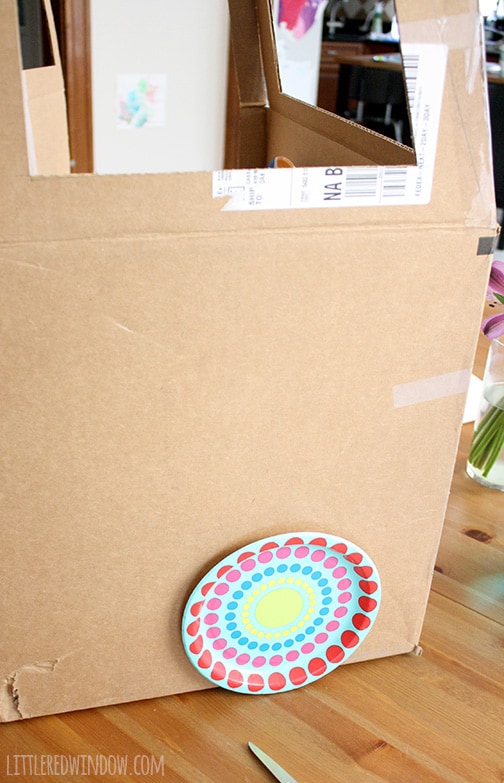
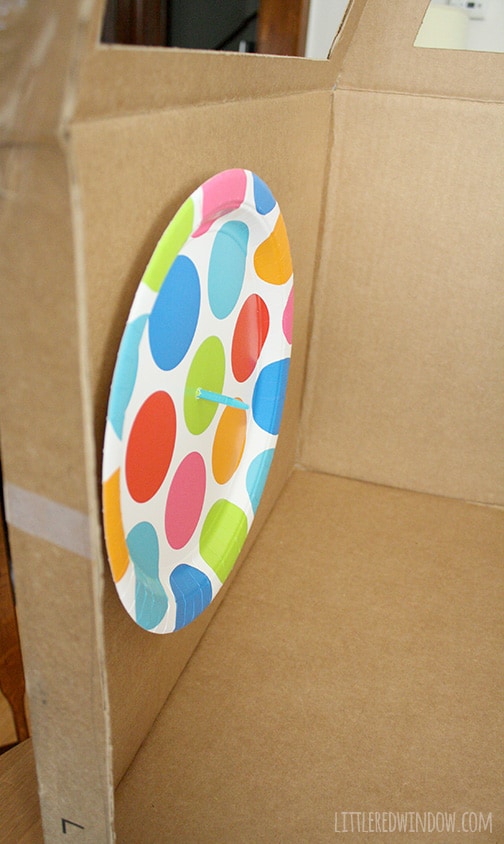
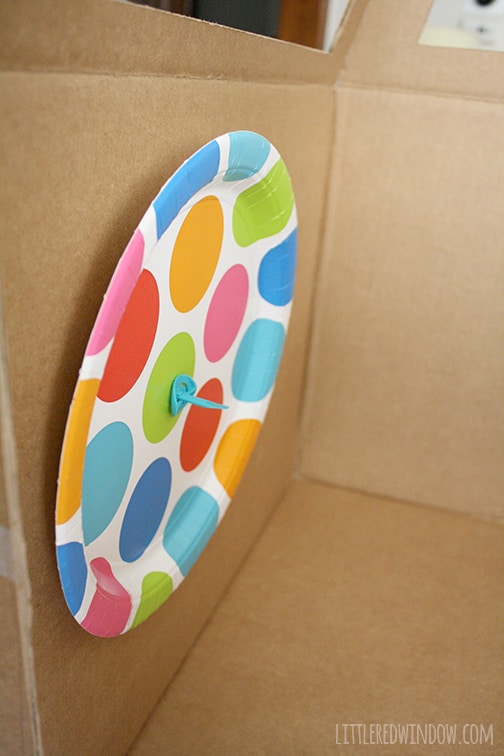
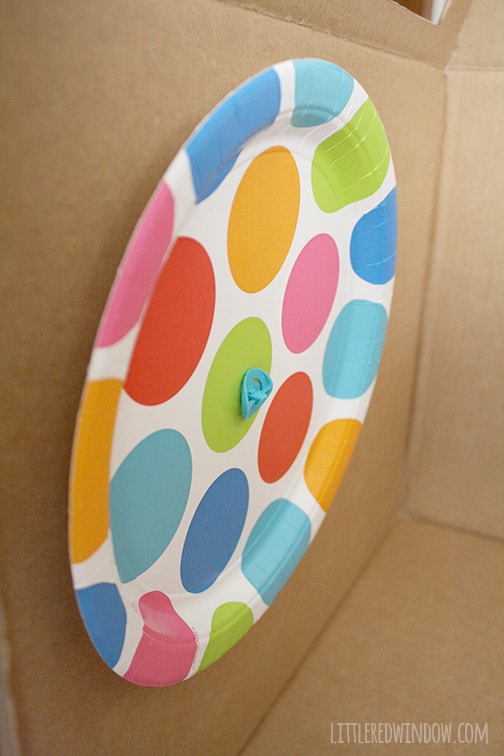
Paper Plates
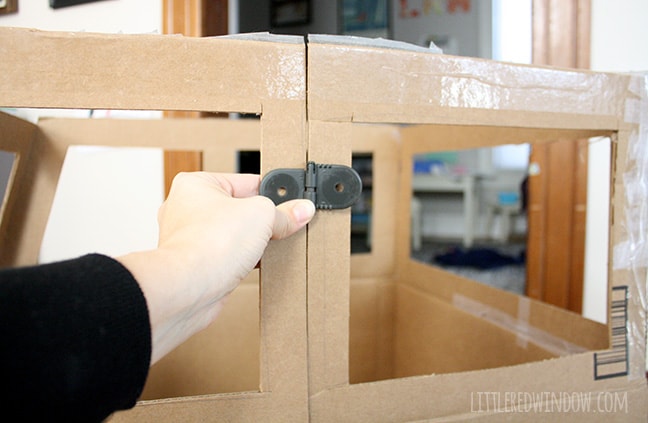
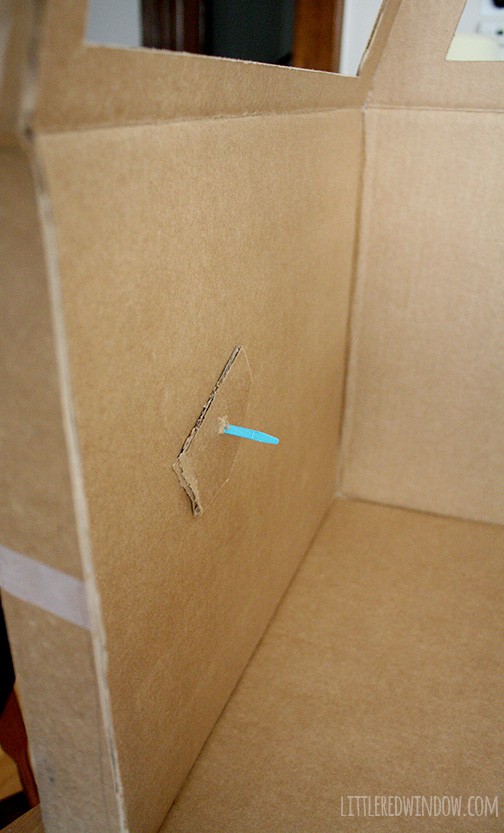
Makedo Connector set (optional)
Ok, so I’m a little obsessed with the Makedo sets. I randomly bought mine from zulily a couple years ago and just have it sitting around. But if you don’t want to spend the money or can’t find one, that’s ok. You can still make a cool car anyway, you’ll just need some heavy duty brads. (And just fyi, I do not work for Makedo, but I should! Pssst! People at Makedo, hire me! )
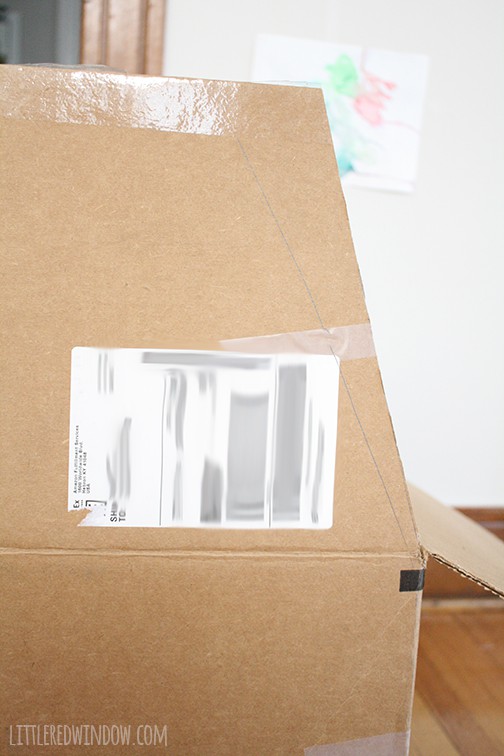
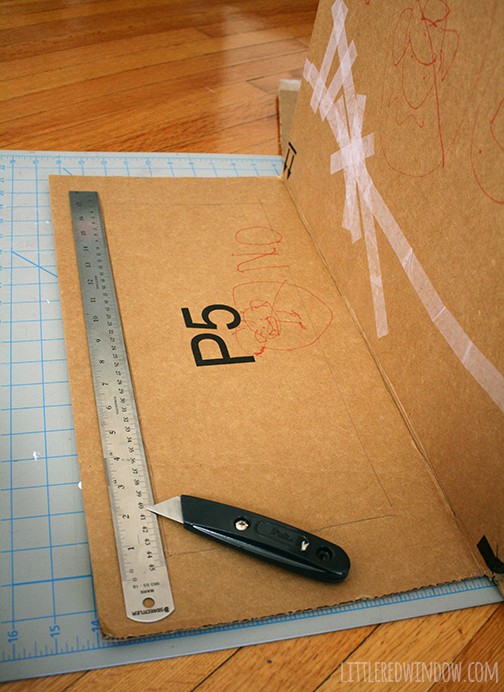
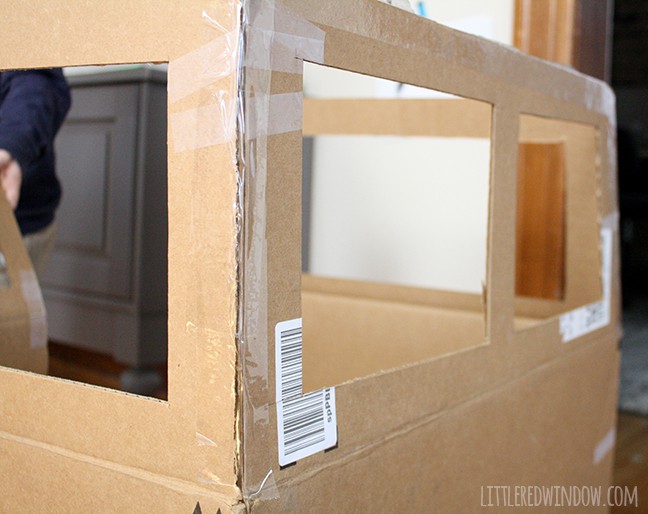
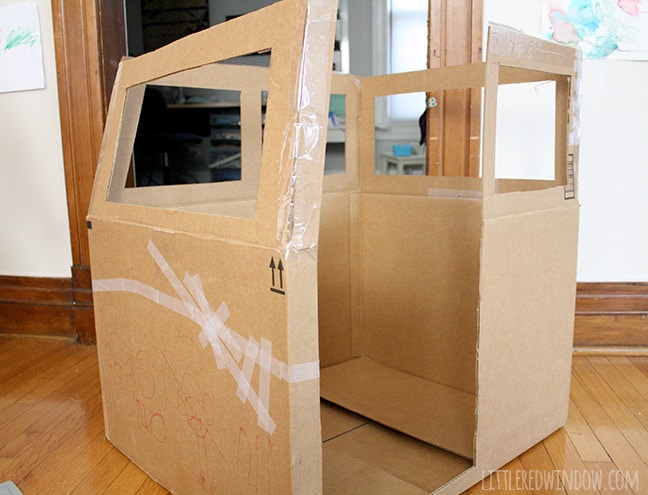
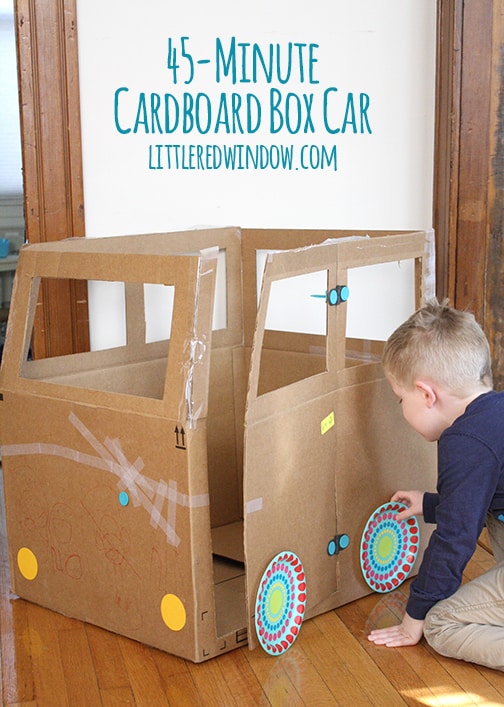
1. Start off with your large cardboard box. If it’s “pre-decorated” like mine was, that’s ok. Who cares?! I stood the flaps up and decided those would be the windows. So along one edge of one of the long sides, I cut an angle off the side of the flap so that the front windshield would lean back a little. Repeat on the opposite side at the same angle.
Oh and wanna know a secret? I didn’t measure anything when I was drawing this windshield. In fact, I only drew the outline first so you guys could see it. If I wasn’t trying to take pics, I would have just cut out a rectangle. If it’s not perfect, it doesn’t matter!
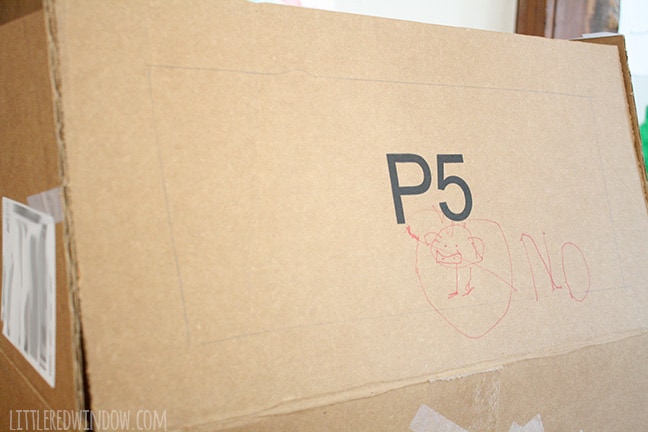
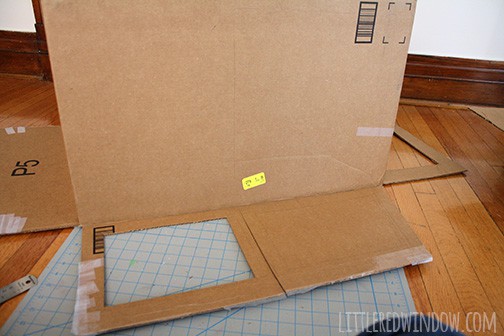
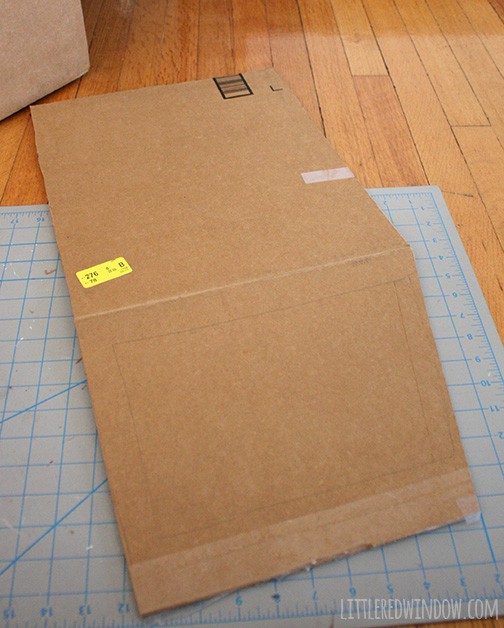
The easiest (and safest) way to do this is to flip the box over and bend the flap down so you can lay it flat like this:
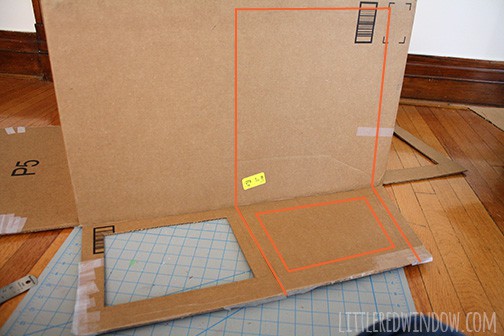
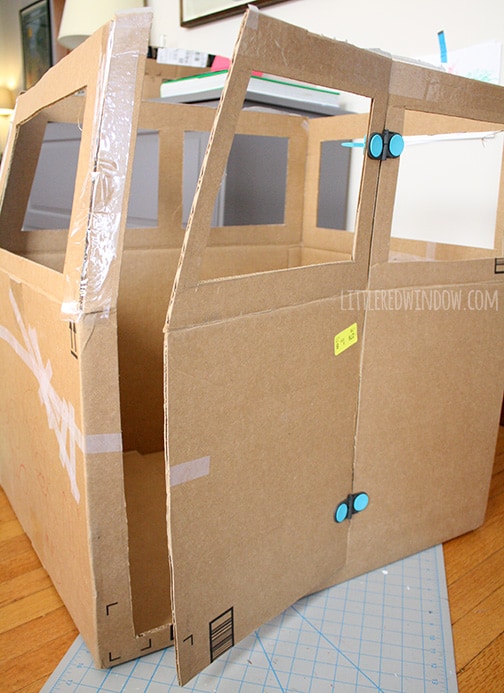
3. Repeat for the rear windshield. Then I drew out the windows on the sides of the car. I decided that the only working door would be on the driver’s side so I also drew that out. I highlighted where I cut the door out with the orange line.
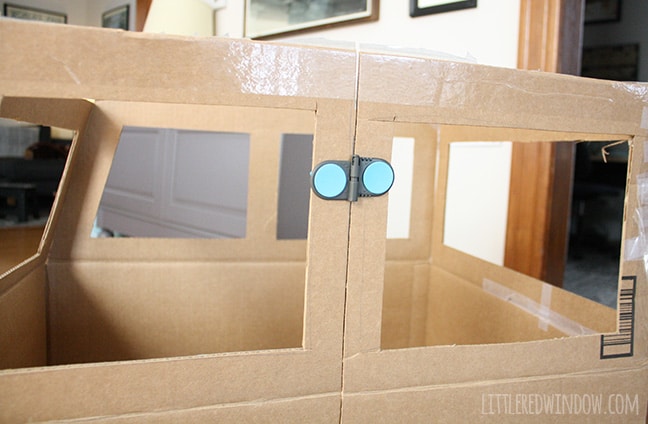
(Note: If you do not have the Makedo set with hinges, do NOT cut the door all the way out. Leave it attached along one of the long vertical sides and then score and bend the cardboard along that side so the door bends open and closed)
Cut the door’s window out.
7.The last thing I did was grab some paper and my 2 1/2″ circle punch and punch two red circles and two yellow circles. I put the yellow ones on the front for headlights and the red ones on the back for brake lights. And that was it, 45 minutes!
If you liked this, you may also like some of my other posts…
- Double Stockinette Stitch Knitting Pattern: Easy How To for Beginners - April 18, 2024
- Fiery Fades Hats Knitting Pattern - April 16, 2024
- Flower Pillow Knitting Pattern - April 11, 2024




Investran says
It hung on suspenders over his shoulders and he was the driver. love your DIY perfect for plenty of playtimes. I also Pinned and shared it. I made a cardboard box car for him to wear for Halloween. thanks for linking up and sharing at the Inspiration Spotlight Party.
Ducks n a Row says
This is so cute! When my son was little I made a cardboard box car for him to wear for halloween. It hung on suspenders over his shoulders and he was the driver. He won a prize for it!
Sinea ♥
Cassie May says
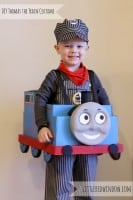
Adorable! Sounds a little like my Thomas the Train inspired costume! (http://littleredwindow.com/2013/10/diy-thomas-the-train-halloween-costume.html) Thanks for stopping by, Sinea!
Dear Creattives says
Hi Cassie, Love your diy perfect for plenty of playtime! Pinned & shared. Thanks for linking up and sharing at the Inspiration Spotlight Party!