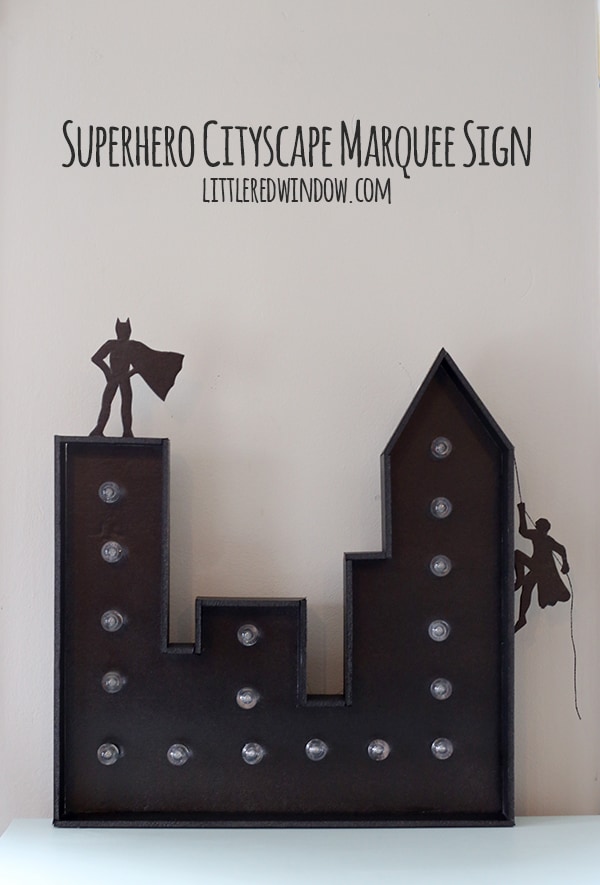
Make your own light-up cityscape marquee sign complete with superheroes to defend it!
The other week I wrote a roundup post of marquee signs and was reminiscing about how Aa and I had our wedding reception at an old movie theater with an actual marquee (they even put our names up!) and it reminded me how much I love them. I actually made a marquee sign for Christmas a couple years ago but that didn’t light up and then, while I was poking around the internet, I realized that marquee signs are so in right now that they actually make light kits for them! How cool is that? And while O’s room is mostly “done” I know it still needs a few things, so I decided to combine our architecture love with his superhero love and make a Superhero Cityscape Marquee Sign. And he was soooo excited. “That’s for my room? And it lights up?! Do I get to have the lights on at night?!” It was adorable. I think he’s probably my biggest fan and it seriously cracks me up when he comes over to where I’m working and says things like, “Oh, that’s a beautiful wreath, Mommy!” Heart melting. Anyway, this was a fun project and I’m going to show you how to make your own and I’ll even share the generic superhero figure templates with you! Here we go…
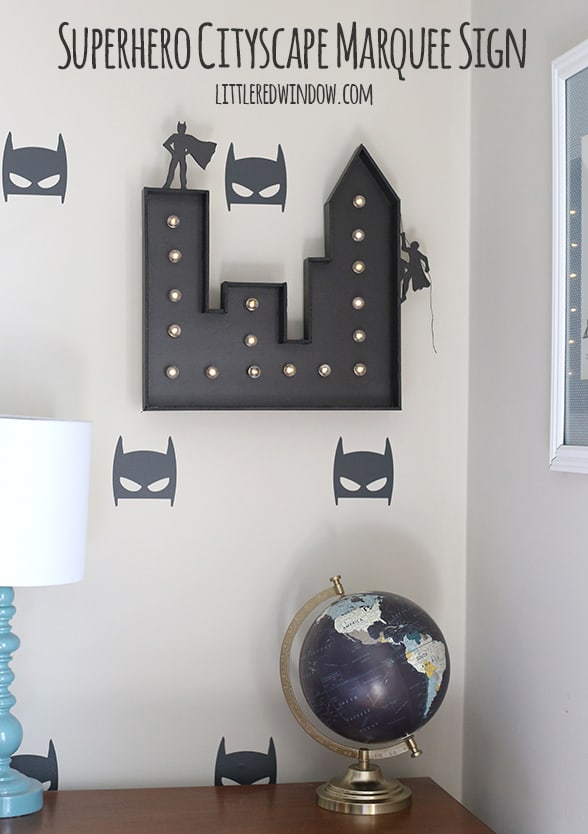
Superhero Cityscape Marquee Sign
White or black foam board (I’m a convert to the dollar store foam board, it’s so easy to cut! If you can find black, you’ll be able to skip the painting step.)
Exacto knife and extra blades
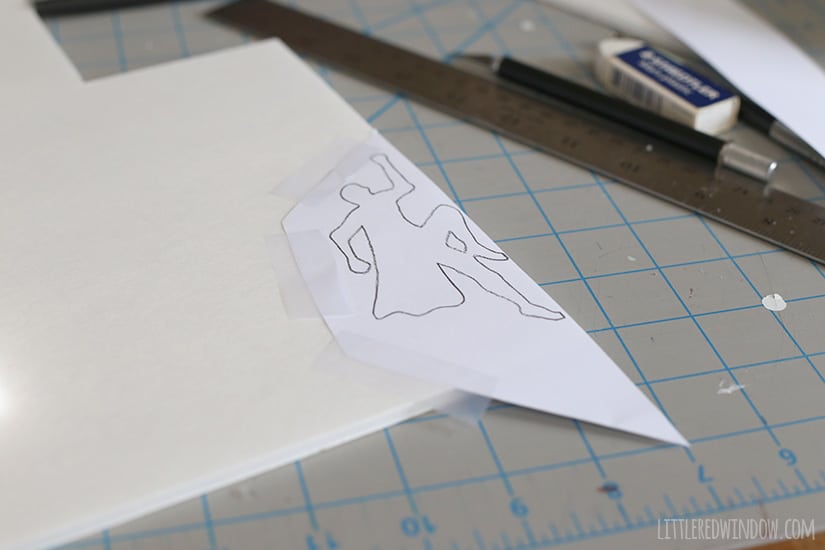
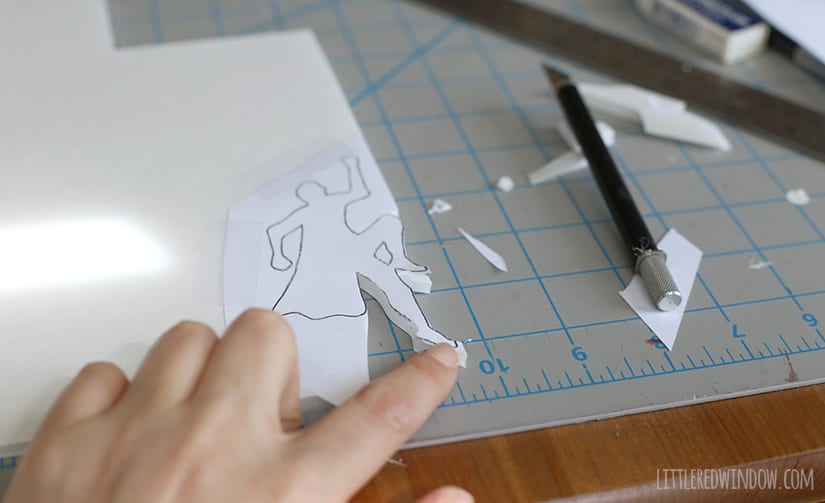
Superhero template (click here to open and print: superhero_cityscape_template_littleredwindow )
Black spray paint, I actually used this (optional)
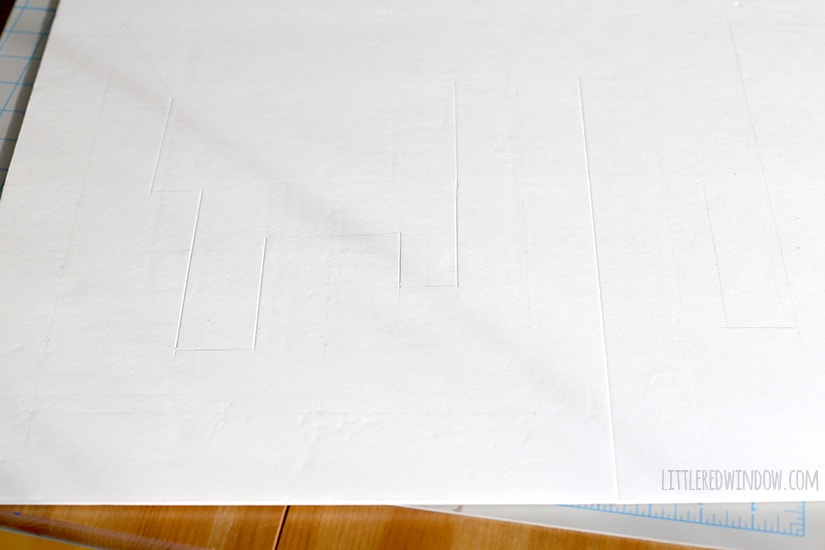
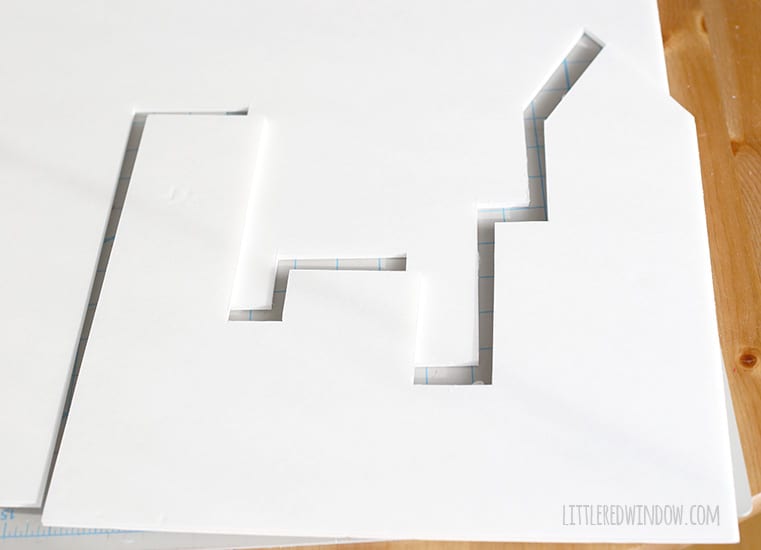
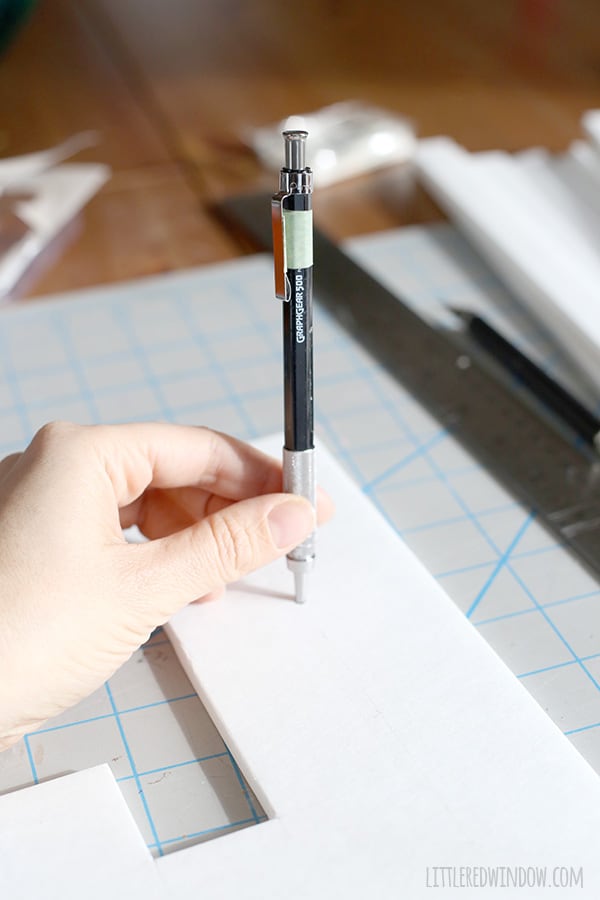
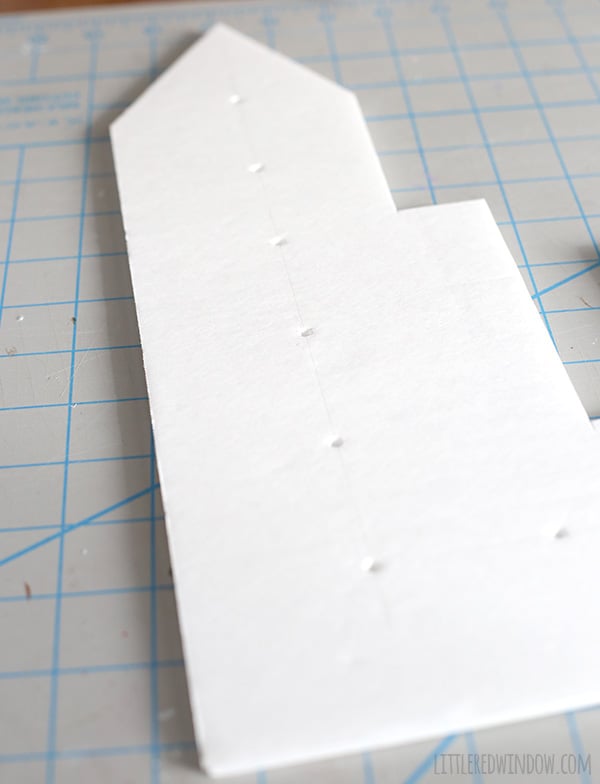
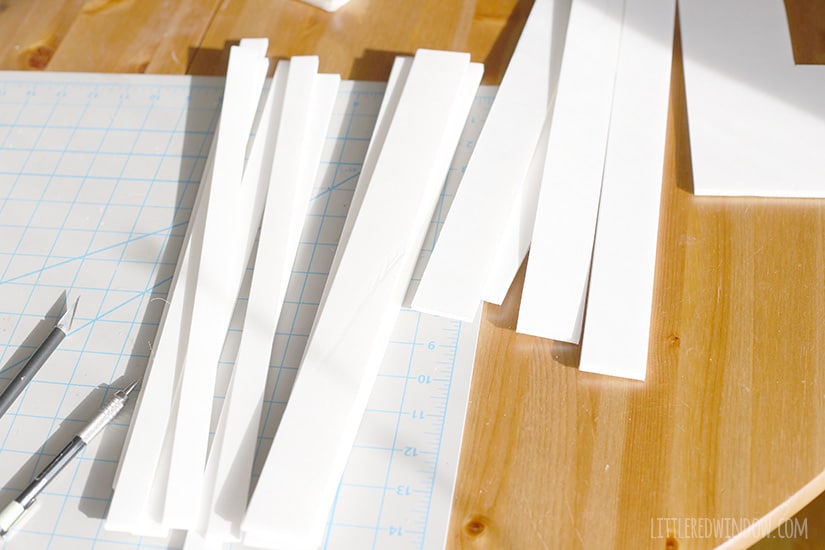
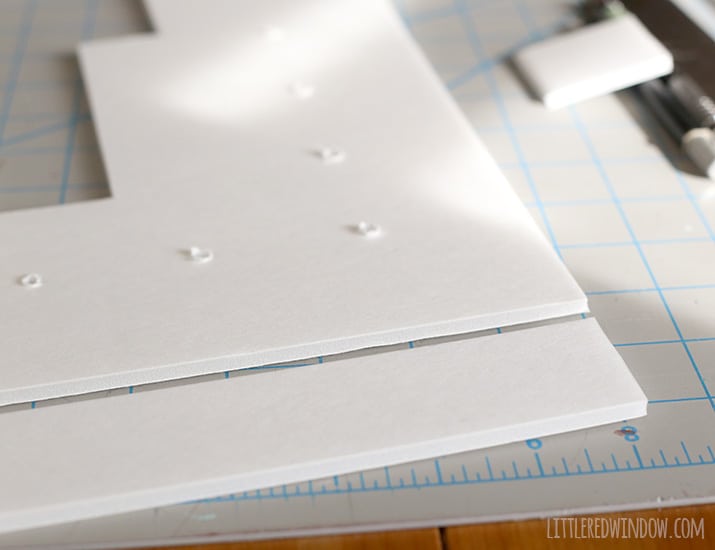
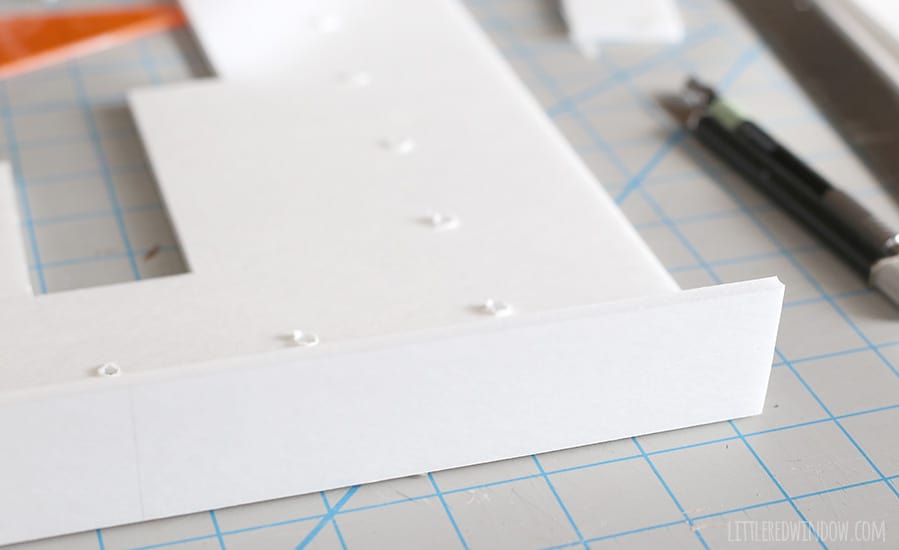
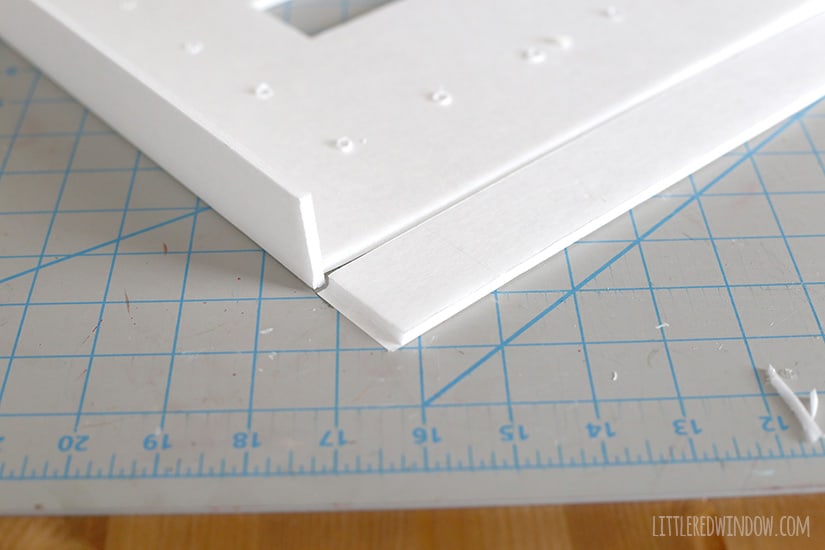
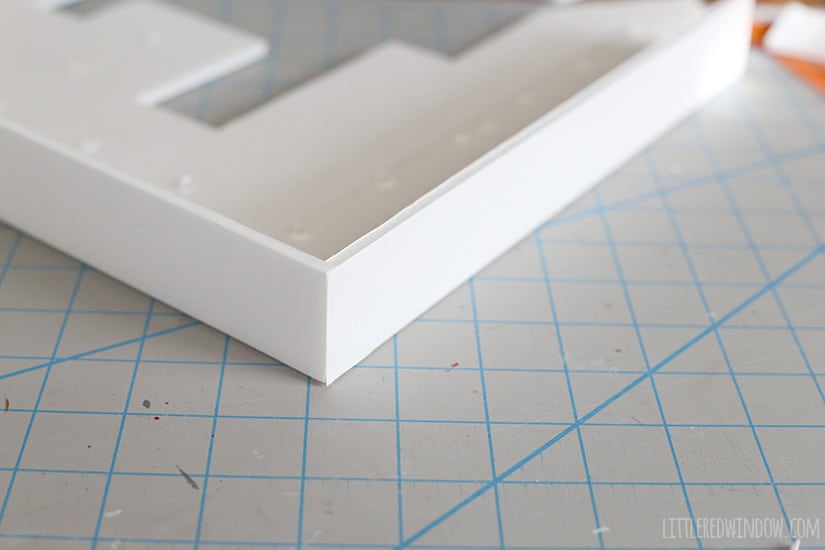
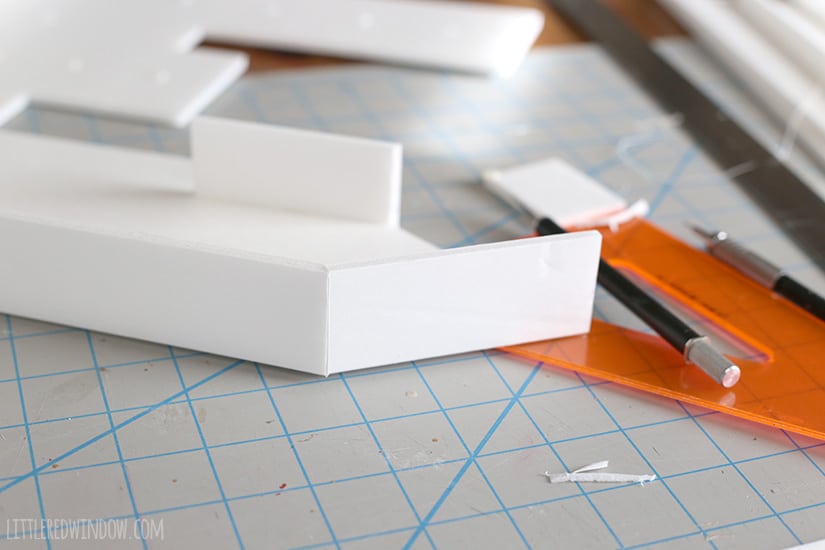
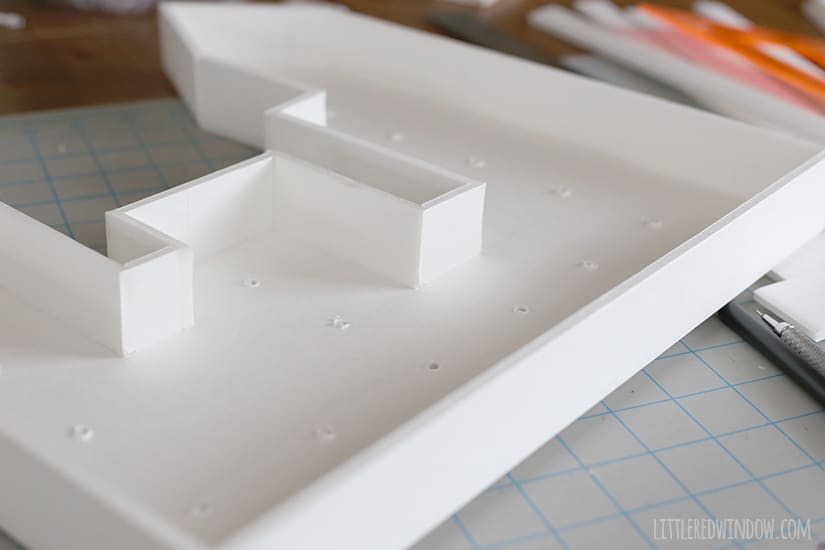
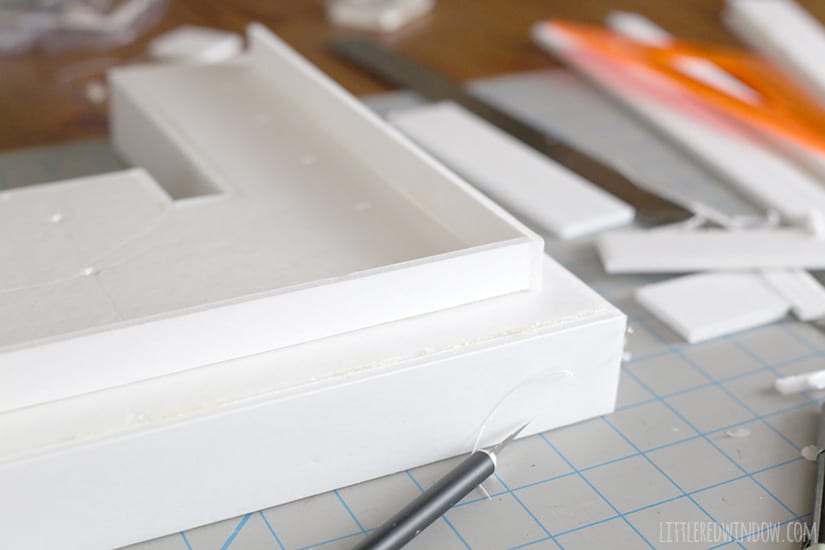
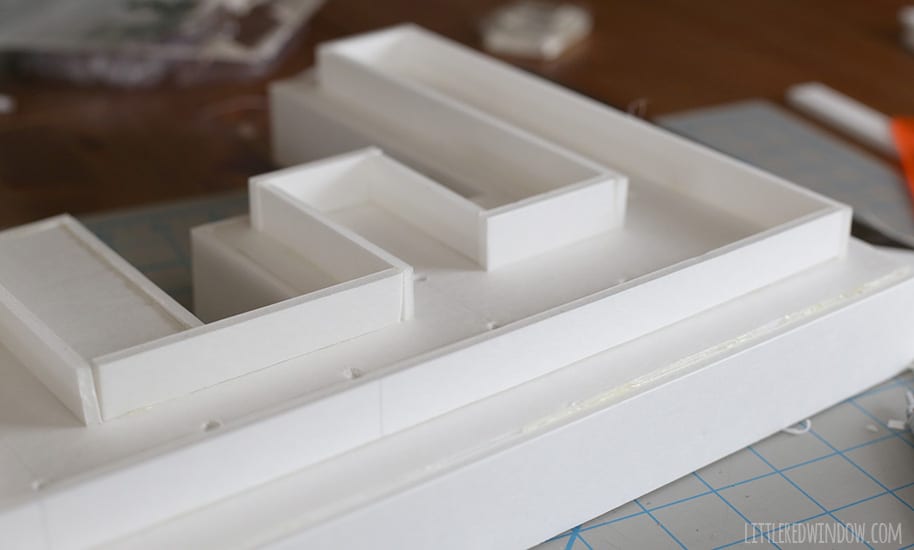
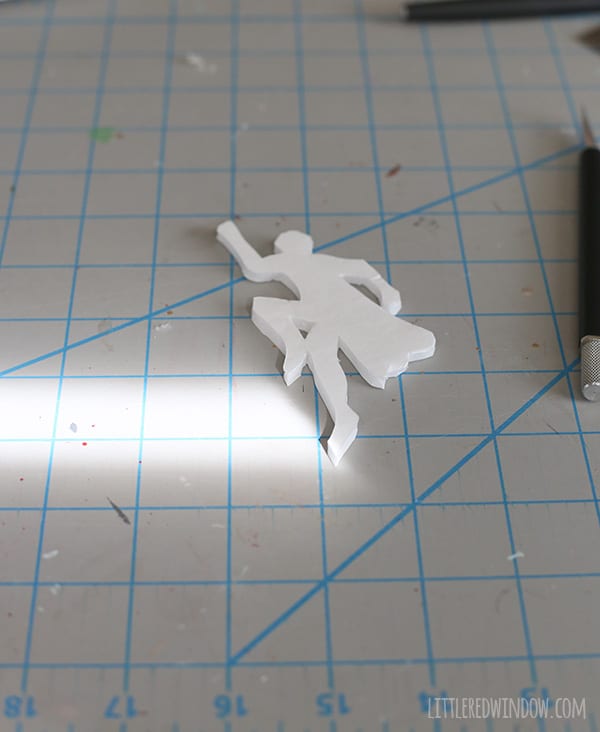
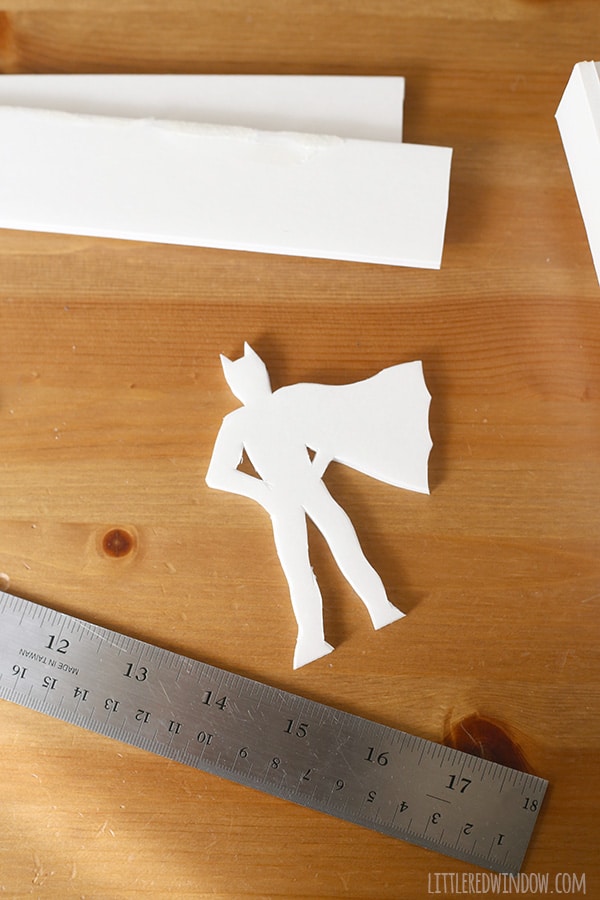
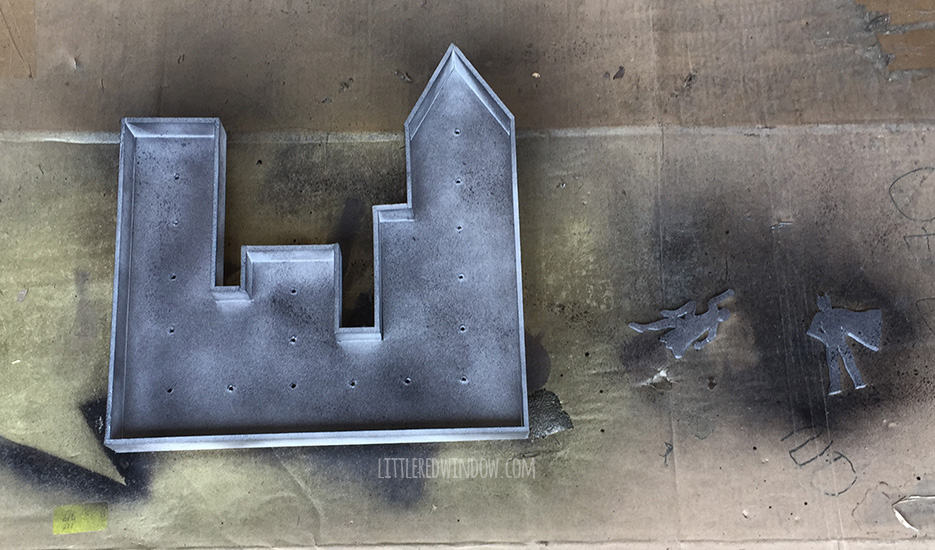
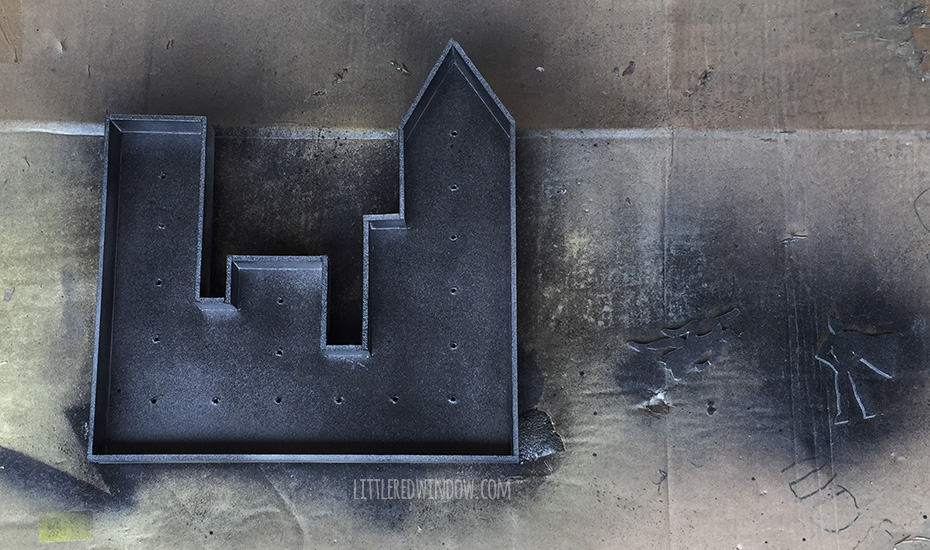
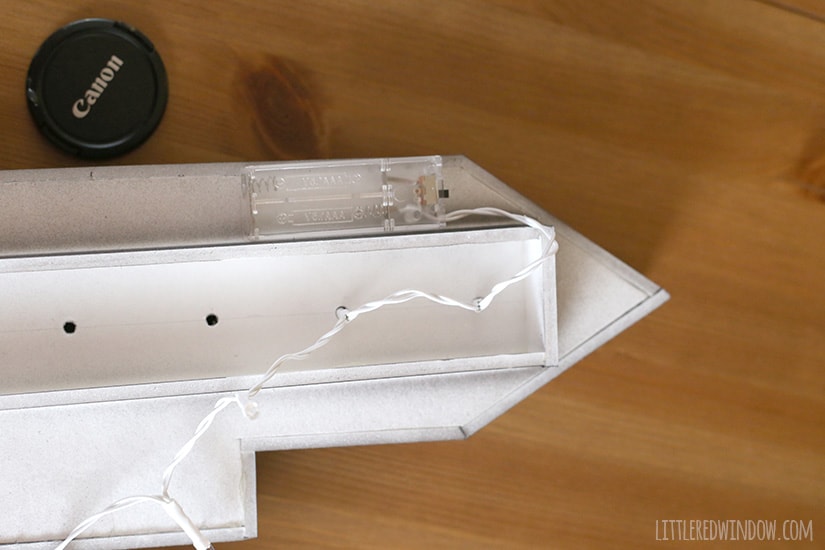
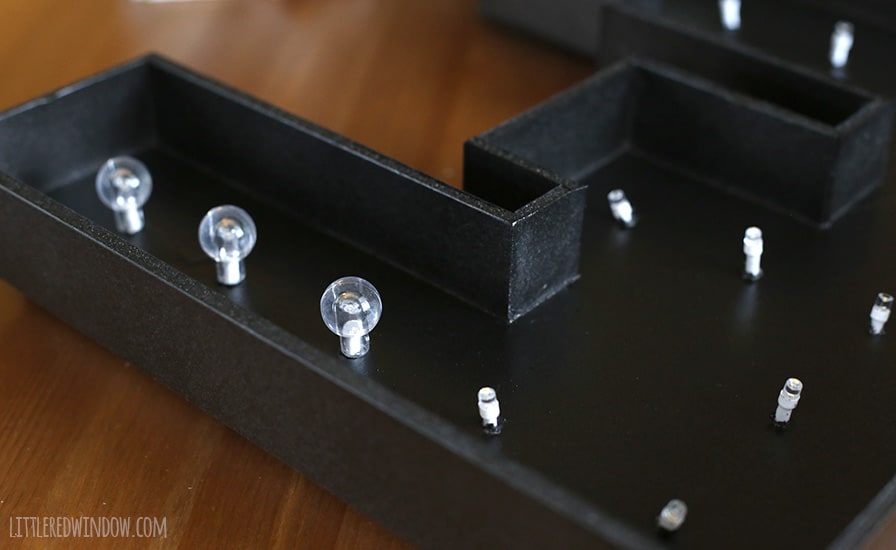
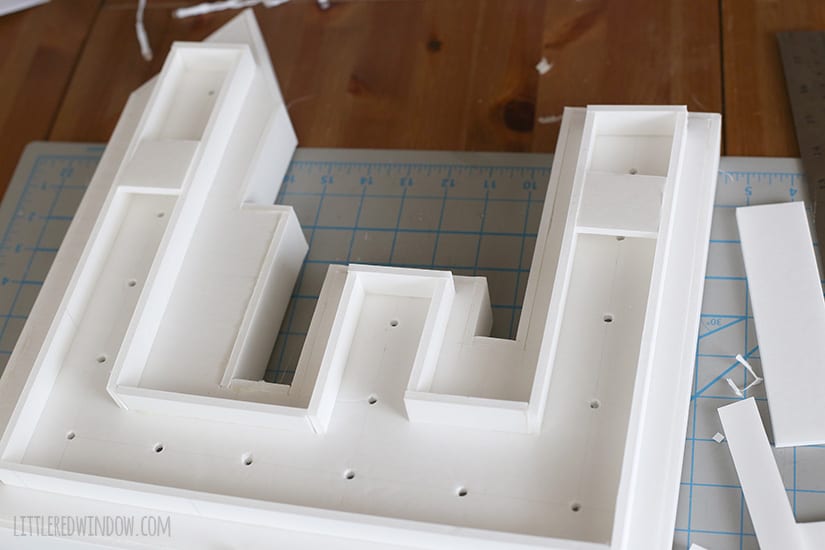
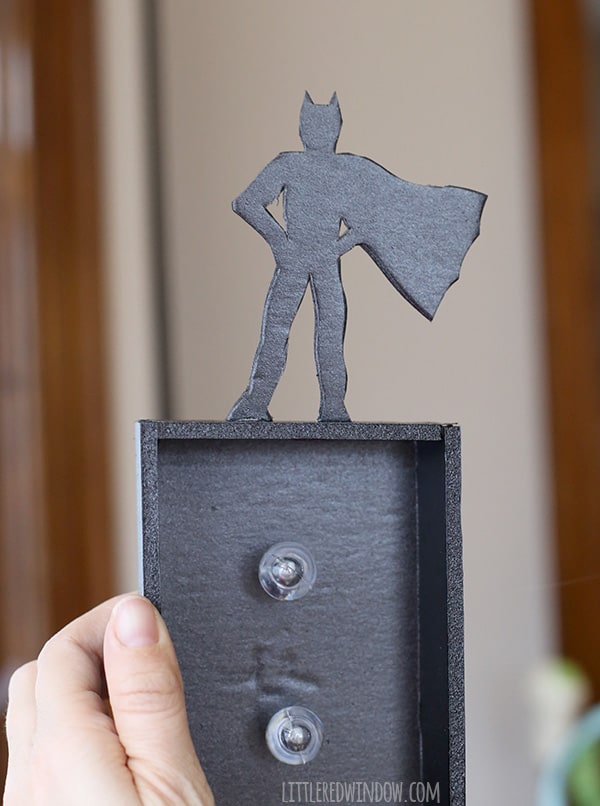
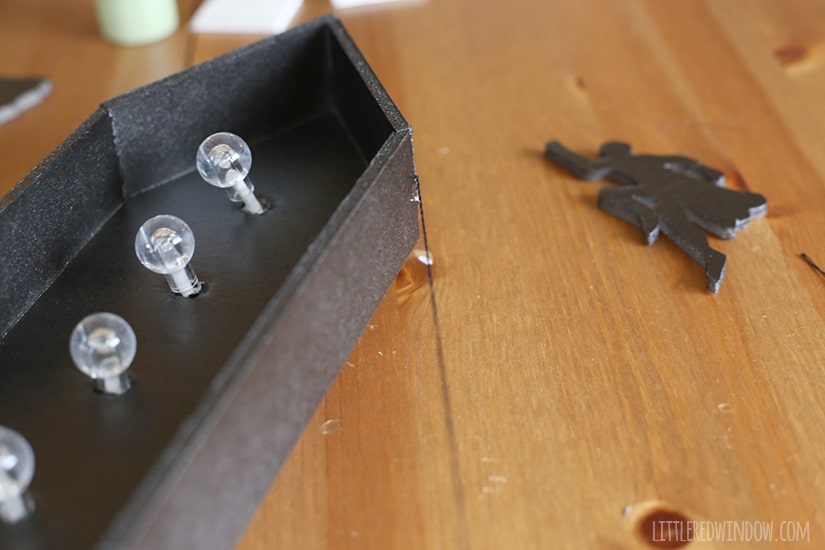
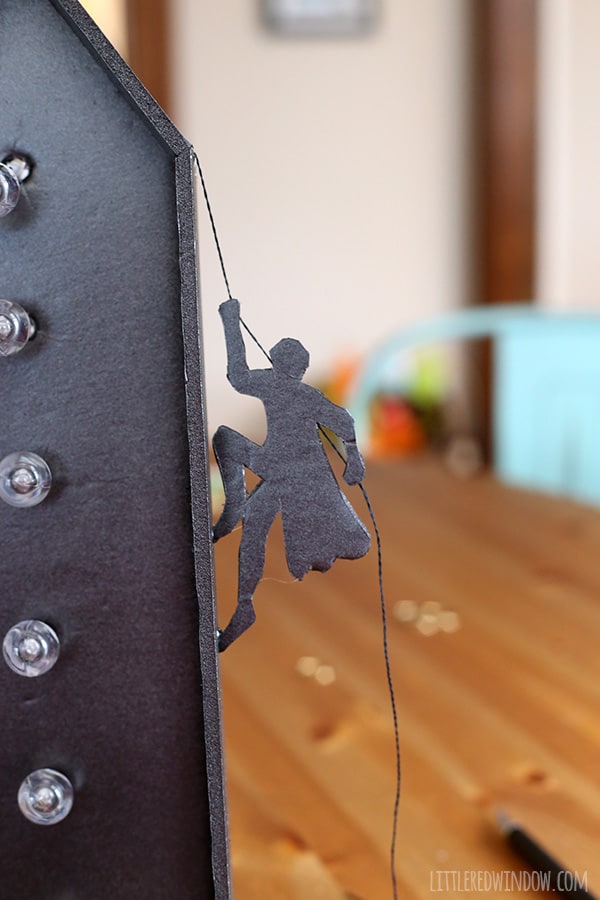
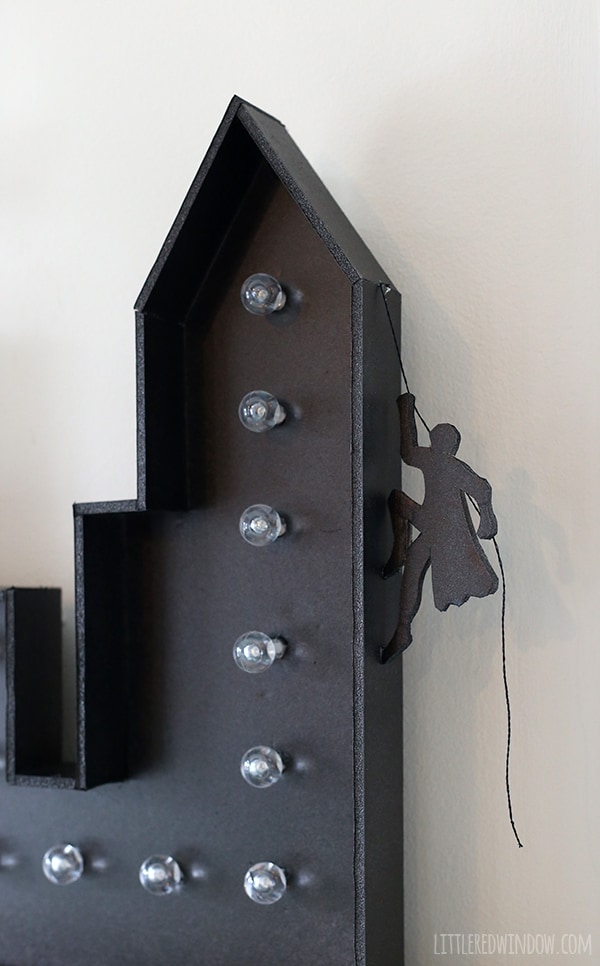
1. Draw out your cityscape, I recommend laying out your lights as you go to make sure they’ll all fit. For my first try I made a cityscape that was too wide for the lights I had. Using your craft knife, cut it out. 2. Lay out your lights, mark where each one will go and poke holes for them with something sharp and round. I used my mechanical pencil and spaced them along a center line that I drew lightly in pencil. And as I mentioned before, make sure you have the lights before you draw the cityscape. These lights were significantly closer together than I hoped they’d be which meant the whole project had to get smaller. 3. Cut the remaining foam board into strips. I cut a pile that were 1 1/2″ wide and another pile that were 3/4″ wide (you’ll need those later)4. Now you’ll begin building the sides of the marquee sign. Use the 1 1/2″ wide strips and cut to fit each side of the sign. Use hot glue to attach them. 5. (optional) If you’re interested in super fancy mitered corners, here’s how we did it in architecture school: Cut each intersecting piece to length as if the other one doesn’t exist. Then on ONE end of one of them, mark the width of the foam board material and gently cut through only one layer of paper and the foam and peel that away, leaving the other layer of paper intact. Then glue together to form a nice neat invisible corner! 6. Continue on around the shape until you’ve added vertical sides to the entire thing. 7. Next, flip the sign over and we’ll build some backing to hide the wires. Repeat the process inset about 1 1/2 inches from the edge. This will set the sign off the wall a little bit and hide the wires and battery pack. Just don’t forget to figure out where the battery pack will actually sit. 8. Using my free template (superhero_cityscape_template_littleredwindow) or your own drawing if you want, cut out the superhero figures. This is the most fiddly part of the project, but it’s worth it! 9. If you’re painting your project, take it outside and give it several thin and even coats of spray paint (including the superheroes). 10. When it’s dry and aired out, come back in and add the lights and light covers. 11. I also glued in two little extra squares of foam board to the back so I’d have a way to hang this. It easily hangs with velcro command strips , even with batteries, it’s very lightweight.12. Glue the standing superhero to the top of one of the buildings. 13. To attach the climbing superhero, attach some string or embroidery thread to the corner of a building with a little dab of glue. 14. Attach the climbing guy with glue on the ends of his feet and then glue the string behind him to each of his hands! And that’s it! Hang it up and enjoy! And I will say, if you’re interested in an unbiased review, overall these marquee lights are ok, they work just like they’re supposed to. I just wish there was longer length of wire between each light. But I do love that they run on batteries, it’s nice to not have to plug this in!
Here’s how it looks in O’s room, both off and on! *superhero wall decals by Urban Walls
If you liked this, you may also like some of my other posts…
- Easy DIY Knit Halloween Costumes (Just Add Pajamas) - October 10, 2024
- Witchy Black Cat Hat Knitting Pattern - October 7, 2024
- Big Squishy Pumpkin Knitting Pattern - October 2, 2024
Leave a Reply