So last thursday we sent little O off to his very first day of preschool with his snack, his drink and his little tote bag.
(Back to school printable available here!)
I’m not generally the kind of mom who has a hard time separating or gets weepy about things like this. Nervous? Yes. Excited for him (and me! I get time off!)? Yes. Taking a thousand pictures? Yes. But not so much weepy. That’s not to say I don’t get the weepy parents. I totally get it! But I’ve had many months to get ready for this so I was really ok at dropoff. And anyway, he’s only going two mornings a week, it’s not so much time.
But also I’m feeling so lucky that we found a wonderful school that works for us because until this spring I was convinced preschool just wasn’t in the cards for us. For one thing, there are many daycares in our neighborhood, but not very many preschools. I wanted an actual preschool with a curriculum and certified teachers. And the preschools that I did know about are were waaaaaay out of our budget. (The neighborhood montessori school is $20,000 a year! No, I did not add any extra zeros!) And then I heard about the school that we chose which had started a fairly new pre-K program. Turns out it was awesome. And it is also actually affordable. We had to have a few additional conversations with the principal and teachers to make sure it would work in terms of O’s food allergies but they have been completely wonderful and we are so so happy we found this place. (How to talk to a school about food allergy needs is a post for another time!)
My separation anxiety was helped by the fact that O has been sooooo excited to start. We went to the open house earlier in the week and he walked around the room, looked at everything and announced, “I REALLY love this place!” We barely even got hugs this morning when we dropped him off because he was so excited to go in. I get it because I always really liked school too.
To be honest, one of my favorite parts of back to school was always school supply shopping. So I got really excited to buy O a backpack. I looked all over and settled on a cute one but when we went to the open house for O’s preschool on tuesday we got a handout saying the kids should have a tote bag, (NO BACKPACKS and NO ZIPPERS!) I’m guessing so the teachers can easily put things in them? So cue record scratch, I was back to the drawing board. I figured instead of running to Target I would just make O a little tote bag using things I had (I have an embarrasing fabric stash!) for a grand total of $0.
I took some pics so you could see how I put together a simple tote bag. If you’ve never made a bag before, a tote is the easiest place to start. And you can always leave off the pocket and magnetic snap to make it even easier!
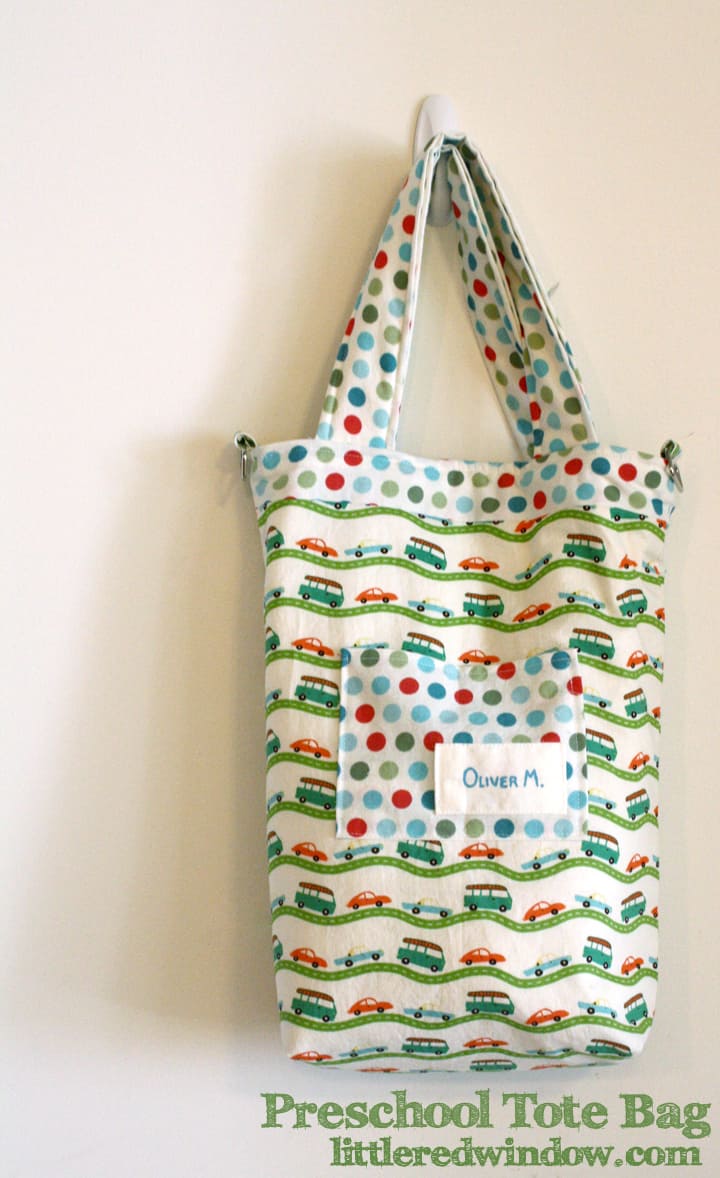
Preschool Tote Bag
1/2 yard outer fabric
1/2 yard lining fabric
cotton quilt batting
magnetic snaps
optional, lobster clasps and d rings if you want o add a cross body strap
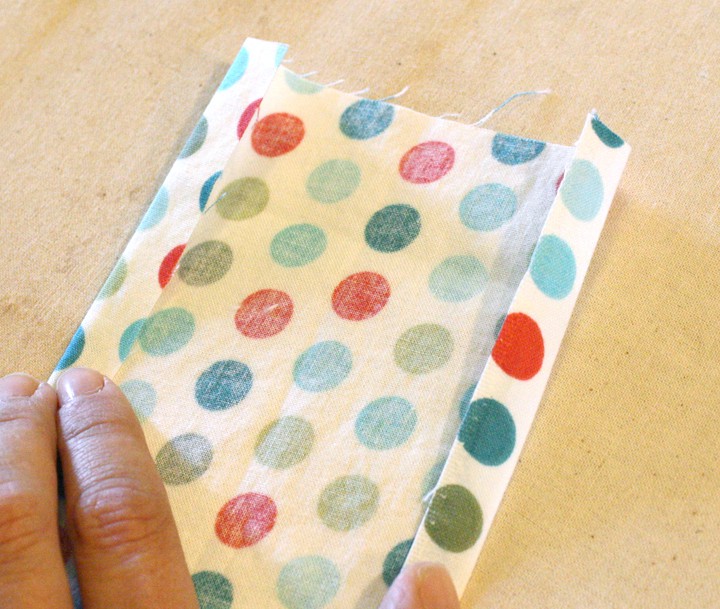
1. O’s school was very specific about size, they said the bag had to be at least 10″ x 15″. (I’m assuming to make sure papers and folders fit?) so I cut two rectangles of 11″ x 16″ our of each of my fabrics and the batting. I also cut two rectangles that were 4 1/2″ x 16″ for the straps.
2. Next make your handles. Lay a strap rectangle right side down and fold over the long edges by 1/2 inch and press. I added a layer of quilt batting in the middle.

3. Then fold the strap over one more time and topstitch along both long edges. Your straps are done!
4. To assemble the lining of your tote bag, first you need to insert the magnetic snaps. If you haven’t done this before, don’t worry, it’s not hard. I always start by adding some iron-on interfacing to the spot where I’ll be putting in the magnetic snap to keep it from ripping.
(aside: “Purse-n-alize-it” ?! really??)
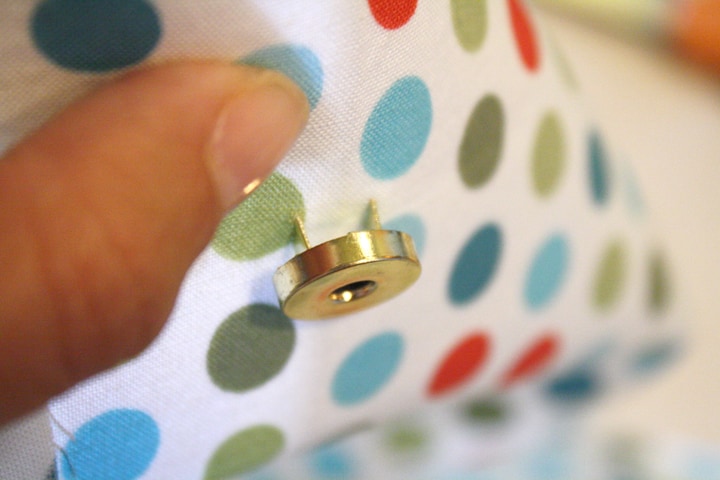
Each half of the magnetic snap has the snap itself that goes on the right side of the fabric and a flat plate that slides over the prongs on the wrong side of the fabric.
5. Mark the center of your bag lining, decide how far down from the top you want the snap, and holding the two prongs up, mark where you will need to cut holes for them.
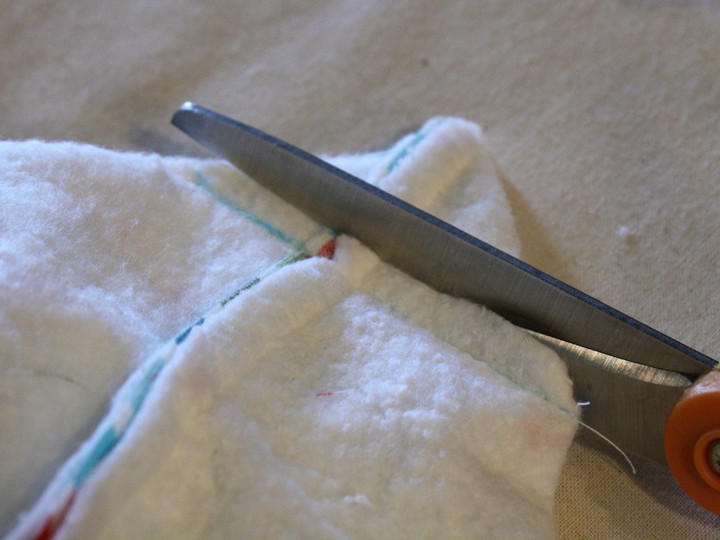
6. Using sharp scissors, cut two small slits where you made the marks for the prongs. Push the prongs of the snap through from the RIGHT side of the fabric.
7. From the wrong side, put the flat plate over the prongs and then bend them flat to secure. The jury’s out on whether you’re supposed to bend them out or in. I’ve seen it both ways. This time, I bent them out because it was easier.
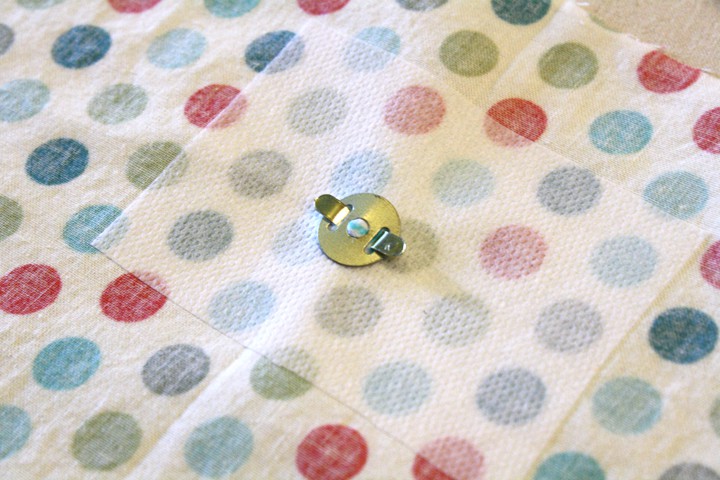
8. Repeat for the other half of the bag lining, making sure to line up the snaps.
9. Put your two lining pieces right sides together, with one piece of batting on either side and sew along three sides, the long sides and the bottom and be sure to leave at least 6 inches OPEN along the bottom of the lining so you can turn the bag later.
10. Next you want to box the corners of the bag lining so your tote bag has a flat bottom. Match up one of the side seams with the bottom seam so you have a triangle like this.
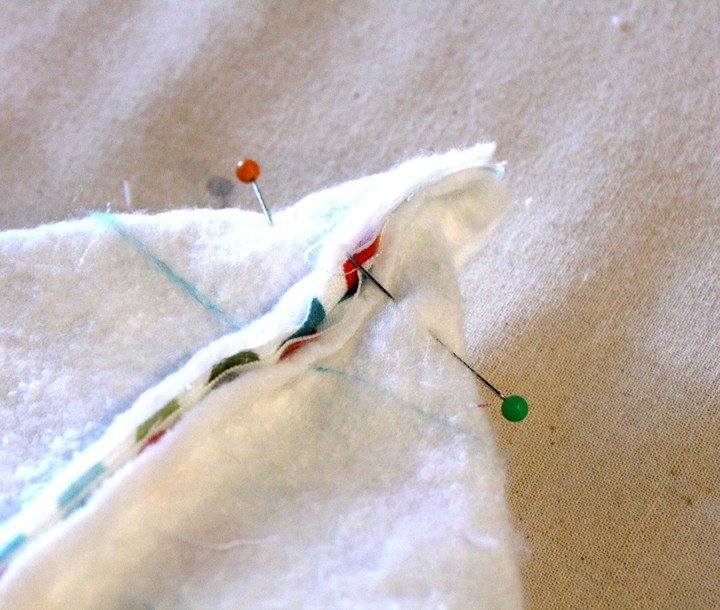
I wanted a flat bottom that was three inches across so I measured up 1 1/2 inches from the point of the triangle and drew the blue line across. Then I sewed along that blue line.
11. Cut off the extra fabric from the boxed corner.
12. Repeat on the other bottom corner of the bag lining.
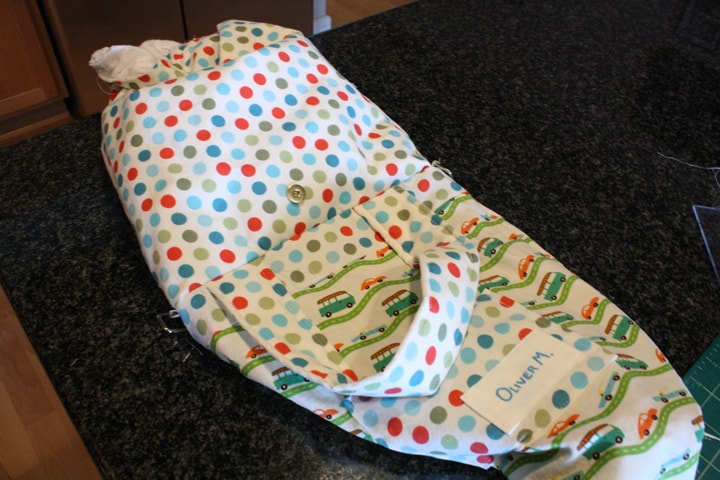
13. If you want a pocket on the outside, you need to make and attach it before you assemble the outer bag. Start with a rectangle for your pocket, and iron down the edges 1/2 inch on all four sides.
Topstitch across one edge of the pocket. This will be the top edge. I also attached a little patch with O’s name on it so the teachers could tell whose bag it is.
14. Center the pocket on one of the outside pieces and stitch the pocket to the front of the bag along three sides, the two sides and the bottom. Leave the top edge (the topstitched edge) open.
15. Next you will create the outer part of the bag by repeating steps 9-12 but this time don’t use any batting and sew ALL the way around three sides, do not leave an opening across the bottom. Box the corners just like you did for the lining.
16. It’s time to assemble the bag. Turn the bag lining RIGHT side out and put it inside the outer part of the bag (which is still WRONG side out).
Be sure to carefully line up your side seams.
17. Insert your straps in between the right sides of the outer bag and the lining. Make sure they are spaced evenly and not twisted, it will look like this:
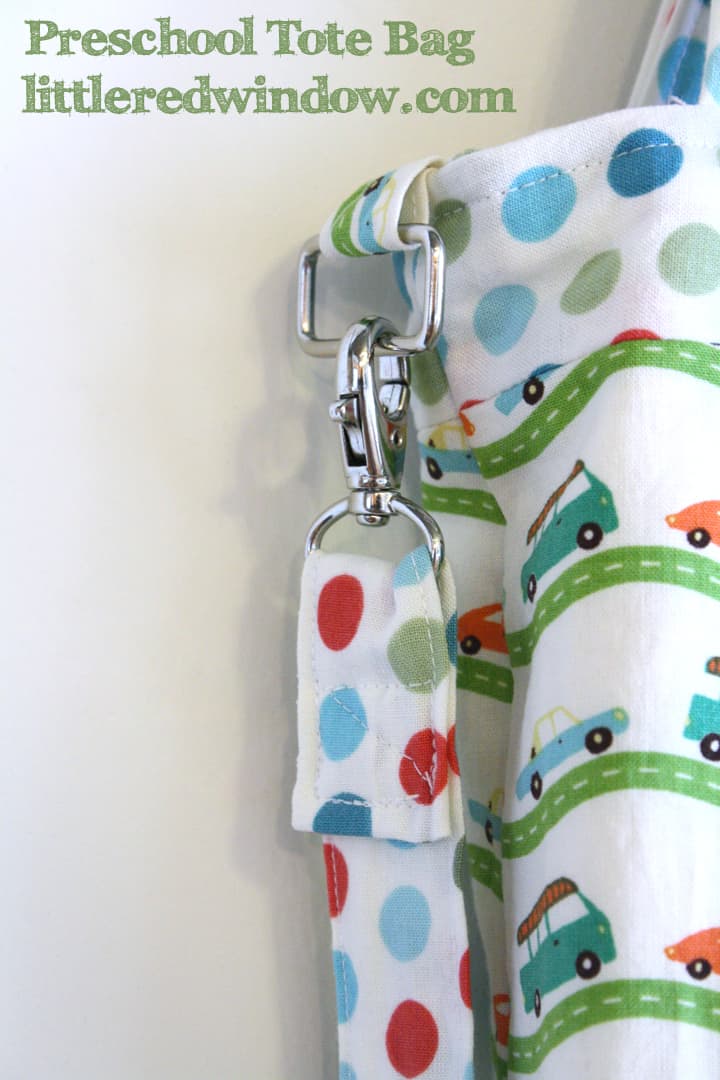
I also added two little tabs with rectangle rings on each side of the bag so I have a place to attach another strap. I made the tabs exactly the same way as I made the bag handles.
18. Then pin carefully all the way around the top of you bag and sew all the way around with a 1/2 inch seam.
19. Turn your bag inside out through the opening in the bottom of the lining so it looks like this:
20. Now pin and sew closed that opening in the bottom of the lining.
Some people carefully sew this by hand with an invisible stitch but I’ve found it’s in the bottom of the inside of a bag, no one ever sees it so I just stitch across.
21. Now stuff your lining down into your bag, straighten it all out and top stitch all the way around the top of the bag 1/4 from the edge and you’re done!
The straps are a good length for O to put over his arm but they’re a little short for Aa or I so I decided to add and optional detachable cross-body strap that we can use to carry the bag when O doesn’t want to. I made that strap exactly the same way as the other straps, only longer, and then I sewed lobster clasps onto both ends. Then I can attach it to the rectangle rings on either side or remove it and store it in the bag’s pocket.

O loved it and it was way cuter than the standard totes the school had for sale so I consider it a successful project!

- Crayon Scarf Knitting Pattern - July 21, 2026
- Pencil Scarf Knitting Pattern - July 7, 2026
- Tri-Color Linen Stitch Hat Knitting Pattern - June 22, 2026
Janet says
Totally darling – I can hardly wait to start working on my first one! And I love the extra Mommy strap – such a practical, thoughtful touch.
Cassie May says
thank you! I hope yours turns out great! 🙂
Emily says
Super cute but where did the border around the top come from? Was it from the 11×16 rectangles, or is it a separate cut?
Cassie May says
Oh, that’s a good question, I just used two pieces, the strip of polka dot and the cars that when sewn together equaled an 11″ x 16″ rectangle. I was trying to simplify the explanation but I can see why that’s confusing! Thanks for asking!