Make your own sentimental Painted Burlap House Number Art!
I have to admit, we have many pictures of O framed in our home. We even have a couple of current family portraits. But I have not done a very good job of putting up older more sentimental photos or objects. I don’t have O’s hospital hat and the little inked newborn footprint card framed. We don’t even have a framed pic from our wedding up anywhere which is just pathetic. I mean, I do have an album, but I just never got it together to pick one and have it printed. But if you’re a fellow fan of the home improvement blog Young House Love like I am, one thing I love that they are always doing is keeping and displaying little sentimental items that remind them of happy things. They have the keys to all of their houses displayed and framed etc. It’s sweet and I wish I were better at that. I like the idea that you have little things in your home that make you stop what you’re doing and remember how you got to where you are in life, you know?
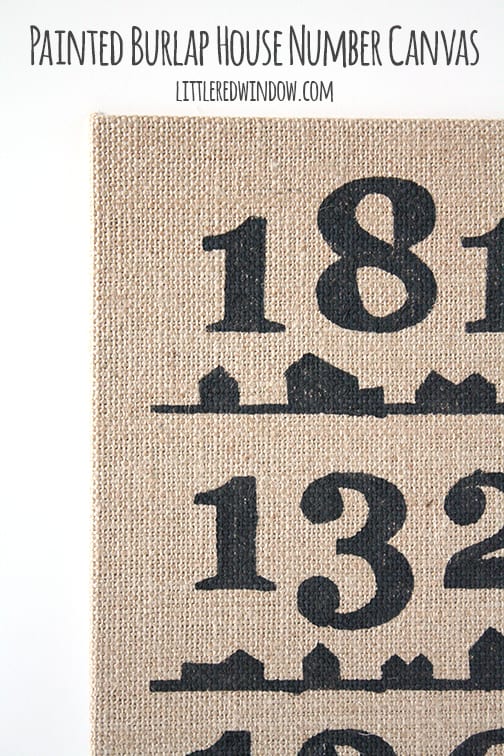
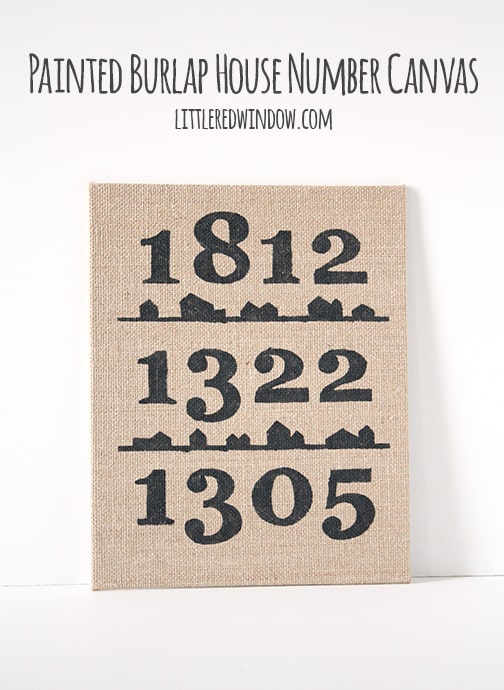
So when I ran across these burlap canvases at the craft store I knew I wanted to do something personal for our family. I settled on displaying the house numbers of the places we’ve lived before now as a reminder to stop and think about our happy history together as a family. And I was glad that when he saw it, Aa immediately knew exactly what it was and it made him smile. I like that’s it turned out to be a cute piece or art but it also has a hidden inside meaning for us.
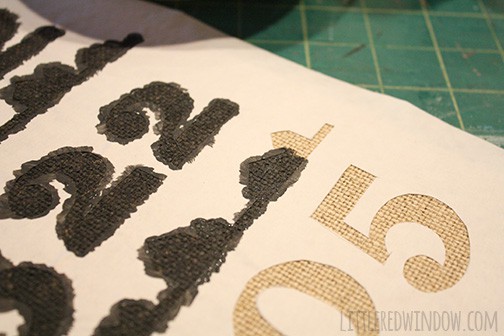
I wasn’t sure how well freezer paper stenciling would work on burlap but it turned out great which is good news because burlap is SO in right now! I’ve been avoiding it because I don’t like that weird burlap smell. But these canvases really didn’t have that so I was happy.
Painted Burlap House Number Canvas
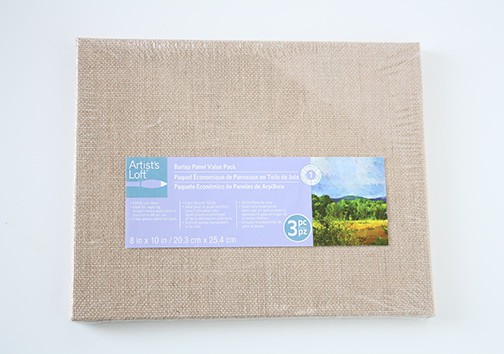
8 x 10 Burlap Canvas (similar)
Acrylic craft paint and paint brush
Freezer paper, pencil and exacto knife
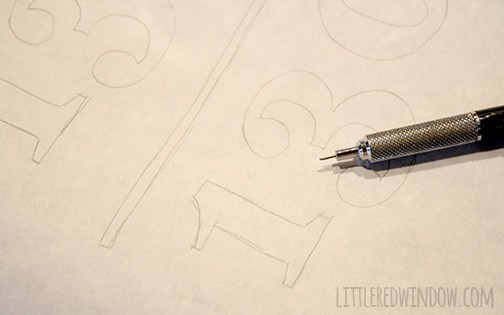
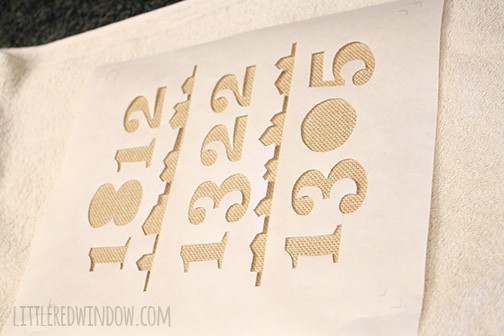
1. First I laid out my design and drew it on the freezer paper with a pencil. Draw on the matte (not shiny) side. You can either make your design on the computer, print it and trace it, or just draw it yourself.
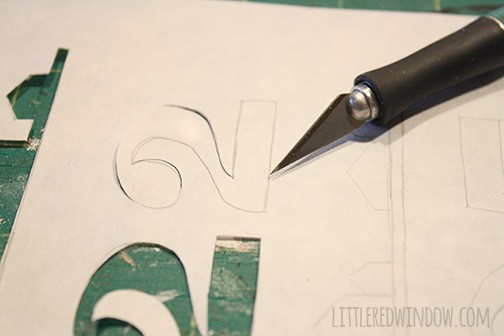
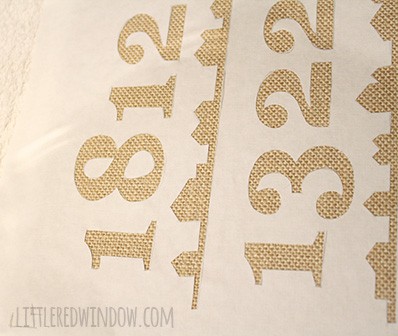
2. Then I carefully cut out the letters and house shapes with a sharp exacto knife. (I seriously need to join the 21st century and get a Silhouette cutting machine. I mean, come on, me!)
That being said, this really didn’t take me too long. I considered lots of other things for my canvas including the street names where we’ve lived but house numbers won out, not only because they were my favorite but because my other ideas would have taken forever to cut out!
Make sure you save any centers like the holes in the 8 or the 0.
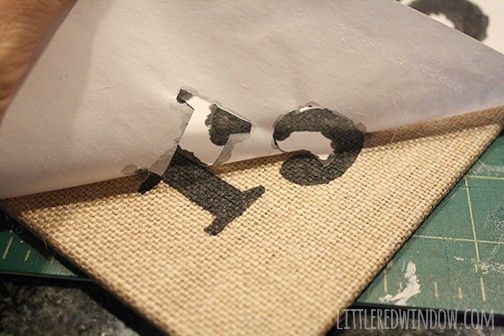
I carefully peeled off the rest of the stencil and then let it dry and my Painted Burlap House Number Art was done!
If you liked this, you may also like some of my other posts…
- Double Stockinette Stitch Knitting Pattern: Easy How To for Beginners - April 18, 2024
- Fiery Fades Hats Knitting Pattern - April 16, 2024
- Flower Pillow Knitting Pattern - April 11, 2024


lisa says
Hi! What font did you use for this project?
Cassie May says
I believe I (sort of) traced FFF Tusj Bold? If you google it, you’ll find it! 🙂
Kathy says
I love it! Quite creative! I am delighted that you shared with Home and Garden Thursday,
Kathy
Anne @ Domesblissity says
This looks very classic and a wonderful idea. Thanks so much for linking up to Thriving on Thursday. I’m featuring this at tomorrow’s party.
Anne xx
Jennifer Dawn says
This turned out great! Such a wonderful idea!
Jennifer @ Dimples and Tangles says
I haven’t seen the burlap canvases yet. I LOVE what you did with yours! What a sweet sentimental piece! Thanks for linking up with us at Best of the Nest!
angie says
this looks awesome may just have to try it myself
come see me angie and what I shared at annies home ( http://shopannies.blogspot.com )
Maria Matter says
lovin’ this!
I think you just inspired me to paint some burlap!!
Thanks so much for sharing this fun idea!
Jenna Brussee (@aSavoryFeast) says
This is a great idea! So cute. Thanks for sharing with Hump Day Happenings! I am so glad you joined us again.
Ronda Waters says
I love this, Cassie! So clever and sweet! Thanks for sharing at the Whip It Up Wednesday link up!
Emily Vaccaro says
Cassie-You should sell those on etsy! It turned out adorable. I love how sentimental it is without being overly so.
Cassandra May says
Thanks!! I’d need to get a cutting machine if I was going to do that, lol! (tell me if you get an email notification with this comment reply, I’m trying out a new system…) 🙂
dana@chocolateandsunshine.com says
Love this project! Found you via The Makers link party. I have the perfect spot to place this project. I made something similar at Christmas but actually used burlap to cover a canvas and then embellished it. Wish I saw the burlap boards as would have saved me much time. Great to meet you!
Cassandra May says
nice to meet you too, Dana! The best part of these boards was that they didn’t smell quite so burlap-y! 🙂
Julie Jordan Scott (@juliejordanscot) says
I love this! I didn’t know about ironing the freezer paper but it makes sense… remembering how when I was little we used to iron wax paper together for projects. I want to try this out! Thank you!
Cassandra May says
It’s really easy and fun, just make sure you use freezer paper only, not wax, that would ruin your iron and your project! Thanks for stopping by Julie!
Megan Walker says
Wow, that is adorable! My husband and I are moving from our first apartment together soon. I hate this apartment, but it does have happy memories of our first three years together. Maybe this would be a good way to remember it!