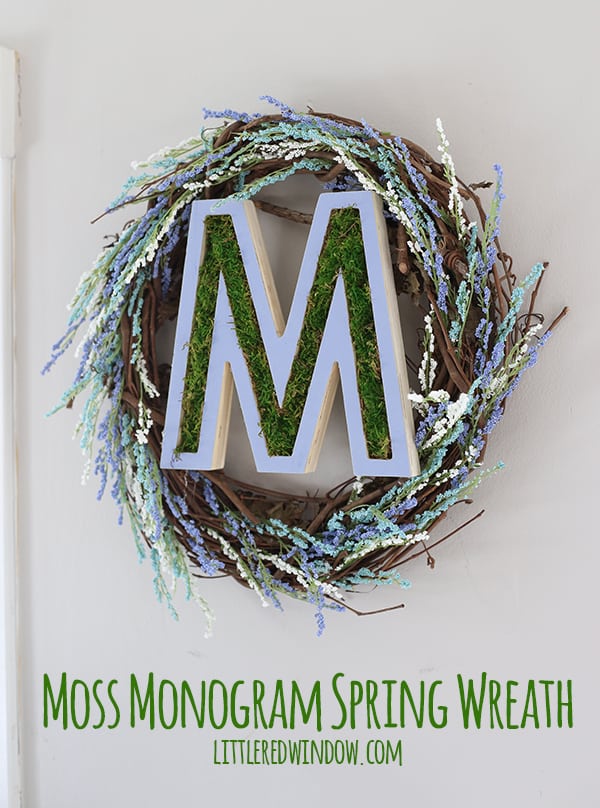
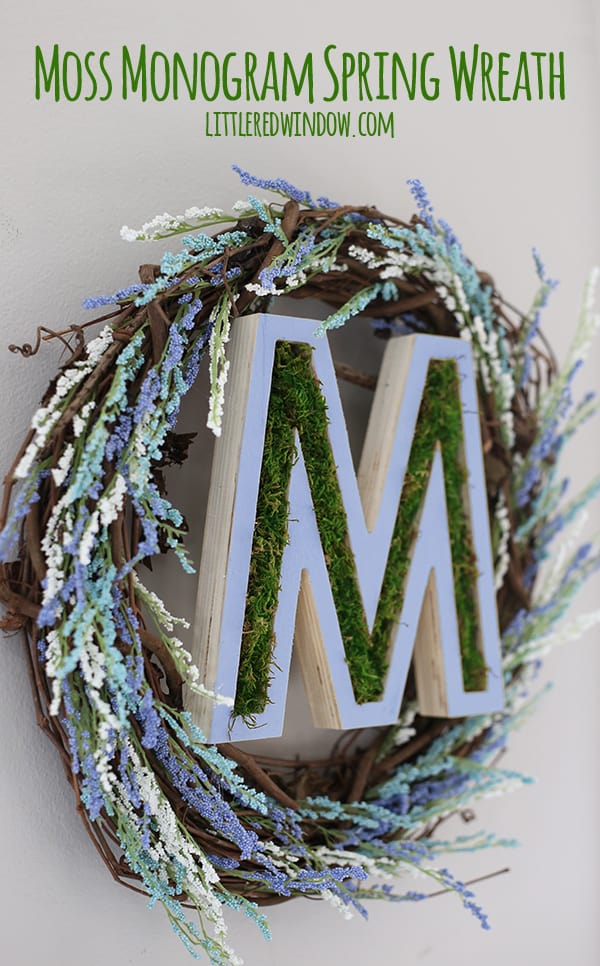
Make this spring wreath with flowers and a pretty DIY Moss Monogram!
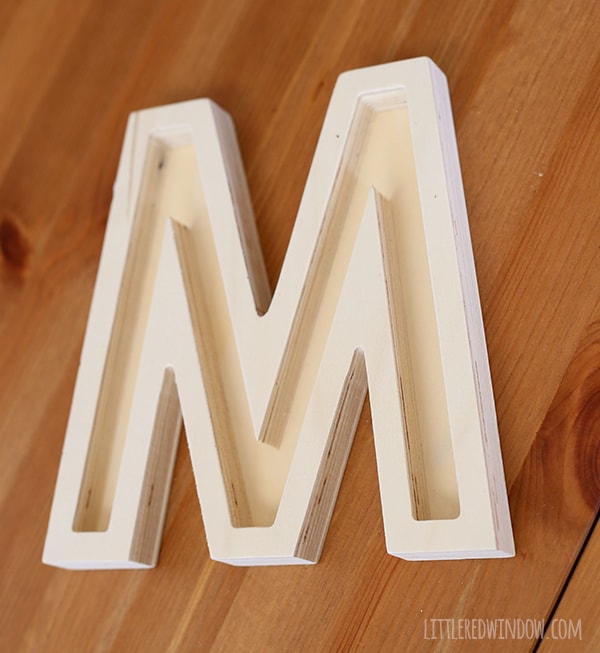
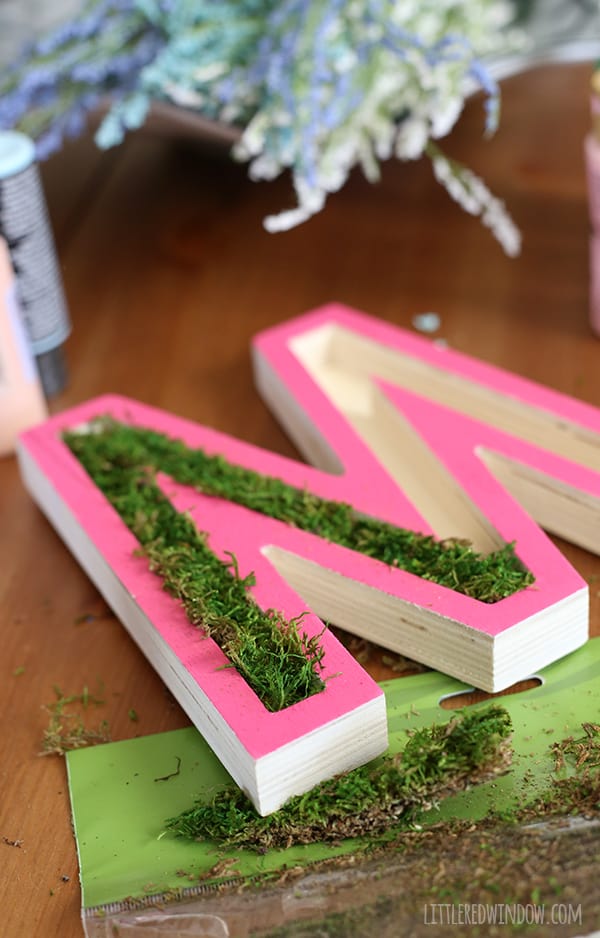
You guys! The other day I took Baby V to Michaels and they seriously had three full aisles of monogram letters. There were zinc ones and wood ones and some covered in fabric or fun paper. There were some made of plastic and some that had lights in them. It was crazy! So I guess monogram letters are IN right now! That’s cool with me, I like using them in projects. Anyway, I was drawn to these wood ones that were sort of hollow on the back side. I believe they made them that way so they wouldn’t be as heavy, the fronts were nice and smooth. But because I was working with an ‘M’ I could turn it over and use the back without the letter being backwards. yay! And I started imagining all the things I could fill that hollow space with. But since, at the time, I was getting seriously tired of winter, I couldn’t stop dreaming of spring. Plus someone had recently asked me for a spring wreath for a post they were doing which is when I realized, I didn’t have a spring wreath. That’s shocking for a wreath-aholic like myself. Don’t worry, as you know, this is now my second spring-y wreath so I’ve rectified that dire situation.
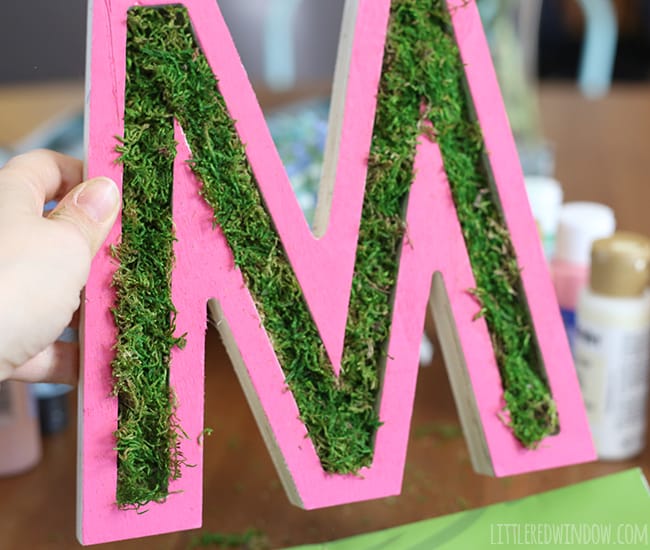
Anyway, I thought it would look pretty stuffed with moss and I was right. A nice grapevine wreath and some pretty faux flowers and I was in business. (why does that phrase make me feel like a million years old?) Here’s how I made it!
DIY Moss Monogram Spring Wreath
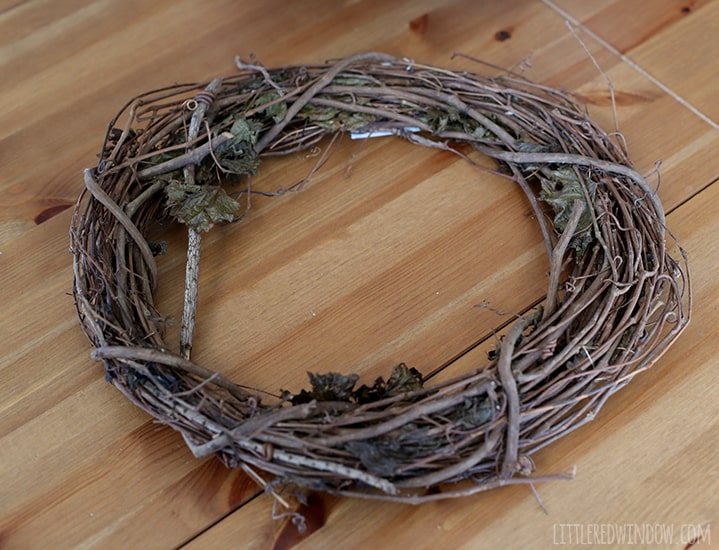
Grapevine wreath form
Hollow letter – if you can’t find the kind I used, try a paper mache one like this cut in half
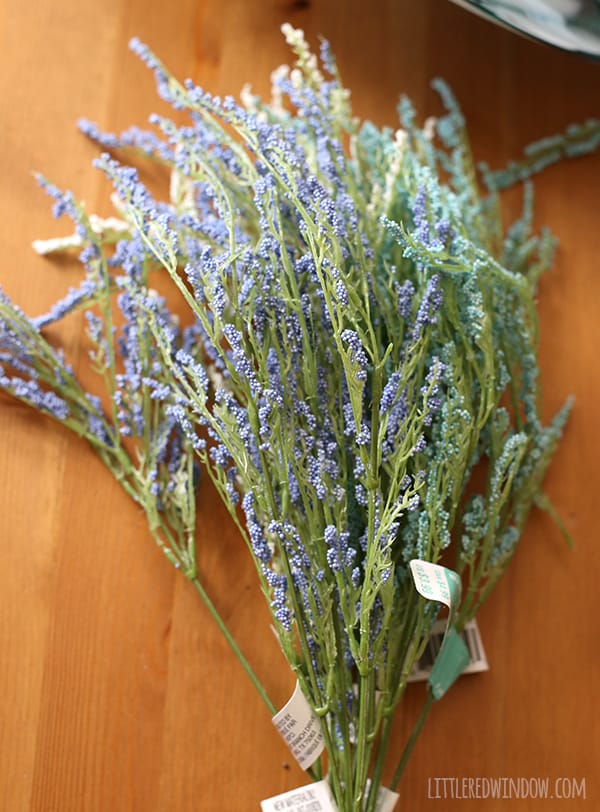
Small faux flowers
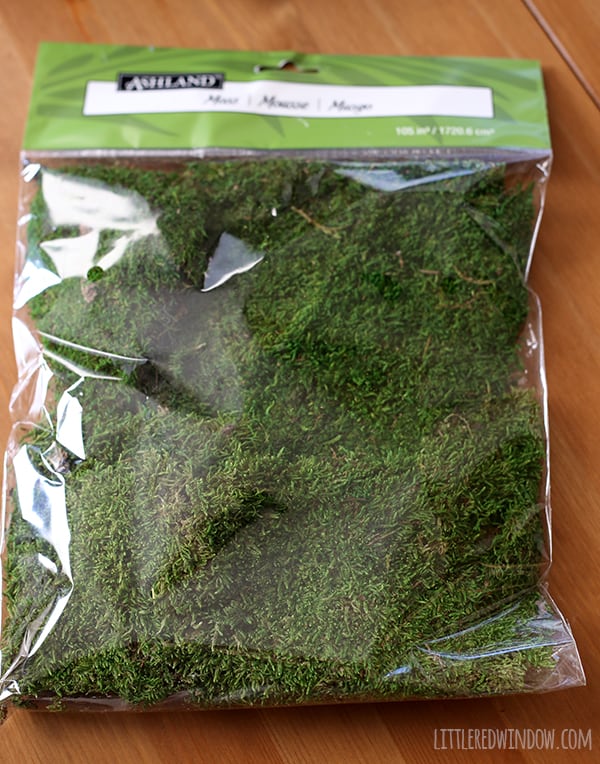
Here are the supplies I used:
2. Next I cut strips of moss to fit inside the hollow letter. My hollow areas were about 1″ wide so I cut the moss strips a tiny bit wider and then gently stuffed them in. No glue was required. Just be prepared. Moss is soooo messy.
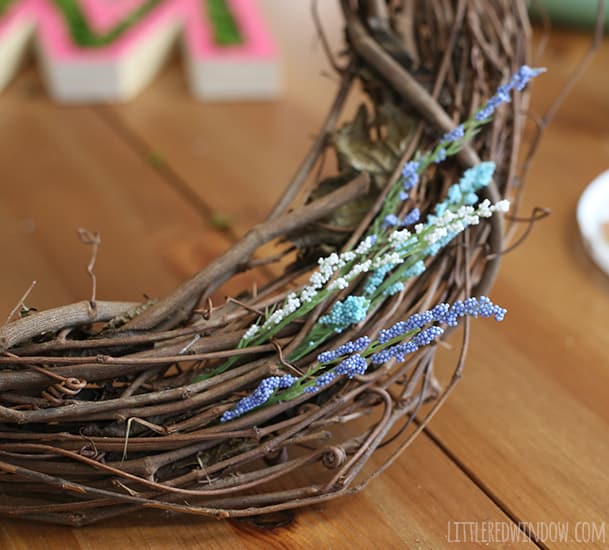
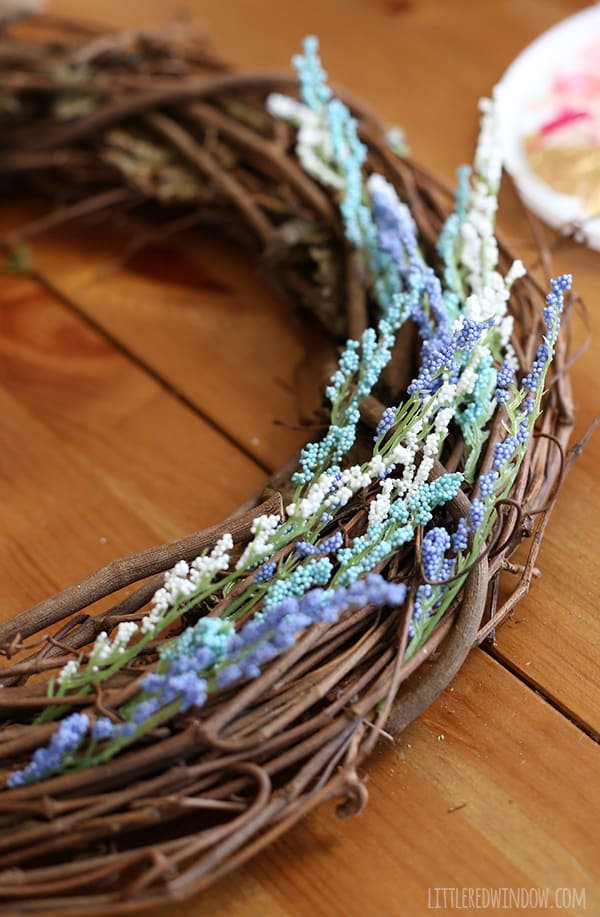
3. The faux flowers I had were made up of a bunch of tiny little sprigs. I cut them off the main stem and then was able to gently stick them into the grapevine wreath. A little dab of hot glue and they’ll stay put. I put mine all going the same direction and tried to evenly distribute the three colors.
- 10 Tips for Organizing Your Craft Supplies On a Budget - April 25, 2024
- Rib Zag Hat Knitting Pattern - April 23, 2024
- Double Stockinette Stitch Knitting Pattern: Easy How To for Beginners - April 18, 2024




Leave a Reply