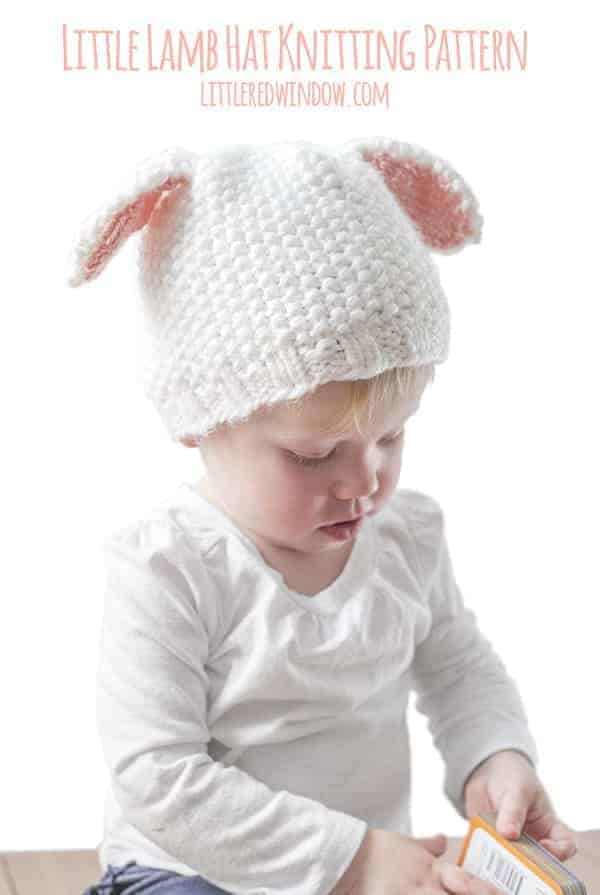
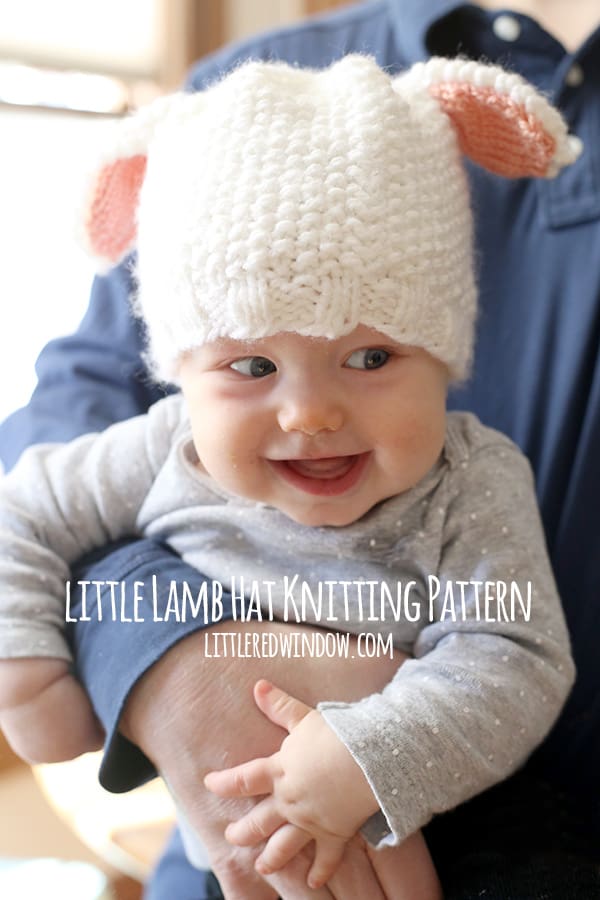
Knit a sweet little lamb hat with great texture with this adorable knitting pattern!
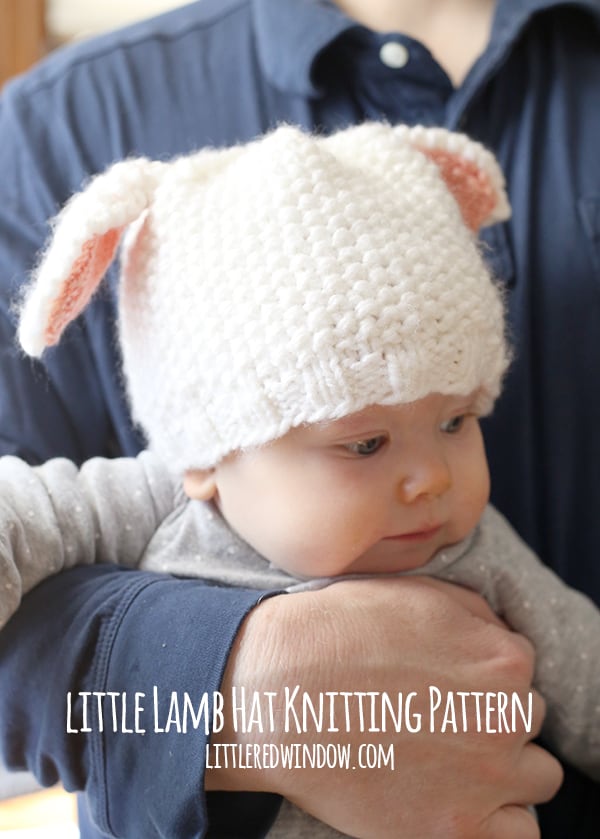
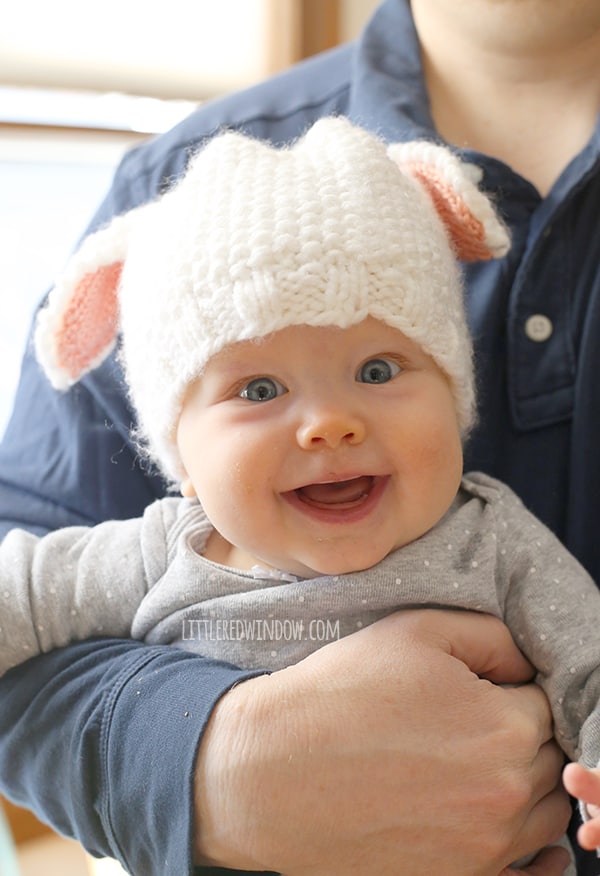
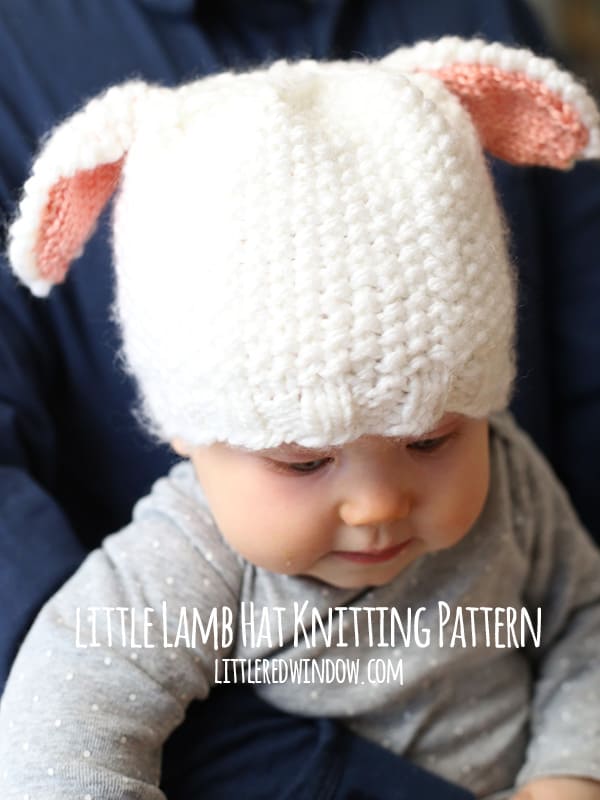
You guys, I love the seed stitch texture of this hat, it’s just so darn soft and cute! And what’s more adorable than a little baby lamb hat?!
I actually made this hat a little after Easter when there were lambs and chicks all over the place. I used a thicker yarn but the same size needles I usually do and the result is a really dense soft texture that will be nice and warm and should do a good job of keeping a little bald head warm!
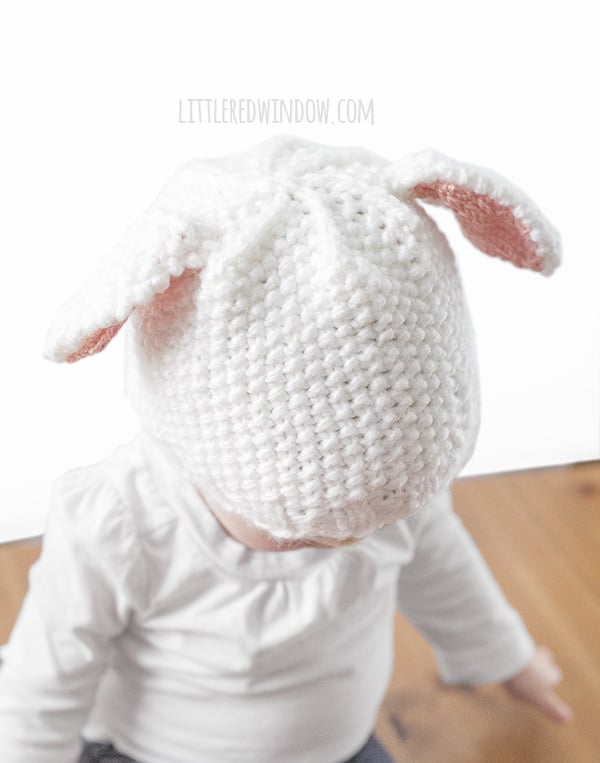
If you knit a lamb hat yourself, please please share it with me over on Ravelry, I love seeing what you all create!
Looking for the pattern? Here’s how it works: This pattern is available for FREE in one size right here on my site (keep scrolling down). Or for just a few dollars, you can choose to purchase an upgraded PDF pattern that is nicely formatted and easy to print. Besides being easy to print, the PDF pattern also contains MORE SIZES with instructions for additional sizing including 0-3 months, 6 months, 12 months and 2T+! Thank you for supporting Little Red Window!
Little Lamb Hat Knitting Pattern Instructions
(12 month size, see PDF for other sizes!)
Gauge: 8 st. = 2″ in seed stitch for Loops & Threads yarn
Gauge: 12 st = 2″ in stockinette stitch for light worsted pink yarn
You will need:
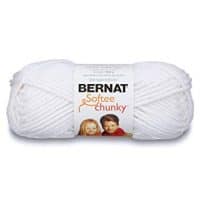
Loops & Threads Charisma Yarn in White (HERE are some alternatives if you can’t find this yarn)
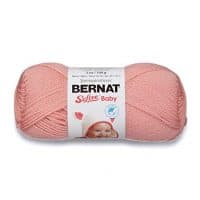
Light worsted weight yarn in pink
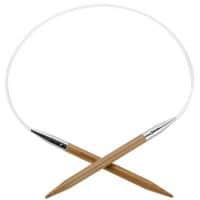
US 7 16″ circular knitting needles
(If you need help, my favorite knitting reference book for everyone from beginners to advanced knitters is THIS ONE!)
Using long-tail cast on, cast on 64 stitches onto your circular needles with the white yarn. Join to knit in the round and knit 2 stitches, purl 2 stitches in a rib stitch for 5 rounds.
Row 1: k1, p1 repeat until end of round.
Row 2: p1, k1 repeat until end of round.
Repeat rows 1 & 2 (seed stitch) until the hat is about 5 inches long, end after a p1, k1 row.
Decrease:
Row 1: (k1, p1, k1, p1, k1, p1, k2tog) repeat 7 more times until the end of the round.
Row 2: (p1, k1, p1, k1, p1, k2tog) repeat 7 more times until the end of the round.
Row 3: Knit directly onto 3 of the double pointed needles:
Row 4: (p1, k1, p1, k2tog) repeat 7 more times until the end of the round.
Row 5: (k1, p1, k2tog) repeat 7 more times until the end of the round.
Row 6: (p1, k2tog) repeat 7 more times until the end of the round.
Row 7: k2tog 8 times until the end of the round.
Cut yarn, pull through loops and close. Weave in ends.
To knit the outer ears (make 2):
Using either the double pointed or circular needles as straight needles, cast on 5 stitches with the WHITE yarn, leave a long tail to sew the ear to the hat .
Rows 1-3: k1, p1, k1, p1, k1
Row 4: kfb, p1, k1, p1, kfb
Rows 5-18: p1, k1, p1, k1, p1, k1, p1
Row 19: k2tog, p1, k1,p1, k2tog
Row 20: p2tog, k1, p2tog
Row 21: k3tog

Cut yarn, pull end through loop and weave in that end.
To knit the ear lining (make 2):
Note: the pink yarn is a much lighter weight than the white so even though you’re casting on more stitches, the finished ear lining should still be SMALLER than the white outer ears.
Using either the double pointed or circular needles as straight needles, cast on 7 stitches with the PINK yarn, leave a long tail to sew the lining to the outer ear.
Row 1: knit all stitches
Row 2: purl all stitches
Rows 3-4: repeat rows 1 and 2
Row 5: kfb, k5, kfb
Row 6: purl all stitches
Row 7-8: repeat rows 1 and 2
Row 9: kfb, k7, kfb
Row 10: purl all stitches
Rows 11-16: repeat rows 1 and 2
Row 17: k2tog, k7, k2tog
Row 18: purl all stitches
Row 19: k2tog, k5k k2tog
Row 20: p2tog, p3, p2tog
Row 21: k2tog, k1, k2tog
Row 22: p3tog
Cut yarn, pull end through loop and weave in that end.
Assemble the hat:
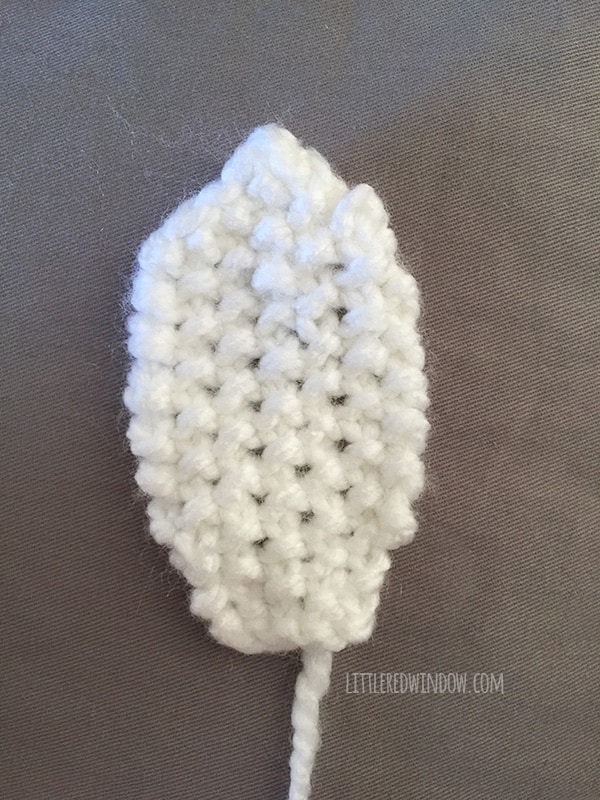
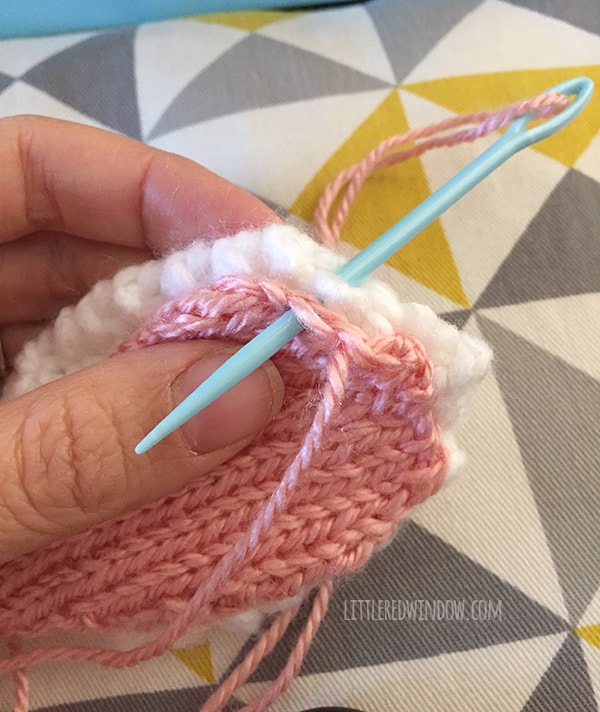
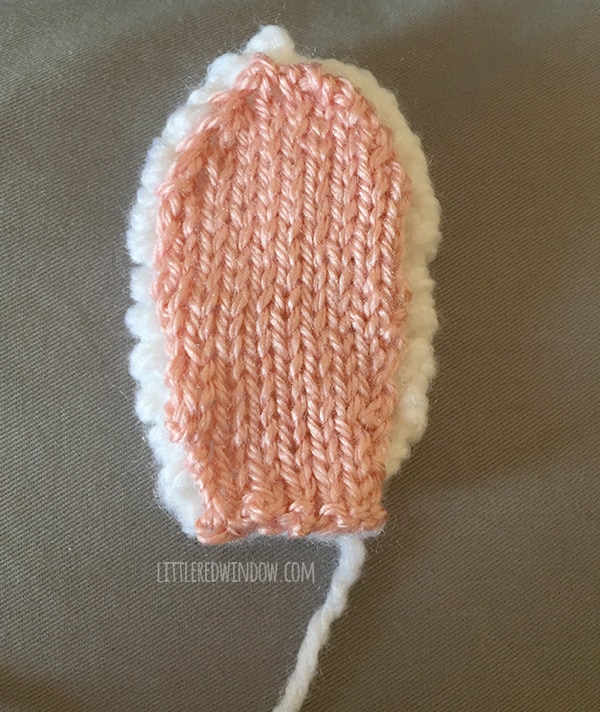
First put the ears together. Lay one pink ear lining wrong side down on top of a white outer ear. Note the outer ears don’t really have a right or wrong side.Use the long cast on tail of one pink ear lining to whipstitch that ear lining to one white outer ear. Be sure your stitches don’t show through to the other side of the white outer ear. The pink ear lining should be slightly smaller than the white outer ear. Knot and weave in the end of the pink yarn when you’re finished. Repeat with the other ear. To attach the ears to the lamb hat, pinch them a bit at the base and use the long white cast-on tail to stitch each ear to the hat. They should be facing down and a little forward like a lamb. Make sure to attach them securely, babies pull things!
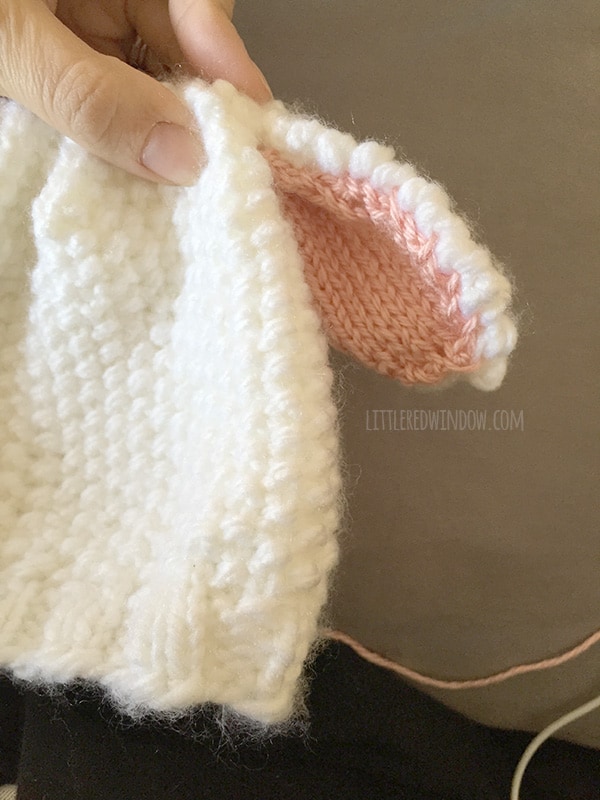
And that’s it! Enjoy your adorable little lamb hat!
The PDF printable also contains instructions for sizes 0-3, 12 months and 2T+!
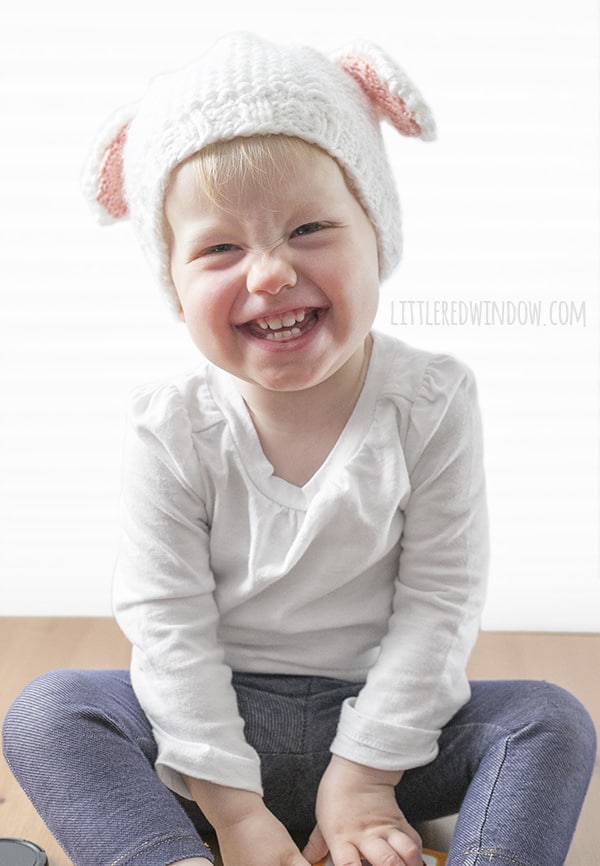
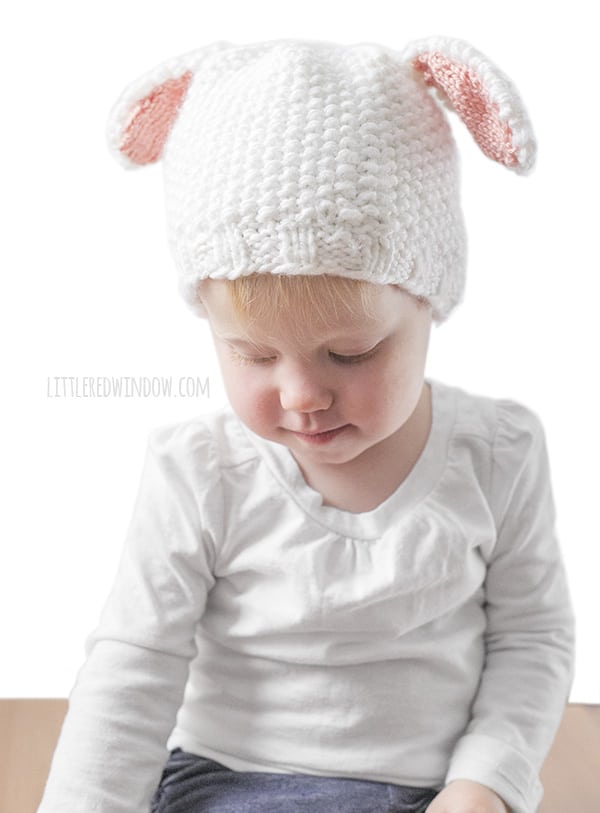
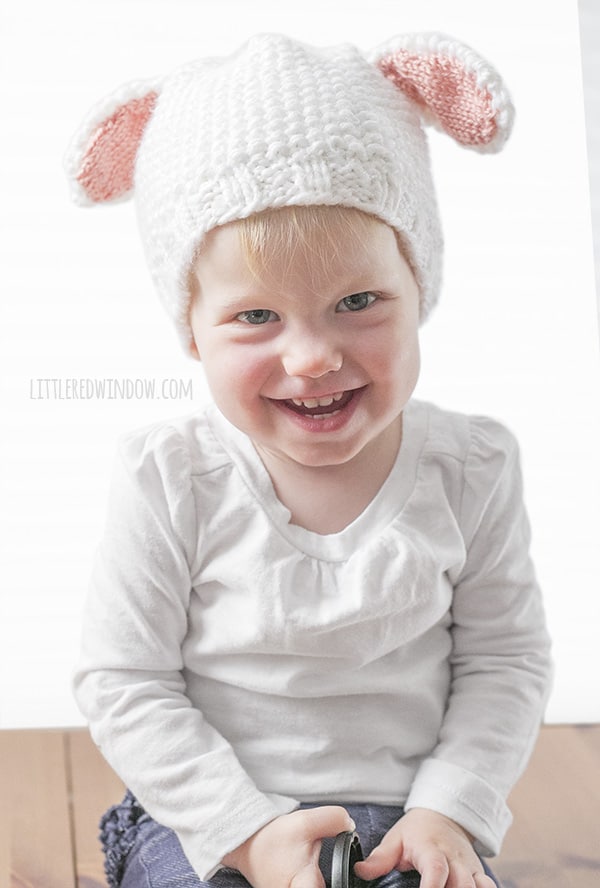
This adorable Little Lamb Hat knitting pattern is one of our most popular and is so cute knit in soft squishy seed stitch! Gauge: 8 st. = 2″ in seed stitch for Loops & Threads yarn Gauge: 12 st = 2″ in stockinette stitch for light worsted pink yarn As an Amazon Associate and member of other affiliate programs, I earn from qualifying purchases.Little Lamb Hat Knitting Pattern

Instructions
Notes
Recommended Products
If you liked this, you may also like some of my other posts…
- Double Stockinette Stitch Knitting Pattern: Easy How To for Beginners - April 18, 2024
- Fiery Fades Hats Knitting Pattern - April 16, 2024
- Flower Pillow Knitting Pattern - April 11, 2024





Michelle hennessy says
How many rows do you knit for the gauges?
Becky says
You will need an odd number of stitches to do the seed stitch.
Bharathi Devi says
Hi can I use straight needles.
Cassie May says
No, I’m sorry, the pattern is written to be knit in the round.
Samantha says
Can I use a 7 15″ inch circular needles with this pattern
Cassie May says
That should be fine, you just don’t want to use a longer circular needle (unless you’re doing magic loop method). 🙂
Kristin Dracup says
I’m knetting the 0-3 size but for the ear lining there is only one size. And to me it it looks a bit to big. Is this correct?
Cassie May says
Hi!
There is only one size for the ear parts, it might be that your yarn weight or gauge is a little off for the lining. (Nothing you’ve done wrong, we all just knit a little differently!)
You could try knitting them with smaller needles and see if that helps! The lining should be the same size or slightly smaller than the outer ears. Hope that helps!!
Cassie
Julie Mattox says
Kristin, I thought so, too. I revised the ear pattern so that the pink nestled inside the white ear. Truly LOVE this little cap!
Cassie May says
Hi! It could be that your gauge was a little off, you could try going down a size or two in needles for the pink ear part (or up a size for the white yarn) 🙂
Deborah says
Lovely pattern…thanks so much…and FABULOUS photos!!
adina says
Im quite new to knitting and haven’t quite got the hang of using a circular needle, can this pattern be done on straight needles?
thank you.
Cassie May says
Hi! You could knit the entire thing on double pointed needles if you know how to use those, but no, you cannot knit it on regular straight needles. 🙂
Roxanne Loye says
Hi,
Can I ask some advice reference circular needles? When you say 16″, is that the length of the cable or the length of cable & needles combined.
Kind regards
Cassie May says
16″ is the length of the cable! They will be labeled that way at the store or if you can find a local yarn store, they will help you! Happy knitting!
KiwiSooz says
Oh my goodness, that is so darn cute! Thank you so much for sharing your pattern!