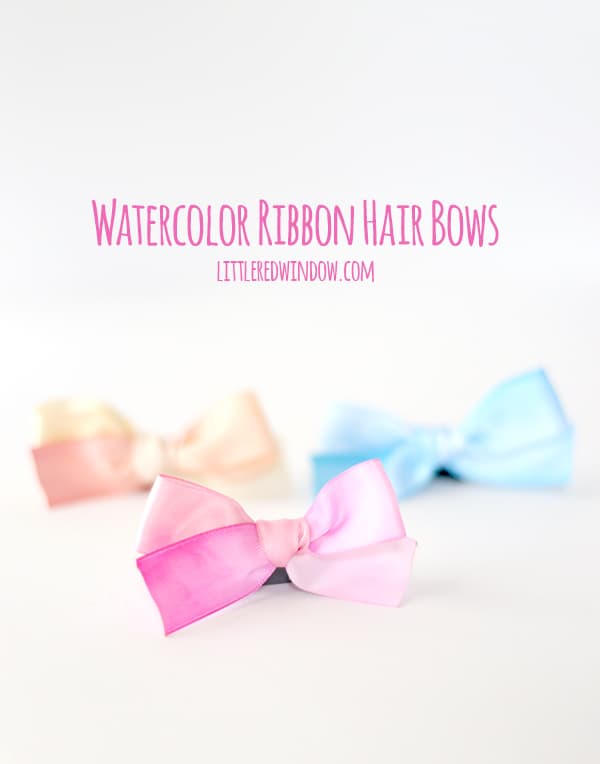
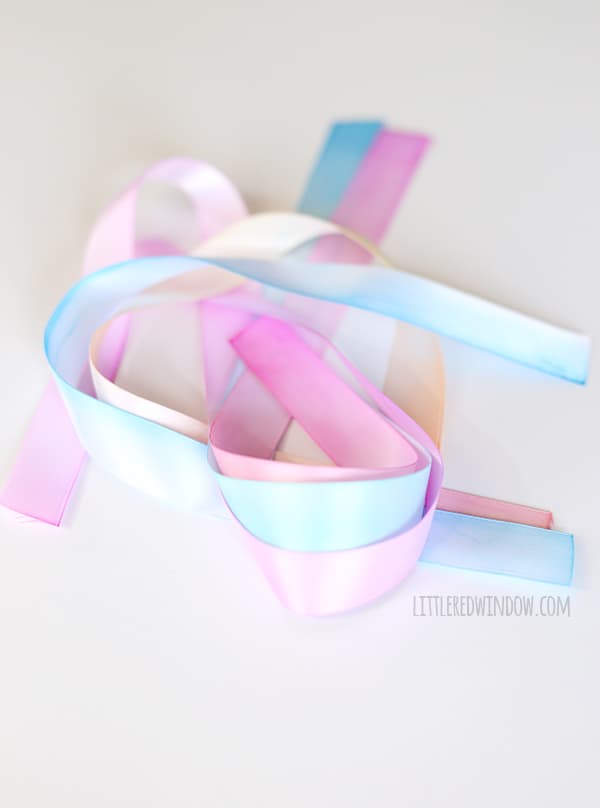
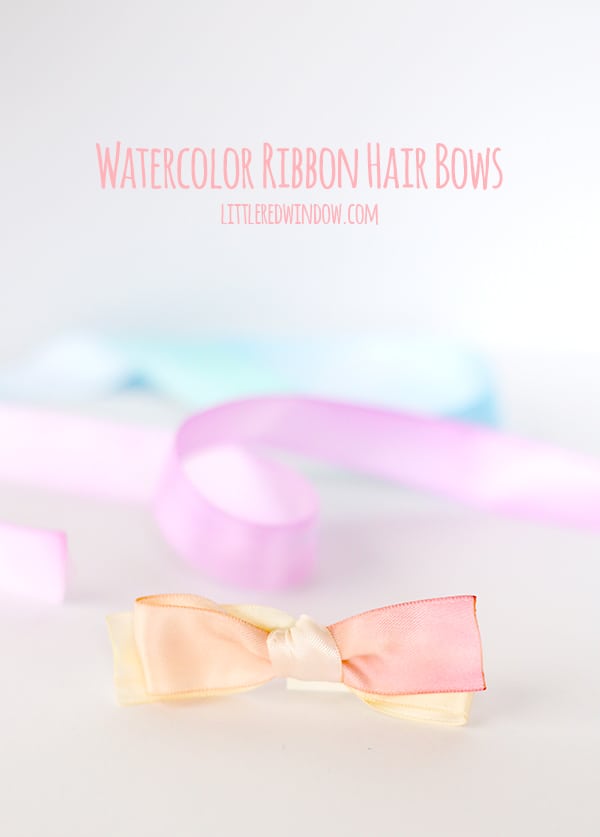
Make gorgeous watercolor ribbon to use for some pretty little hair bows!
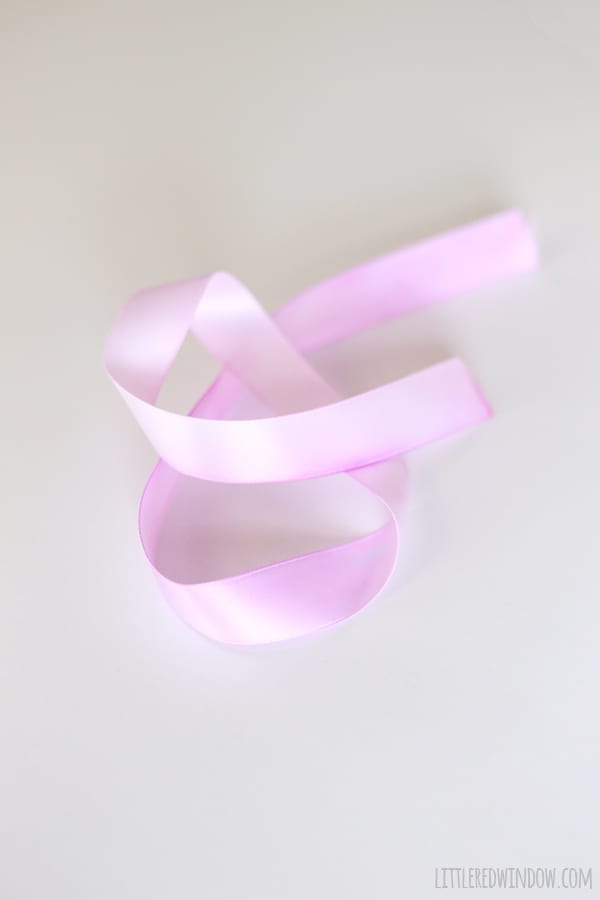
A while back I pinned some pretty ribbon created by Nikki from Tikkido, she wrote about how she tried watercoloring on ribbon and it came out so pretty. I really had been wanting to try it for a long time. While her idea is so creative, there isn’t much complicated about how to actually do it. You just literally watercolor on ribbon. But I wanted to show you how mine turned out and what I did with it after it was dry! After I finished making these I immediately texted my mom who likes to watercolor and said, “you have to try this, it’s so relaxing!” Because it was! I’m not the best at watercolor even though I do enjoy it; I have a hard time being free enough, if you know what I mean? I tend to be better at more precise artistic pursuits. But watercolor ribbon was like the fun of watercolor without any of the pressure to make it look like anything. Perfect! Seriously, I highly recommend it. And then, when your ribbon is dry you can turn it into some adorable little hair bows (or tie it around a pretty package like Nikki did, that would be nice too!) Just heed her warning, don’t get it wet! Here’s how I did it:
Handpainted Watercolor Ribbon Hair Bows
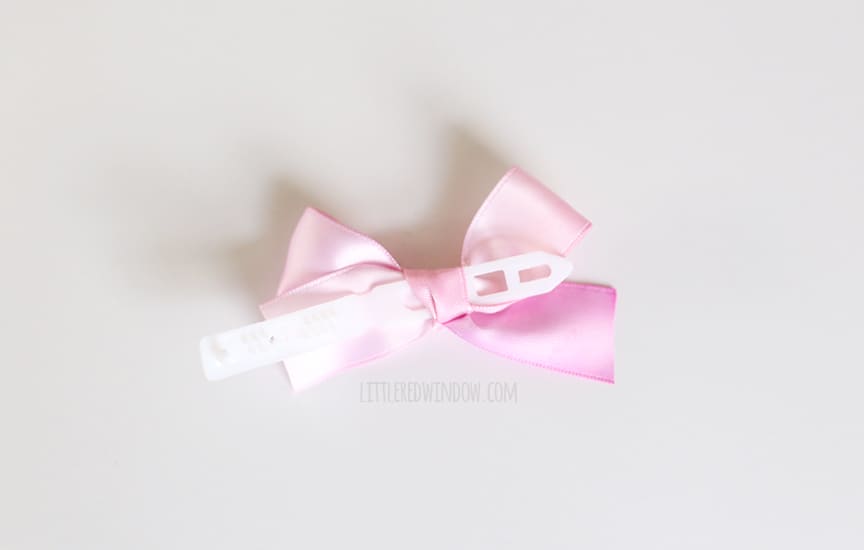
Barrette blanks (I had some old ones which I can’t find online, but these clips would also work)
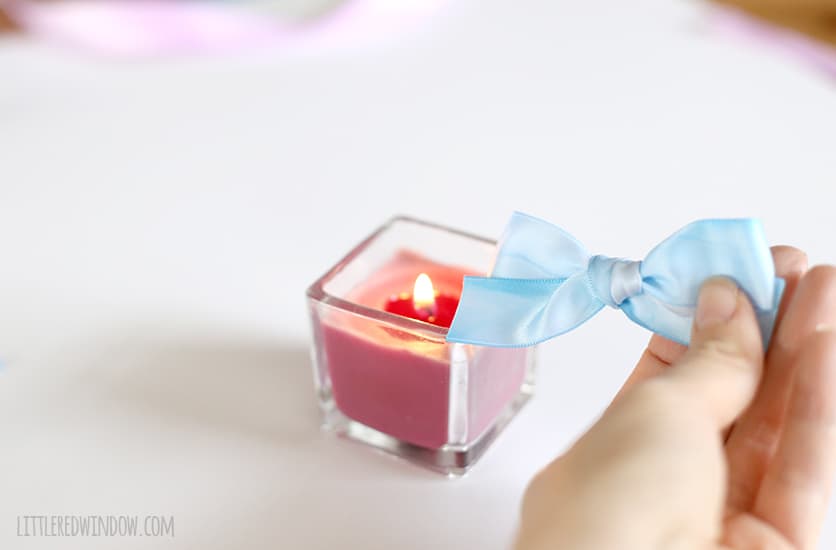
A candle
Hot glue or a needle and thread to secure the bows.
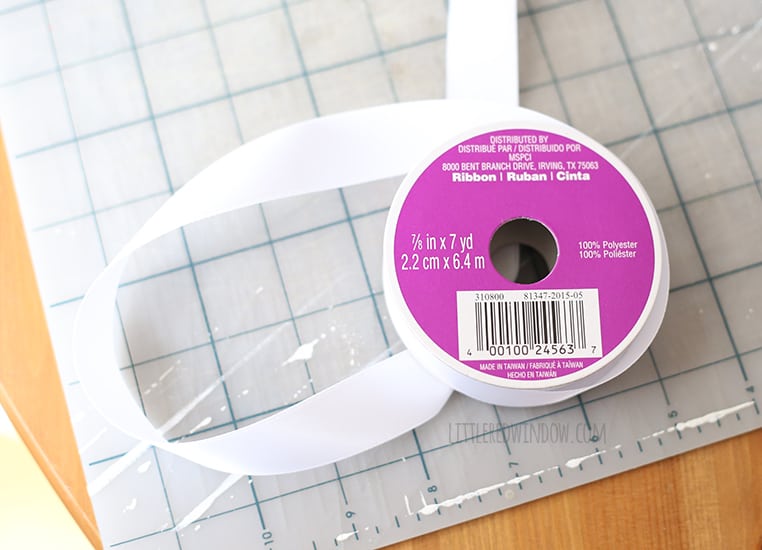
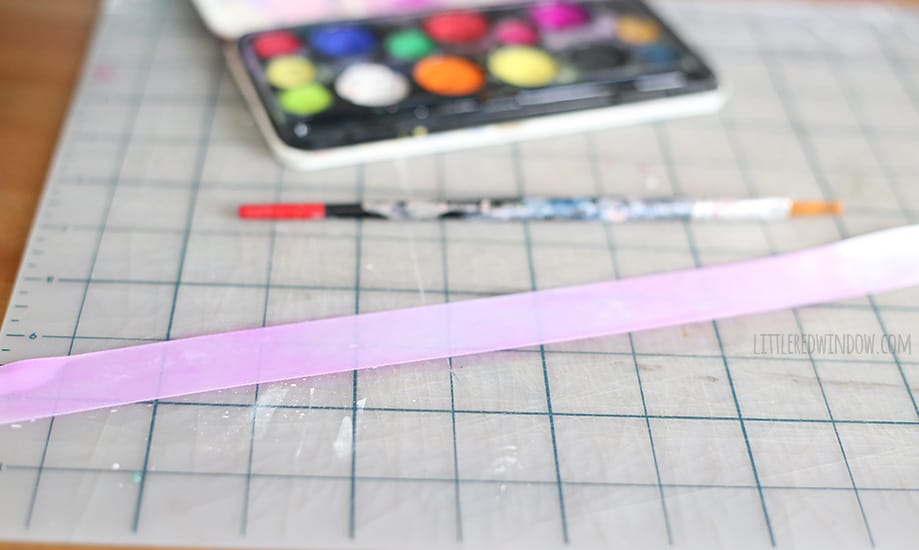
1. Lay out your ribbon on a waterproof surface (I used one of my cutting mats which is now sort of…colorful? Pick something else 😉
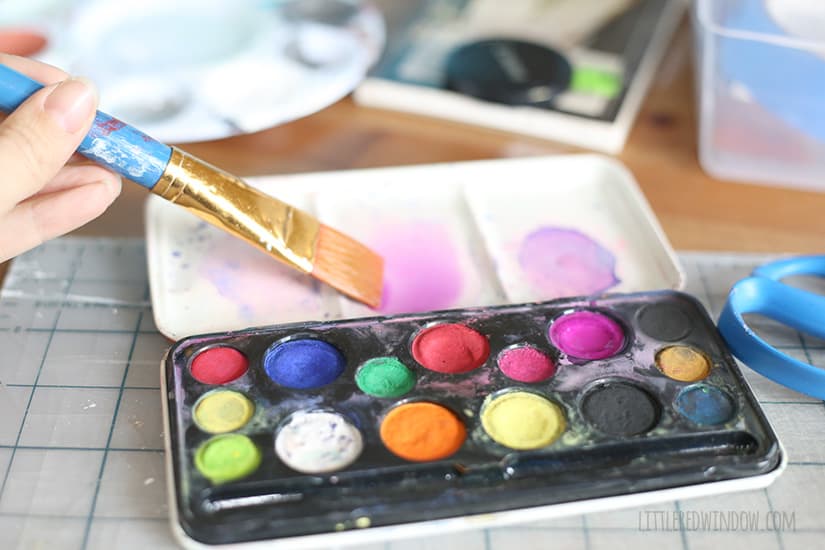
I was going to use my fancy tube watercolors but I couldn’t find them so I grabbed a regular set of cake watercolors and it worked great! Just don’t use your kid’s washable set.
2. I found there were three keys to making the ribbon look good:
- First, the colors spread more evenly if the ribbon is a little damp first.
- Secondly, mix the watercolors with water in your mixing tray, don’t stick your brush directly in the pain and then go straight to the ribbon.
- And finally, use a WIDE brush to put the paint on. Do not use the tiny little brush that comes with the watercolor set. Actually don’t use that tiny little brush for anything. Seriously. Nice brushes are worth it.
Then go to town! The more water, the lighter the colors, you can do your ribbon all one shade evenly, or blend between colors. You can make it darker in certain places or along one edge, the possibilities are endless!
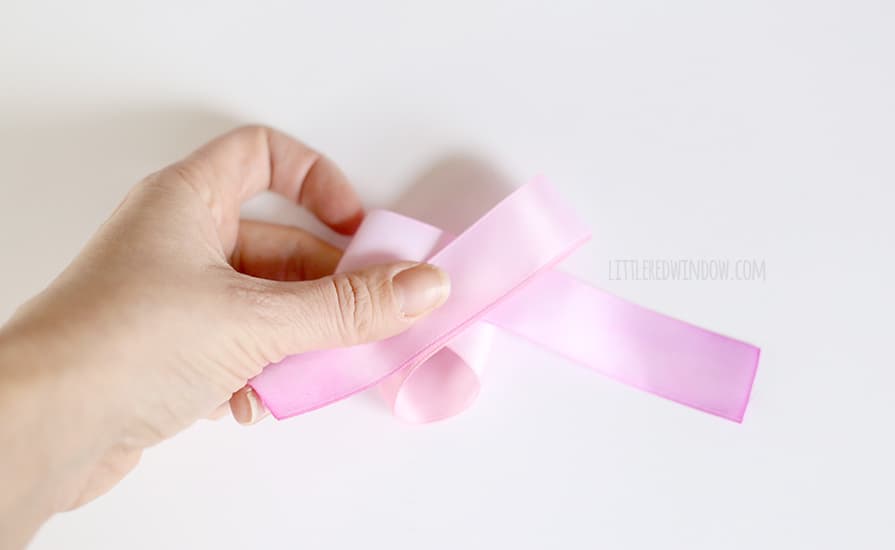
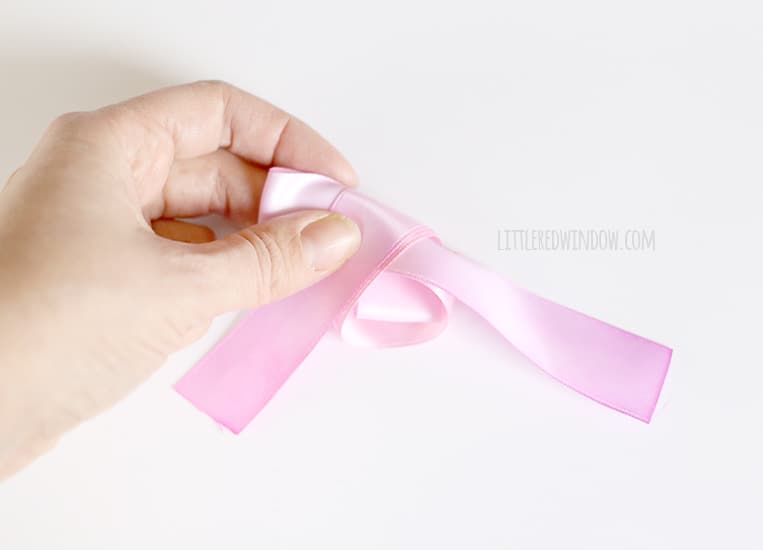
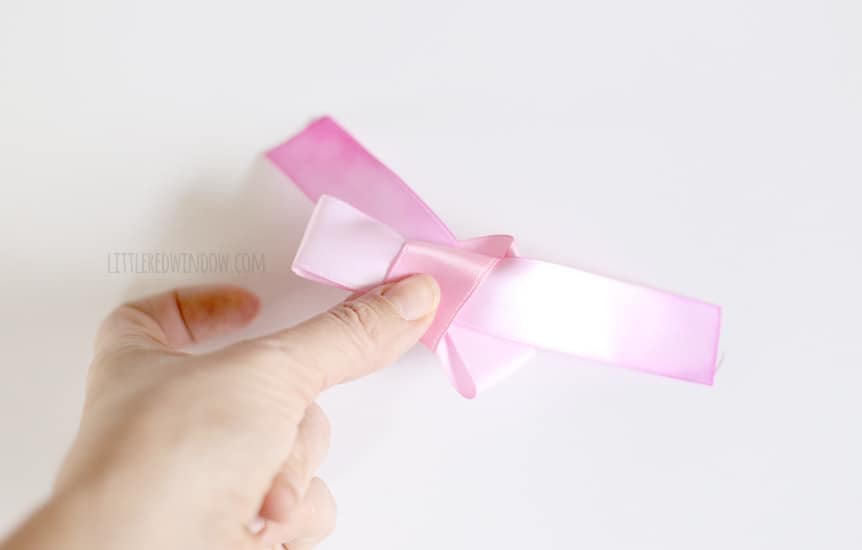
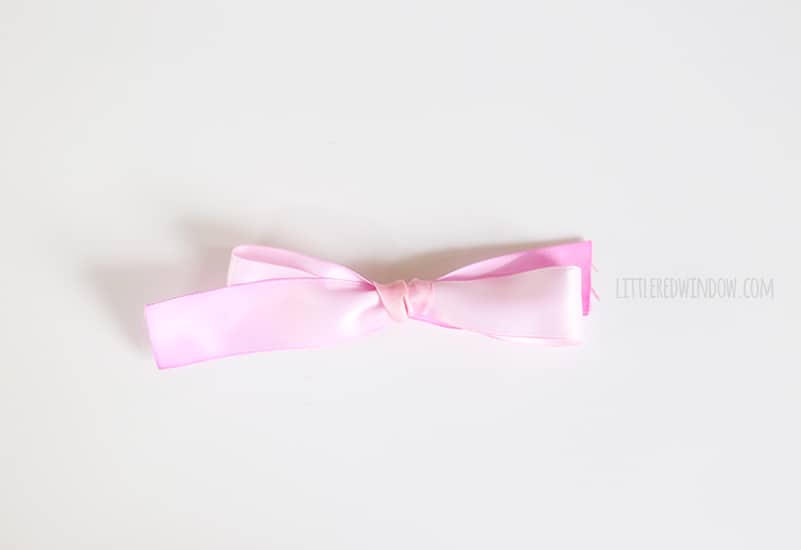
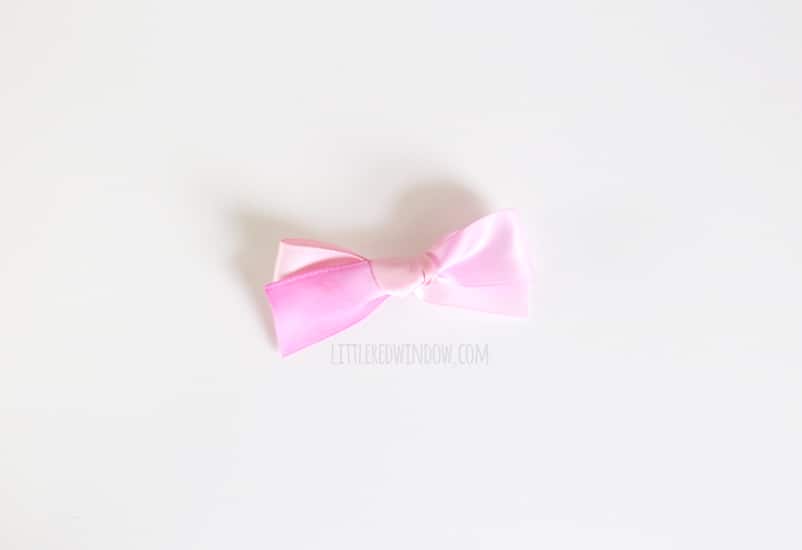
I learned how to tie pretty bows a gazillion years ago from an old Martha Steward book my mom had. Here’s how I do it:
1. Make two loops
- Rib Zag Hat Knitting Pattern - April 23, 2024
- Double Stockinette Stitch Knitting Pattern: Easy How To for Beginners - April 18, 2024
- Fiery Fades Hats Knitting Pattern - April 16, 2024



Leave a Reply