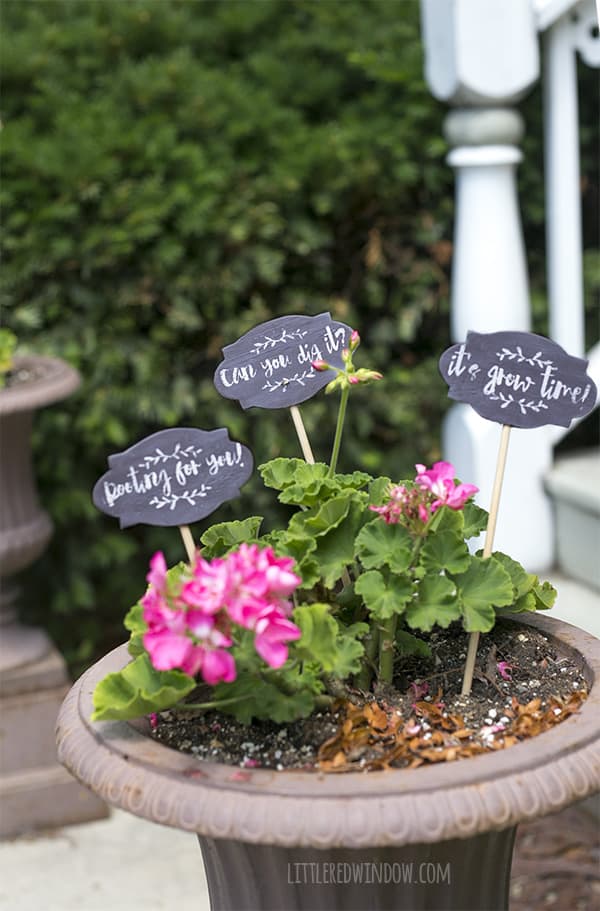
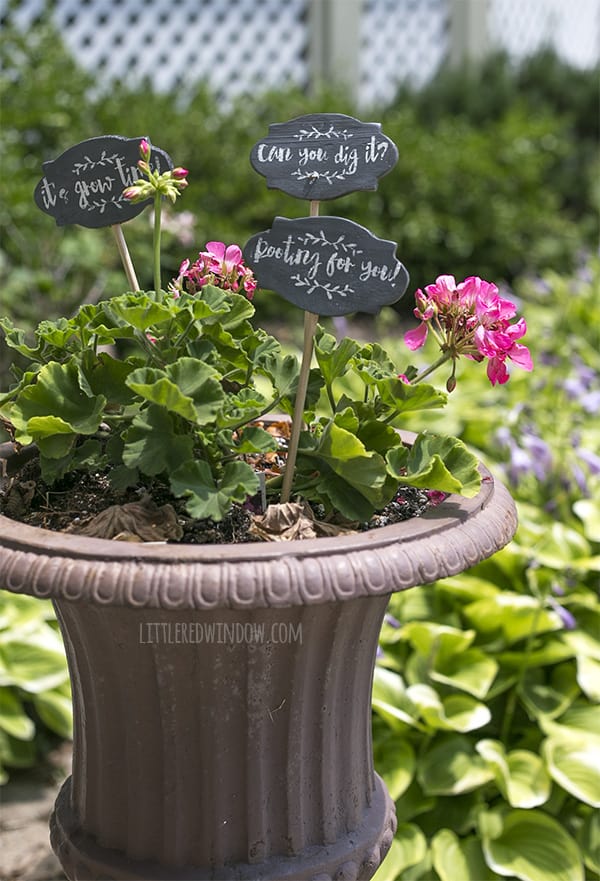
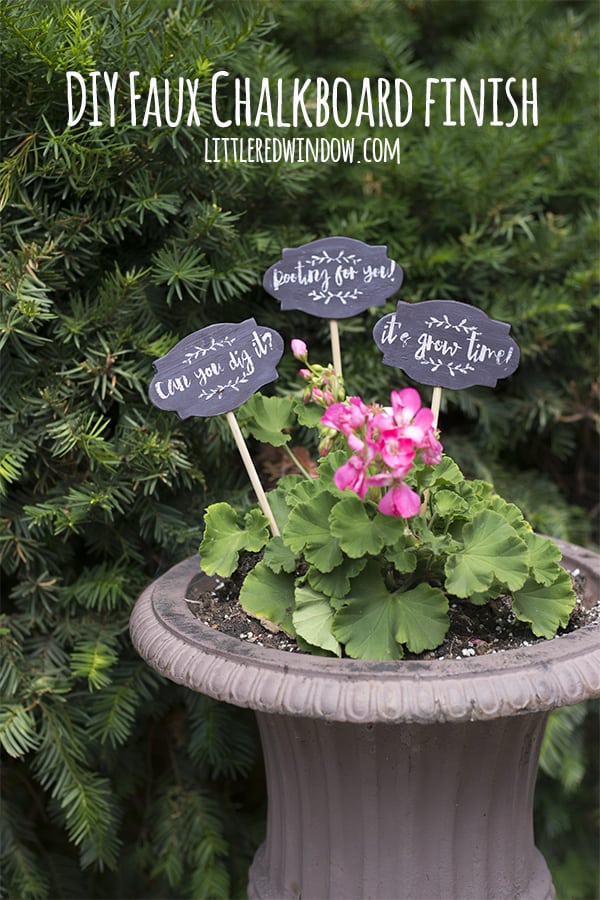
Learn an easy faux chalkboard paint finish for these adorable plant markers for your garden!
Well, if you’ve come here looking for an apology for the ban puns on these adorable garden plant markers, sorry, but you’ve come to the wrong place! Rooting for you, ha!
I thought today, since chalkboards are still so popular, I’d show you guys how to make a faux chalkboard look with paint so you can have it outdoors without worrying that it will get erased or washed off in the rain! My “How to Preserve a Chalkboard Drawing” post has rapidly become one of my most popular posts but this is an alternative method for the chalkboard look!
DIY Silly Garden Plant Markers with Faux Chalkboard Finish
Wooden label shapes (I got mine at the craft store, make sure they’re thick enough for the dowels)
Drill (have this one and LOVE it)
Acrylic craft paint in MATTE charcoal
Vinyl and Silhouette or Cricut cutting machine
Transfer tape or clear contact paper
1 . The first thing you should do, which I didn’t get a photo of, is drill a hole in the bottom of the label shapes with a drill bit the same diameter as your little dowels.
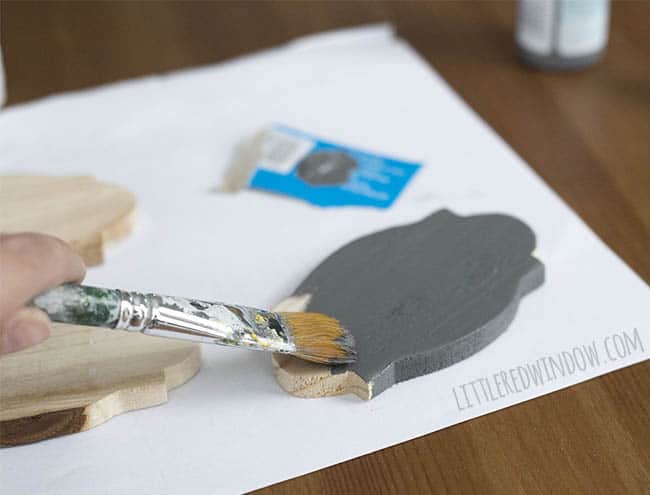
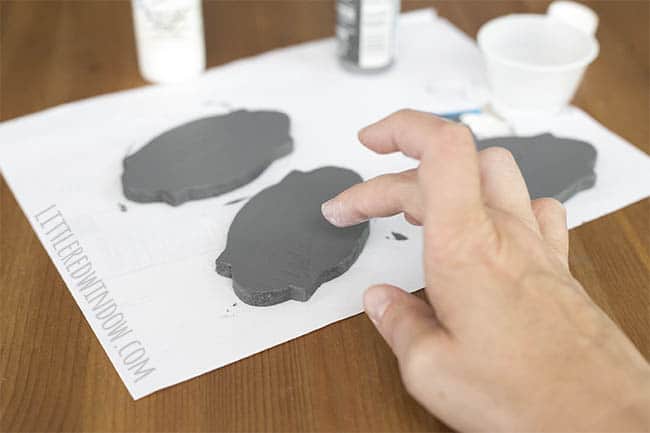
2. Then I painted my wood label shapes with two coats of the charcoal paint.
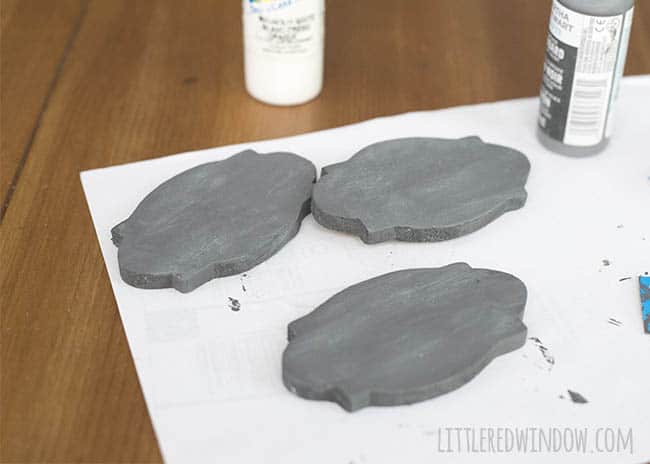
3. Then I dipped my finger in some VERY watered down white paint and streaked it across to give the “chalkboard” surface that cloudy white background that chalkboards have.
4. While that was drying, I set up stencils with my Silhouette software. I measured my labels first and then laid out the silly garden plant marker sayings to fit. I recommend using a handwriting-y font, again because you’re trying to mimic a chalkboard.
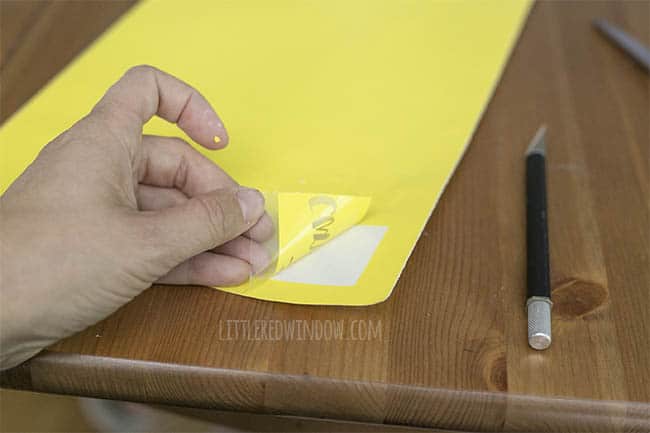
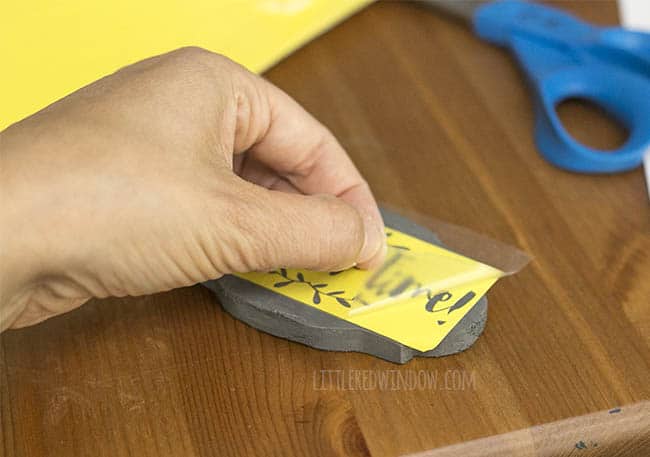
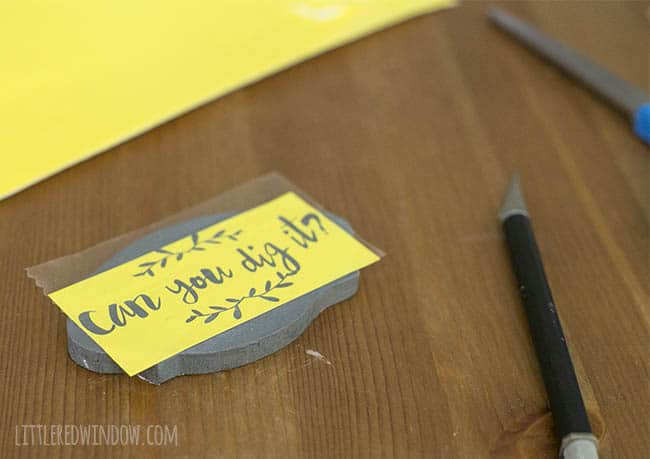
I cut my designs from adhesive vinyl to use as stencils. I used a depth of 1, speed of 1 and thickness of 12. I also overcut just a tiny bit. I weeded out the negative space and then transfered my stencils to the labels with clear contact paper.
If you don’t have a cutting machine or don’t want to use it, just write the silly sayings and designs with a fairly dry paintbrush and white paint. Just make sure your brush is pretty dry (not much paint) so your strokes look more like chalk.
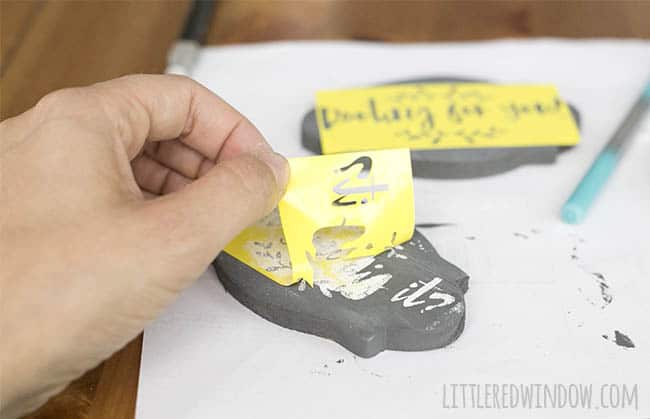
5. Then I painted my little stencils with a VERY dry brush just barely dipped in white paint. Make sure to use a dabbing motion and be patient to get it to look the most like chalk.
6. If you painted words look to painted, give the whole thing a little distress with some fine grain sand paper.
7. Paint your labels with a coat of matte finish outdoor sealer. When that’s dry, add some wood glue to the end and insert your dowels into the holes on the bottoms of your labels. Add to your garden when everything is dry!
If you liked this, you may also like some of my other posts…
- Rib Zag Hat Knitting Pattern - April 23, 2024
- Double Stockinette Stitch Knitting Pattern: Easy How To for Beginners - April 18, 2024
- Fiery Fades Hats Knitting Pattern - April 16, 2024




Leave a Reply