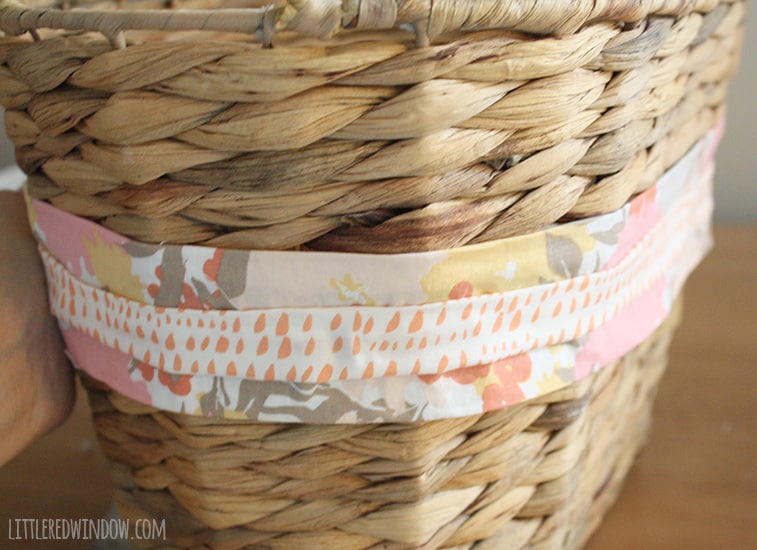
Customize a boring basket with fabric ribbon and use it as a convenient place to stash diaper supplies! If you’ve had babies, you know that everyone tells you that you need a changing table and a fancy changing pad in the nursery (you don’t, just use the top of a dresser) but what they don’t tell you is given how many times a day you change a diaper, especially for new babies, you are not going to want to walk to the nursery every single time. When we had O, we lived in a reasonably small condo and we still didn’t always want to walk all the way down the hall to his room. So we kept some diaper supplies in the living room so we could change him on the couch or the floor or in our bedroom.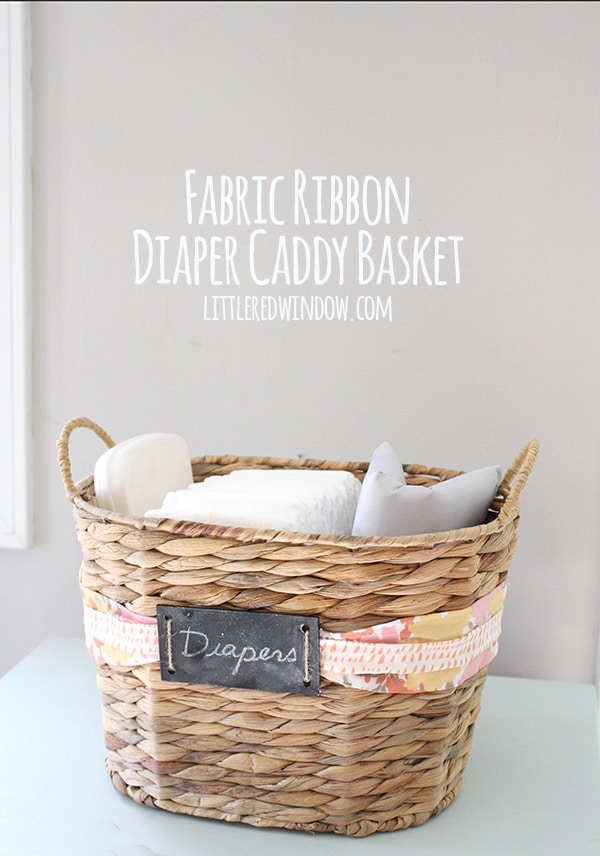
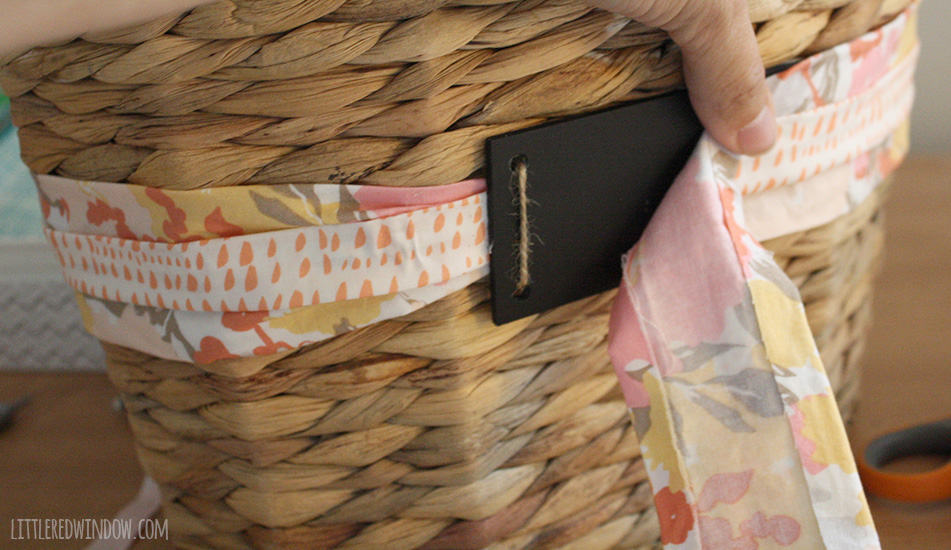
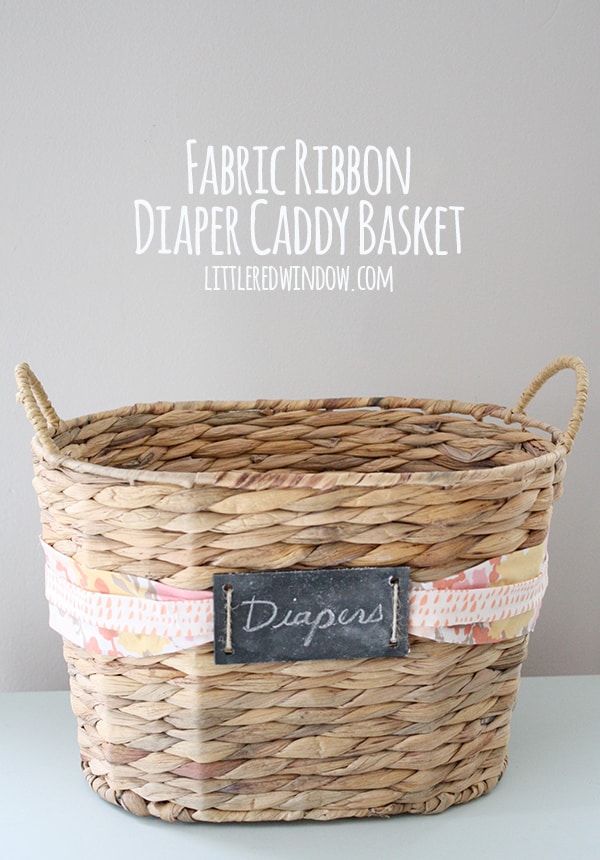
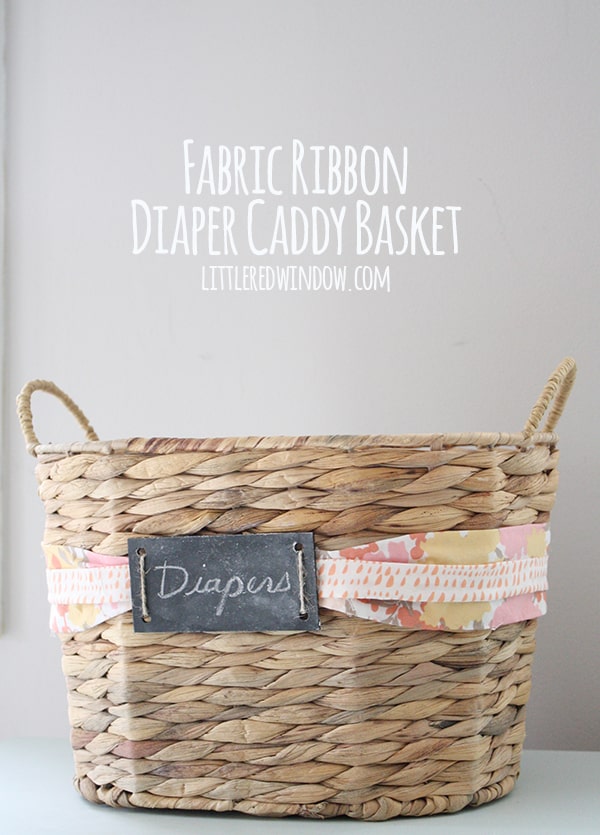
And now that we’re in an actual house, I have a feeling that having stairs to deal with, especially at first, is going to make me even less likely to want to walk up to the nursery for diaper changes. So I grabbed this cute basket with a chalkboard label at the craft store (on sale!) to use to hold extra diapers, wipes, a changing pad and diaper cream. 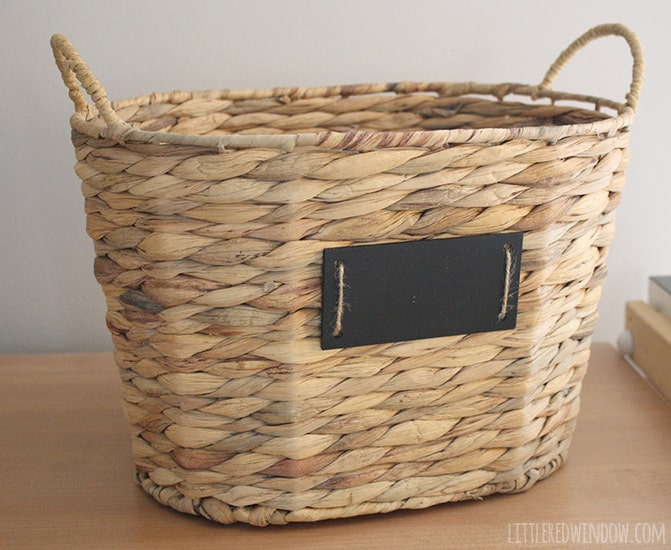
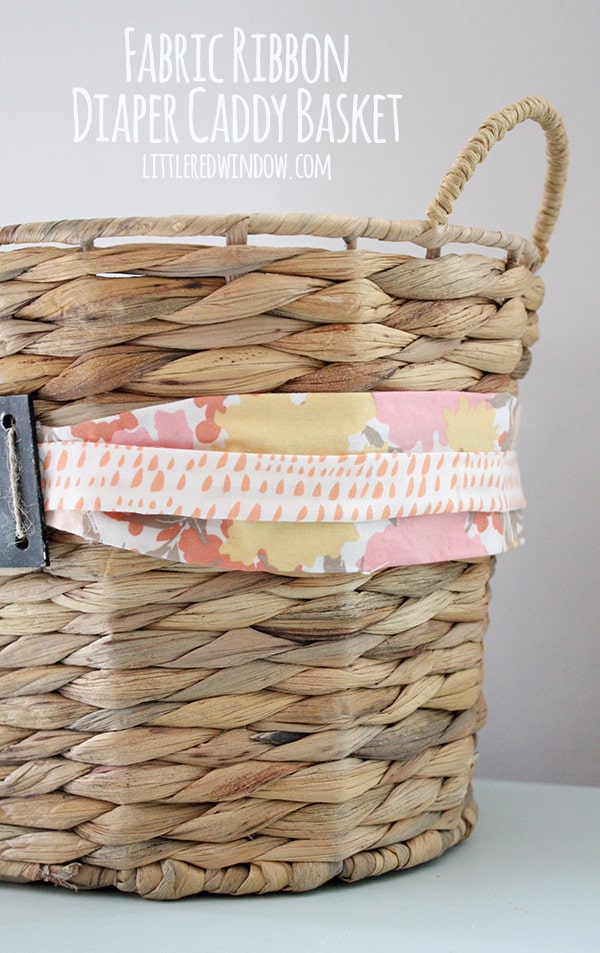
Fabric Ribbon Diaper Caddy Basket
Basket with chalkboard label (you could use this plus this)![]()
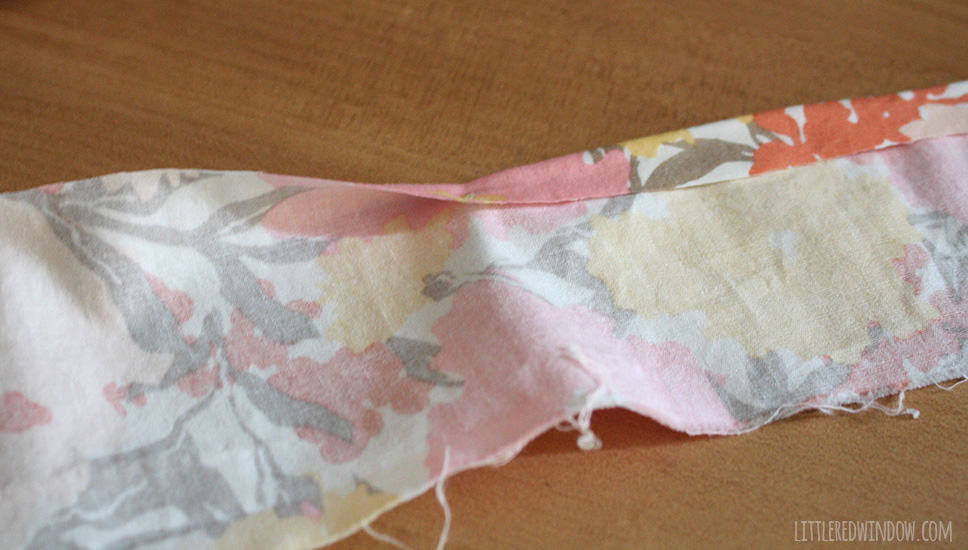
Quilting fabric
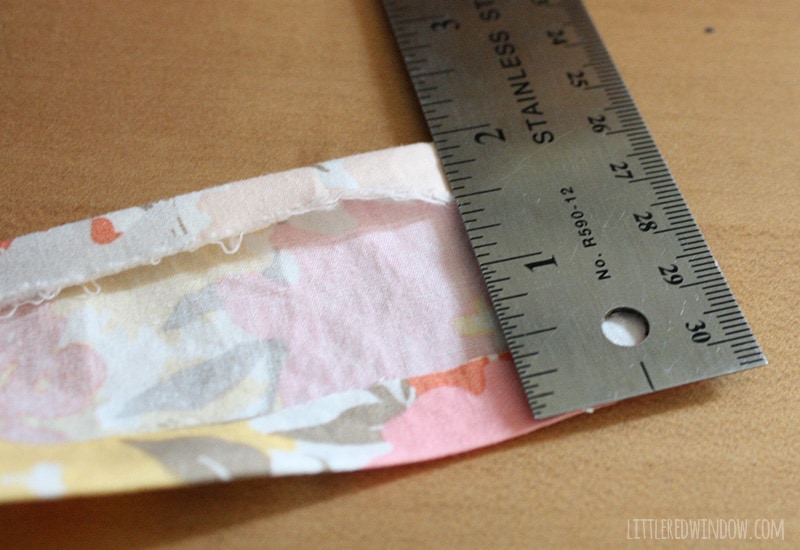
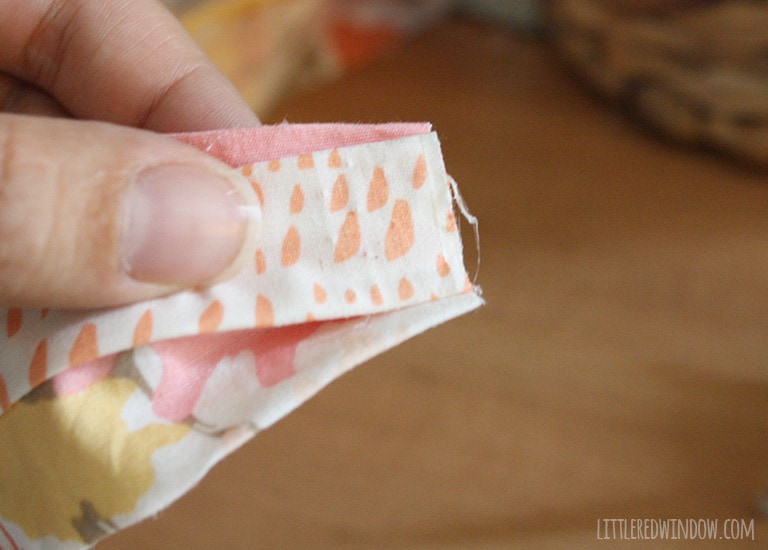
1. First measure your label. Mine was 2″ wide. 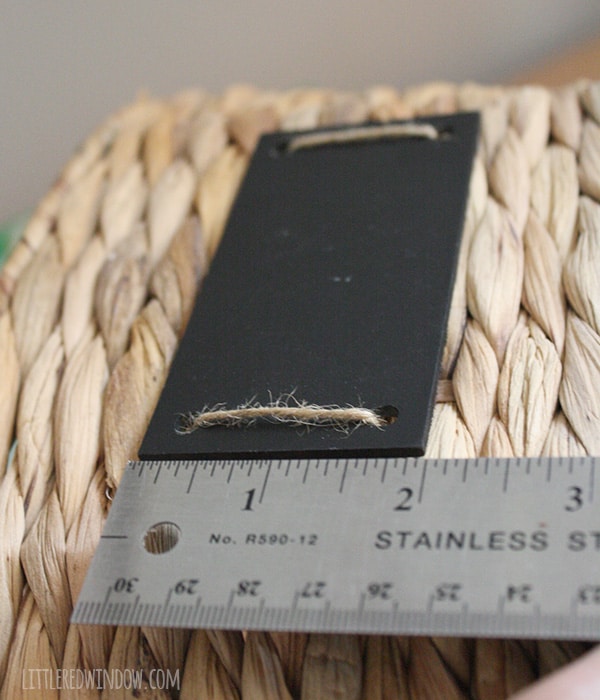


If you liked this, you may also like some of my other posts…

- Rainbow Ridges Hat Knitting Pattern - March 18, 2026
- Rainbow Pom Pom Hat Knitting Pattern - March 10, 2026
- Free Printable Boba Valentine’s Day Cards - February 9, 2026
Leave a Reply