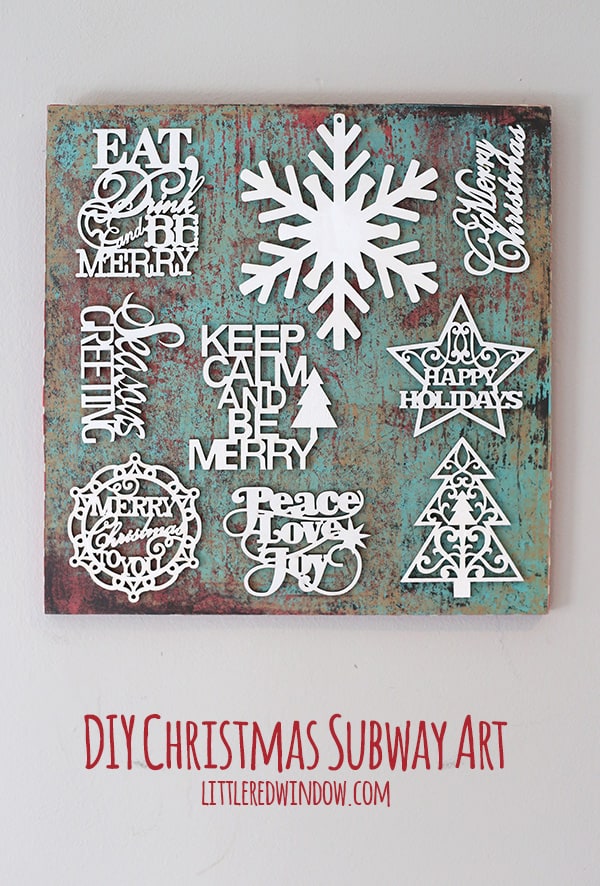
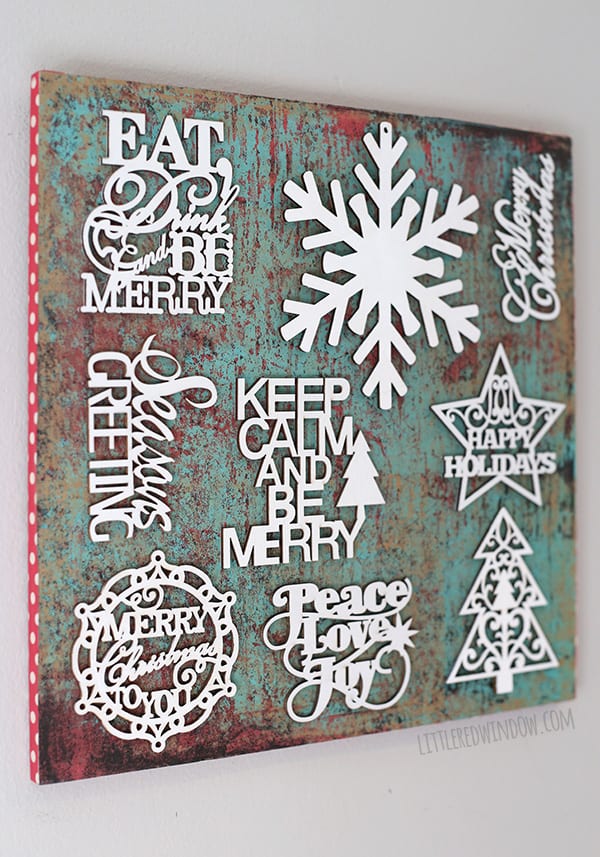
This adorable Christmas Subway Art is way easier to make than it looks!
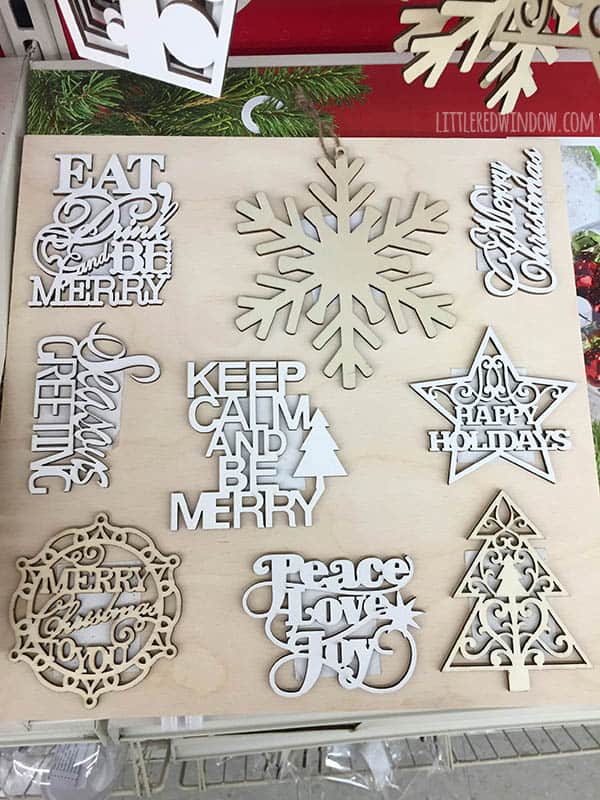
Oh you guys, sometimes it pays to have an insane craft supply stash. Like for this project, my cute and easy Christmas subway art. I was able to make this project about 900 times easier because I’m a craft hoarder. Ok, not really. But I do have more craft stuff than I really should. But see, then something like this happens and I’m like “keeping everything under the sun is worth it!” Anyway, I thought up this project in the middle of the craft store and spent like a half hour arranging and rearranging the laser cut wood pieces til I had it the way I wanted it. And then thankfully I was smart enough to take a picture with my phone because I’m sure this would have been one of those situations where I thought to myself that of course I would remember the order and then two weeks later when I sat down to glue them together I definitely would not. I assume I’m not the only one that happens to? I blame mommy brain.
But on to the project. I bought the cute little Christmas laser cut wood shapes at Michaels but because their website is terrible and seems to only have like 50% of what they carry in the stores, I can’t seem to link to any of them for you. But there was a huge selection in the Christmas area near where the DIY ornaments are. I promise you’ll be able to find something similar to make your own. Here’s how I did it…
Easy Christmas Subway Art
Laser cut wood Christmas shapes (I used 9)
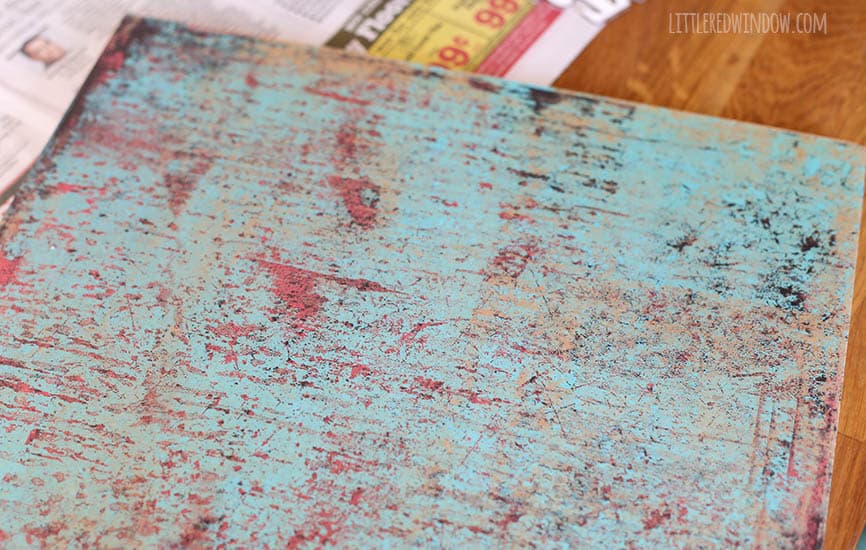
So here’s the part of the story where my craft stash saved the day. I wanted this subway art to a have a chippy vintage farmhouse paint background. And I had just read a post about how to do that so I was gathering up paint and feeling annoyed about all the drying time when, while rummaging around, I found a piece of scrapbook paper! It totally had a chippy farmhouse paint look AND it was red and green! I mean come on, how serendipitous is that?! So I went with the scrapbook paper and the entire project took 15 minutes instead of an hour. Win!
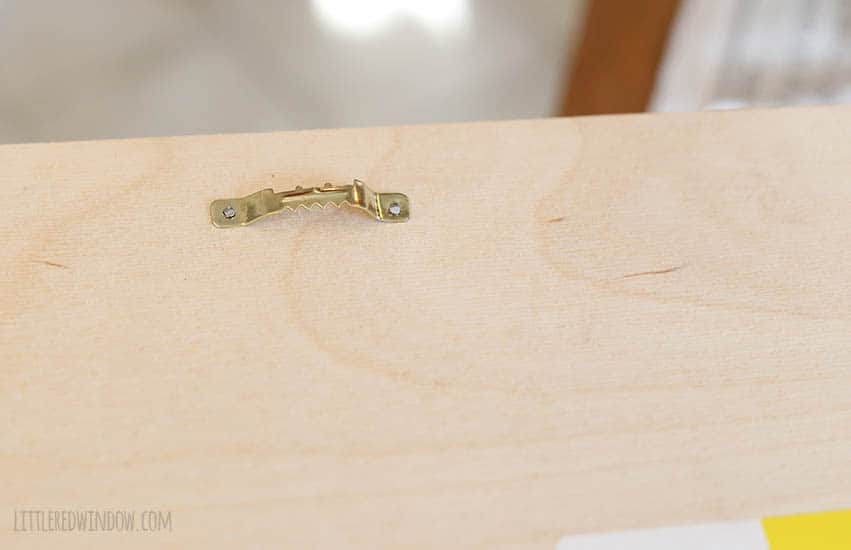
1. First I added a sawtooth picture hanger to the back of my plywood piece.
2. Then I sprayed my plywood piece with spray adhesive (outside) and smoothed on my scrapbook paper. It was a teeny tiny bit bigger than the wood so I trimmed a sliver of paper off each side.
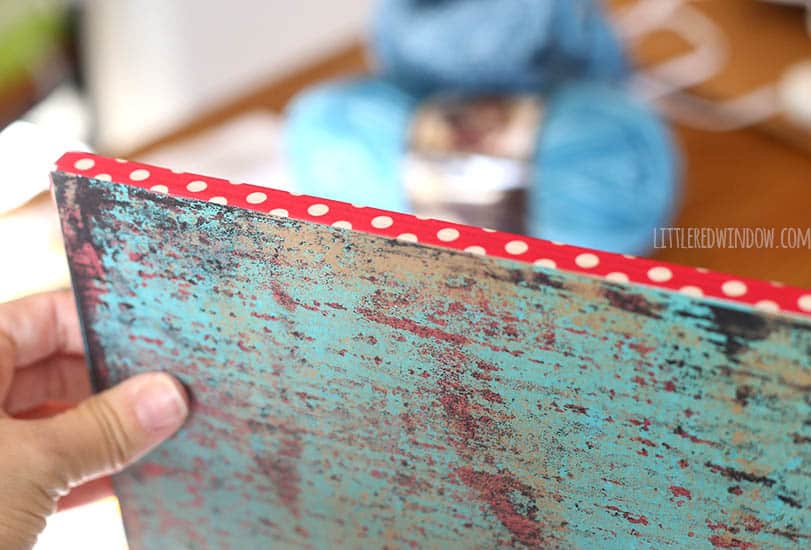
3. Then I wrapped the edges of the board with red polka dot washi tape to make it a little more Christmas-y. It’s a little hard to see in the photos but super cute in real life. 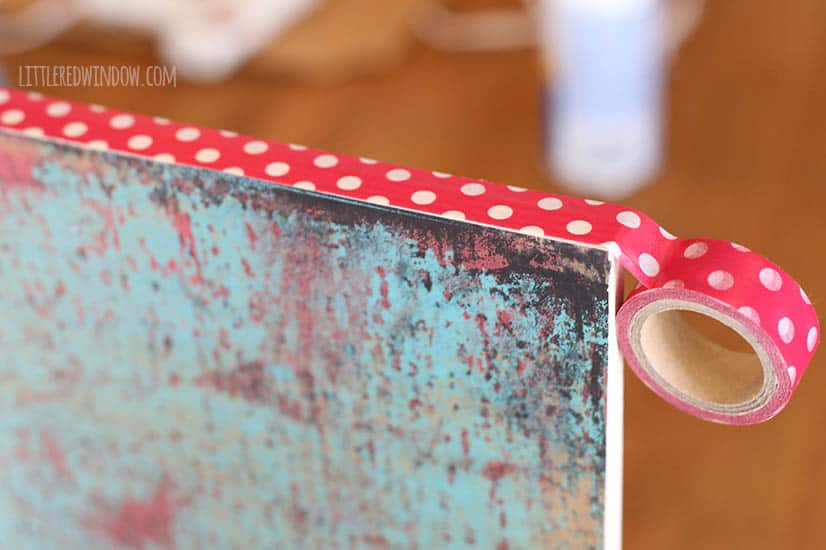
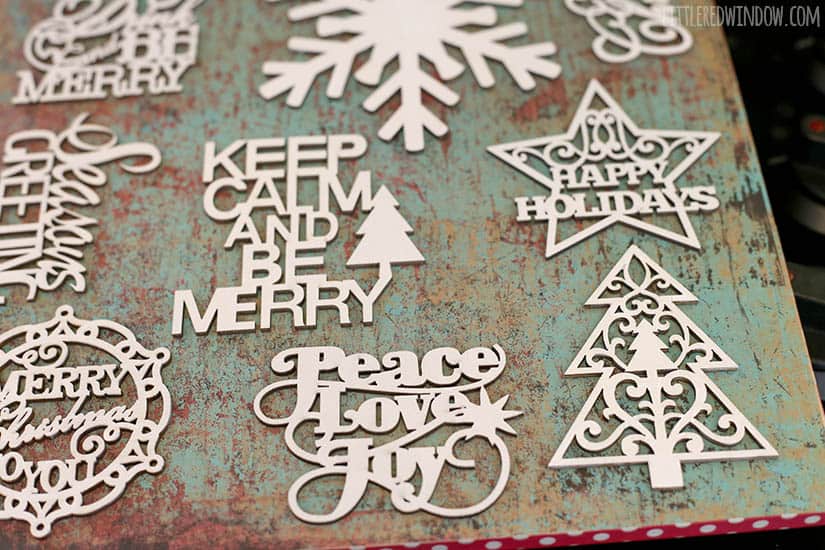
4. A couple of my laser cut Christmas shapes were bare wood and the rest were already white so I painted the ones that weren’t with a quick coat of acrylic craft paint.
5. When the paint was dry, I laid my shapes back out and then glued them on one at a time. I used craft glue instead of hot glue because I wanted a little bit of wiggle room to adjust them after I set them down.
And that’s it! Hand your easy Christmas Subway Art up and enjoy it! I’ve gotten lots of compliments on mine already! Happy Holidays, friends!
If you liked this, you may also like some of my other posts…
- Rib Zag Hat Knitting Pattern - April 23, 2024
- Double Stockinette Stitch Knitting Pattern: Easy How To for Beginners - April 18, 2024
- Fiery Fades Hats Knitting Pattern - April 16, 2024




Leave a Reply