Make your own custom Spice Jar Labels with vinyl!
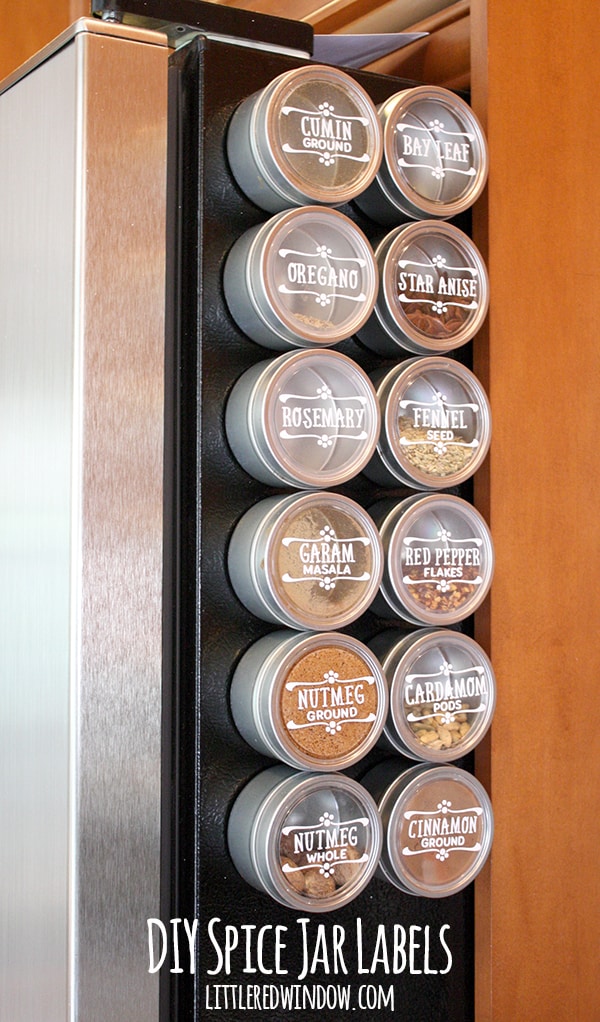
I know it’s not everyone’s cup of tea, but I really do like to cook (food pun totally intended). Ok, well not always. Like maybe not on those super busy weekdays when I don’t even think about dinner until it’s already 5:30 and all I want to do is sit down. But most of the time I enjoy it. And Aa likes it too although he doesn’t have the chance to do it as often because he’s so busy. But as a result, we have a larger than average spice collection. I like to have a wide selection of basics and Aa is into trying the more unusual spices like saffron and grains of paradise. And for years we kept trying different solutions for spice storage. At first we kept them in one of those skinny cabinets next to the stove. Then we tried a drawer. Neither of those was great and things were always getting lost in the back. And while I used them enough to know the garlic powder was usually on the second shelf, poor Aa could (understandably) never find anything. So a few years ago I invested in some magnetic spice containers. In our old condo, the fridge was right next to the stove so I could stick them to that and it was super convenient. That’s the system we’re using at the new house too. Although the fridge isn’t immediately next to the stove anymore, it’s pretty close so it works.
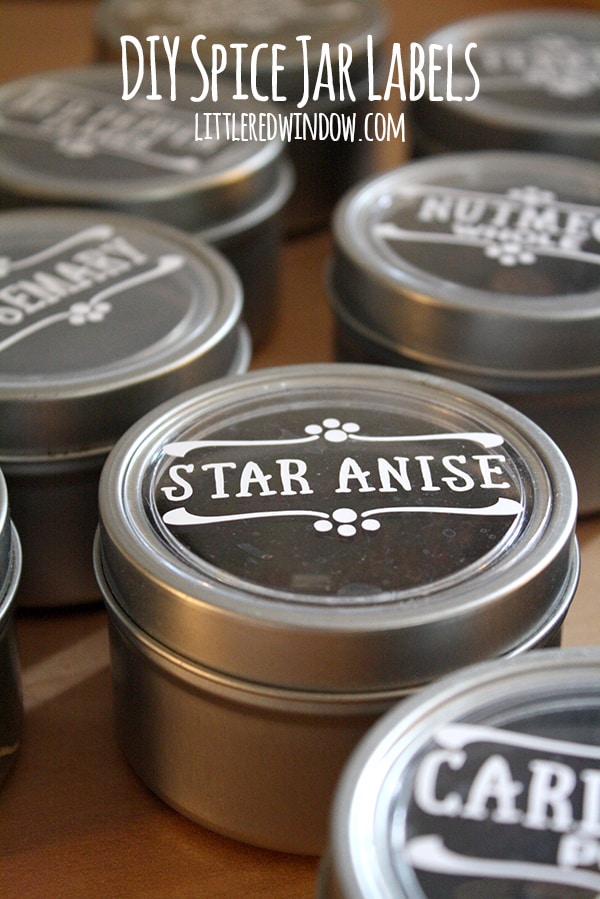
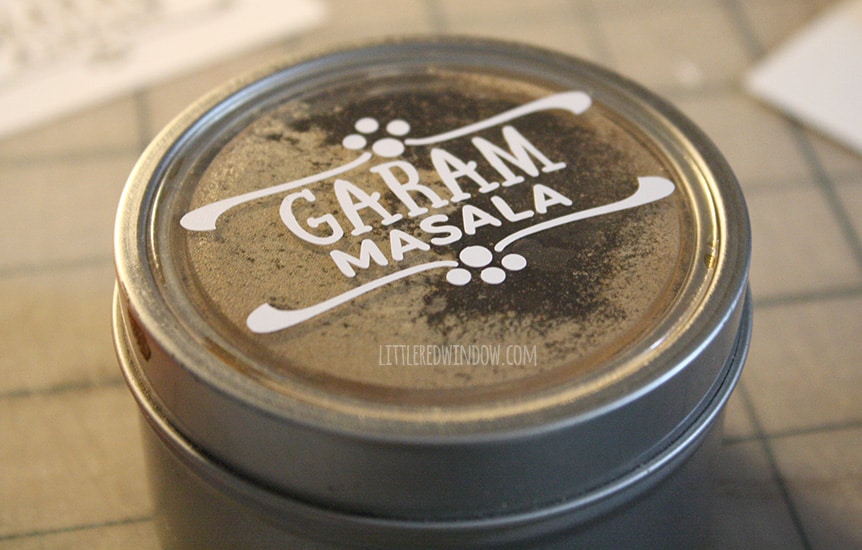
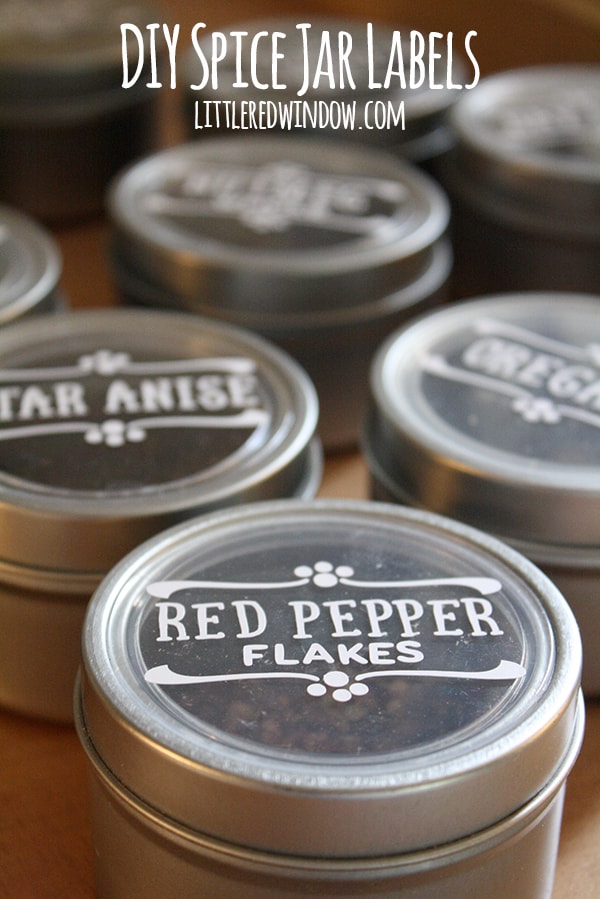
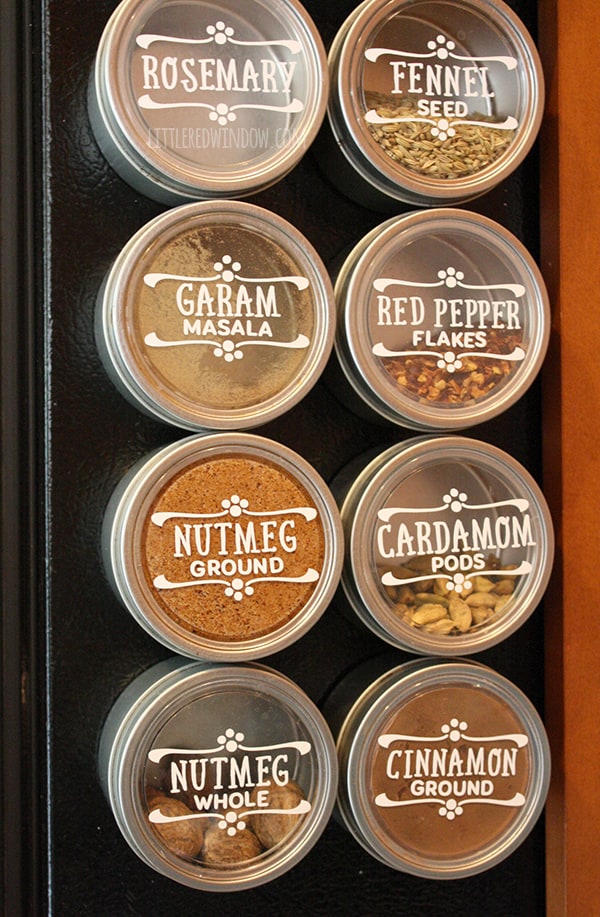
But the problem was, despite the clear lids, you couldn’t always tell what was inside. I mean, star anise was pretty obvious, but everytime I needed cinnamon, I found myself opening two or three other containers and sniffing them all because it was pretty much the same color as the garam masala and the nutmeg. Same for dried leafy herbs like oregano. So labels went to the top of my project list! I love how they turned out, here’s how I made them!
DIY Vinyl Spice Jar Labels
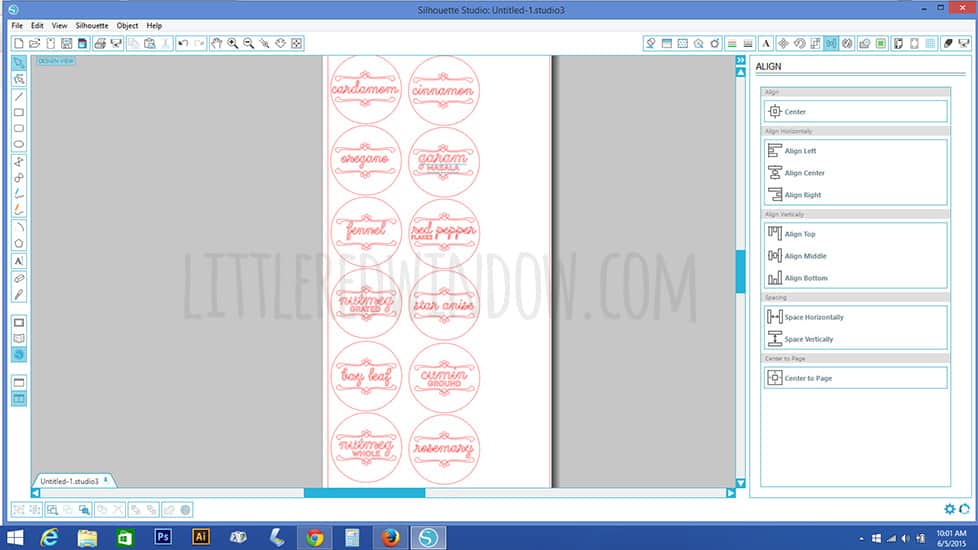
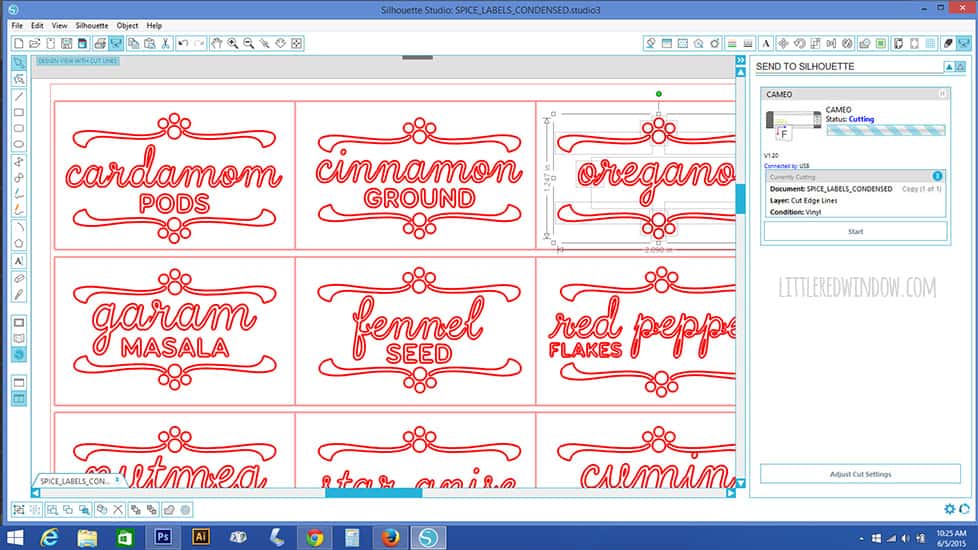
1. First lay out your spice labels in the Silhouette Studio software. And a note, the first time I did this, I picked a font that was too skinny and my vinyl just tore. So pick a thicker font and make the words big enough. First I drew circles the size of the jar lids and arranged the labels inside them to make sure they fit (first pic), then I deleted the circles and moved all the labels closer together so I wouldn’t waste material (second pic).
2. Load your vinyl into your cutting machine and start cutting. I used the standard vinyl settings for the Silhouette Cameo except that I turned the speed all the way down to 1. If I had to do it again, I might do a double cut because of all the tiny details in these labels.
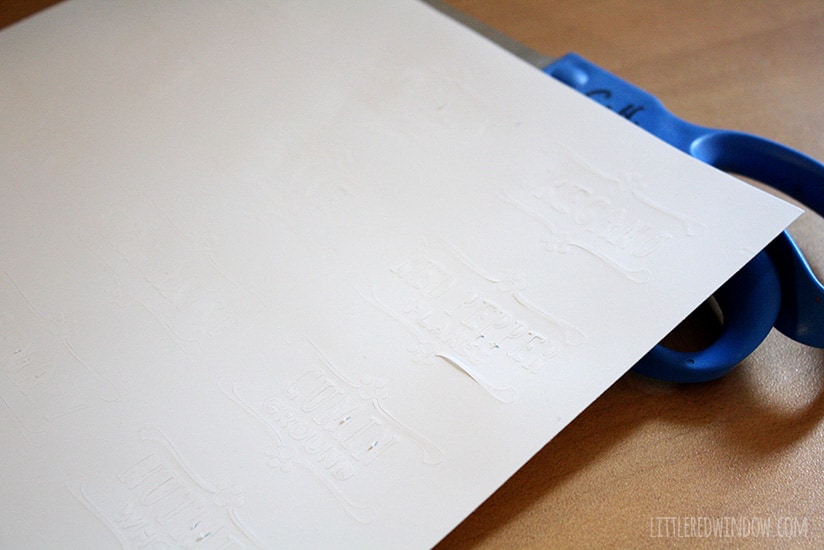
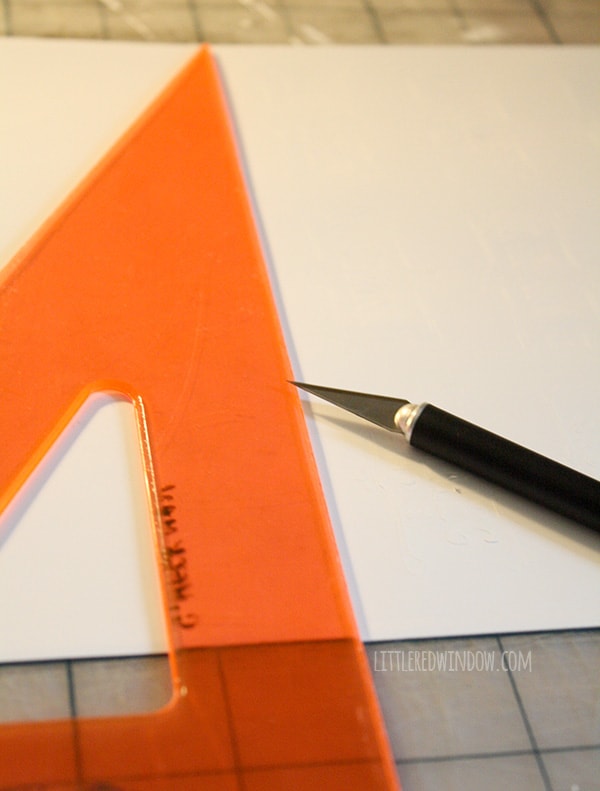
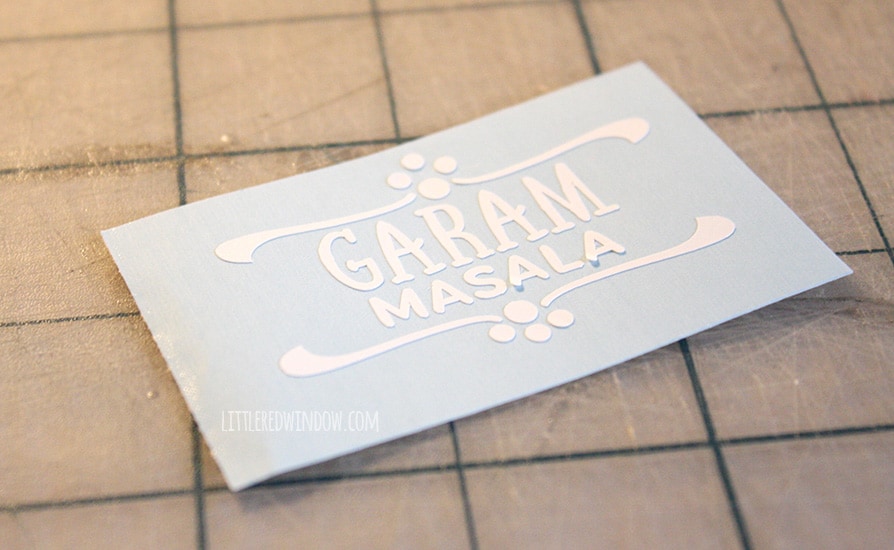
ALSO! I started off peeling the background away left to right like you would if you were reading but discovered halfway through that it worked a thousand times better to peel from the bottom up. So try it more than one way if you get frustrated.
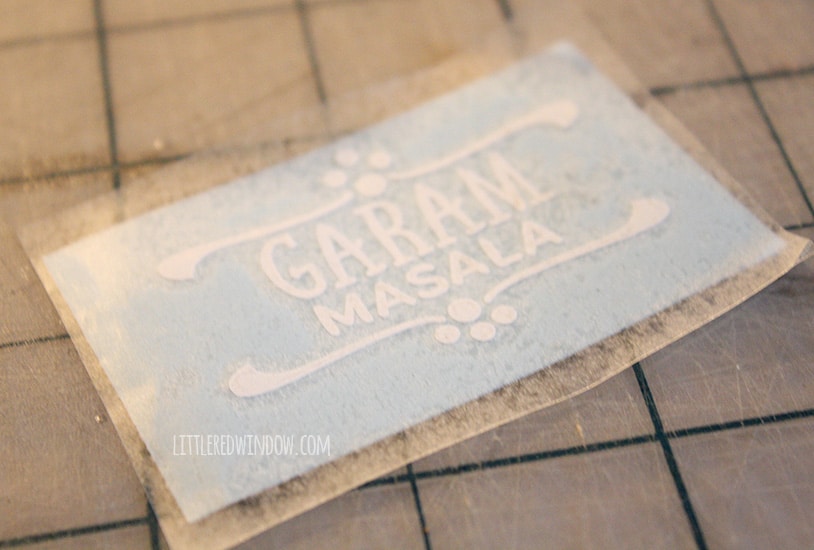
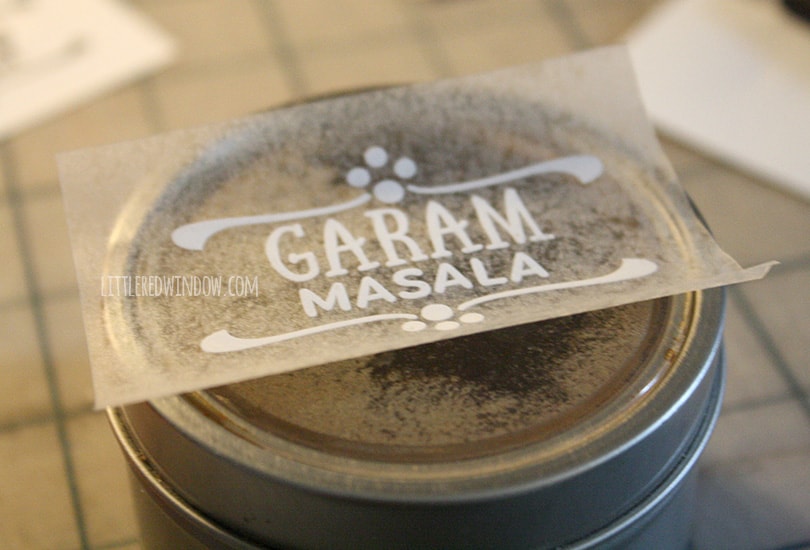
5. To transfer the vinyl, I always use clear contact paper from the dollar store instead of the pricey transfer tape you can buy. It works just fine. If it’s too sticky in the beginning, stick it to your clothes for a second.
Lay it over the vinyl design and rub all over with a burnishing tool or something like a credit card. All the vinyl should come away when you lift up the contact paper.
If you liked this, you may also like some of my other posts…
- Rib Zag Hat Knitting Pattern - April 23, 2024
- Double Stockinette Stitch Knitting Pattern: Easy How To for Beginners - April 18, 2024
- Fiery Fades Hats Knitting Pattern - April 16, 2024


Amna says
Hello! Just wondering how these have held up and how you wash the jars. I would love to do this but I’m concerned about durability.
Cassie May says
The labels have held up great. And in terms of washing, I hand wash, but only when I run out of a spice which is AT MOST like every six months. So they’ve only been washed a handful of times. If you use permanent vinyl and handwash, you should be ok.
Guide says
Would you share the file?
Cassie May says
I’m sorry, but I didn’t save it! I don’t know what i was thinking! If you look in the comments I did write which fonts I used though. 🙂
MELINDA HUNSAKER says
What is the swirls name that you used on top and bottom
Cassie May says
It’s a font called “Monday Ornaments”! 🙂
mich says
what font was used
Cassie May says
It’s a font called Local Market 🙂
Suja says
These are so pretty… If we make this file and is it possible to get it printed else where ?
Cassie May says
There are ton of people on etsy who do custom vinyl cutting I’m sure you can do that! Search “custom vinyl” and you’ll have lots of options!
Alice says
Love your labels! Where did you get the image from? Would love to make some of these!