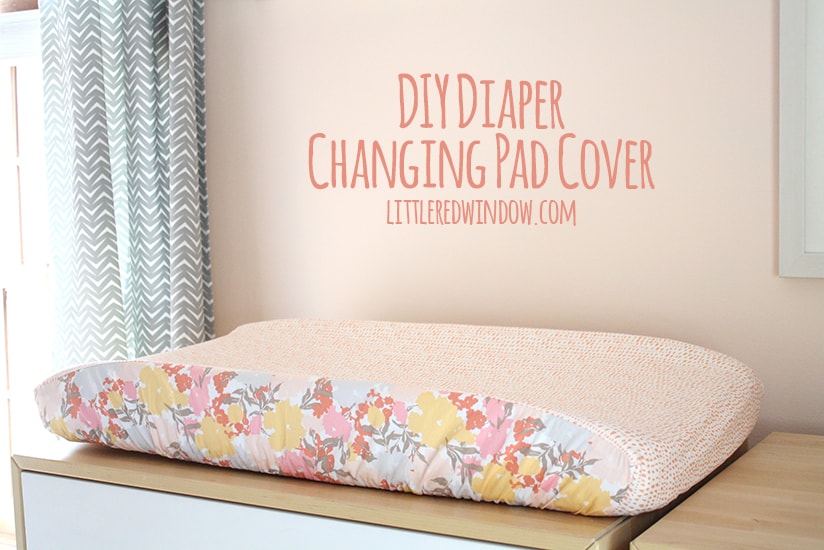
You won’t believe how easy this diaper changing pad cover is to sew yourself! 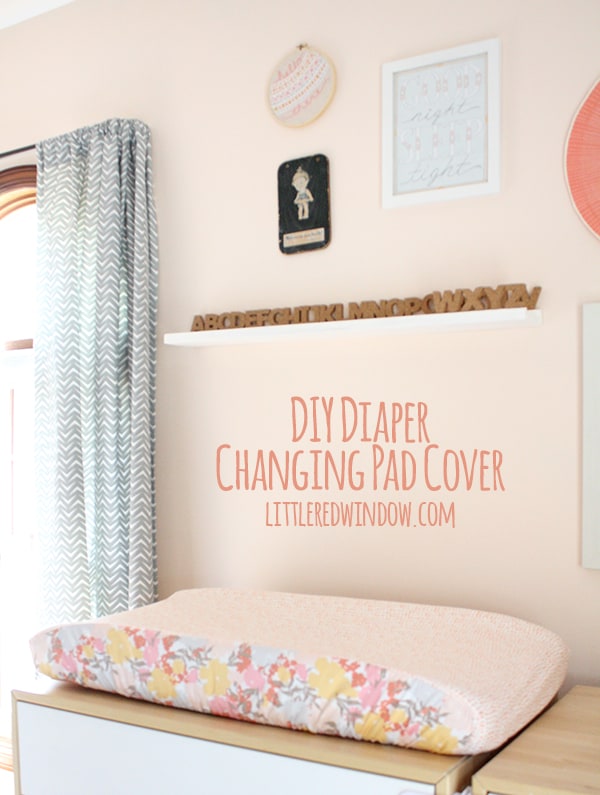
I think I will start this project off by saying, do yourself a favor, make more than one of these. I mean, knock on wood, O did not tend to make a mess in the middle of diaper changes all that often. (I’m sure that means that baby #2 will make up for it because now I’ve jinxed it, don’t you think? I mean, it did happen a few times, but almost always to dad–way to go kid! ha!) But seriously, I have heard enough diaper change explosion disaster stories from my mom friends to say, you are going to want more than one changing pad cover. Even if you think you won’t. Just do it. But the good thing is, they’re so easy to make, it’s not a big deal!
I am not making a backup because since we got lucky with O, the one we used in his nursery, while it doesn’t match the new room at all, is quite clean and perfectly usable for the times when the new cute one is in the wash. And actually, I almost didn’t even attempt this project because I assumed it was going to be a pain. But isn’t that always the way it is? The projects you think will be easy take nine million years and a bunch of swear words, and the ones you think will be a pain, turn out to be a breeze. Perhaps, I should just always think things are going to take forever? Pessimistic crafting?
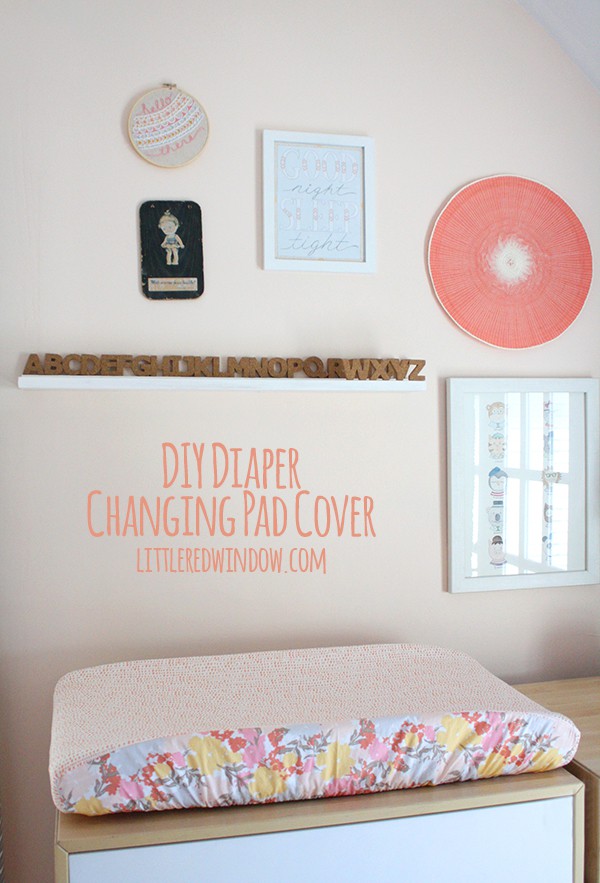
So anyway, when I just could not find one I liked in a store, I decided, might as well have it match the rest of the nursery perfectly and use my own fabric, right?! Right. And anyway, as it is with second babies, we are barely buying this kid anything new at all so I feel ok with a few frivolous handmade nursery details. We’re reusing all the same carseat, furniture and curtains, bibs, blankies and even most of the baby clothes. I have no problem dressing a girl in blue and airplanes. Who cares? So something a little pink and girly is nice to balance that out.
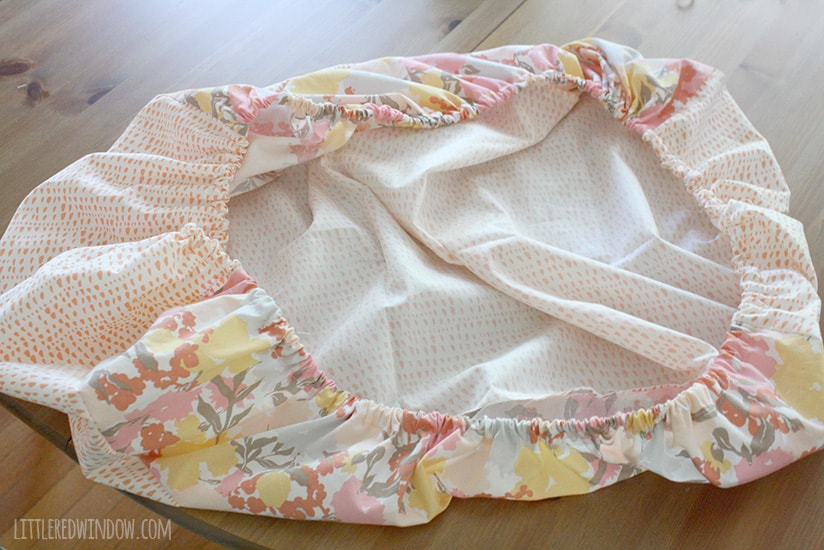
But back to the changing pad cover, I designed mine to be made with two different fabrics because I wanted it to have contrasting sides. If you make this out of just one fabric, ignoring the first steps, it’s even that much easier. But be warned, it turned out so cute, I kind of want to make a bunch more and some crib sheets (it’s the same basic process) too! I might start giving these as gifts!
Here’s how I did it:
DIY Diaper Changing Pad Cover
3/4 yard of main cotton quilting fabric. You could also use something like terrycloth for extra absorbency.
1/2 yard of contrasting quilting fabric for the sides
sewing maching and matching thread
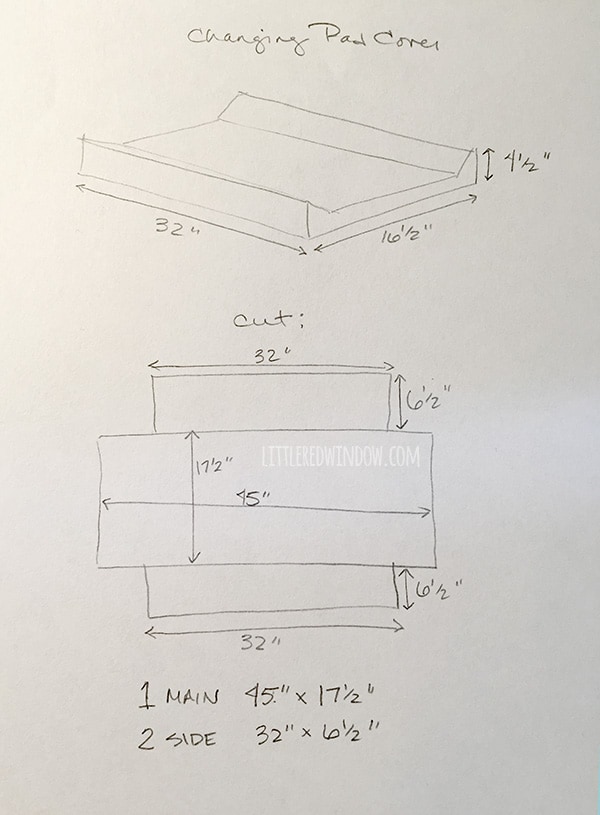
1. First I measured my changing pad and drew a little sketch. I think they are a standard size but don’t quote me on that, measure yours to be sure. 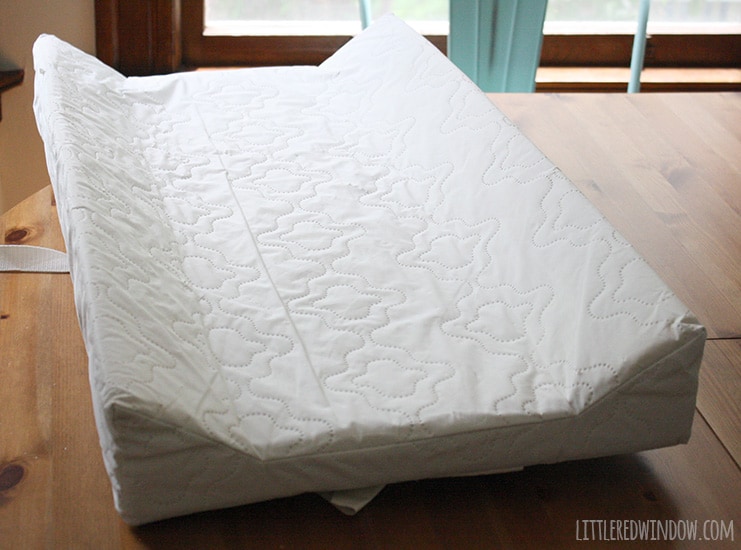
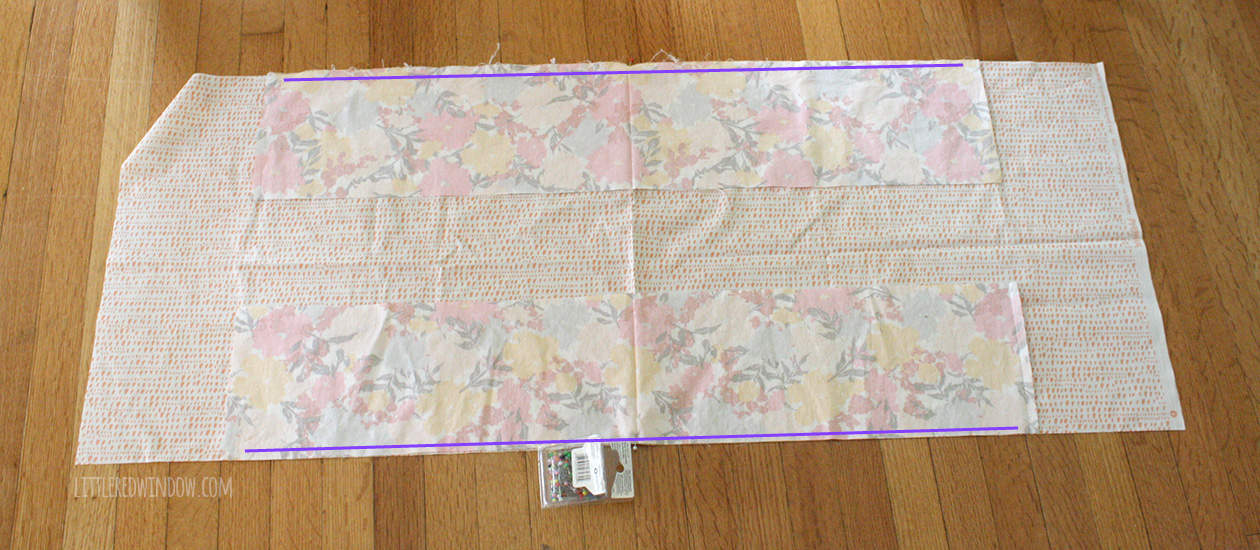
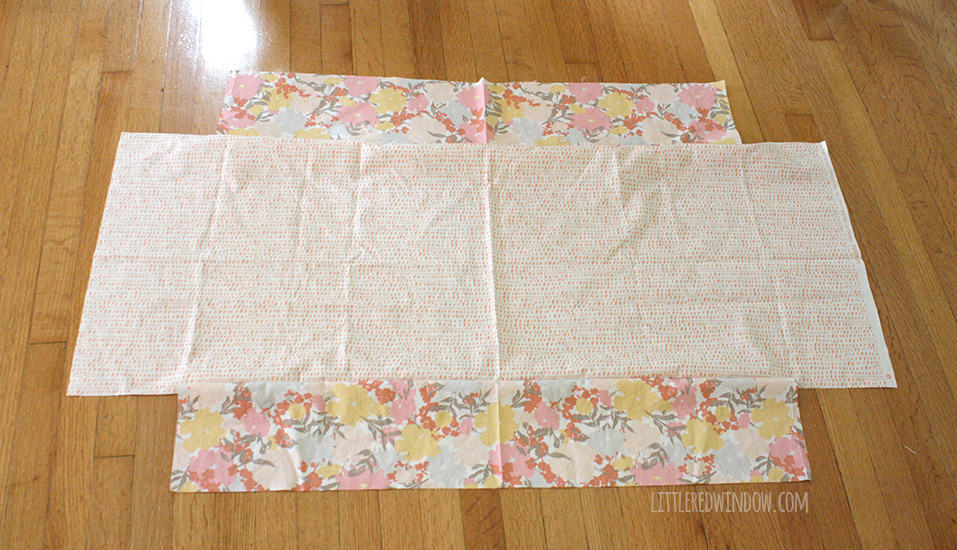
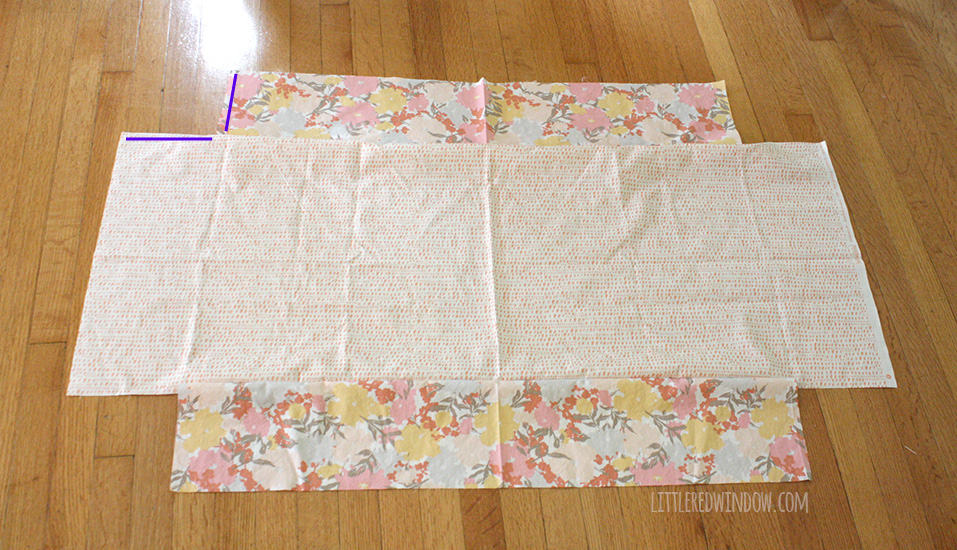
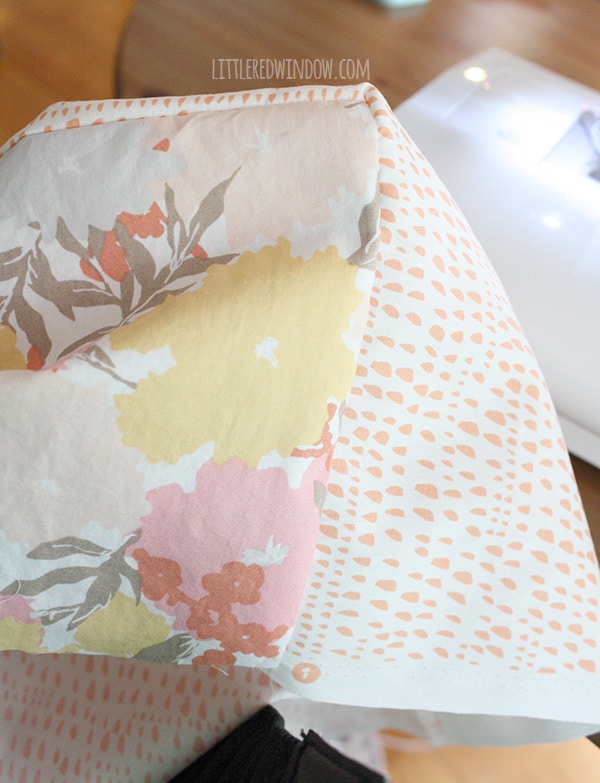
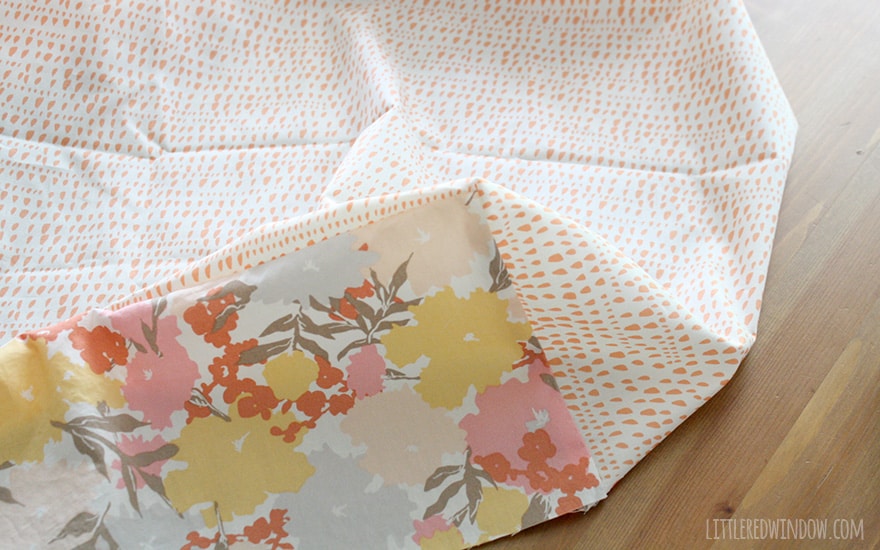
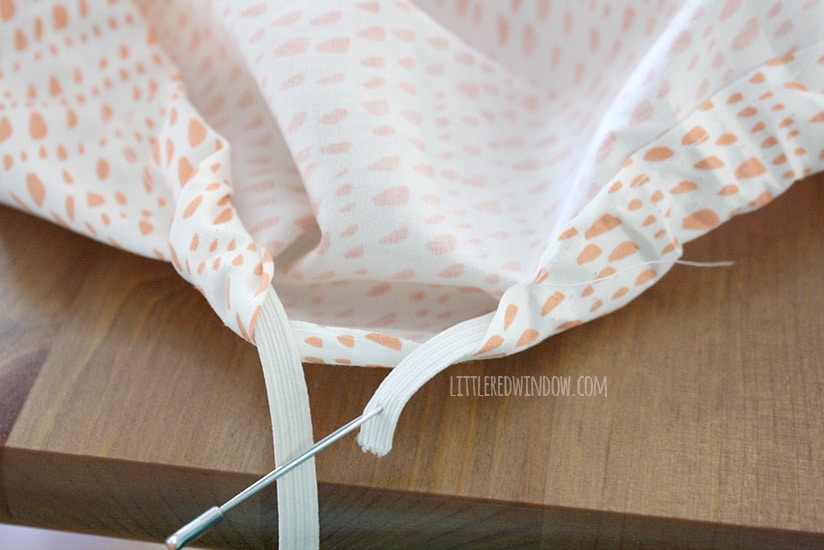
Once your pieces are all cut, fold them all down the middle and press to mark the center. Then lay the main fabric out right side UP. Lining up the centers, lay down the side pieces right side DOWN on top as shown. Pin. 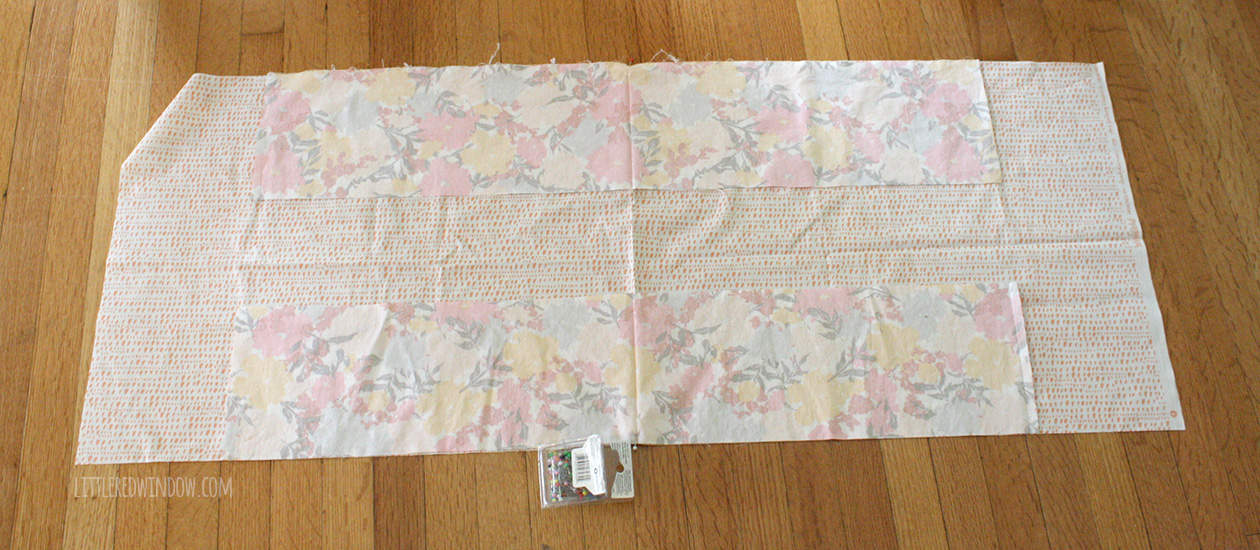
A note about the photos, my changing pad is anchored to the dresser top in back with the safety strap that came with it. Always attach yours so it doesn’t slide off. And there are also safety straps for the changing pad to strap the baby in (don’t leave them unattended of course) I just tucked mine underneath to make the photos prettier! They come out from the bottom and just go around the changing pad cover. There’s really no need for button holes or anything to thread them through.

If you liked this, you may also like some of my other posts…


- Pencil Scarf Knitting Pattern - July 7, 2026
- Tri-Color Linen Stitch Hat Knitting Pattern - June 22, 2026
- Yummy Ice Cream Cone Hat Knitting Pattern - June 16, 2026
Anne says
Used you pattern for my Grandchild. Turned out cute. Thanks for sharing!
Farzeen Khan says
Hi, there Guys Hope you are all doing Great and Fine!!
I came across your website and find out that it has information related to
the best baby bottle nipples And I have to say that it was very good and valuable information.
Thanks a lot, guys for the help.
Joan says
Easily laid out and communicated well with pictures. I was so pleased with the results, I made two!! I’m a Gom Gom that loves to quilt and now with your help, I’m making other fun. accessories
for both big toddler brother and new baby brother. Thanks so much for the ease!
Cassie May says
oh, wonderful! Thank you for stopping by and letting me know it was helpful!!
Brenda says
Omg, I’m so inspired to make some of these for my grandson’s nursery! These are so expensive to buy and so unbelievably easy to make! Thank you!
Sophia Baker says
So in love with that flower material that you used on the side! This is so much more exciting than the standard changing pad covers! Really feeling inspired to go and make a pretty boring area in my daughter’s room a bit more colorful and exciting!
Cassie May says
thank you so much!