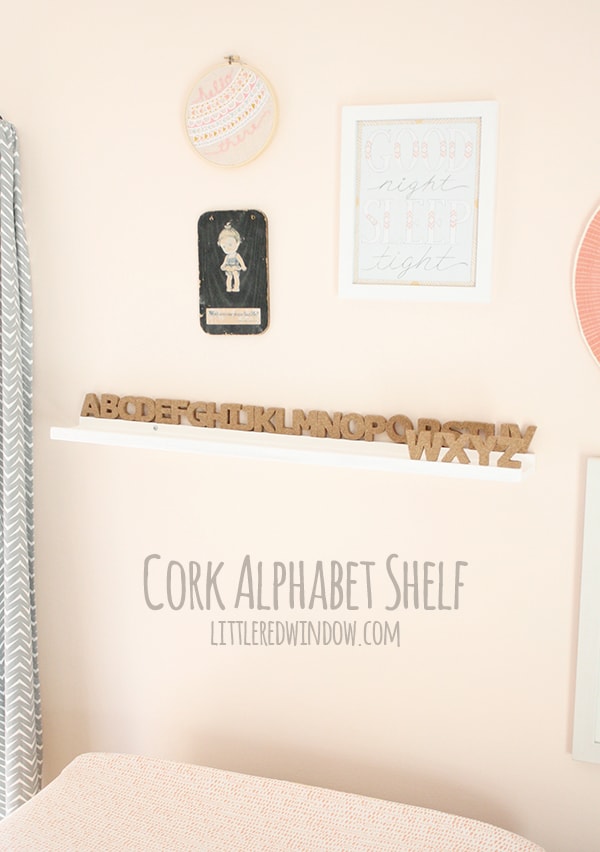
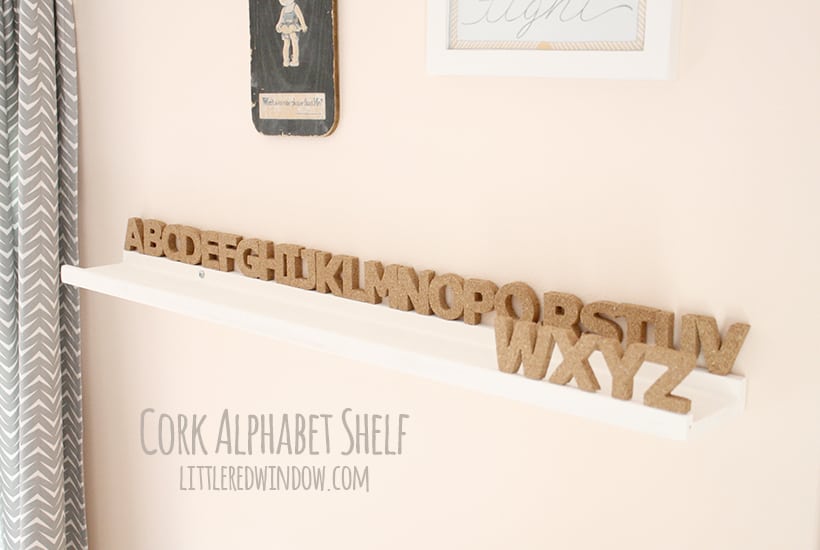
This adorable cork alphabet shelf is perfect for a nursery or little one’s room and it’s so easy to make!
Can we just get the pun out of the way now so I can apologize? I really really wanted to call this a “Shelfabet”. But I refrained. You’re welcome. Now we can move on!
I like having a little shelf in a nursery above the changing table for stashing things like diaper creme and lotion, you know, the things you use really frequently–so you’re not always rummaging around or opening and closing a drawer to get them but also then baby can’t reach them. It just makes life easier. In O’s nursery we had an Ikea Lack shelf but it was so deep that we’d sometimes bump our own heads on it when bending over. So I wasn’t sure what I wanted to put in the new baby’s room. And then, when I was cleaning out my office I found this old shelf.
DIY Cork Alphabet Shelf (or Shelfabet–I can’t stop!)
Small cork letters (I bought mine a while ago in the dollar section at Michaels, I couldn’t find the exact same thing, but these would be also be cute!)
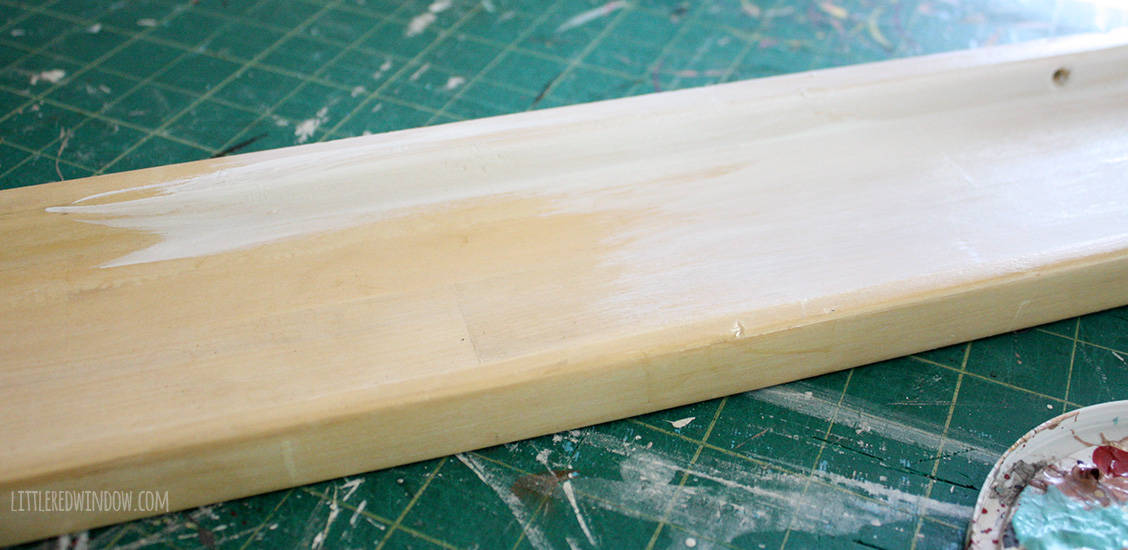
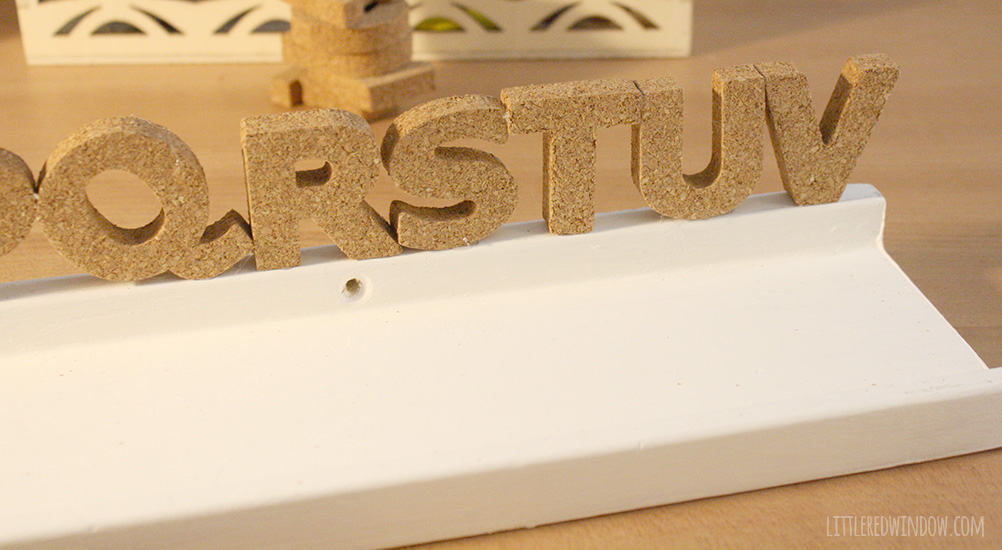
1. First I cleaned my shelf and then painted it white with acrylic craft paint. My shelf was very matte and didn’t require sanding first but if yours has any sort of finish, give it a light sanding so the paint sticks better. If you’re using the wooden letters I suggest as an alternative above, you could paint those also. They’d be so cute in colors to match the rest of the nursery! Protective coat on the shelf is optional.
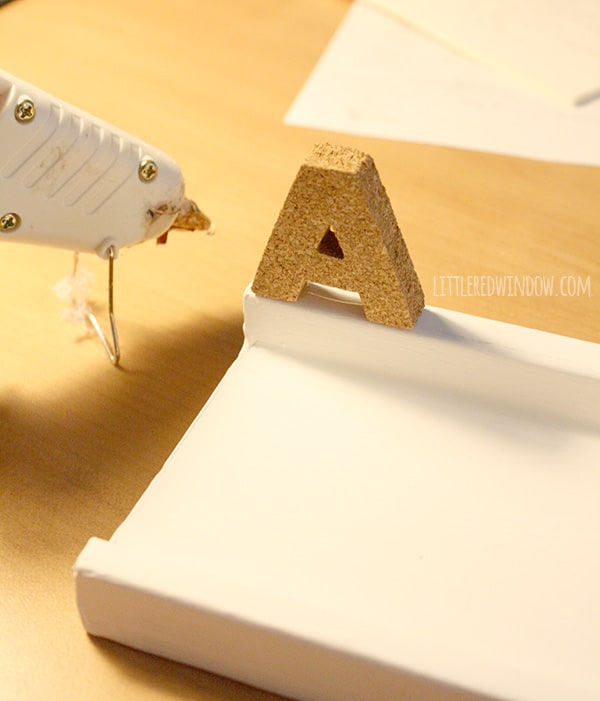
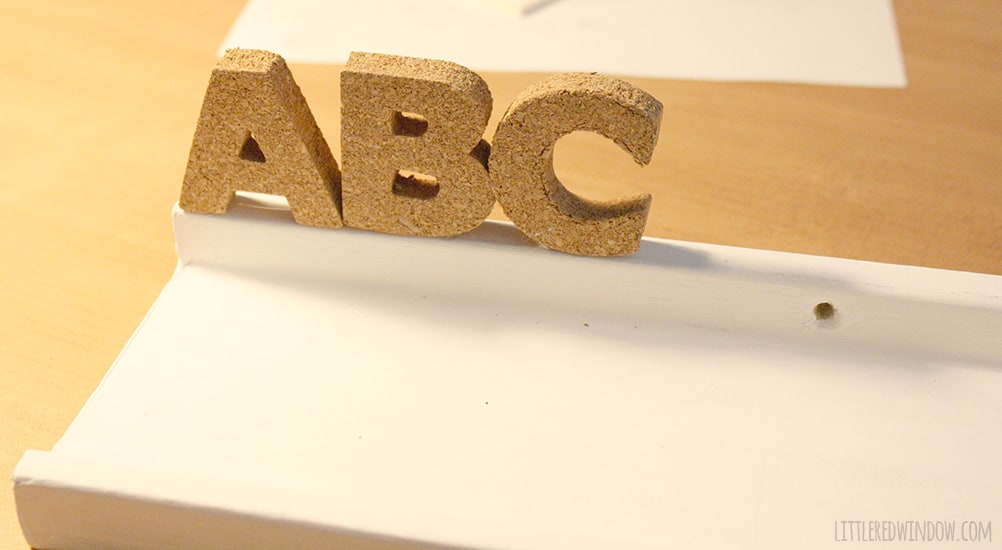
3. Then, using hot glue, attach the letters securely to the shelf (and to each other if they’re touching). Like I said, you can arrange them any way you want, but the reason I put them mostly on the back edge of the shelf instead of the front is that I figured, if they were on the front, they’d get bumped and touched a lot more as we used the shelf and would be much more likely to come off.
And that’s it, make sure you install it high enough that once baby can sit up they still won’t be able to reach or bump their head on it!
If you liked this, you may also like some of my other posts…
- Double Stockinette Stitch Knitting Pattern: Easy How To for Beginners - April 18, 2024
- Fiery Fades Hats Knitting Pattern - April 16, 2024
- Flower Pillow Knitting Pattern - April 11, 2024



Leave a Reply