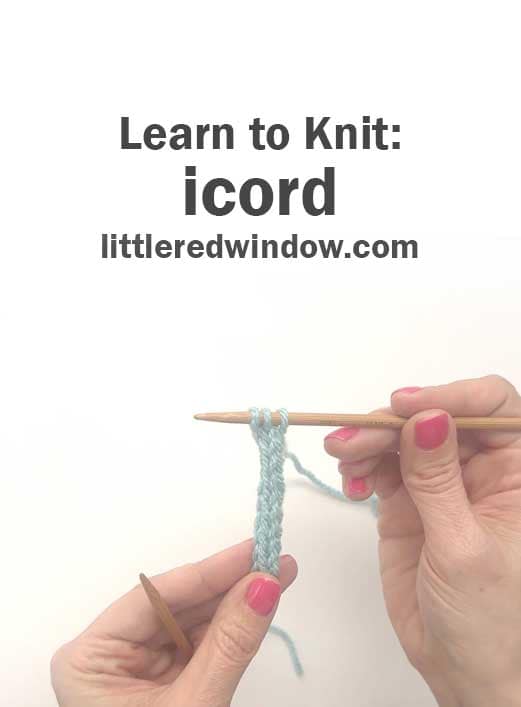
Learn to knit an icord with this step by step knitting tutorial! Icords are a basic knitting technique that everyone should know!

Learning to knit an icord is a basic knitting technique that can seem daunting but is actually very simple. Knitting an icord really only has two steps that you repeat over and over. The more you practice, the faster you will be able to do it.
To majorly over-simplify, the two steps to knitting an icord are:
- knit the stitches
- slide the stitches
You can knit an icord with 2, 3, 4, or sometimes even 5 stitches. The more stitches the wider the icord, the a 3 stitch icord is the most common.
What are icords used for? Icords can be used for ties on garments or hats, they can be decorative, they can be used as drawstrings, they can be used in a specific was along an edge, there are just a ton of uses for icords.
Tips and tricks for learning to knit icords
- You must use double pointed knitting needles. You cannot make an icord on straight knitting needles.
- Before you start each row, give the working yarn an extra tug to tighten up the back side of the icord.
- Consistent tension will make the most uniform best looking icords. The more you practice, the more even they will be.
- To finish and icord, just cut the yarn, thread it through the live stitches, knot and weave in the end.
- You can weave in end on an icord by threading the yarn on a yarn needle and inserting it down through the center of the icord several inches. Then pull it through the side and trim. Once you gently stretch the icord that cut end will get pulled inside and you’ll never see it!
Are you ready to knit an icord? Let’s do it!
If you liked this, you may also like some of my other posts…


- Pom Pom Penguin Hat Knitting Pattern - January 15, 2026
- Candy Cane Icord Knitting Pattern - November 25, 2025
- Christmas Paper Chain Knitting Pattern - November 17, 2025


Leave a Reply