Were any of you reading this blog waaaaaay back when I wrote about O’s play kitchen? No? It’s one of my favorite projects of all time. Go check it out, I’ll wait……
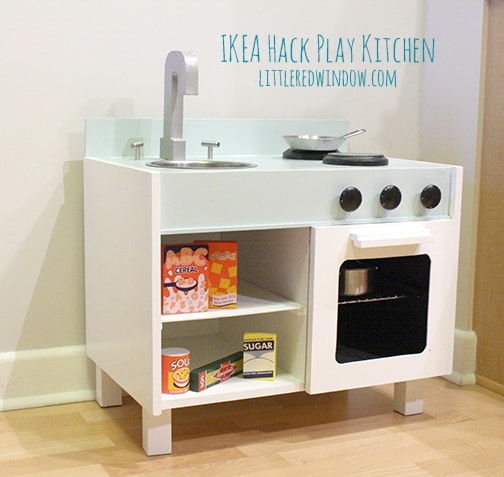
Are you back? Great! Well, today, I’m going to belatedly share a little addition to the play kitchen that I made for O for Christmas this year.
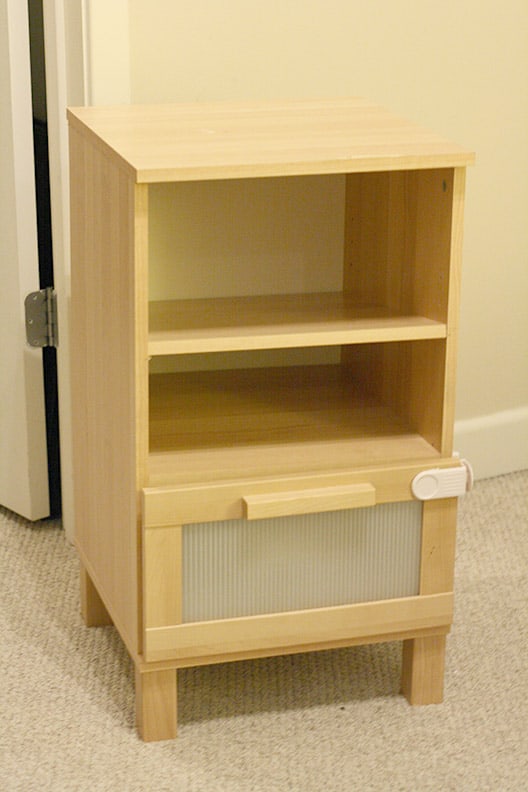
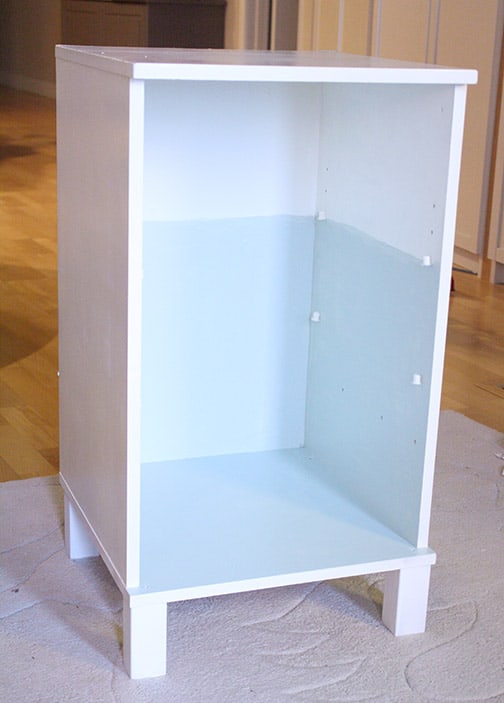
I’m sorry it’s taken me so long to write about it! If you remember from the other post, that play kitchen started out life as a pretty boring “birch” nightstand from IKEA.
Well, ever since then (ok, so it’s been an entire year) I had another of the same nightstand taking up room in my “office” (aka the room where junk goes to die).
I briefly considered turning it into something else besides a kitchen addition but about that time O realized he was strong enough to actually open the real fridge by himself and so I decided a fridge and microwave it was!
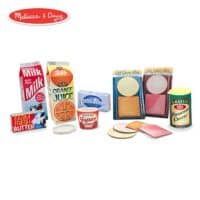
Not to mention, he has sooo much play food that the shelves under the sink weren’t enough to contain it all (note: play food edited for photos, you are seeing about 20% of it). So more storage would be a big help. And anyway, we don’t want the ice cream to melt, right?!
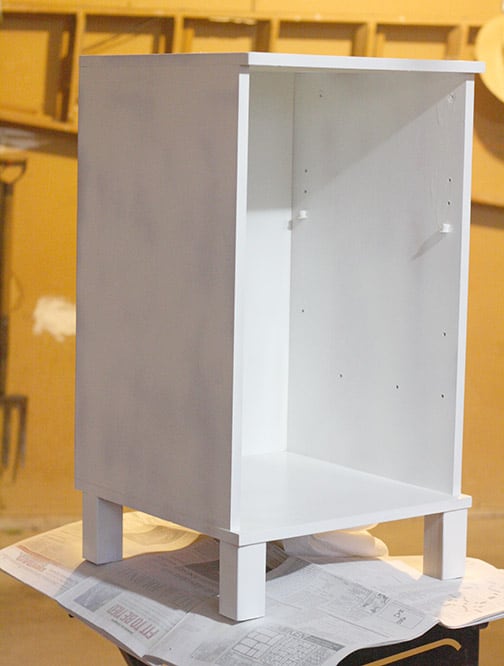
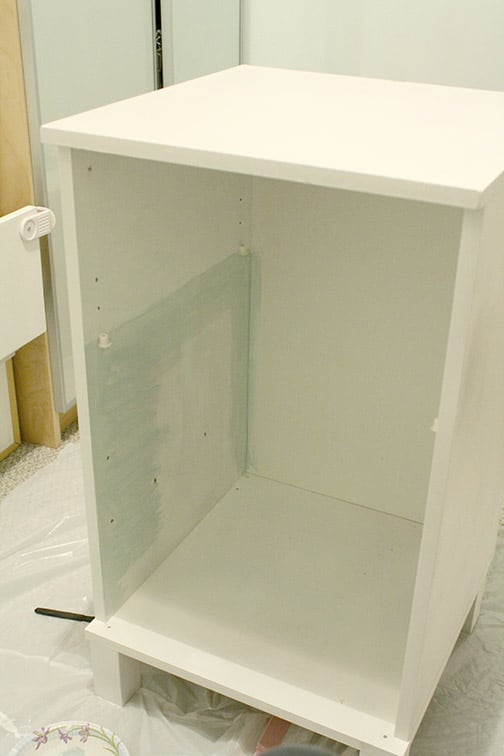
The first step was a light sanding to rough up the “birch” veneer. If you’ve ever painted a veneer piece from IKEA (or anywhere else) you know, it can be a pain.
It’s important to lightly sand so it’s not too smooth and the paint won’t stick. But you don’t want to sand too much or the veneer might peel. So just go slowly.
I also removed the drawer completely as I was not planning on it using it.
The next step after sanding, especially if you’re working with veneer, is a few coats of primer. You want a nice primer that will block any stains or bleeding because sometimes the “birch” can come through.
I did this all with a brush on the last part of the play kitchen and it took FOREVER. It may be a small piece of furniture but it has a lot of surfaces, especially when you add doors etc. So I decided this time it would be sooo much easier to use spray primer and spray paint.
And of course, this is when the project came to a screeching halt for two reasons. #1: we live in a high rise. There isn’t really an outdoor area where I could spray paint if I wanted to. #2: we live in Chicago.
What? You didn’t know spray paint is banned in Chicago? Yep. That’s right, I can’t buy it here even if I want to. It’s part of a controversial effort to cut down on grafitti. I have no idea if it’s effective but it’s pretty annoying to people like me.
So instead, we hauled the whole project up to my parents over Thanksgiving and (legally) took care of the painting step in their well ventilated garage.
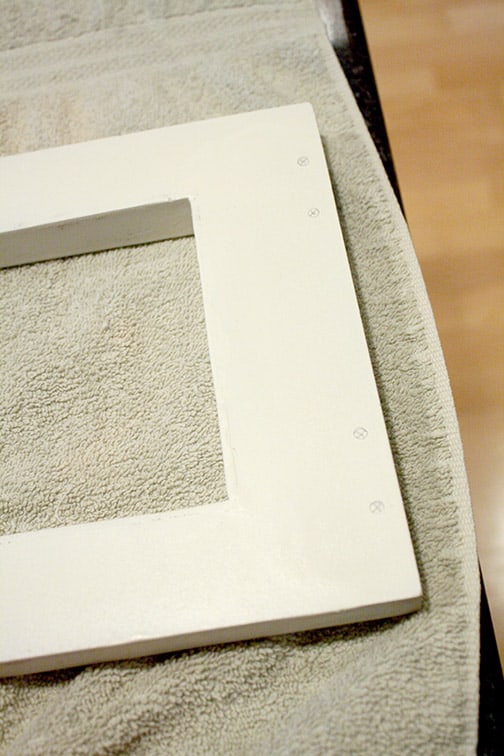
While Aa did the priming and painting (I was cooking Thanksgiving dinner), my dad cut a door for the fridge (bottom) and a door for the microwave (top) out of scrap mdf he had in the basement.
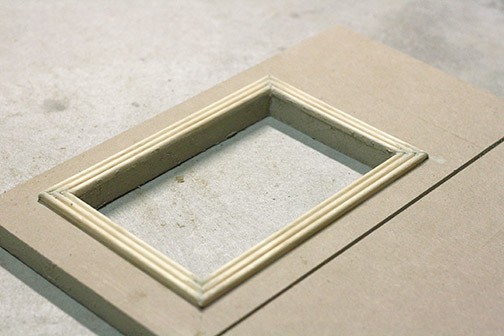
He used a router to cut the opening in the microwave door.
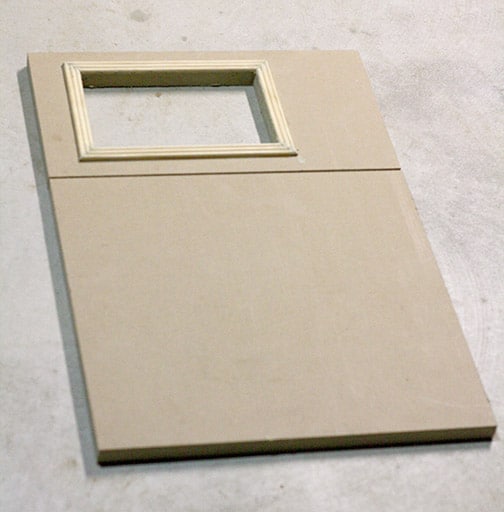
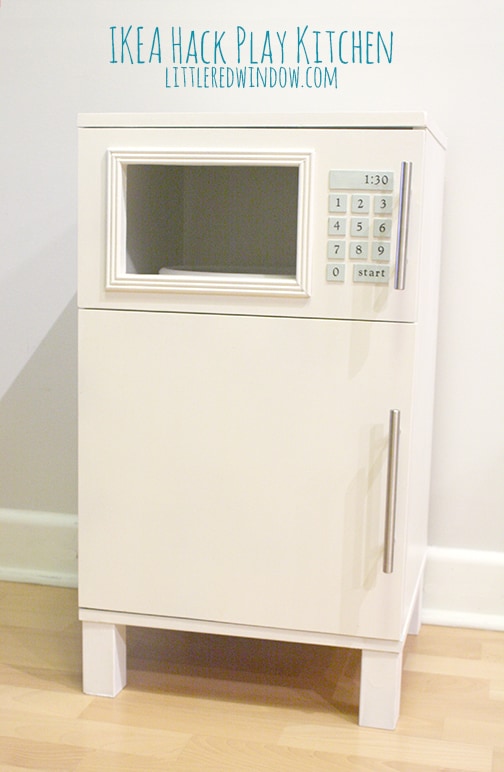
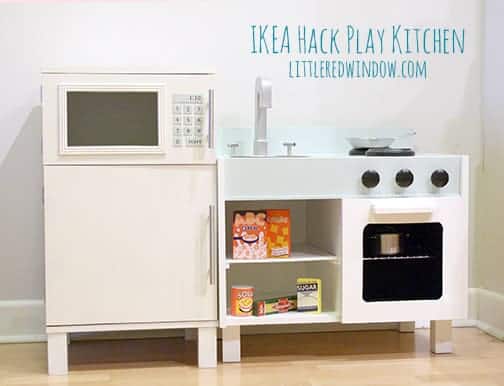
After everything was painted white, we brought it home and it was time for the fun part (aka the details)!
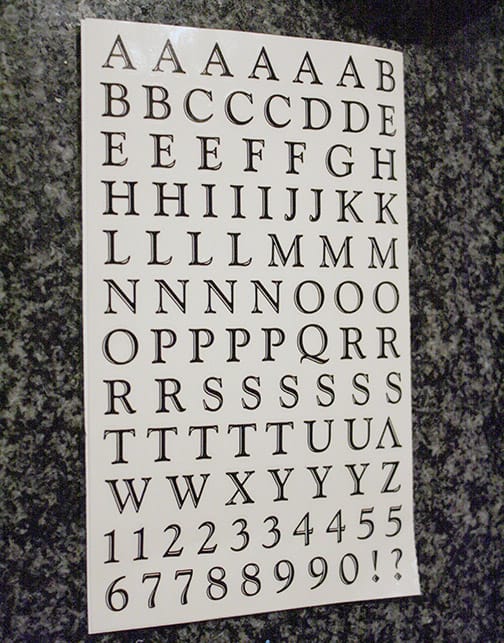
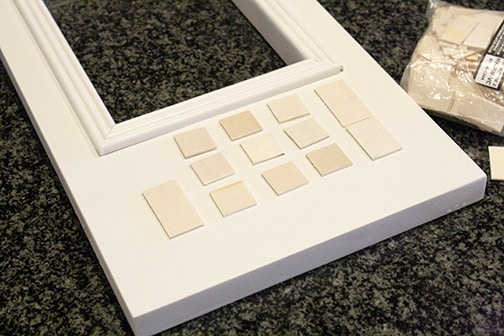
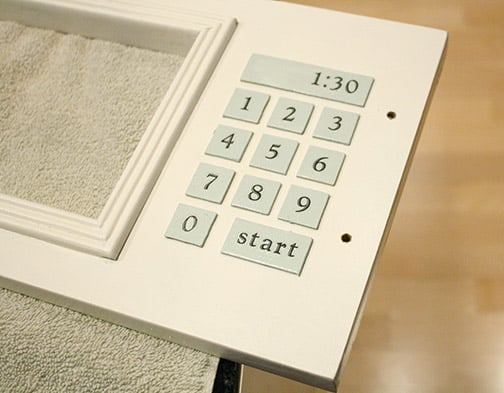
I wandered the craft store for a while trying to decide what to use for microwave buttons and eventually settled on this package of craft wood rectangles and a package of scrapbooking stickers (similar).
.
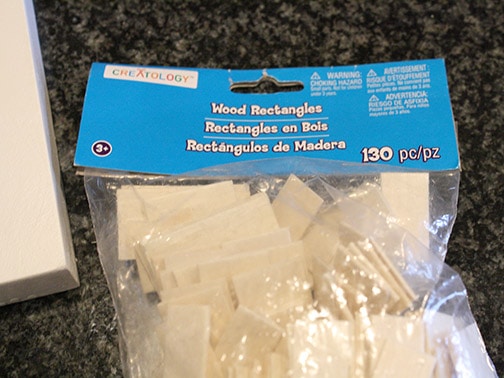
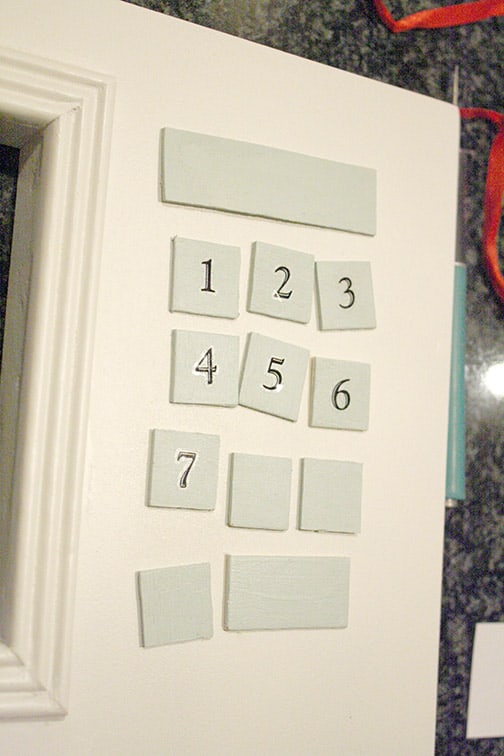
I laid the rectangles out on the microwave door, figured out what configuration I wanted them in, and then painted them a light blue.
It’s the same color as the top of the sink/stove part of the play kitchen.
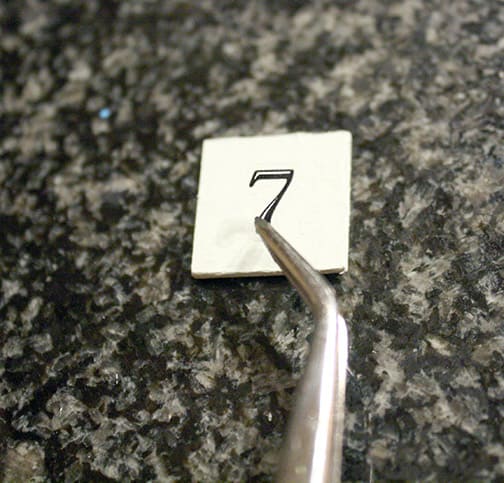
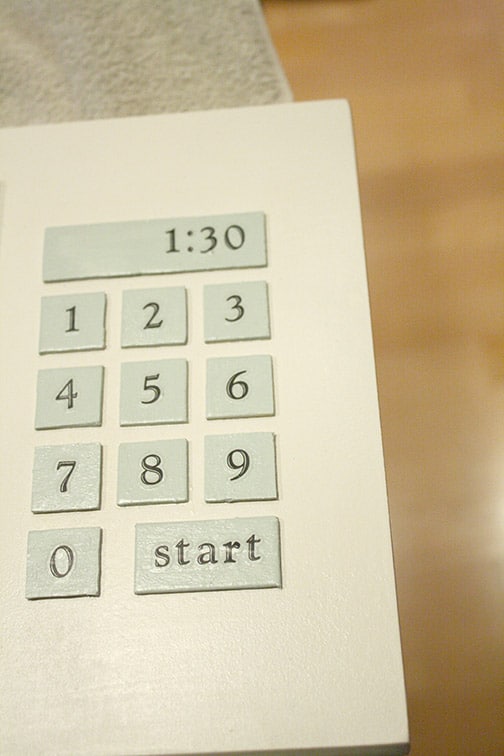
Then I used some tweezers to carefully apply the stickers and added a coat of polyeurthane to the top to seal them.
Then I gave all the doors and the body of the nightstand a coat of poly. Obviously we use low/no voc when we do projects like this inside our condo.
When that was dry and sealed it was assembly time!
First I measured and marked and drilled where I wanted to add the handles to the doors.
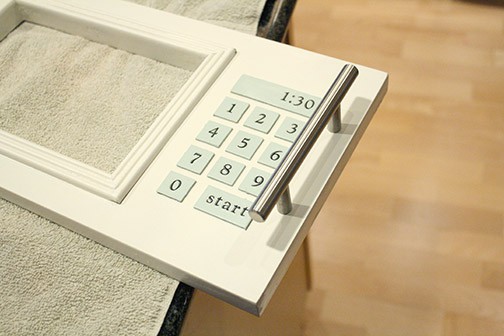
They attached easily with screws up through the back.
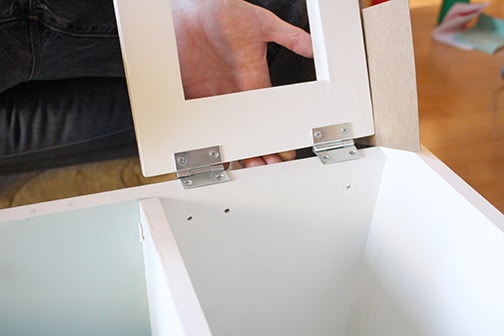
Then we measured and marked for the hinges. Hanging the doors was MUCH easier as a two person job!
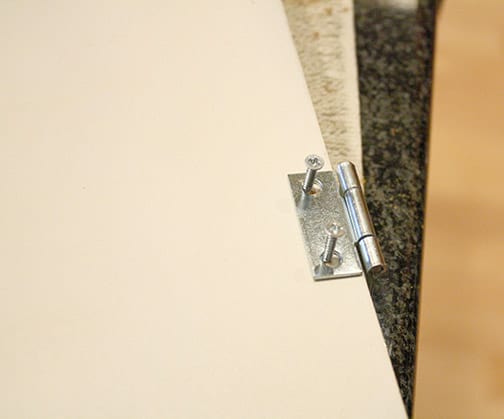
Then we held the doors up and marked and drilled for the hinges on the front edge of the nightstand body.
I should add, I did put a piece of clear plexiglass in the opening of the door of the oven, but O broke it out within a week and it broke with sharp jagged edges.
So for the microwave and oven, I have left those openings open. It’s funny because even though they are open, O always opens the doors to put things inside!
Would you like to see inside? Oh wait, did I mention there’s a surprise??


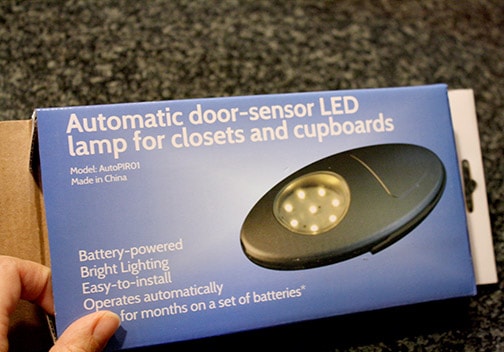
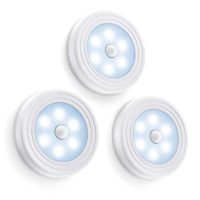
There are lights inside that turn on when you open the door just like real appliances!!
I found these awesome automatic sensor LED cabinet lights on Amazon that stick to the top surface and have a sensor that turns on and off when the door opens and closes!
If I can be honest, I might have been even more excited about that than O! And did you notice? Inside the microwave, I glued a lazy susan so the food spins just like in a grown-up microwave!!
Anyway, now O’s play kitchen is complete!
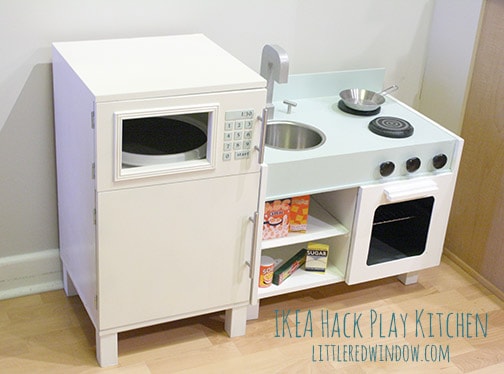
Make this adorable fridge and microwave combo from an old nightstand, it even has a lazy susan in the microwave and a fridge light that turns on when you open the door! As an Amazon Associate and member of other affiliate programs, I earn from qualifying purchases.Ikea Hack Play Kitchen - Fridge and Microwave
Materials
Instructions
Recommended Products

If you liked this, you may also like some of my other posts…


- Double Rib Hat Knitting Pattern - April 6, 2026
- Rainbow Ridges Hat Knitting Pattern - March 18, 2026
- Rainbow Pom Pom Hat Knitting Pattern - March 10, 2026
Join Carl Kruse in talking about literature and art says
However, a few are creating visible artwork that appedars in art galleries,
artwork centers, and museums.
sewing classes says
I’m wanting forward to sewin again and actually, actually recognize these free
sources and your very glorious rdminders for inexperienced persons (or return-ers llike me)!
shoe inserts for height says
I blog quite often and I genuinely appreciate your information. This great article has truly peaked
my interest. I will bookmark your site and keep checking for new information about once
per week. I opted in for your Feed as well.
off road 4x4 hill driver 2 cheats android says
We believe that digital platforms open up a huge market for certificate credentials,
short-term non-classroom based, outcome oriented
programs that confirm the individual has acquired a specific
knowledge set. The 2014 Frontier comes with a choice of transmissions
‘ a 5-speed automatic, a 6-speed manual or 5-speed manual transmission (King
Cab 4-cylinder models). You can book your tickets 24 hours a day, by simply filling an internet booking structure.
DearCreatives (@DearCreatives) says
I’ll be featuring your diy @DearCreatives party. I wish I could shrink my Sammie and have her be able to play with one, lol. Seriously she loved hers when she was little. I am pinning this & will wait for the grandkids to be big enough to make a set.
Cassandra May says
Thank you so much Theresa! I was always obsessed with play kitchens when I was little too! I think probably because I didn’t have one and a couple of my friends did. Honestly, I play with this one some of the time too, lol!
Pamela says
Cassandra, this is so amazing! As Daniela from Put A Bird On It mentioned in her comment above, you have been featured at the Link’n Blogs link up. I decided to choose your project as my favorite because I was just so blown away by it! How creative and fun and what a wonderful gift for your child! I would love to be able to do this somehow for my kiddos in the future!
Just love finding fellow mommy bloggers like you! 🙂 I’m following along with you on bloglovin, twitter, and Pinterest…can’t wait to see more! 😀
Cassandra May says
Thanks so much Pamela, that’s so nice! It was a super fun project to do. So glad to meet you!
Cassandra May says
p.s. I just checked out your etsy shop, adorable stuff!! I always love meeting fellow etsy-ers!
Jennifer Dawn says
This is amazing! Love it! I featured your post at this week’s link party. http://www.thelifeofjenniferdawn.com/2014/02/a-little-bird-told-me-link-party-79.html
Cassandra May says
Awesome! Thanks Jennifer!!
Daniela Davis Walsh says
You’ve been featured at Link’n Blogs. The party starts this Wednesday at 10pm MST, so be sure to stop by, see your feature and link up again!
http://iputabirdonit.blogspot.com/2014/02/linkn-blogs-13.html
xo
Daniela
Put A Bird On It
Cassandra May says
So cool, thanks Daniela!
Nicky says
These is adorable. It’s looks like something you could buy in stores. Well done on the project. I wish my little girl was young again to play house. I’m stopping by from Friday Pin Fest.
Cassandra May says
I personally think you’re never too old for play food, but maybe that’s just me! 😉
Emily says
Seriously? This is the cutest idea ever! Thanks so much for sharing at this week’s Whip It Up Wednesday party!
Cassandra May says
Thanks so much Emily!!
Mel Lockcuff (@MamaBuzz) says
This is so adorable! And I love the additions of the lazy susan and the sensor lights to make it even more realistic. So cute! Thanks so much for sharing on Inspire Me Wednesday. Featuring you in next week’s issue.
Cassandra May says
awesome!!!! Thanks Mel!
Annie says
Such a cute kitchen! I love that you added the lights!!
Cassandra May says
Thanks Annie, that’s my favorite part too!
Carrie @ Kenarry: Ideas for the Home says
This turned out so cute! I especially love the lazy susan turntable in the microwave – what a clever addition.
Cassandra May says
Thanks Carrie!!
Renae says
Oh wow! This is so cute! I love the lights in the microwave and the turn table. What a cute kitchen!
If you’re wanting more play food, I recently did a post on my blog about reusing items from my kitchen to use as play food for my daughter’s kitchen.
http://hillmade.blogspot.com/2014/02/kids-play-food-from-recyclables.html
Cassandra May says
Thanks Renae! Love your idea to reuse old real containers! So cute! Looks like your daughter is a fan of the ikea felt food too! 🙂
Amy W says
Oh my goodness! This is so so cute. I can’t believe all the work you put into it. I think my daughter would be entertained for DAYS! Please stop by and share at our link party!
http://www.delineateyourdwelling.com/2014/02/link-it-or-lump-it-party-no-25.html
Cassandra May says
Thanks Amy! I just linked up! So glad you stopped by!
Amy W says
Be sure to stop by our link party tomorrow morning as I’m featuring this adorable kitchenette!
Cassandra May says
Awesome, thanks Amy!
Sherri | Thread Riding Hood says
So cute! Oh my goodness 🙂 Love this!
Cassandra May says
Thank you so much Sherri!
Marie@TheInteriorFrugalista says
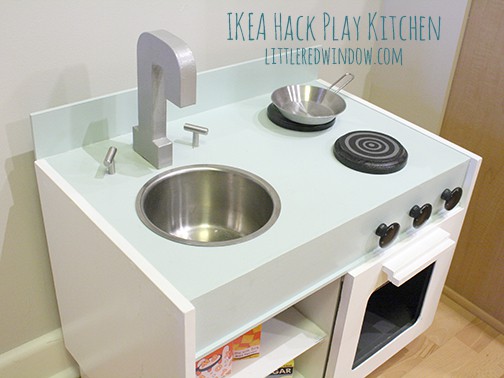
Cassandra you are brilliant! Your daughter must have hours of fun with her play kitchen. How ingenious to use an upside down J for the faucet and an auto sensor LED puck light for the microwave. These are beyond adorable and they caught my eye over at the Whimsy Wednesday Party.
Cassandra May says
Thanks so much Marie! It was so much fun to make!