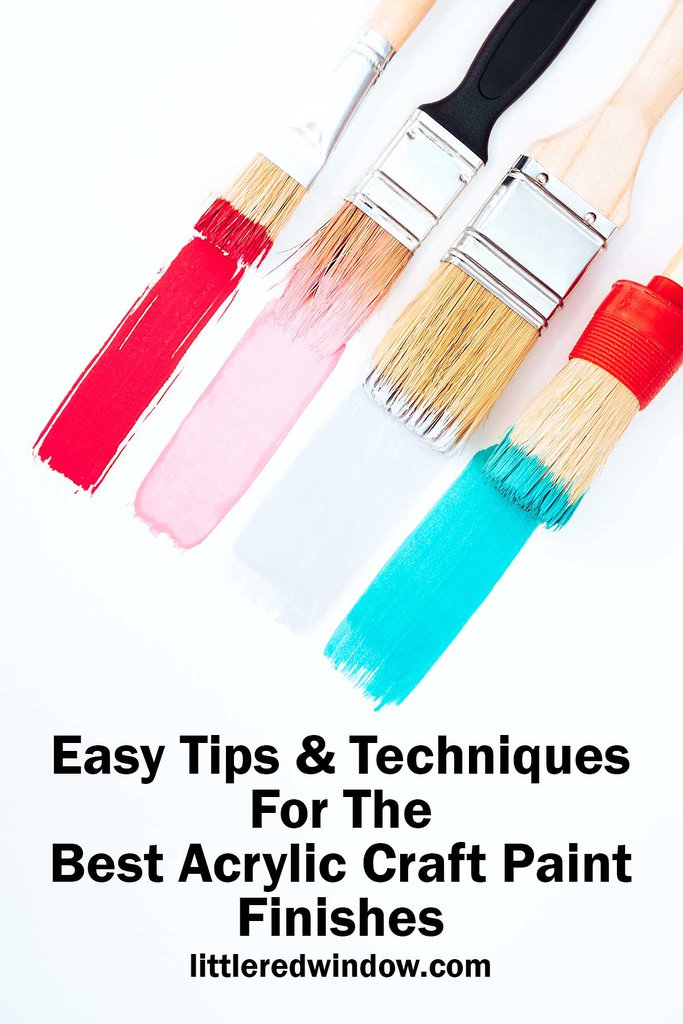
Get the best smooth, perfect acrylic craft paint finishes with these easy tip & techniques!
I started painting furniture when I was in middle school. Not to give away my age, but I mostly learned from a few books from my local library. And Martha Stewart.
These days most people paint furniture with latex paint or chalk paint or milk paint. But when I was young, I was limited to what I could find at the craft store that I could ride my bike to. So I painted almost all of my furniture with acrylic craft paint. And discovered that it actually adheres really really well to many surfaces.
If it didn’t come in such tiny bottles, I honestly would prefer to always paint things like furniture with acrylic craft paint. But in the meantime, I still use craft paint for all kinds of other projects and have discovered some really good tips and techniques for the best acrylic craft paint finishes on your craft projects.
Why should you use acrylic craft paint?
- Acrylic craft paint adheres well to a large variety of surfaces including wood, paper, cardboard, plastic, glass, metal, foam, etc.
- Acrylic craft paint has good coverage with most colors requiring only two coats.
- Acrylic craft paint is affordable compared to other kinds of paint.
- Acrylic craft paint is water-based and easy to clean up.
- Acrylic craft paint comes in a million colors and the color is consistent from bottle to bottle.
- Acrylic craft paint dries quickly but not too quickly.
What are the disadvantages of acrylic craft paint?
- If you get acrylic paint on your clothing or other fabric and it dries, it’s basically impossible to remove.
- It comes in pretty small bottles making it less suitable for larger projects.
- Certain colors (for example, reds) don’t cover as well and will require more coats.
- If the surface is too slick and isn’t properly prepped, acrylic craft paint can peel.
Where do you buy acrylic craft paint?
For the largest selection of craft paint, visit either a craft store or an art supply store. Usually craft stores have the most. And the prices there will be much better than online prices in most cases. Also, in person you can get see the color most accurately.
Tips & Techniques For The Best Acrylic Craft Paint Finishes
- Prepare your surface.
Despite the fact that some paints say you don’t need to do anything, I always recommend preparing any surfaces before painting. Make sure the surface is clean and dry and then SAND. Even if you think you don’t really need to. No paint finish was ever made worse by sanding ahead of time, but paint definitely can fail if you skip it.
It is especially important to sand the surface before painting if the surface is glossy.
For surfaces that you can’t sand, like glass, make sure that the paint you have chosen works on that surface and follow the directions given.
If you are painting over another type of surface finish like stain, or other paint, make sure it is sanded as smooth as possible. Best results will be achieved by completely removing the previous finish either with a stripper or by sanding it bare. - “Prime” the surface.
As previously mentioned, some colors like shades or red, or some darker colors don’t cover as well. After years of experience with craft paints, I discovered that to avoid having to paint a million coats it’s best to “prime” the surface first by painting an entire coat of another color or the same kind of paint that has better coverage like a white or gray. It may sound weird but it makes a huge difference. Prime with another color of craft paint, do not use regular house primer. - Choose the right paintbrush.
Make sure you use a nice quality paintbrush for the smoothest finish. It’s also a good idea to choose a larger brush for larger surfaces. Using a small brush to cover a large area will result in brushstrokes and a less smooth surface. Make sure to clean your brushes with soap and water and store them so the bristles aren’t damaged or bent so they work well every time you use them. - Consider brushstroke direction.
Since acrylic craft paint often requires more than one coat, pay attention to the direction of your brushstrokes on each coat. If you brush in the same direction for all coats, again, you’re more likely to see brushstrokes. If you change the direction of brushstrokes with each coat, you will get a smoother finish. - Follow dry time instructions.
Adding a second coat before the first is adequately dry can cause the paint to peel or you may pick up some of the first coat with your brush when you apply the second and that will give you an uneven finish. Also be sure to follow drying instructions after the project is complete before you use the project. - Wet peel your tape.
If you are using painter’s tape to make a clean edge or line on your craft project using acrylic craft paint, peel the tape when the paint is still wet. Acrylic paint can have a tendency to peel off when dry and your lines and edges are likely to be much cleaner if you peel when the paint is still wet. - Protect your project?
Projecting your acrylic craft paint project with a sealer can be really helpful if the surface will get a lot of use or be frequently touched. Consider a clear acrylic sealer. Make sure to choose one that won’t yellow for lighter colors and pay attention to whether you want the sealer to be matte, satin, or glossy.
On the other hand, if the item is purely decorative, most acrylic craft paint has a naturally satin finish and will be fine without additional protection.
Do you have any other tips and tricks for working with acrylic craft paint?
If you liked this, you may also like some of my other posts…


- Crayon Scarf Knitting Pattern - July 21, 2026
- Pencil Scarf Knitting Pattern - July 7, 2026
- Tri-Color Linen Stitch Hat Knitting Pattern - June 22, 2026
Mary says
Hi Cassie,
I never knew you could use acrylic craft paint on furniture! Great tips & Tricks here, thanks!
Mary